
Are you ready to transform your space or vehicle with a custom look? Printing your own vinyl wrap might sound tricky, but with the right steps, you can create a professional finish without breaking the bank.
Imagine having full control over the design, colors, and style—making something truly unique that stands out. In this guide, you’ll discover simple, clear instructions to print your own vinyl wrap like a pro. Keep reading, and by the end, you’ll have everything you need to start your project confidently and see amazing results.
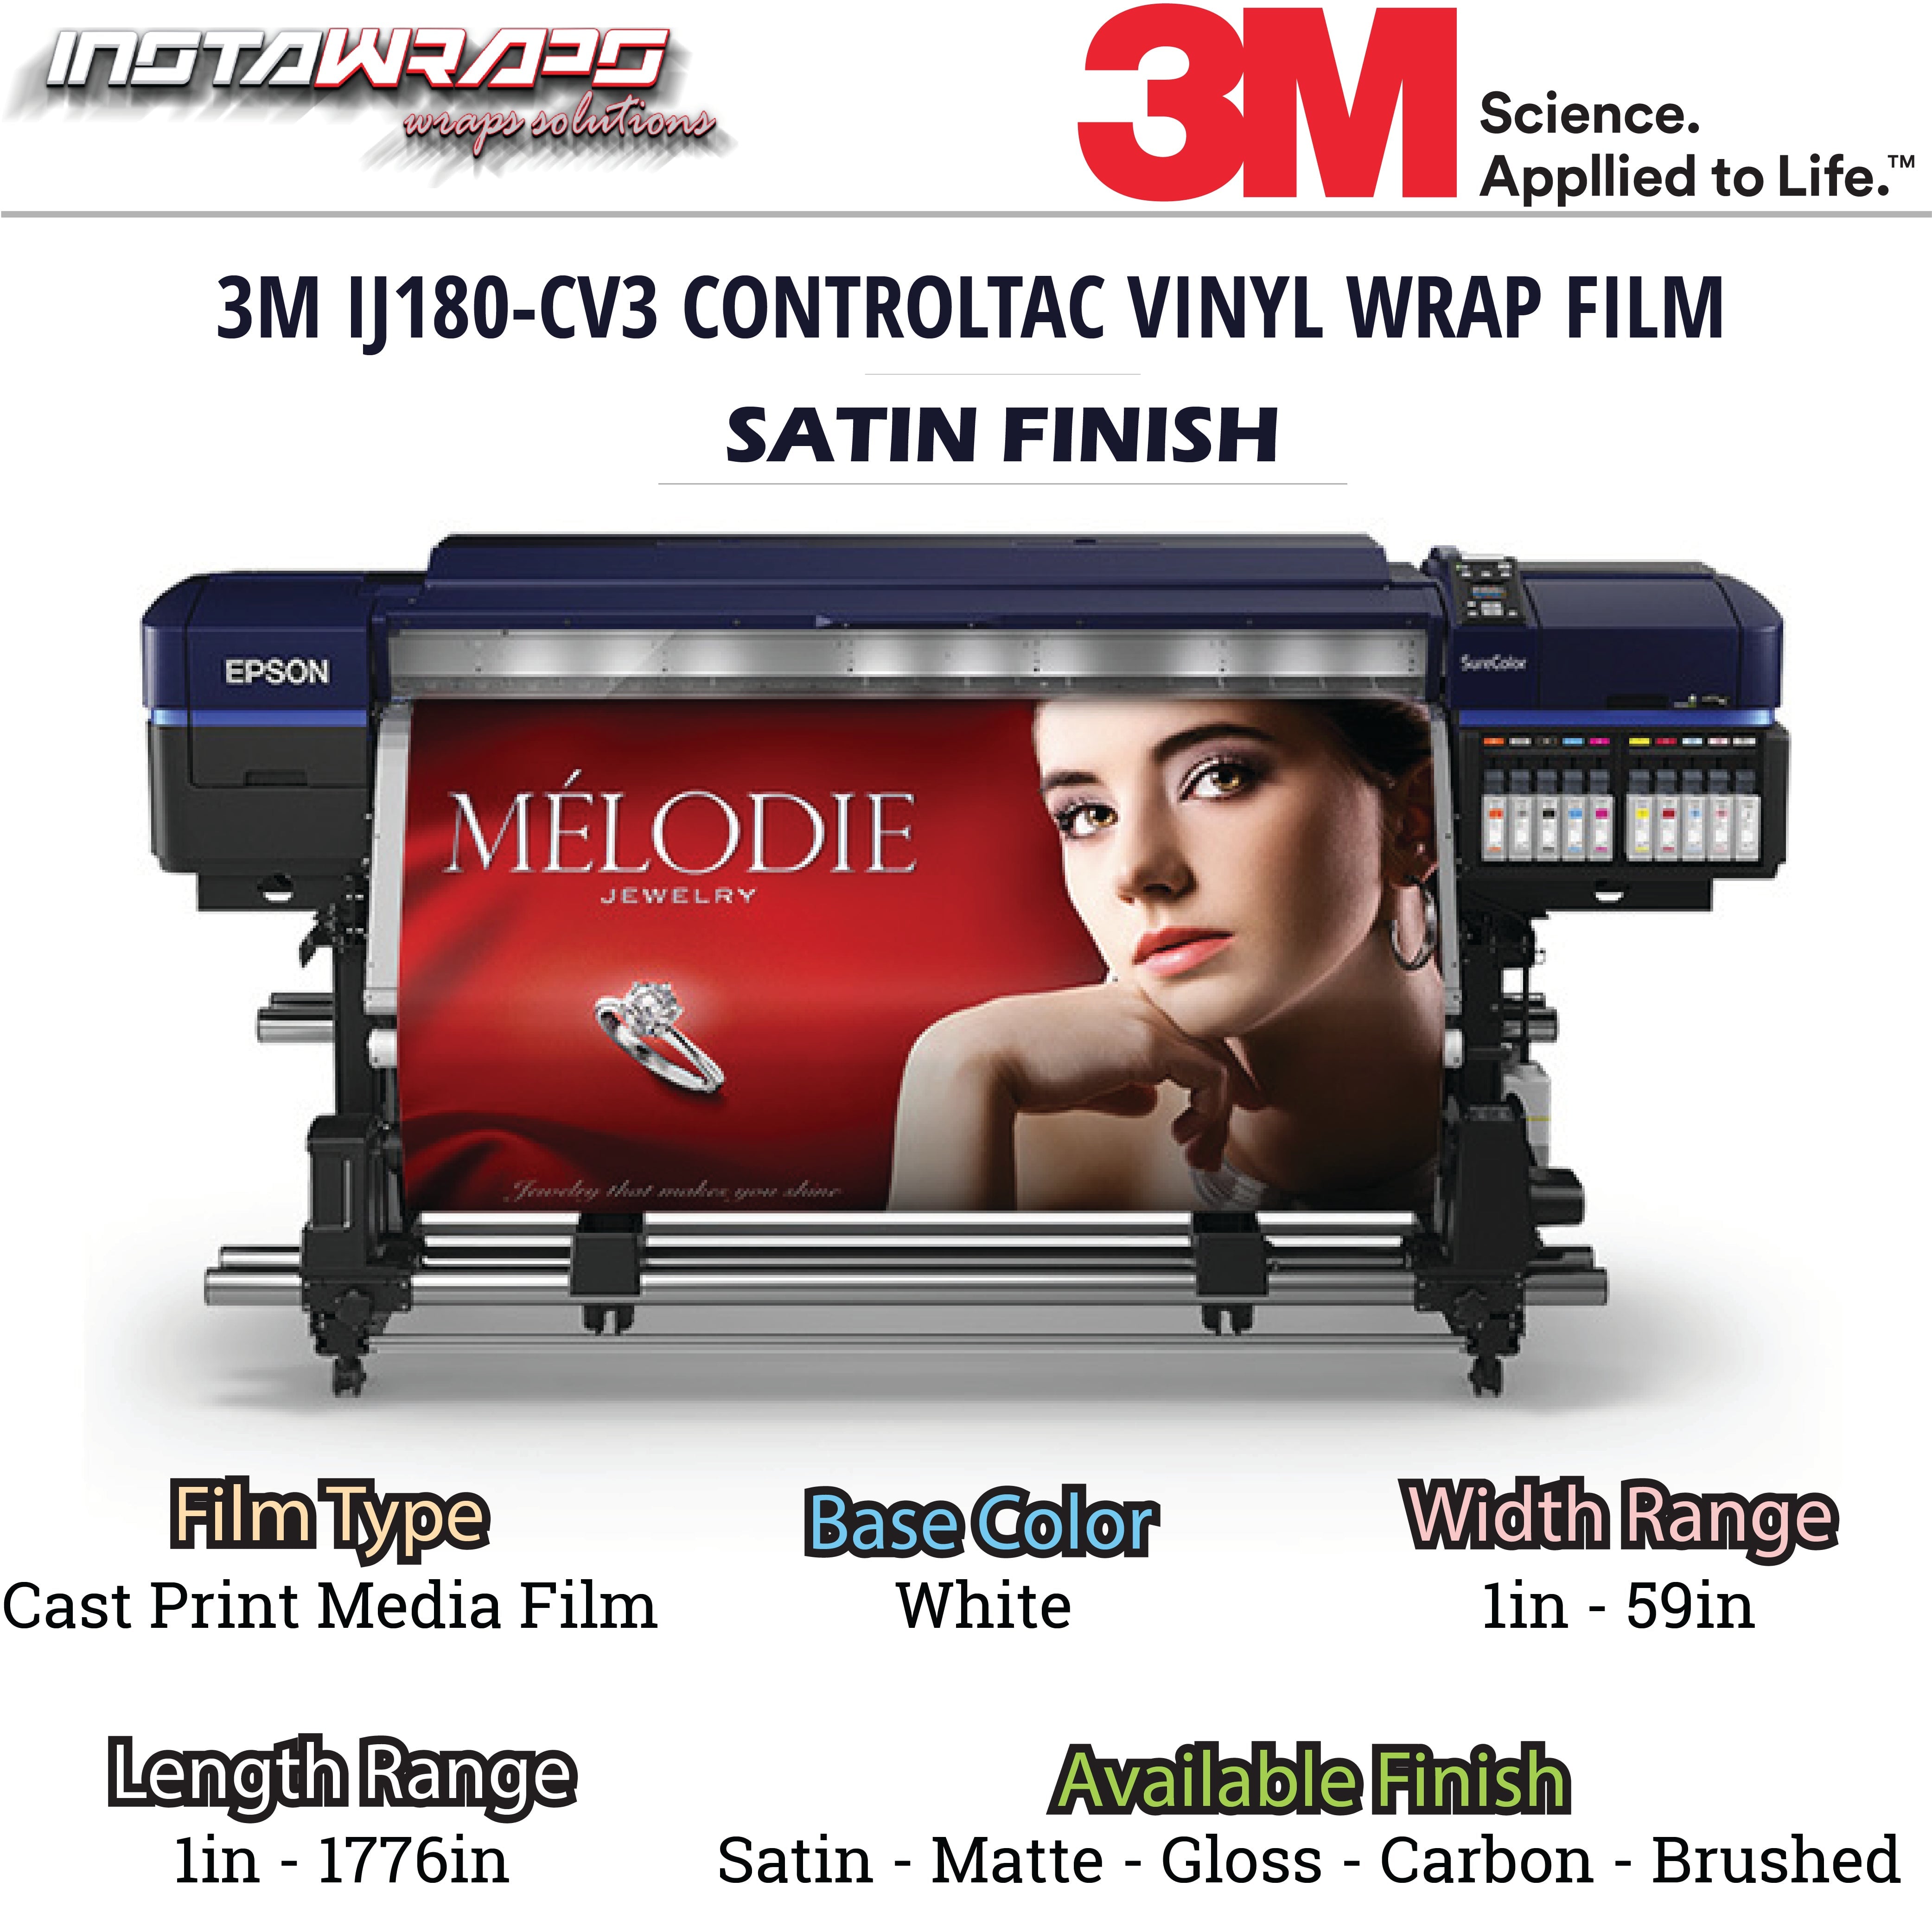
Credit: www.instawrapshop.ca
Choosing The Right Vinyl
Choosing the right vinyl is a key step in printing your own vinyl wrap. The type of vinyl affects how your wrap looks and lasts. Picking the best vinyl helps you get a smooth, professional result. This section breaks down what you need to know about vinyl types, durability, finishes, and where to buy quality materials.
Types Of Vinyl Wraps
There are several types of vinyl wraps. Cast vinyl is thin and flexible. It molds well to curves and lasts longer. Calendered vinyl is thicker and cheaper. It works for flat surfaces and short-term projects. Some vinyl comes with air-release technology. This makes bubbles easy to remove during installation. Choose vinyl based on your project needs and budget.
Durability And Finish Options
Vinyl wraps come in many finishes. Glossy finish gives a shiny look. Matte finish reduces shine for a smooth, flat look. Satin finish is between glossy and matte. Durability varies by vinyl type. Cast vinyl lasts up to 7-10 years. Calendered vinyl lasts 3-5 years. Consider where the wrap will be used and how long it should last.
Where To Buy Quality Vinyl
Buy vinyl from trusted suppliers. Many online stores offer a wide range of vinyl wraps. Check reviews and ratings before buying. Some local stores also sell good vinyl rolls. Buying quality vinyl ensures better print results and easier installation. Avoid cheap vinyl as it may peel or fade quickly.
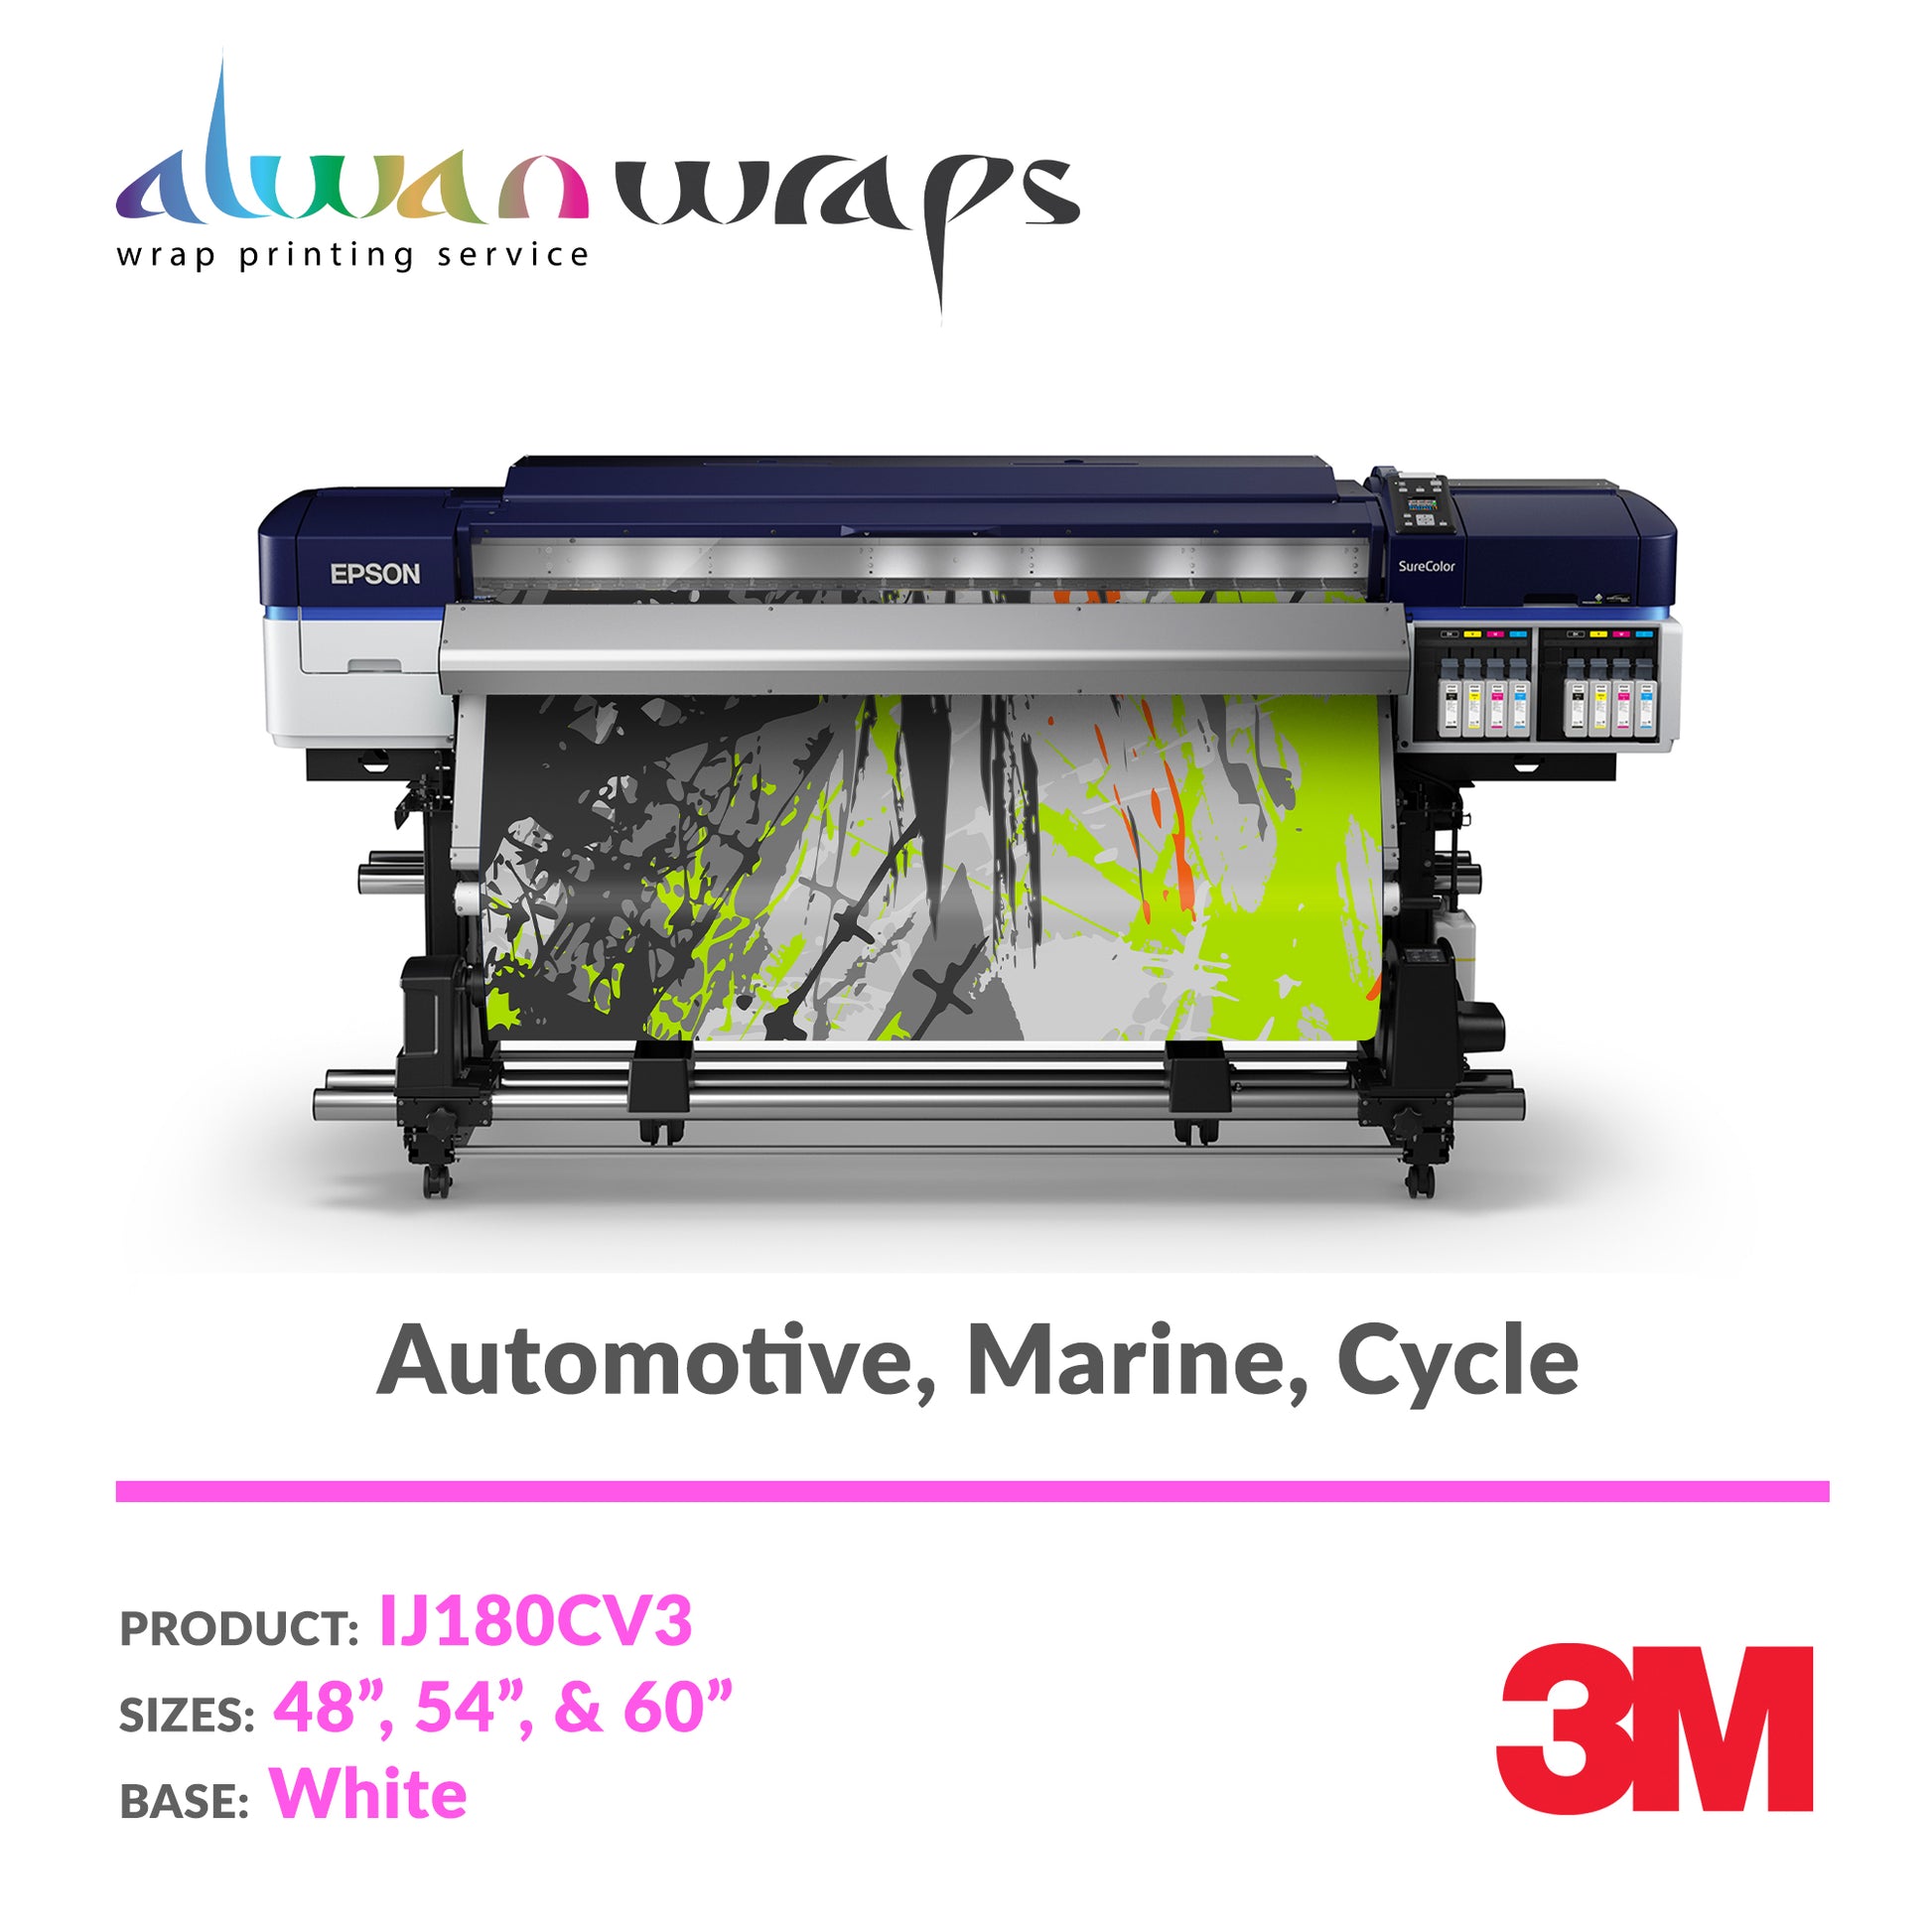
Credit: alwanwraps.com
Designing Your Wrap
Designing your vinyl wrap is the first step to a great final product. This part lets you plan how your wrap will look. You can choose colors, shapes, and images that match your style. A well-designed wrap makes your project stand out and look professional.
Good design helps the printing process go smoothly. It reduces mistakes and saves time. You need to prepare your design carefully before printing your vinyl wrap.
Using Design Software
Choose easy-to-use design software like Adobe Illustrator or CorelDRAW. These programs work well with vector graphics. Vector designs keep shapes sharp when resized. You can create logos, patterns, and text easily.
Some free options include Inkscape and Canva. They offer simple tools for beginners. Make sure the software supports exporting files in high quality formats.
Image Resolution And Color Settings
Use high resolution images to avoid blurry prints. Aim for at least 300 DPI (dots per inch). This makes your design clear and sharp on the vinyl.
Set the color mode to CMYK. Printers use CMYK to match colors accurately. RGB colors may look different when printed. Adjust brightness and contrast for the best look.
Creating A Mockup
A mockup shows how your wrap looks on the actual surface. Use digital mockups or print a small test piece. This helps check colors and design placement.
Mockups reveal any size or alignment problems. Fix these before printing the full wrap. It saves money and time by preventing errors.
Preparing The Surface
Preparing the surface is the first step to a perfect vinyl wrap. A clean, smooth surface helps the wrap stick better and last longer. Any dirt, grease, or damage can cause bubbles or peeling. Take time with this stage for the best results.
Cleaning And Degreasing
Start by washing the surface with soap and water. Remove all dirt and dust completely. Use a clean cloth to dry the area.
Next, apply a degreaser or rubbing alcohol. This removes oils and grease left by hands or the environment. Wipe the surface thoroughly and let it dry fully before moving on.
Removing Old Wraps Or Decals
Old vinyl wraps or stickers must be taken off completely. Heat the old wrap with a heat gun or hair dryer to soften the adhesive.
Peel the wrap slowly, pulling at a low angle. Use adhesive remover or rubbing alcohol to clean any sticky residue. A smooth base ensures the new wrap sticks well.
Repairing Surface Imperfections
Check for scratches, dents, or rust spots on the surface. Sand down rough areas with fine-grit sandpaper until smooth.
Fill dents or deep scratches with body filler. Let it dry, then sand again for an even finish. A flawless surface helps the vinyl wrap look professional and last longer.
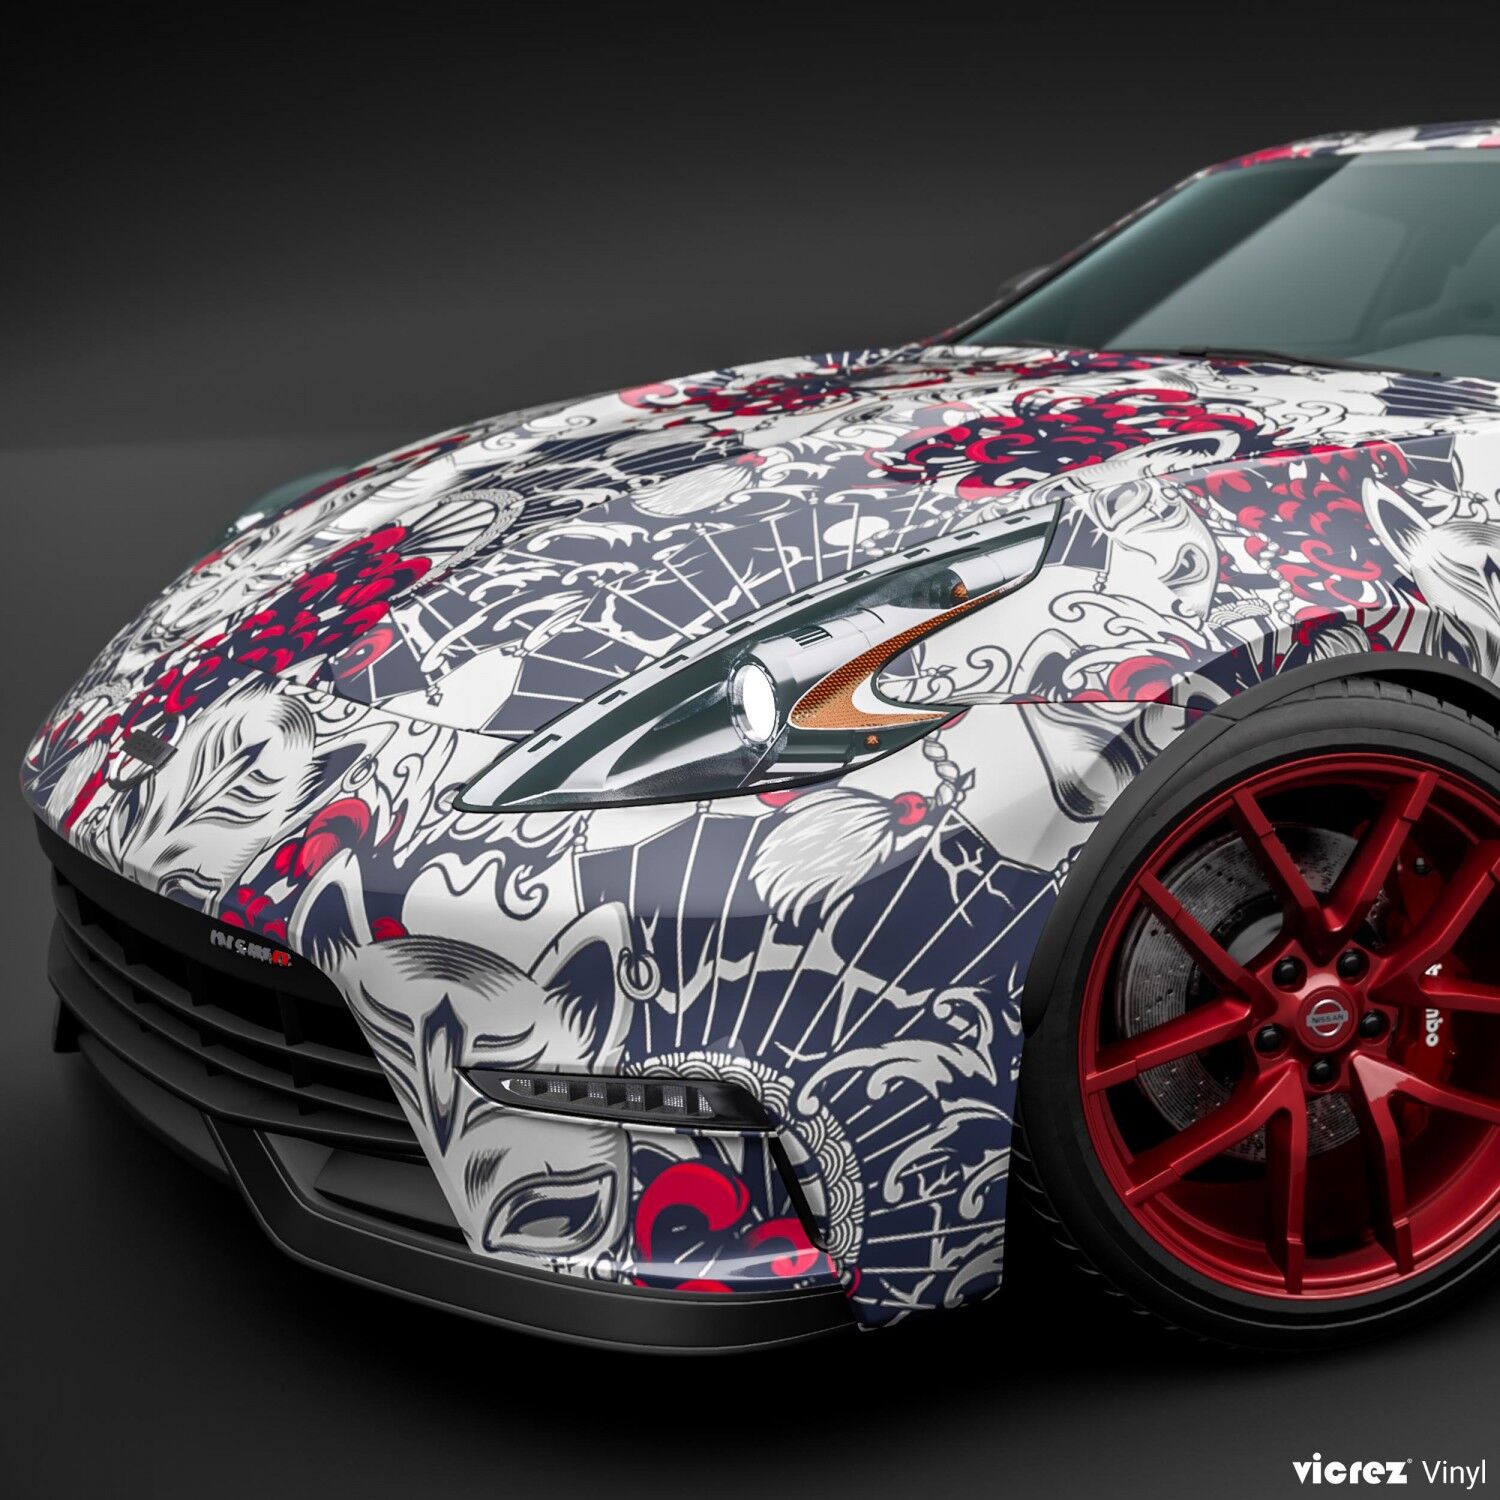
Credit: www.vicrez.com
Printing The Vinyl
Printing the vinyl is a key step in creating your own vinyl wrap. This process requires careful choices and settings to achieve a clear, vibrant print. The quality of the final wrap depends on the printer, ink, and print settings you use. Taking time to test and adjust will save material and improve results.
Choosing The Right Printer And Ink
Select a printer designed for large-format prints. Inkjet printers with solvent, eco-solvent, or UV inks work best for vinyl. These inks stick well and resist fading. Match your ink type to your printer and vinyl material. Avoid standard home printers; they do not handle vinyl properly.
Setting Print Parameters
Adjust your printer settings for vinyl printing. Set the resolution to at least 720 dpi for sharp images. Choose the right color profile to keep colors accurate. Use slow print speed for better ink adhesion. Set media type to vinyl or similar material. Double-check paper size matches your vinyl roll.
Test Printing And Adjustments
Print a small test section first. Check colors, sharpness, and ink drying time. Look for any smudges or color shifts. Adjust printer settings if needed. Repeat testing until you get perfect results. This step avoids wasting large vinyl sheets. Test prints help ensure a professional-looking wrap.
Laminating And Finishing
Laminating and finishing are key steps in printing your own vinyl wrap. They protect the print and give it a clean, professional look. A good laminate prevents scratches, fading, and damage from water or sunlight. Finishing touches like trimming and cutting help the wrap fit perfectly.
Types Of Laminates
There are several laminate types to choose from. Glossy laminate adds shine and bright colors. Matte laminate gives a smooth, non-reflective finish. Satin laminate offers a soft shine between glossy and matte. Some laminates are made for extra durability, perfect for outdoor use.
Applying Laminate For Protection
Start with a clean surface on your vinyl print. Peel the backing from the laminate slowly. Use a squeegee to smooth out bubbles and wrinkles. Work from one side to the other. Take your time for a smooth, even layer. Let the laminate dry before handling further.
Trimming And Cutting Techniques
Use a sharp blade or craft knife for clean cuts. Cut on a hard, flat surface to avoid mistakes. Leave a small margin around edges for better adhesion. Trim slowly to follow curves and corners accurately. Use a ruler for straight lines. Proper trimming ensures the wrap fits perfectly on the vehicle.
Applying The Vinyl Wrap
Start by cleaning the surface to remove dirt and dust. Carefully place the vinyl wrap and smooth it out to avoid bubbles. Use a squeegee to press the wrap firmly for a clean finish.
Tools Needed For Application
Applying a vinyl wrap needs the right tools to get a smooth finish. You will need a squeegee to press the vinyl down and remove air bubbles. A heat gun or hairdryer helps soften the vinyl for better stretching. A sharp knife or blade is important for trimming the edges neatly. Use a microfiber cloth to clean the surface before applying the wrap. Having masking tape can help hold the vinyl in place while you work.Techniques For Smooth Application
Start by cleaning the surface well to remove dust and dirt. Peel the backing paper from the vinyl slowly. Place the vinyl on the surface and hold it at one edge. Use the squeegee to press the vinyl from the center outwards. Work gently to push out air bubbles as you go. Heat the vinyl slightly to make it more flexible. Stretch the vinyl carefully to avoid wrinkles. Trim the excess vinyl after you finish applying it.Handling Curves And Edges
Curves and edges need extra care during application. Heat the vinyl gently to make it soft and stretchable. Use the squeegee to press the vinyl into the curve slowly. Avoid pulling the vinyl too hard to prevent tears. For sharp edges, cut small slits in the vinyl to help it bend. Press the vinyl firmly around the edges to stick well. Take your time to get a smooth look on all curves.Maintenance Tips
Taking care of your vinyl wrap keeps it looking fresh and lasting longer. Proper maintenance protects the colors and the surface from wear. It also helps avoid costly repairs or replacements. Follow these simple tips to maintain your vinyl wrap effectively.
Cleaning Your Vinyl Wrap
Use a soft cloth or sponge with mild soap and water. Avoid harsh chemicals that can damage the vinyl surface. Rinse thoroughly with clean water to remove all soap. Dry the wrap with a soft towel to prevent water spots. Clean regularly to stop dirt buildup and keep colors bright.
Avoiding Damage
Park your vehicle in shaded or covered areas to reduce sun damage. Avoid using abrasive brushes or scrubbing pads when cleaning. Do not use pressure washers too close or with high pressure. Be careful around sharp objects that can scratch or tear the wrap. Keep away from harsh weather conditions when possible.
When To Reapply Or Replace
Look for signs like peeling, fading, or cracking on the wrap. Small tears can sometimes be repaired, but large damage needs replacement. If the wrap loses its shine or becomes sticky, consider reapplying. Regular inspections help catch issues early. Replace the wrap to maintain your vehicle’s good appearance.
Frequently Asked Questions
What Materials Do I Need To Print A Vinyl Wrap?
You need printable vinyl sheets, a wide-format printer, vinyl laminator, and cutting tools. High-quality ink and transfer tape are also essential for durability and ease of application.
How Do I Prepare My Design For Vinyl Printing?
Use vector-based software for precise designs. Set the correct resolution and color profile. Ensure the design fits the wrap dimensions for accurate printing.
Can I Print Vinyl Wraps At Home With A Regular Printer?
No, regular printers can’t handle large vinyl sheets. You need a wide-format printer designed for vinyl printing to achieve professional results.
How Do I Apply A Vinyl Wrap Without Bubbles?
Clean the surface thoroughly before application. Use a squeegee to smooth out air bubbles as you apply. Work slowly and carefully for a smooth finish.
Conclusion
Printing your own vinyl wrap is easier than you think. Start with good quality materials and clear designs. Take your time to measure and cut carefully. Practice helps you avoid bubbles and wrinkles. You can save money and add a personal touch.
Enjoy the process and learn from each try. Soon, you will create wraps that look great and last long. Keep experimenting and improving your skills step by step. Your creativity will shine through every project you do.


