Are you struggling with a seized brake rotor that just won’t budge? You’re not alone.
Stuck rotors can be frustrating and even dangerous if left untreated. But don’t worry—removing a seized brake rotor is easier than you might think. In this guide, you’ll discover simple, effective steps to free your rotor safely and quickly. Keep reading, and you’ll have your brakes working smoothly again in no time.
Causes Of Seized Brake Rotors
Seized brake rotors cause serious problems for any vehicle. They stop the wheels from turning freely. This affects driving safety and comfort. Understanding the causes helps in fixing the issue quickly. Several factors lead to seized brake rotors. Knowing these helps prevent future damage.
Corrosion And Rust Build-up
Rust forms on rotors when exposed to moisture. Cars not driven often face more rust. Rust sticks the rotor to other parts. This makes the rotor hard to move. Corrosion weakens the metal and causes parts to stick.
Overheating And Warping
Brakes get very hot during use. Too much heat changes the rotor shape. Warped rotors do not spin smoothly. This causes the brakes to grab and lock. Overheating often happens after hard or long braking.
Stuck Caliper Pistons
Caliper pistons push brake pads against rotors. Pistons can get stuck in place. Dirt or rust blocks their movement. This keeps the brake pads pressed on the rotor. The rotor then stops turning freely.
Improper Installation
Incorrect rotor or brake parts fitting causes problems. Parts not tightened properly can seize up. Wrong parts may not fit well together. This creates extra friction and sticking. Proper installation is key for smooth brake operation.
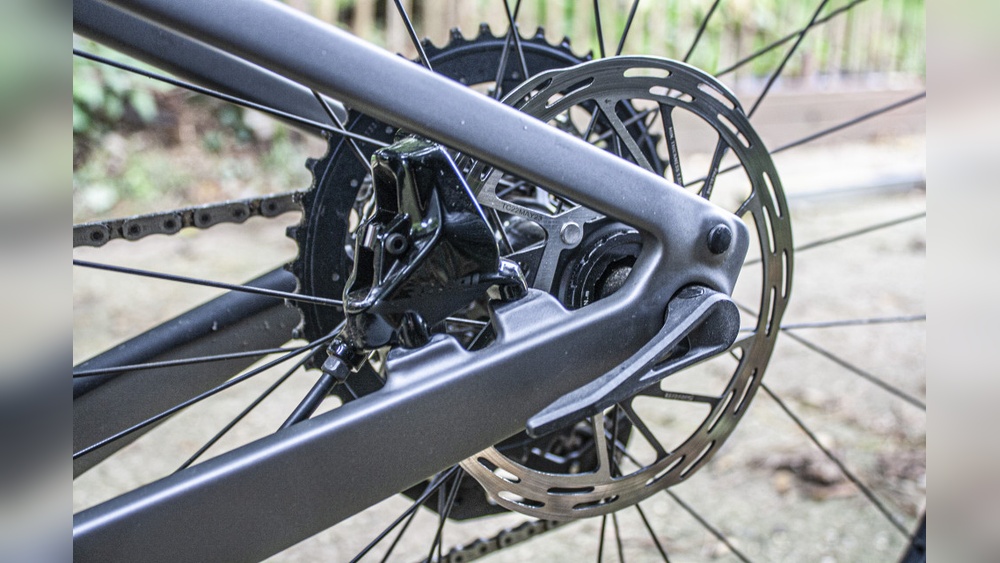
Credit: www.onallcylinders.com
Tools Needed For Removal
Removing seized brake rotors requires the right set of tools. Having these tools ready makes the job easier and safer. You need both simple and special tools for effective removal. This section lists all essential tools for this task.
Basic Hand Tools
Start with common hand tools. A socket wrench set is necessary to remove bolts. A breaker bar helps loosen tight screws. Screwdrivers can pry small parts or clips. Use pliers to hold or pull components. These tools form the foundation of your toolkit.
Penetrating Oil
Penetrating oil loosens rust and corrosion. Spray it on stuck bolts and rotor surfaces. Let it sit for 10 to 15 minutes. This oil seeps into tight spaces and breaks rust bonds. It reduces the effort needed to remove the rotor.
Hammer And Mallet
A hammer helps knock the rotor loose. A rubber mallet prevents damage while tapping parts. Use gentle, firm hits around the rotor edge. Avoid hitting brake components directly. These tools help free the rotor without harm.
Heat Source Options
Heat expands metal and breaks rust bonds. A propane torch is a common heat source. Use it to warm the rotor hub area carefully. Avoid overheating brake parts or tires. Heat makes stuck rotors easier to remove.
Safety Precautions
Removing seized brake rotors can be risky without proper safety steps. Taking precautions protects you from injuries and vehicle damage. Follow these key safety tips before starting the work.
Protective Gear
Always wear safety glasses to protect your eyes from debris. Use gloves to avoid cuts and burns. Wear long sleeves to shield your arms from sharp edges. Sturdy shoes protect your feet if tools or parts fall.
Vehicle Stability
Park on a flat, solid surface to keep the vehicle steady. Use wheel chocks on the wheels that stay on the ground. Always use a reliable jack stand to support the car. Never rely only on a jack to hold the vehicle.
Handling Hot Components
Brake parts get very hot after driving. Let the car cool down for at least 30 minutes before touching. Use tools, not bare hands, to remove the rotor. Avoid rushing to prevent burns or accidents.
Step-by-step Removal Process
Removing a seized brake rotor can be tough without the right steps. Follow this clear guide to make the process smooth and safe. Each step helps you avoid damage and get the rotor off quickly.
Loosen Lug Nuts
Start by loosening the lug nuts on the wheel. Do this before lifting the car. Use a wrench to turn the nuts counterclockwise. Loosen them just enough to remove later.
Lift And Secure The Vehicle
Use a jack to lift the vehicle off the ground. Place jack stands under the car for safety. Make sure the vehicle is stable before working underneath it.
Remove The Wheel
Take off the loosened lug nuts and remove the wheel. Set it aside in a safe place. This gives you clear access to the brake rotor.
Apply Penetrating Oil
Spray penetrating oil around the center of the rotor. Let it sit for 10 to 15 minutes. This helps break the rust and loosen the rotor.
Tap The Rotor To Loosen
Use a rubber mallet or hammer to tap the rotor gently. Hit around the edges to break it free. Avoid hitting the rotor face to prevent damage.
Use Heat If Necessary
Heat the rotor hub with a heat gun or torch carefully. Heat expands the metal and loosens the rotor. Do not overheat to avoid warping parts.
Remove The Rotor
Once loose, pull the rotor straight off the hub. You may need to wiggle it slightly. Keep the rotor flat to avoid bending it.
Tips To Prevent Rotor Seizing
Preventing brake rotor seizing saves time and money. It keeps your brakes working well and safe. Simple steps help avoid rust and sticking parts. Follow these tips to protect your rotors.
Regular Maintenance
Check your brakes often. Clean the rotors and pads to stop dirt build-up. Replace worn parts quickly. Regular inspections catch problems early before damage occurs.
Proper Installation Techniques
Install rotors carefully. Tighten bolts to the right level, not too loose or tight. Make sure rotors sit flat on the hub. Poor installation causes uneven wear and seizing.
Use Of Anti-seize Lubricants
Apply a thin layer of anti-seize lubricant on rotor hubs. It prevents metal parts from sticking together. Use only on the hub, not on braking surfaces. This makes future removal easier.
Avoiding Excessive Heat
Do not overheat brakes by riding the brake pedal. Excess heat causes rotors to warp and seize. Drive smoothly and brake gently. Let brakes cool down on long descents.
Credit: www.youtube.com

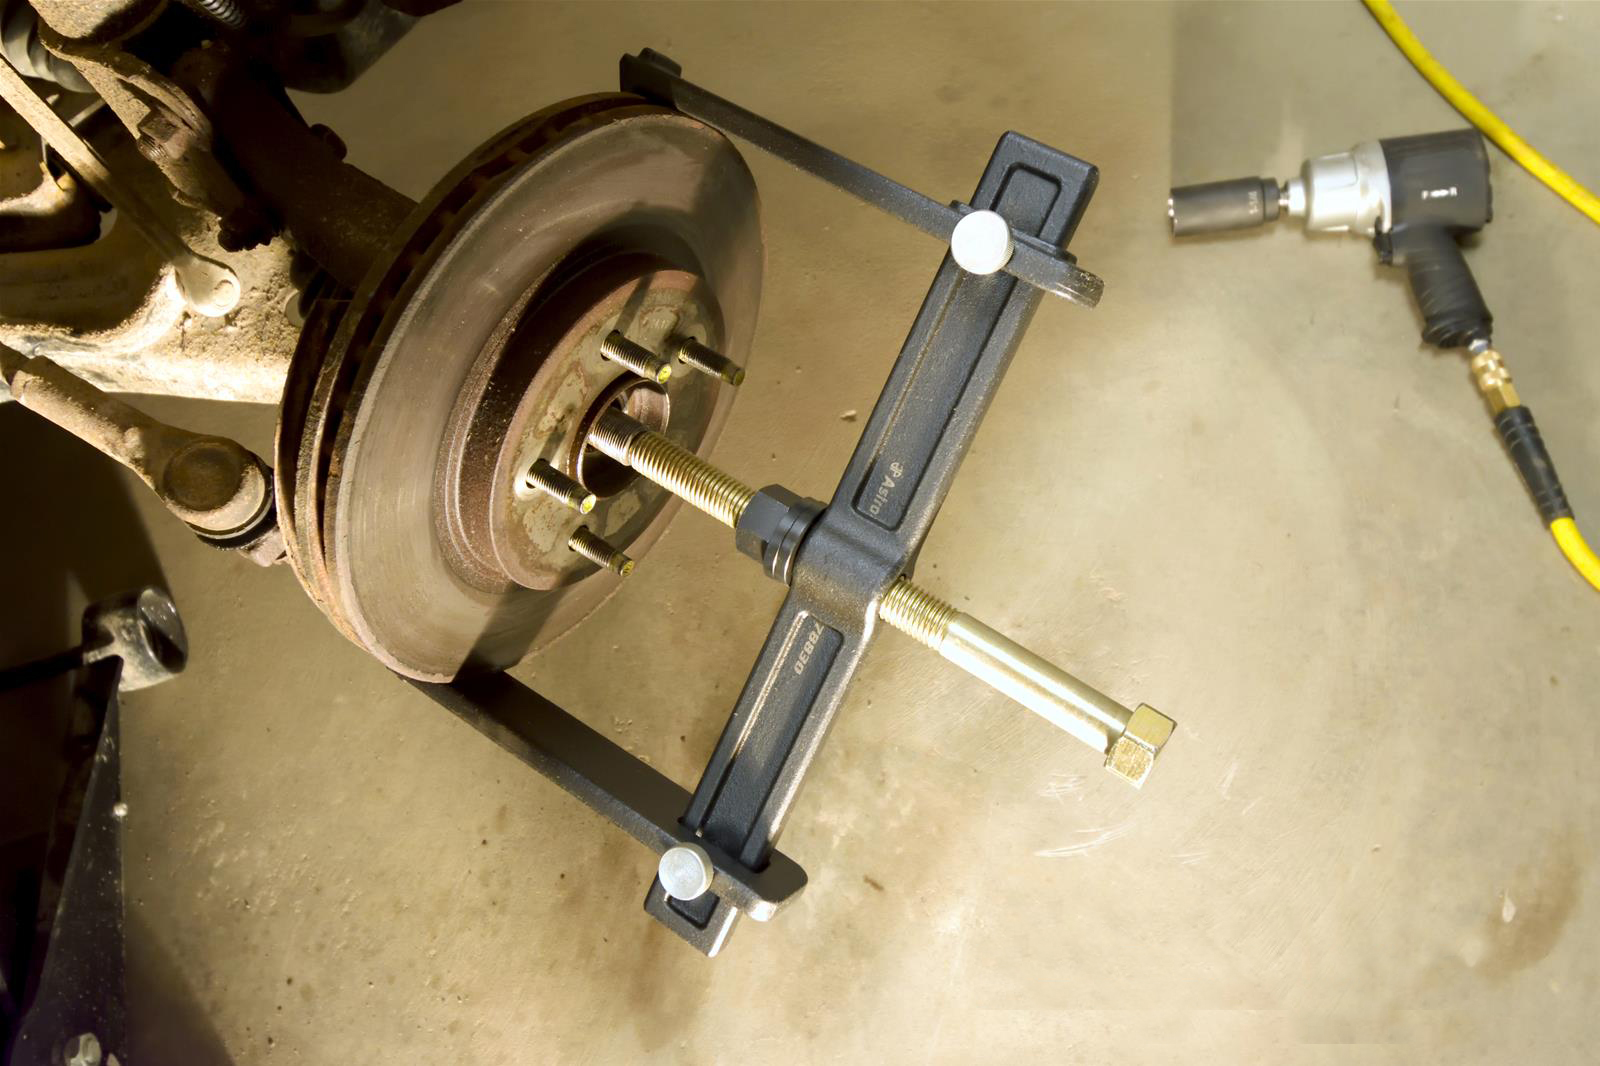
Credit: handycrowd.com
Frequently Asked Questions
How Do You Know If Brake Rotors Are Seized?
Seized brake rotors cause dragging brakes and uneven wear. You may hear grinding noises or feel vibration while braking. Check if wheels resist turning when lifted. These signs indicate stuck rotors needing removal or replacement.
What Tools Are Needed To Remove Seized Rotors?
You need a hammer, penetrating oil, a breaker bar, and a socket set. Safety gloves and eye protection are essential. Some rotors require a puller tool or heat application for easier removal.
Can Heat Help Remove A Seized Brake Rotor?
Yes, heat expands metal and loosens rust bonds. Use a propane torch carefully to heat the rotor. Avoid overheating to prevent damage. Heat combined with penetrating oil improves rotor removal chances.
How To Prevent Brake Rotors From Seizing Again?
Apply anti-seize lubricant on rotor hubs during installation. Keep rotors clean and dry to avoid rust buildup. Regularly inspect brakes and replace worn parts promptly to maintain proper rotor function.
Conclusion
Removing seized brake rotors takes patience and the right tools. Apply heat and use a hammer carefully to loosen stuck parts. Always wear safety gear to protect yourself during the process. Taking your time helps avoid damage to your vehicle.
With practice, this task becomes easier and safer. Keep your brakes well-maintained to prevent future seizing. Your car will stop smoothly and drive safely again. Simple steps lead to better brake performance and peace of mind.