
Thinking about removing a vinyl car wrap but don’t know where to start? You’re not alone.
Taking off a wrap might seem tricky, but with the right steps, it can be easier than you think. Imagine saving time, avoiding damage to your paint, and getting your car looking fresh again—all by doing it yourself. In this guide, you’ll discover simple, effective methods to remove your vinyl car wrap safely and quickly.
Keep reading, and you’ll have the confidence to handle it like a pro.
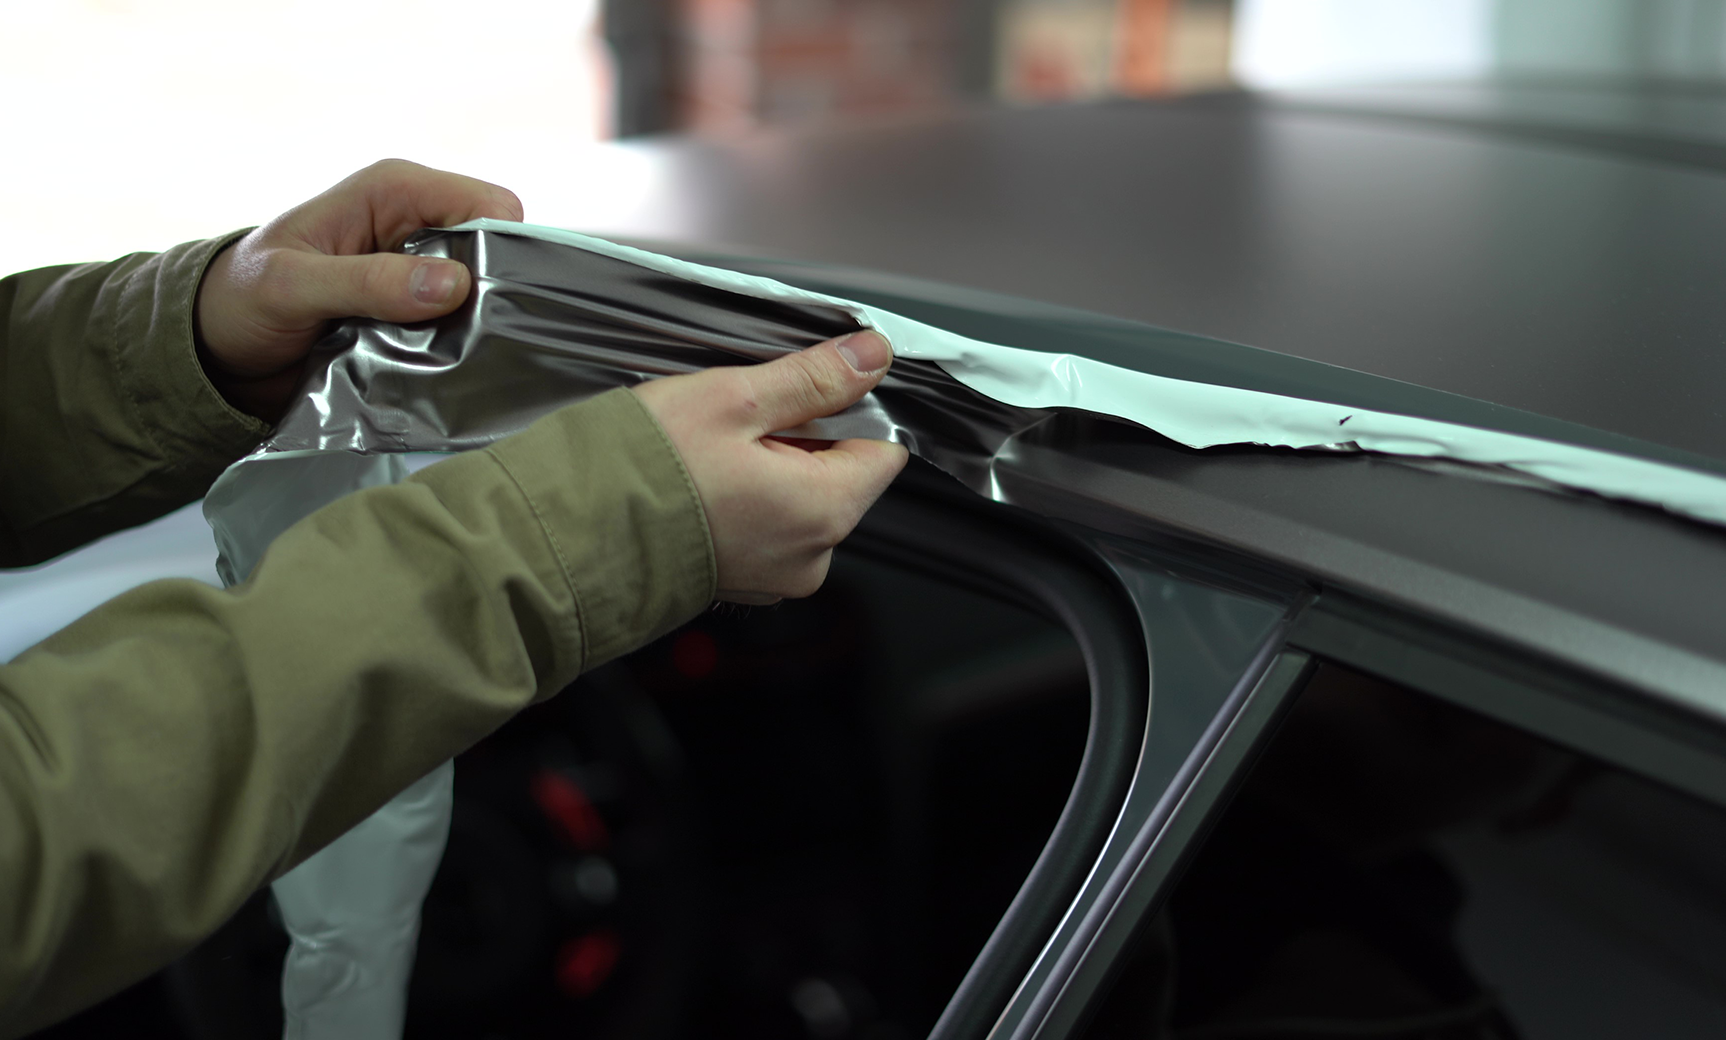
Credit: vvividshop.com
Tools Needed
Removing a vinyl car wrap requires the right tools. These tools help you work safely and finish faster. Having everything ready makes the process smooth and less frustrating.
Heat Gun Or Hair Dryer
A heat gun or hair dryer warms the vinyl. Heat softens the adhesive underneath. This makes the wrap easier to peel off. Use medium heat to avoid damage.
Plastic Scraper Or Squeegee
A plastic scraper or squeegee lifts the wrap gently. Avoid metal tools to prevent scratches. Work slowly and carefully with these tools.
Adhesive Remover
An adhesive remover cleans leftover glue. It helps restore the car’s surface. Choose a remover safe for car paint.
Microfiber Cloths
Microfiber cloths wipe off dirt and adhesive. They are soft and won’t scratch paint. Use them with the adhesive remover for best results.
Gloves
Gloves protect your hands from heat and chemicals. They keep your grip strong. Use them during the entire removal process.
Prepare The Vehicle
Preparing the vehicle is the first step in removing a vinyl car wrap. It helps make the removal easier and protects the car’s paint. Proper preparation saves time and prevents damage.
Clean and dry surfaces allow the wrap to lift smoothly. Protect areas near the wrap to avoid scratches. Organize your tools before starting the removal process.
Clean The Car Thoroughly
Wash the car to remove dirt and dust. Use soap and water for a gentle clean. Dry the car completely with a soft cloth. A clean surface helps the wrap peel off without sticking.
Park In A Warm, Shaded Area
Choose a place with mild temperature. Avoid direct sunlight to prevent the vinyl from overheating. Warm conditions soften the adhesive, making removal easier. Too cold or hot weather can damage the wrap or paint.
Gather Necessary Tools
Prepare tools like a heat gun, plastic scraper, and gloves. Use plastic tools to avoid scratching the paint. Have cleaning supplies ready for after removal. Being ready speeds up the process and reduces mistakes.
Heat The Vinyl Wrap
Heating the vinyl wrap softens the adhesive, making removal easier. Use a heat gun or hairdryer and move it slowly over the surface. Avoid overheating to prevent damage to the car’s paint.
Why Heat The Vinyl Wrap?
Heating the vinyl wrap makes it softer and easier to remove. Cold vinyl can tear or leave adhesive behind. Warm vinyl stretches and peels off smoothly. This step helps protect your car’s paint from damage.
Tools To Heat The Vinyl Wrap
Use a heat gun or a hair dryer on high heat. Hold it about 6 inches from the surface. Move the heat source slowly across the wrap. Avoid staying too long in one spot to prevent damage.
How To Heat The Vinyl Correctly
Start heating a small section at a time. Warm the vinyl until it feels soft to touch. Test by gently lifting a corner. If it peels easily, keep heating the next section. Work patiently to avoid tearing.
Peel Off The Vinyl
Peeling off a vinyl car wrap takes patience and care. Removing it the right way helps avoid damage to your car’s paint. This step focuses on the actual process of peeling the vinyl off your vehicle. Follow these tips to make the job easier and cleaner.
Start From The Edges
Begin peeling the vinyl wrap at one corner or edge. Use your fingernail or a plastic tool to lift the corner gently. Avoid using metal tools that can scratch the paint. Once the edge lifts, grab it firmly with your fingers. This gives you a strong starting point for removal.
Use Steady Pulling Technique
Pull the vinyl slowly and steadily away from the car’s surface. Avoid fast or jerky movements that can tear the wrap. Keep the angle low, close to the car, to reduce stress on the vinyl. Stretch the wrap gently to help separate it from the paint. Take breaks if needed to keep control.
Remove Residual Adhesive
After removing the vinyl wrap from your car, some sticky adhesive will stay on the surface. This leftover glue can attract dirt and make the car look messy. Removing this residue is important to keep your car’s paint clean and smooth. Use the right products and gentle methods to clear the adhesive safely.
Apply Adhesive Remover
Start by applying a good adhesive remover. Choose a product made for car surfaces. Spray or wipe it directly on the sticky areas. Let it sit for a few minutes. This softens the glue and makes it easier to remove. Do not let the remover dry on the surface.
Scrub Gently
Use a soft cloth or sponge to scrub the adhesive gently. Avoid hard scrubbing to protect the paint. Work in small circles to lift the glue. Repeat applying remover and scrubbing if needed. Clean the area with water and dry it with a clean cloth after.
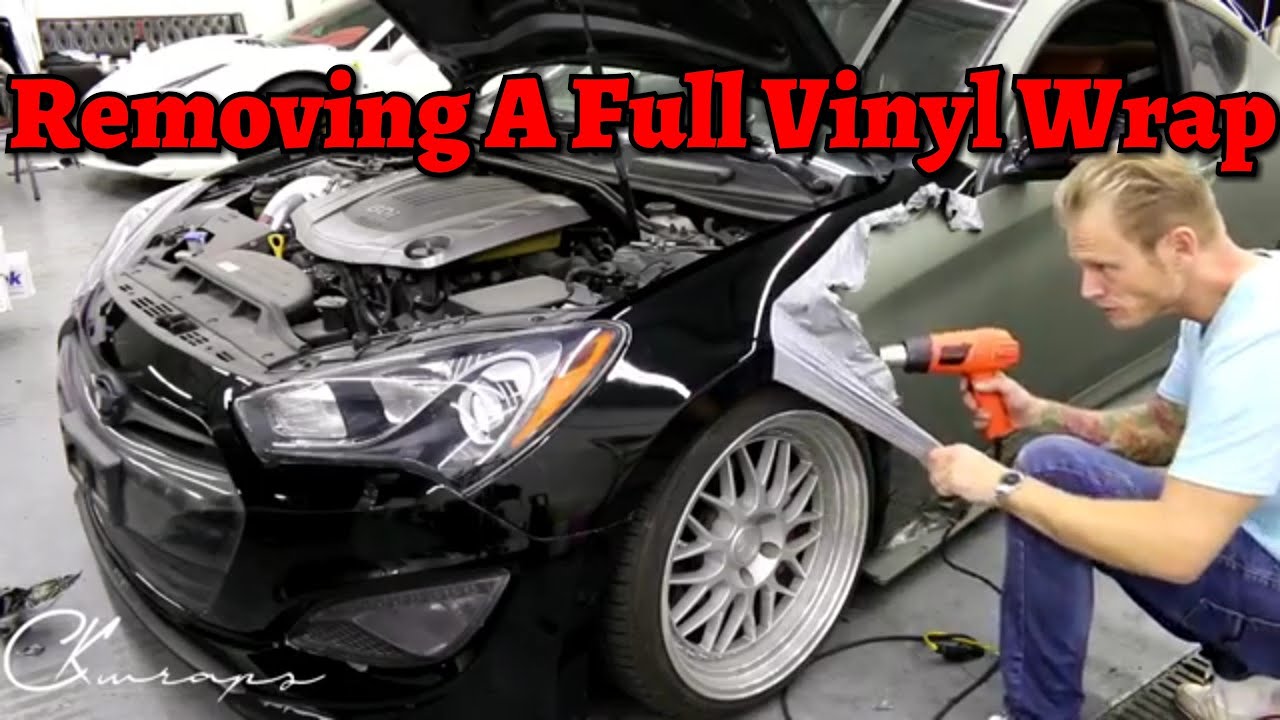
Credit: www.youtube.com
Clean And Inspect Surface
Cleaning and inspecting the car surface is a vital step before removing a vinyl wrap. Dirt and debris can cause scratches or damage during removal. A clean surface helps spot any underlying issues like paint damage or rust.
Take your time. A careful inspection ensures a smooth and safe wrap removal process.
Gather Cleaning Supplies
Use mild soap, water, and a soft cloth or sponge. Avoid harsh chemicals that can harm the paint. A gentle cleaner keeps the surface safe and clean.
Wash The Wrapped Area Thoroughly
Remove all dirt, dust, and grease from the wrap. Pay attention to edges and corners. Clean edges help the wrap peel off easily without leaving residue.
Dry The Surface Completely
Use a microfiber towel to dry the area. A dry surface prevents slipping and helps you see damage clearly. Never peel vinyl from a wet surface.
Inspect For Damage Or Rust
Look closely at the paint and metal beneath the wrap. Note any scratches, chips, or rust spots. Early detection helps prevent further damage during removal.
Check For Residue And Adhesive Build-up
Look for sticky glue or leftover vinyl bits. These can be tricky to clean if ignored. Identifying them now prepares you for a smoother cleanup later.
Tips For Avoiding Damage
Removing a vinyl car wrap needs care to protect your vehicle’s paint. Rushing or using harsh tools can cause damage. Follow these tips to keep your car safe and smooth during removal.
Taking your time and using the right methods helps keep the paint intact. Avoid scratches, tears, and residue by being gentle and patient.
Use Heat To Soften The Vinyl
Apply heat with a heat gun or hair dryer. Warm vinyl peels easier and reduces the risk of paint damage. Keep the heat moving to avoid overheating one spot.
Peel Slowly And Steadily
Start at a corner and pull the vinyl back slowly. Quick or sharp pulls can tear the wrap or hurt the paint. Keep the angle low for smooth removal.
Avoid Using Sharp Tools
Do not use knives or metal scrapers. These can scratch or chip your car’s surface. Use plastic tools designed for vinyl removal instead.
Clean Residue Gently
Remove leftover adhesive with a gentle cleaner or adhesive remover. Test the product on a small area first. Wipe softly to avoid scratching the paint.
Work In A Warm Environment
Remove vinyl when the car is warm. Cold temperatures make the wrap brittle and hard to peel. A warm setting keeps the vinyl flexible and easier to handle.

Credit: www.youtube.com
Frequently Asked Questions
How Long Does It Take To Remove A Vinyl Car Wrap?
Removing a vinyl car wrap typically takes 1 to 3 hours. The duration depends on the wrap size, adhesive strength, and removal method. Proper tools and patience help prevent damage and speed up the process.
Can I Remove A Vinyl Car Wrap Myself?
Yes, you can remove a vinyl car wrap yourself with the right tools. Use heat guns, plastic scrapers, and adhesive removers carefully. Follow step-by-step instructions to avoid damaging your car’s paint.
Will Vinyl Wrap Removal Damage My Car’s Paint?
Proper vinyl wrap removal usually does not damage paint. Using heat and gentle peeling protects the paint underneath. If done incorrectly, adhesive residue or paint scratches can occur but are avoidable with care.
How Do I Remove Adhesive Residue After Vinyl Wrap?
Use adhesive remover or rubbing alcohol to clean leftover residue. Apply with a soft cloth and rub gently. Avoid harsh chemicals that might harm the paint finish.
Conclusion
Removing a vinyl car wrap can be simple with the right steps. Take your time and peel the wrap slowly to avoid damage. Use heat to soften the adhesive and clean the surface afterward. Patience helps prevent scratches and residue.
A well-removed wrap keeps your car’s paint safe. Now, your vehicle looks fresh and ready for a new look. Try these tips for an easy, smooth wrap removal experience.


