
If you own a 1969 Olds 442, you know how important every detail is to keep it looking sharp. Removing the body side molding might seem tricky, but with the right steps, you can do it yourself without damaging your car.
In this guide, you’ll learn simple, clear methods to safely remove the molding and get your Olds ready for a fresh look or repair. Keep reading, and you’ll gain the confidence to tackle this task like a pro.
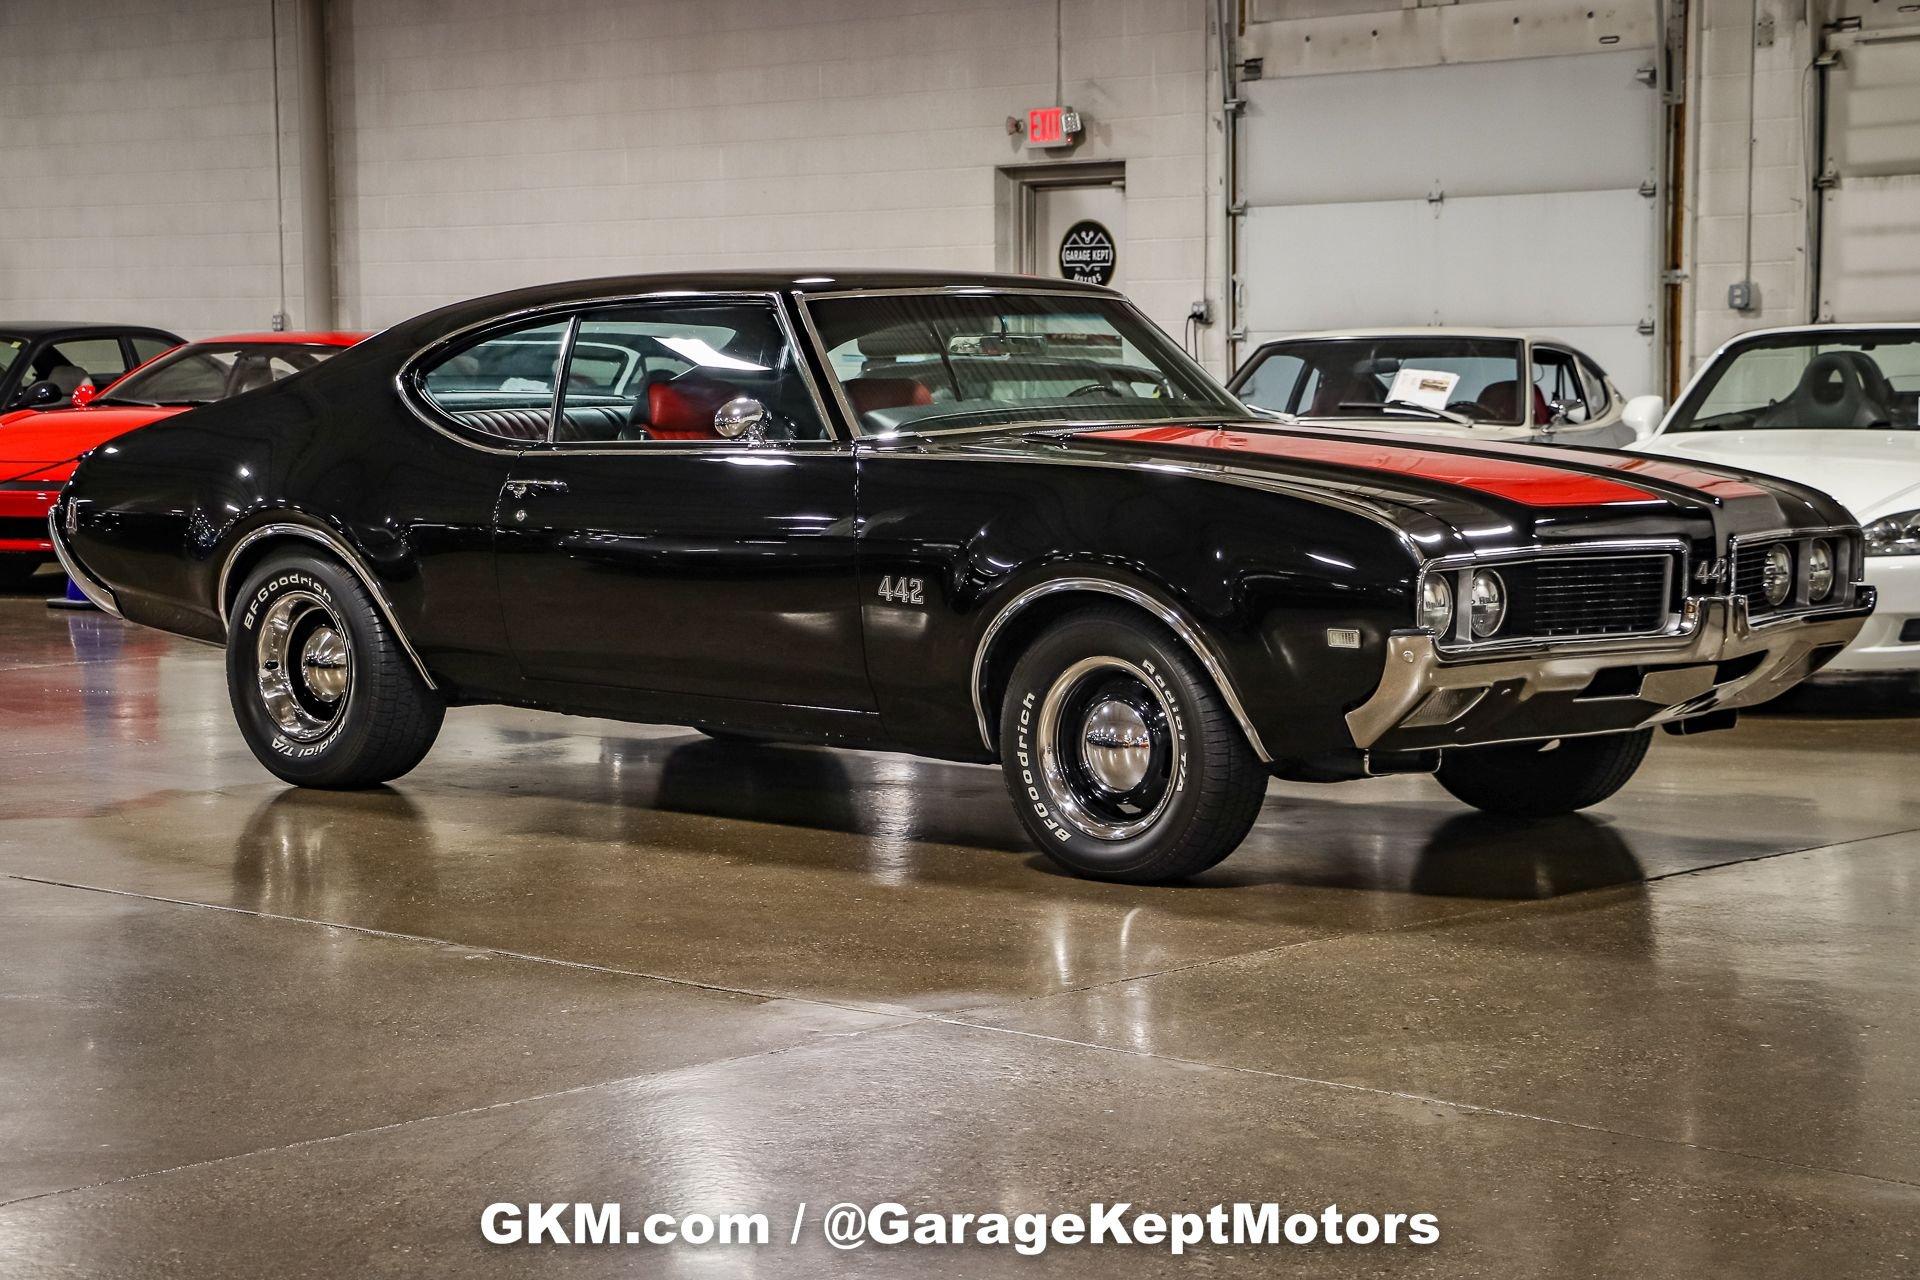
Credit: www.garagekeptmotors.com
Tools Needed
Removing the body side molding on a 1969 Olds 442 requires some basic tools. Having the right tools makes the job easier and safer. Each tool has a specific role in the removal process.
Use tools that fit the moldings and fasteners well. This helps avoid damage to your car’s paint and trim. Prepare these tools before starting the work.
Plastic Trim Removal Tools
Plastic trim tools prevent scratches on the car’s surface. They help pry the molding gently without bending it. These tools are safer than metal ones for delicate parts.
Socket Wrench Set
A socket wrench set is needed to remove bolts or screws holding the molding. Different sizes may be required. Keep the set handy for quick access.
Flathead Screwdriver
A flathead screwdriver helps to lift clips or pry loose smaller parts. Use it carefully to avoid damaging the molding or paint. Wrap the tip with tape for extra protection.
Panel Clip Pliers
Panel clip pliers make removing clips easier. They grip clips firmly and pull them without breaking. This tool saves time and reduces frustration.
Soft Cloth Or Towel
A soft cloth protects the car’s paint during removal. Place it under the working area to catch small parts. It also prevents scratches from tools or dropped pieces.
Preparing The Vehicle
Preparing the vehicle is the first step in removing the body side molding on a 1969 Olds 442. Proper preparation protects the car’s paint and makes the removal easier. Taking time to prepare helps avoid damage and saves effort later.
Start by cleaning the area around the molding. Dirt and grime can scratch the paint during removal. Use a gentle car wash soap and a soft cloth. Rinse thoroughly and dry the surface well. A clean surface shows any hidden fasteners or clips.
Gathering Necessary Tools
Collect all tools before starting. You will need a plastic trim removal tool, a heat gun or hair dryer, rubbing alcohol, and soft cloths. Avoid metal tools that can damage the paint. Having everything ready speeds up the process.
Protecting The Paint
Cover the car’s paint near the molding with painter’s tape. This tape shields the surface from scratches and accidental tool slips. Apply tape carefully along the edges of the molding. Press it down firmly to keep dirt out.
Warming The Adhesive
Use a heat gun or hair dryer to warm the molding’s adhesive. Heat softens the glue, making removal easier. Keep the heat source moving to avoid damage. Heat for about one to two minutes until the molding feels warm to touch.
Checking For Hidden Fasteners
Look closely for screws or clips holding the molding. Some moldings have hidden fasteners beneath the surface. Use a flashlight to inspect carefully. Removing fasteners first prevents tearing the molding or paint.
Locating The Molding Clips
Locating the molding clips is the first step to removing body side molding on a 1969 Olds 442. These clips hold the molding firmly against the car’s body. Knowing their position helps avoid damage during removal.
The clips are usually hidden behind the molding strip. They attach the molding to the metal body panel. Finding each clip ensures you can gently pry the molding off.
Pay close attention to the edges and ends of the molding strip. The clips are often spaced evenly along the length. Checking carefully will reveal small gaps or indentations where clips sit.
Check Along The Entire Length Of The Molding
Start at one end and move slowly along the molding. Look for tiny bumps or clips pushing against the surface. These are signs of where the clips hold the molding.
Use A Flashlight For Better Visibility
Bright light helps see the clips clearly. Shine a flashlight along the molding’s edge. Shadows and reflections reveal clip positions.
Feel For Resistance Points
Gently press along the molding. The spots that feel tight or firm usually hide clips. This tactile check helps find clips without guessing.
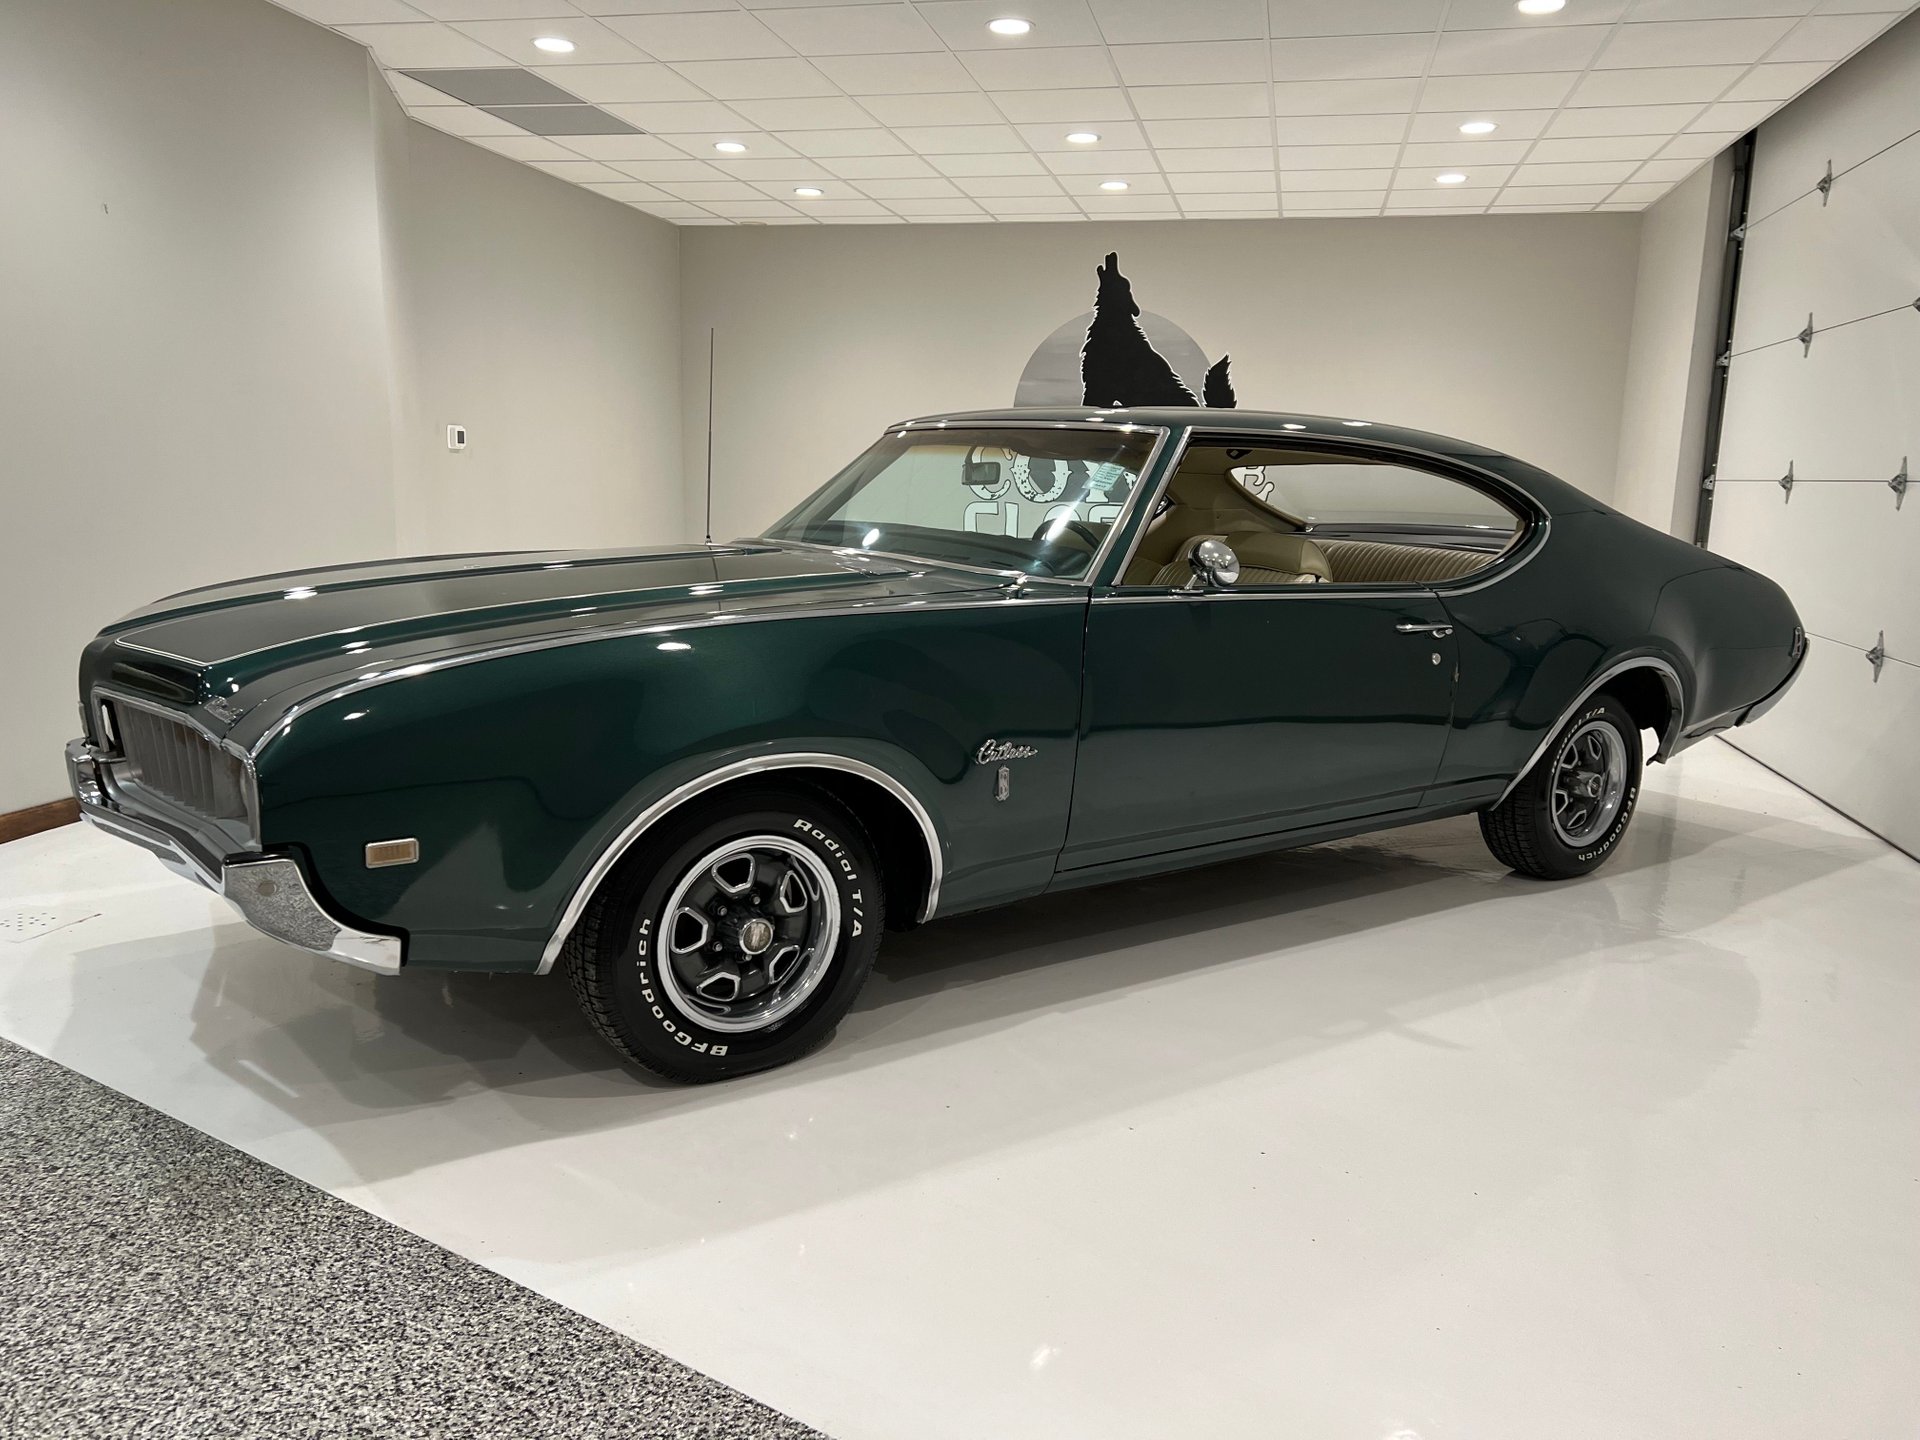
Credit: www.coyoteclassics.com
Removing The Side Molding
Removing the side molding on a 1969 Olds 442 is a careful process. It protects the car body and adds to its classic look. To keep the paint safe and avoid damage, take time with each step. Use the right tools and gentle pressure to remove the molding smoothly.
Start by loosening the edges of the molding. This step helps to free the clips or adhesive holding it in place. Work slowly and gently to prevent bending or breaking the trim.
Loosening The Edges
Use a plastic trim tool or a flat screwdriver wrapped in cloth. Insert it carefully under the edge of the molding. Move it back and forth to loosen the clips or glue. Avoid metal tools that can scratch the paint. Work along the length of the molding in small sections. This method reduces the risk of damage and makes removal easier.
Prying Off The Molding
After loosening the edges, start prying the molding off gently. Use the plastic tool to lift the molding away from the car body. Pull slowly and evenly to release all clips. If the molding sticks, apply some heat with a hairdryer to soften the adhesive. Keep the tool flat to avoid bending the molding. Once free, clean the area to remove leftover glue or dirt.
Dealing With Adhesive Residue
Removing body side molding from a 1969 Olds 442 leaves behind sticky adhesive residue. This residue can attract dirt and make the surface look messy. Removing it carefully protects the paint and keeps the car’s finish smooth. Take time to clean the area well for the best results.
Cleaning Surfaces
Start by wiping the surface with a clean cloth. Use warm, soapy water to remove loose dirt and grease. Avoid scrubbing hard to prevent paint damage. Dry the area completely before moving on. A clean surface helps the adhesive remover work better.
Using Adhesive Remover
Select an adhesive remover safe for car paint. Apply a small amount on a soft cloth. Gently rub the sticky spots in a circular motion. Let the remover sit for a few minutes to soften the residue. Wipe away the softened glue with a clean cloth. Repeat if any residue remains. Finish by rinsing the area with water and drying it well.
Inspecting For Damage
Before removing the body side molding on a 1969 Olds 442, inspecting for damage is key. This step helps avoid surprises during removal. It also guides repair or replacement needs. Careful inspection saves time and preserves the car’s appearance.
Start by checking the molding itself. Look for cracks, dents, or bends. Such damage can affect the fit after removal. Note any areas that seem loose or worn. These spots might need extra attention.
Next, examine the car’s body where the molding attaches. Check for rust or paint damage. Rust can spread if not treated quickly. Paint chips or scratches may need fixing after removal.
Use a soft cloth and mild cleaner to wipe the surface. Cleaning reveals hidden damage. It also makes the molding easier to handle. Avoid harsh chemicals that can harm the paint.
Checking For Cracks And Bends
Look closely at the molding edges and corners. Cracks often appear near bends or mounting points. Small bends might be fixed, but large ones need replacement. Damaged molding can reduce the car’s value.
Examining Attachment Points
Inspect clips and fasteners that hold the molding. Broken clips can cause the molding to fall off. Loose fasteners may make removal harder. Replace any damaged parts before proceeding.
Assessing The Car Body Condition
Look for rust spots around the molding area. Rust weakens the metal and spreads quickly. Check for paint peeling or scratches too. These issues need repair after molding removal.
Cleaning The Surface
Wipe the area with a soft cloth and gentle cleaner. This removes dirt and grease. A clean surface shows damage clearly. It also protects the paint during removal.
Reinstalling Or Replacing Molding
Reinstalling or replacing the body side molding on a 1969 Olds 442 requires care and attention. The molding not only protects the car but also adds to its classic look. Proper installation ensures a clean and secure fit. Choose the right materials and follow the steps carefully to achieve the best result.
Choosing New Molding
Pick molding that matches the original style and size. Look for high-quality materials like stainless steel or durable plastic. Check the color and finish to keep the classic look. Measure the length needed before buying. Use trusted brands to ensure long-lasting results.
Securing New Molding
Clean the surface before attaching new molding. Use adhesive or clips designed for your car model. Press firmly to avoid gaps or loose edges. Allow the adhesive to cure fully for strong hold. Check the molding edges for evenness and alignment. Proper securing prevents damage and keeps the car looking sharp.
Final Touches
After removing the body side molding on your 1969 Olds 442, the final touches matter most. These steps help keep your car looking neat and protect the paint. A clean finish gives your vehicle a polished look and prevents damage.
Polishing The Area
Clean the area with a soft cloth and mild soap. Remove all dirt and glue residues carefully. Use a polishing compound to smooth the surface. This step helps restore the shine and hides small scratches. Work in small circles for best results. Finish with a wax to protect the paint.
Checking For Secure Fit
After reinstalling molding or new parts, check their fit. Press gently along the edges to ensure tight contact. Look for any gaps or loose spots. Secure loose clips or fasteners as needed. A secure fit prevents rattling and keeps dirt out. Double-check both sides for even placement.
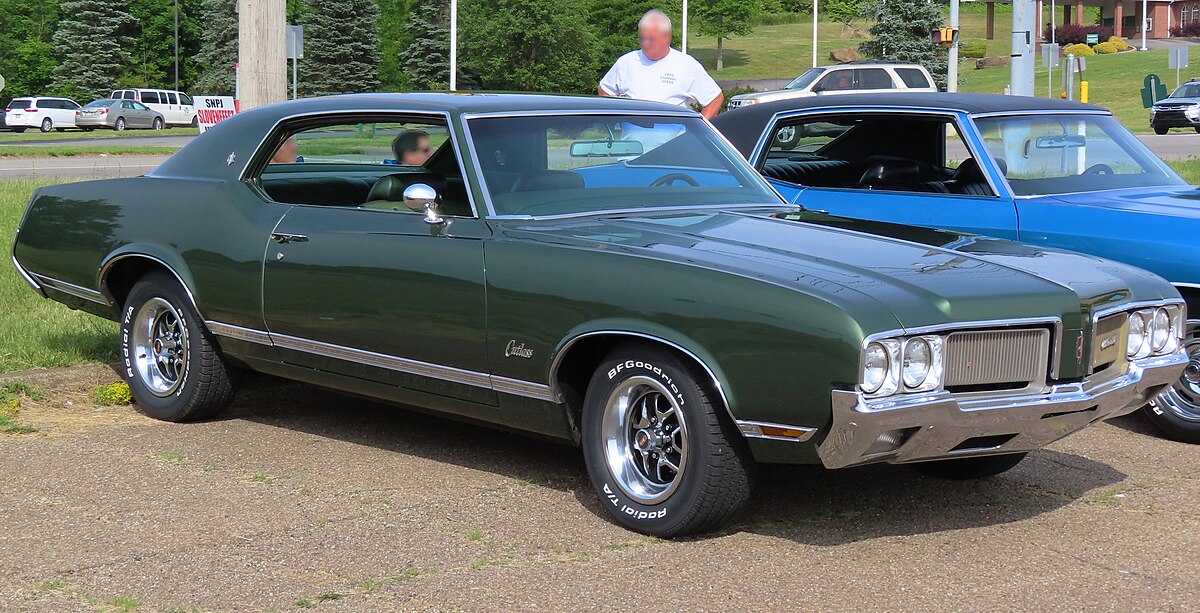
Credit: en.wikipedia.org
Frequently Asked Questions
How Do I Safely Remove Body Side Molding On 1969 Olds 442?
To safely remove molding, use a plastic trim tool to avoid paint damage. Apply heat with a heat gun to soften the adhesive. Gently pry the molding away, then clean residue with adhesive remover.
What Tools Are Needed To Remove Side Molding On Olds 442?
You need a plastic trim tool, heat gun, adhesive remover, microfiber cloth, and gloves. These tools help prevent damage and remove molding efficiently.
Can I Reuse The Body Side Molding After Removal?
Yes, if removed carefully without bending or cracking, molding can be reused. Clean it thoroughly and inspect for damage before reinstalling.
How Long Does It Take To Remove Side Molding On 1969 Olds 442?
The removal process typically takes 30 to 60 minutes, depending on experience and adhesive condition. Patience ensures no paint damage occurs.
Conclusion
Removing the body side molding on a 1969 Olds 442 takes care and patience. Use the right tools to avoid damage to the paint. Take your time to loosen the clips gently. Clean the surface once the molding is off.
This keeps your car looking neat and ready for new parts. Following these steps makes the job simple and safe. Enjoy the process and the results on your classic car.


