Is your vinyl wrap cracked and looking worn out? You’re not alone, and the good news is that removing it doesn’t have to be a headache.
Whether you want to replace it with a fresh design or restore your surface to its original look, knowing the right way to remove cracked vinyl wrap can save you time, money, and frustration. In this guide, you’ll discover simple, effective steps that anyone can follow to get the job done cleanly and quickly.
Ready to bring back the smooth, flawless finish you want? Let’s dive in.
Credit: www.civicx.com
Tools And Materials Needed
Removing cracked vinyl wrap requires the right tools and materials. Using proper items makes the job easier and safer. Prepare everything before starting to avoid delays.
Essential Tools
- Plastic scraper: Helps lift the edges without damage.
- Heat gun: Softens the vinyl for easy removal.
- Utility knife: Cuts through tough spots carefully.
- Gloves: Protect your hands from heat and sharp edges.
- Microfiber cloth: For wiping and handling delicate areas.
Recommended Cleaning Supplies
- Adhesive remover: Clears leftover glue effectively.
- Isopropyl alcohol: Cleans residue and prepares surface.
- Warm soapy water: Gentle cleaning without harm.
- Soft brush: Removes dirt and small particles.
- Towels: For drying and final cleanup.
Preparing The Surface
Preparing the surface is the first step in removing cracked vinyl wrap. This step helps avoid damage and makes the removal easier. Taking time to prepare ensures a smooth process and better results.
Proper preparation also protects the vehicle’s original paint and parts during the removal.
Cleaning The Area
Start by cleaning the vinyl wrap and surrounding area. Use mild soap and water to remove dirt and dust. Dirt can cause scratches during removal. Dry the surface completely with a soft cloth. Clean surfaces help tools and heat work better on the vinyl.
Protecting Surrounding Parts
Cover parts near the vinyl wrap with painter’s tape or plastic sheets. This protects windows, trim, and lights from damage. Secure coverings tightly to keep dust and heat away. Protecting nearby areas prevents accidental scratches and paint damage.
Removing The Cracked Vinyl Wrap
Removing cracked vinyl wrap can protect your vehicle’s surface and prepare it for a fresh look. It takes patience and care to avoid damage. Follow these steps to remove the wrap safely and cleanly.
Heating The Vinyl
Apply heat to the vinyl wrap to soften the adhesive. Use a heat gun or a hairdryer on low heat. Keep the heat moving to avoid burning the vinyl or paint. Warm vinyl peels off more easily and reduces tearing.
Peeling Off The Wrap
Start peeling the vinyl from one corner. Pull slowly and steadily at a low angle. Avoid rushing to prevent stretching or breaking the wrap. Use your hands or a plastic scraper for assistance. Work in small sections for better control.
Dealing With Stubborn Residue
Sticky residue often stays after removing the wrap. Use adhesive remover or rubbing alcohol to clean the surface. Apply the solution with a soft cloth and rub gently. Repeat until the residue disappears. Finish by washing the area with soap and water.
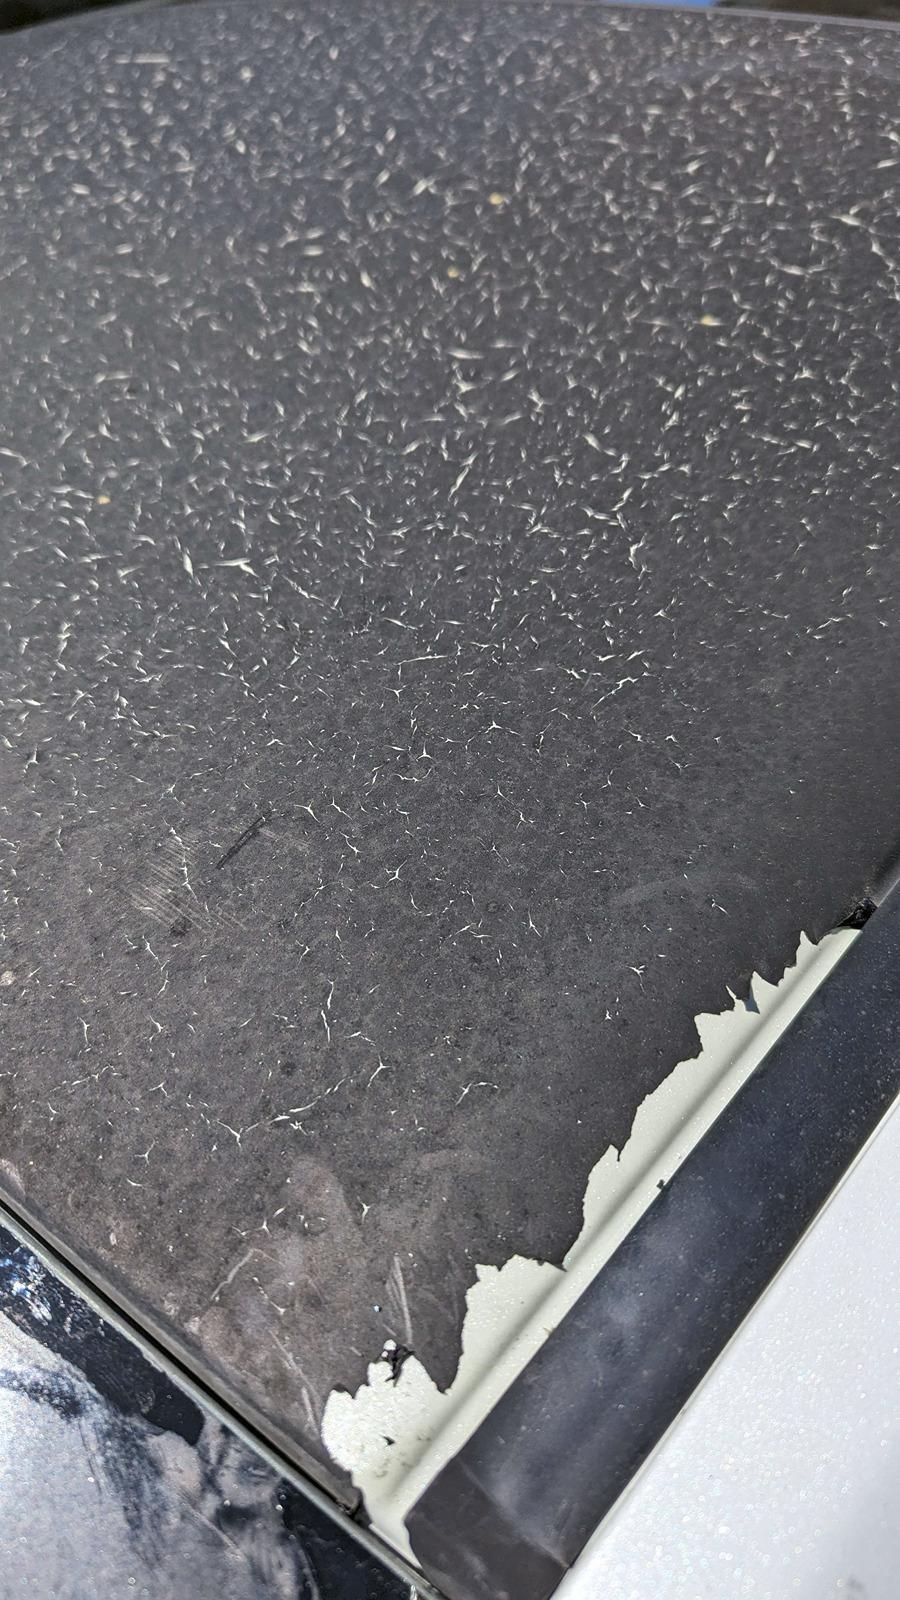
Credit: www.reddit.com
Cleaning And Smoothing The Surface
Cleaning and smoothing the surface is a key step after removing cracked vinyl wrap. The surface must be free of leftover glue and even. This helps new paint or wrap stick well. It also makes your vehicle look good again.
Removing Adhesive Residue
After peeling off the vinyl wrap, sticky glue often stays behind. Use a soft cloth with adhesive remover. Rub gently in small circles. Avoid harsh scrubbing to protect the paint. If you don’t have remover, warm soapy water can help. Repeat until all residue disappears. Wipe the area dry with a clean cloth.
Sanding And Polishing
Once the surface is clean, check for rough spots or scratches. Lightly sand these areas with fine-grit sandpaper. Move in smooth, even strokes. This creates a smooth base for new wrap or paint. After sanding, polish the surface with a soft cloth and rubbing compound. This restores shine and smoothness. Finish by wiping with a clean microfiber cloth to remove dust.
Tips For A Flawless Finish
Removing a cracked vinyl wrap needs care and attention. A flawless finish depends on how well you prepare the surface and apply the new wrap.
Small steps make a big difference. Avoid damage and ensure the new wrap sticks well for a smooth look.
Avoiding Damage To The Surface
Use a heat gun or warm water to soften the old vinyl. Peel the wrap slowly to prevent scratches.
Do not use sharp tools directly on the surface. Clean the area with a gentle cleaner after removing the wrap.
Check for glue residue and remove it carefully. A clean surface protects the paint beneath.
Ensuring Proper Adhesion For New Wrap
Dry the surface completely before applying the new wrap. Dust and moisture stop the wrap from sticking.
Use a primer if the surface needs extra grip. Smooth out air bubbles with a squeegee for a neat finish.
Apply the wrap in a warm, dust-free area. This helps the vinyl to stick and last longer.

Credit: www.youtube.com
Frequently Asked Questions
How Do You Safely Remove Cracked Vinyl Wrap?
Use a heat gun to soften the vinyl. Peel slowly to avoid damaging the surface. Clean residue with adhesive remover afterward.
What Tools Are Needed To Remove Vinyl Wrap?
You need a heat gun, plastic scraper, adhesive remover, microfiber cloth, and gloves for safe removal.
Can Cracked Vinyl Wrap Damage My Vehicle’s Paint?
If removed carefully, no. Using heat and gentle peeling prevents paint damage. Avoid scraping harshly.
How Long Does It Take To Remove Cracked Vinyl Wrap?
It depends on the wrap size and condition. Small sections take 30-60 minutes, larger areas longer.
Conclusion
Removing cracked vinyl wrap takes patience and care. Start by heating the wrap gently to loosen the adhesive. Peel slowly to avoid damaging the surface underneath. Use a cleaner to remove leftover glue and dirt. Take your time for the best results.
Clean surfaces help new wraps stick better. This process saves money and keeps your vehicle looking good. Try these steps to handle your vinyl wrap easily and safely.