Thinking about giving your car a fresh new look without spending a fortune? Installing a vinyl wrap on your car roof is one of the easiest and most affordable ways to do just that.
You might be wondering if it’s something you can handle on your own—and the answer is yes! With the right tools and a bit of patience, you can transform your car’s appearance quickly and safely. Keep reading, and you’ll discover step-by-step tips that make the whole process simple and stress-free.
By the end, you’ll know exactly how to get that sleek, professional finish you’ve been dreaming of.
Preparing The Car Roof
Preparing the car roof is a key step before applying a vinyl wrap. A clean and smooth surface helps the wrap stick better. This makes the wrap last longer and look neat. Take your time to get the roof ready. Follow simple steps to prepare well.
Cleaning The Surface
Start by washing the roof with soap and water. Use a soft cloth or sponge to remove dirt. Rinse well to clear all soap. Dry the surface with a clean towel. This removes dust and grease. A clean surface helps the vinyl stick tightly.
Removing Old Wrap Or Debris
Check the roof for any old wrap or stickers. Peel off any loose vinyl carefully. Use a plastic scraper to avoid scratches. Remove leftover glue with a gentle adhesive remover. Clean away leaves, dust, or bird droppings. A smooth surface prevents bumps under the wrap.
Gathering Necessary Tools
Get all tools before starting the wrap. You will need a heat gun, squeegee, and utility knife. Have microfiber cloths and gloves ready. Use masking tape to mark edges. Keep a spray bottle with water for easy adjustment. Having tools on hand saves time and effort.
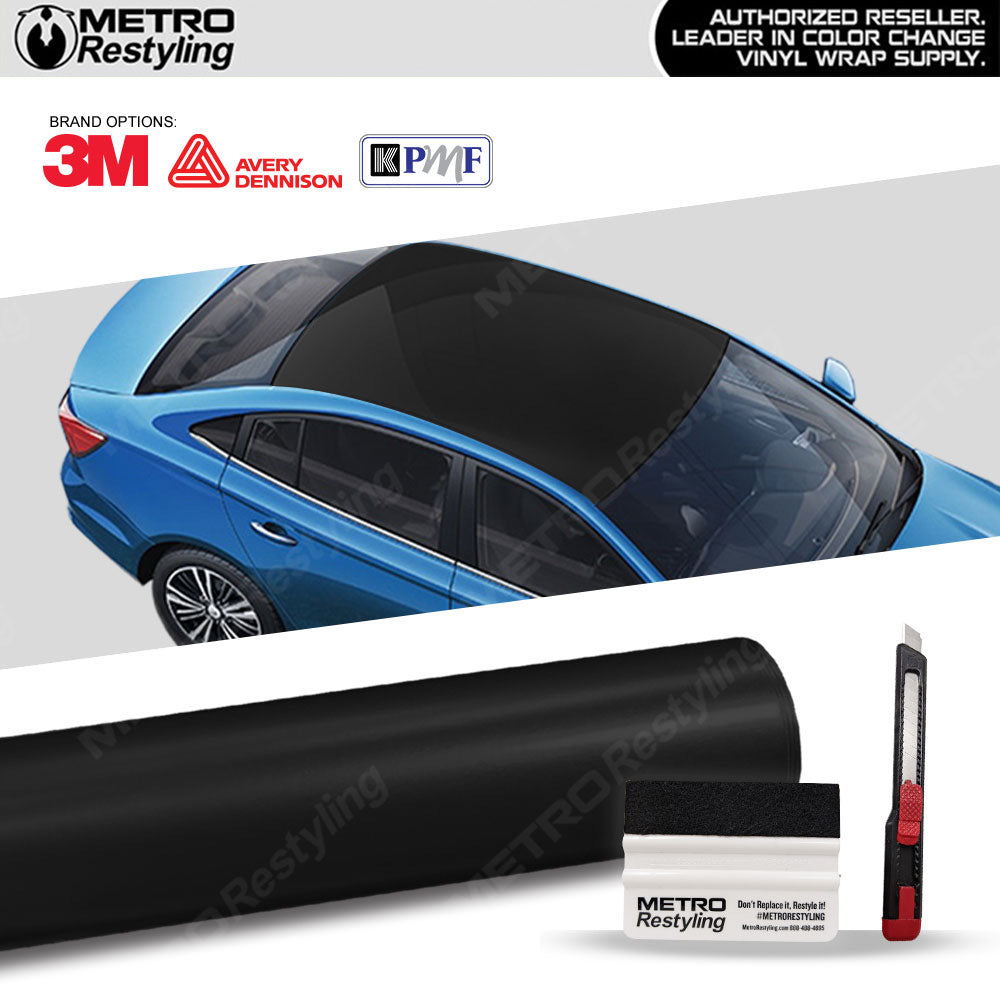
Credit: metrorestyling.com
Measuring And Cutting The Vinyl
Measuring and cutting the vinyl are the first steps in wrapping your car roof. These steps set the stage for a smooth and neat application. Getting exact measurements helps avoid mistakes and waste. Cutting the vinyl correctly ensures it fits perfectly without wrinkles or gaps.
Taking Accurate Measurements
Start by cleaning the car roof surface. Dirt or dust can affect measurements. Use a measuring tape to find the length and width of the roof. Measure in several spots to check for curves or dips. Write down the largest measurements for both length and width. Add extra inches on all sides for trimming and adjustments. This extra space makes handling the vinyl easier during installation.
Cutting The Vinyl To Size
Place the vinyl sheet on a flat surface. Lay it out with the printed side down. Use a ruler or straight edge to guide your cuts. Mark the measurements lightly with a pencil or chalk. Use sharp scissors or a craft knife to cut the vinyl. Cut slowly and carefully to avoid jagged edges. Leave the extra margin you added during measuring. This margin helps adjust the vinyl on the roof before final trimming.
Applying The Vinyl Wrap
Applying the vinyl wrap on your car roof is a careful process. This step needs patience and attention. Proper application ensures a smooth, long-lasting finish. Follow each part to get the best result.
Positioning The Vinyl On The Roof
Lay the vinyl wrap over the roof carefully. Align it so all edges cover the surface evenly. Start from one side and slowly spread it across. Avoid stretching the material too much at this stage. Make sure the wrap is centered and straight before moving on.
Using Heat To Soften The Material
Use a heat gun to warm the vinyl gently. Heat makes the wrap flexible and easier to shape. Keep the heat moving to avoid damage. Warm the edges first, then the middle area. Softened vinyl sticks better and molds to curves smoothly.
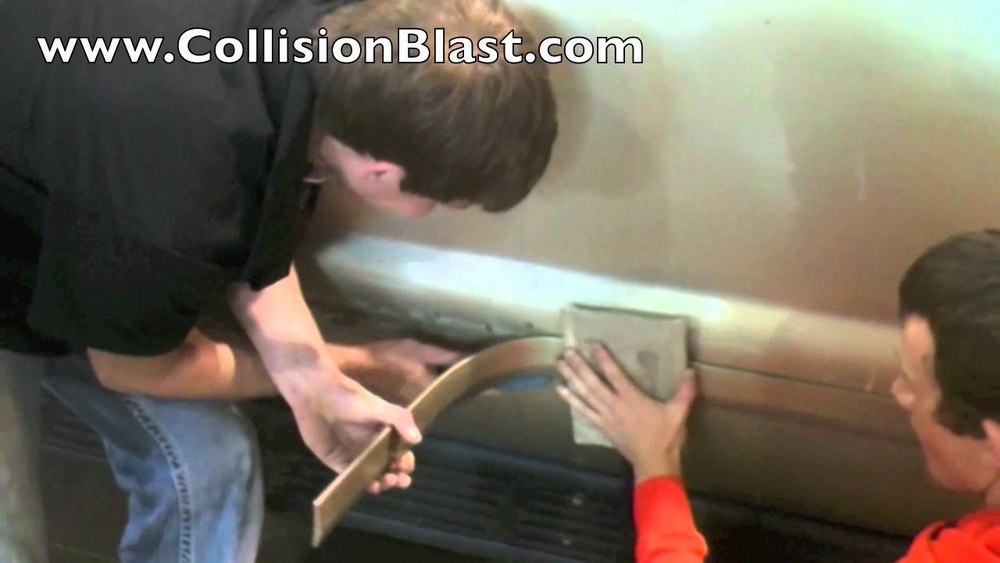
Smoothing Out Air Bubbles And Wrinkles
Use a squeegee or soft cloth to press the vinyl down. Push air bubbles toward the edges to remove trapped air. Work slowly from the center outwards. For wrinkles, reheat the area and stretch the vinyl gently. Continue until the surface is flat and smooth.

Credit: www.youtube.com
Trimming And Finishing Edges
Trimming and finishing edges is a key step in vinyl wrapping a car roof. It makes the wrap look neat and protects it from lifting. Taking time on this step improves the wrap’s appearance and lifespan.
Careful trimming removes extra vinyl that can cause wrinkles or bubbles. Finishing edges properly keeps the vinyl secure, even in harsh weather. This section explains how to trim and finish the edges cleanly and firmly.
Cutting Excess Vinyl
Start by heating the vinyl edges gently with a heat gun. Warm vinyl cuts cleaner and stays flat. Use a sharp utility knife to trim the extra vinyl. Cut close to the edge but avoid cutting the paint.
Trim slowly and steadily to keep lines straight. Use a ruler or straight edge for accuracy. Remove small excess pieces carefully to prevent damage. Check all edges to ensure no loose vinyl remains.
Securing The Edges For Durability
After trimming, press edges firmly with a squeegee. This seals the vinyl to the roof surface. Apply extra heat on edges to soften the vinyl for better grip. Use edge sealant or vinyl tape to protect corners.
Sealant stops dirt and moisture from getting under the vinyl. Press sealant evenly along all edges. Let the wrap cool down completely before touching it. This step helps the wrap last longer and look clean.
Curing And Maintenance Tips
After installing a vinyl wrap on your car roof, proper curing and maintenance keep it looking fresh. This step helps the vinyl stick well and last longer. Careful handling during this phase prevents damage and peeling. Follow these tips to protect your investment.
Allowing The Vinyl To Set
Let the vinyl sit for at least 24 hours after installation. Avoid touching or washing the roof during this time. The adhesive needs time to bond fully with the surface. Park the car in shade or a cool place. Heat or direct sunlight can affect the curing process.
Do not use the car wash for three to five days. Water pressure can lift the edges of the vinyl. Check the edges daily to spot any lifting early. Press down gently if you find small bubbles or edges peeling.
Cleaning And Caring For The Wrapped Roof
Clean the wrapped roof gently using a soft cloth and mild soap. Avoid harsh chemicals or abrasive materials. Rinse with clean water to remove soap residue. Dry the surface with a microfiber towel to prevent water spots.
Wash the car regularly to keep dirt and grime off the vinyl. Avoid using automatic car washes with brushes. Hand washing is the safest method. Wax or polish the wrap only with products made for vinyl.
Inspect the wrap often for cuts or scratches. Repair small damages quickly to stop them from spreading. Proper care will keep your vinyl wrap looking new for years.
Credit: www.reddit.com
Frequently Asked Questions
What Tools Are Needed To Install Vinyl Wrap On A Car Roof?
You need a squeegee, heat gun, utility knife, cleaning solution, and microfiber cloth. These tools help ensure smooth application and proper adhesion of the vinyl wrap on the car roof.
How Long Does It Take To Wrap A Car Roof With Vinyl?
Wrapping a car roof typically takes 2 to 4 hours. Time depends on experience, roof size, and vinyl complexity. Proper preparation and careful application ensure a durable finish.
Can I Remove The Vinyl Wrap Without Damaging My Car Roof?
Yes, vinyl wraps can be removed safely. Use heat to soften the adhesive, then peel slowly. This prevents paint damage and allows for clean removal without residue.
Is It Necessary To Clean The Car Roof Before Wrapping?
Absolutely, cleaning removes dirt, grease, and debris. A clean surface ensures better vinyl adhesion and a smooth, bubble-free finish. Use mild soap and water, then dry thoroughly.
Conclusion
Applying vinyl wrap on your car roof takes patience and care. Clean the surface well before starting. Use steady hands to avoid bubbles or wrinkles. Heat the vinyl gently to make it flexible. Take your time to smooth out every inch.
Small mistakes can be fixed with a heat gun. This project can refresh your car’s look without much cost. Enjoy the process and the new style you create. Your car roof will stand out in a simple way. Try it yourself and see the difference!