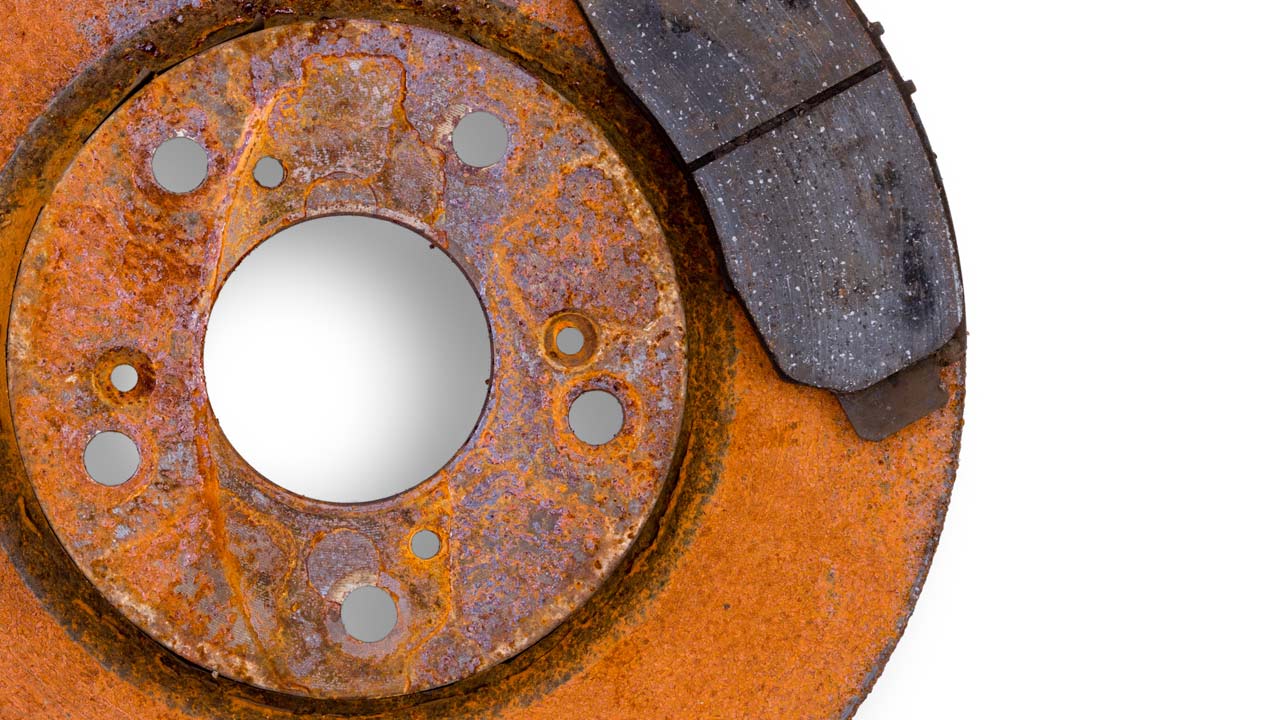
Rust on your brake rotors can cause noise, reduce braking power, and even damage your vehicle over time. If you’ve noticed a grinding sound or your brakes aren’t working as smoothly as they used to, rust might be the culprit.
But don’t worry—removing rust from brake rotors isn’t as hard as it sounds. In this guide, you’ll learn simple, step-by-step methods to get your rotors clean and your brakes performing like new. Keep reading, and you’ll save money, improve safety, and get back on the road with confidence.
Signs Of Rusted Brake Rotors
Rusted brake rotors can harm your car’s safety and performance. Knowing the signs helps you spot problems early. Watch for clear clues on the rotors and how your car feels during driving. These signs tell you when it’s time to act.
Visual Indicators
Rust shows as a reddish-brown layer on the rotors. It may cover the whole surface or appear in spots. Deep grooves or rough patches mean serious rust damage. Shiny areas on the rotor can also signal uneven wear from rust. Check your rotors after your car sits unused for a while.
Performance Issues
Rusted rotors cause brake noise like squealing or grinding. You might feel vibrations or shaking in the brake pedal. The car could pull to one side when braking. Brakes may respond slower or feel less firm. These signs affect your control and safety on the road.
Tools Needed For Removal
Removing rusted brake rotors requires specific tools to do the job safely and effectively. Having the right tools helps you work faster and avoids damage to your vehicle. Below is a list of essential tools you need before starting the removal process.
Basic Hand Tools
Start with a good set of wrenches and sockets. These help remove the wheel and caliper bolts. A breaker bar can give extra leverage for tight bolts. A hammer or mallet is useful to loosen the rusted rotor. A screwdriver or pry bar helps to separate stuck parts. Wire brushes remove rust and clean surfaces. Keep a lubricant spray handy to ease stuck bolts.
Safety Equipment
Wear safety glasses to protect your eyes from rust and debris. Use gloves to protect your hands from sharp edges and chemicals. A dust mask prevents inhaling brake dust and rust particles. Wear sturdy shoes to protect your feet from heavy parts. Work in a well-ventilated area to avoid breathing harmful fumes.
Preparing Your Vehicle
Preparing your vehicle is the first step to remove rusted brake rotors safely. Proper preparation saves time and prevents accidents. Take your time to follow the right steps before starting any work.
Parking And Safety
Park your vehicle on a flat surface. This stops it from rolling while you work. Turn off the engine and engage the parking brake. Place wheel chocks behind the wheels to keep the car steady. Wear gloves and safety glasses to protect your hands and eyes. Keep tools organized nearby to avoid searching during the job.
Removing The Wheel
Loosen the lug nuts slightly before lifting the car. Use a jack to raise the vehicle safely. Place jack stands under the car for support; never rely on the jack alone. Remove the lug nuts completely and take off the wheel. Set the wheel aside in a safe spot to avoid damage or loss.
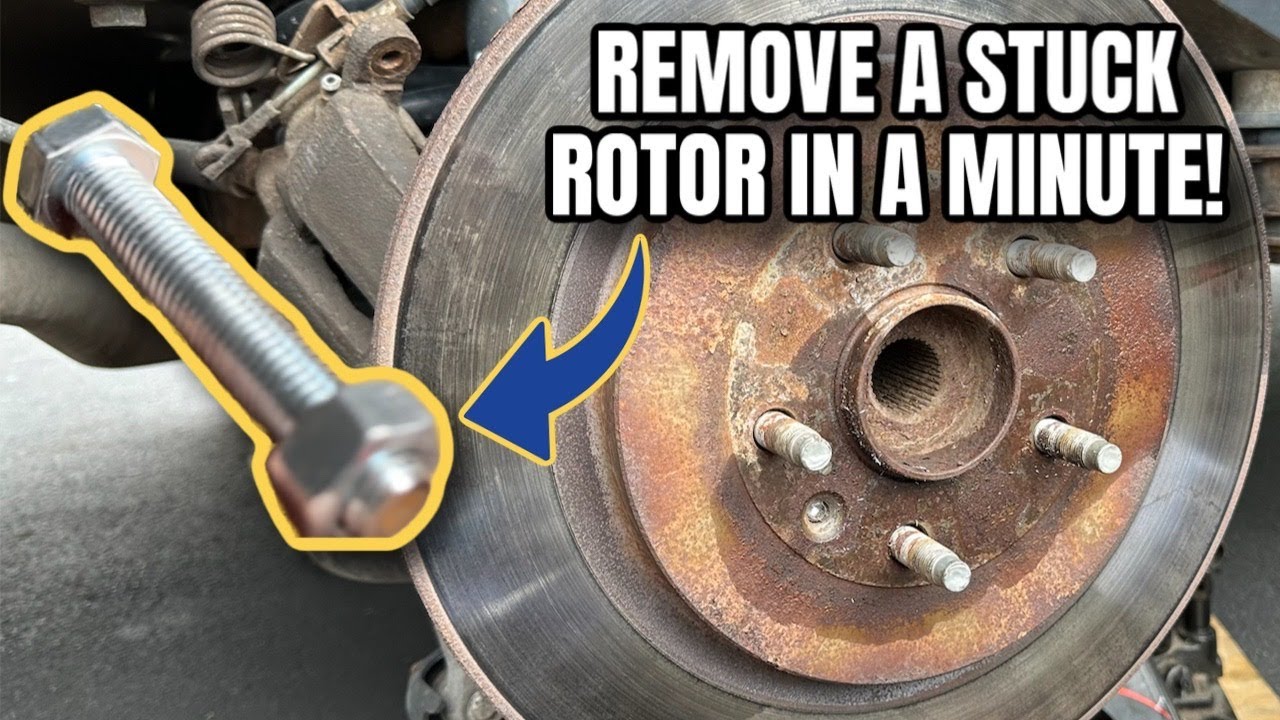
Removing The Rusted Brake Rotors
Removing rusted brake rotors is an important step in brake maintenance. Rust can cause noise and reduce braking performance. Removing the rotors allows you to replace or clean them for better safety.
This process requires some tools and patience. Follow the steps carefully to avoid damage. Safety first: wear gloves and eye protection before starting.
Loosening Caliper Bolts
Start by locating the caliper bolts. These bolts hold the brake caliper in place. Use a wrench or socket set to loosen them. Turn the bolts counterclockwise until they come off. Do not remove the brake hose attached to the caliper.
Detaching The Caliper
Carefully pull the caliper away from the rotor. Support the caliper with a hook or wire to avoid strain on the brake hose. Do not let the caliper hang freely. This protects the brake line from damage during removal.
Taking Off The Rotor
The rotor may be stuck due to rust. Tap the rotor gently with a rubber mallet to loosen it. Pull the rotor straight off the hub. Clean the hub surface before installing a new rotor or the cleaned one.
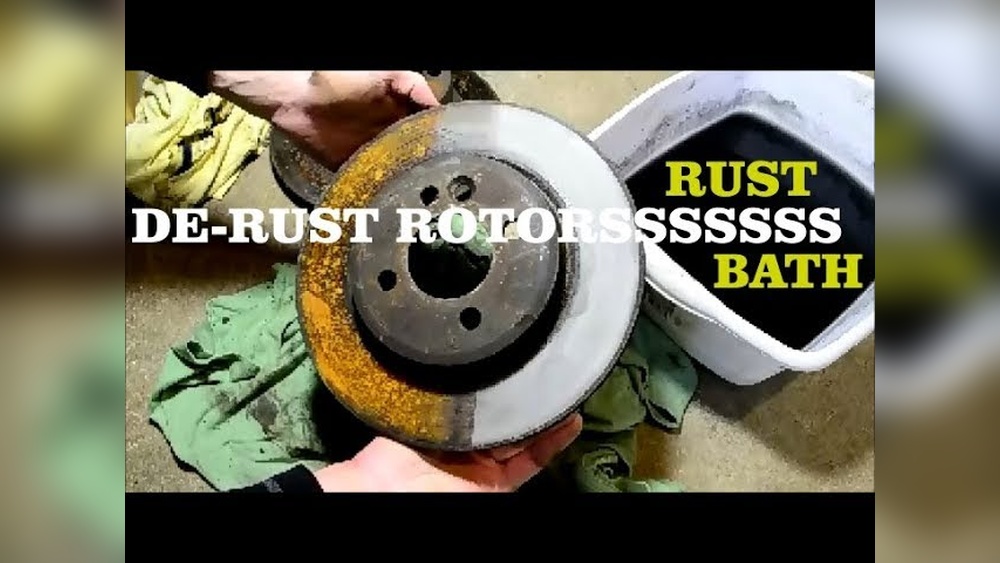
Cleaning And Inspecting Rotors
Cleaning and inspecting rotors is important for safe braking. Rust can build up on rotors and affect their performance. Removing rust and checking for damage helps keep the brakes working well. This step also extends the life of your brake system.
Removing Surface Rust
Start by removing loose rust from the rotor surface. Use a wire brush or sandpaper for this job. Clean the rotor with brake cleaner to remove dust and oil. Wipe it dry with a clean cloth. This process helps the rotor work smoothly again.
Checking For Damage
Look closely for cracks, deep grooves, or warping on the rotor. These signs mean the rotor needs repair or replacement. Use a straight edge to check if the rotor is warped. Damaged rotors can cause brake noise or vibration. Always replace rotors that show serious damage.

Credit: www.familyhandyman.com
Installing New Or Refurbished Rotors
Installing new or refurbished brake rotors is a key step after removing rusted ones. Proper installation ensures safe braking and longer rotor life. Take time to position parts carefully and follow each step closely. This avoids issues like uneven wear or brake noise.
Aligning The Rotor
Place the new rotor on the wheel hub. Make sure the holes match the wheel bolts exactly. The rotor should sit flat against the hub surface. Tighten the rotor screws or bolts just enough to hold it in place. Avoid over-tightening, which can warp the rotor. Check the rotor spins smoothly without wobbling.
Reattaching Caliper And Wheel
Slide the brake caliper back over the rotor. Align it with the mounting bracket and bolts. Tighten the caliper bolts firmly but do not strip them. Reinstall the wheel carefully, lining up the lug nuts with the holes. Tighten lug nuts in a star pattern for even pressure. Lower the vehicle and fully tighten lug nuts to the recommended torque.
Preventing Future Rust
Preventing rust on brake rotors helps keep your car safe and running smoothly. Rust can cause noise and reduce brake performance. Taking simple steps stops rust from building up again. These easy habits protect your rotors and save money on repairs.
Regular Maintenance Tips
Check your brake rotors often for rust or damage. Clean them with a soft brush and water to remove dirt. Avoid using harsh chemicals that can damage the metal. Drive your car regularly to keep the rotors dry and clear of rust. If you park outside, try to cover your car or move it often. Replace brake pads before they wear out to avoid rotor damage.
Protective Coatings
Apply a thin layer of anti-rust spray on the rotors after cleaning. Use coatings made for automotive brakes to avoid brake failure. These coatings form a barrier that stops moisture from causing rust. Avoid oil-based products that can reduce braking power. Reapply the protective coating every few months for best results.
Credit: www.youtube.com
When To Seek Professional Help
Removing rusted brake rotors can be a tough task. Some situations need expert help. Knowing when to get a professional is key. It saves time and keeps you safe on the road.
Signs Of Severe Rust Damage
Heavy rust can weaken rotors. Deep cracks or flaking metal need expert checks. Professionals have tools to measure rotor thickness. They decide if rotors need replacement or repair.
Difficulty Removing Stubborn Rotors
Sometimes rotors stick tight. Using too much force can cause damage. Professionals use special tools to remove stuck rotors safely. Avoid breaking bolts or other parts.
Unusual Brake Noises Or Vibrations
Strange sounds or shakes mean brake problems. Rust may hide other issues like warped rotors. A mechanic can inspect and fix these problems properly.
Lack Of Proper Tools Or Experience
Brake work needs specific tools and skills. Without them, you risk injury or damage. Professionals have both. They do the job right and safely.
Credit: www.drbeasleys.com
Frequently Asked Questions
How Do I Safely Remove Rusted Brake Rotors?
To safely remove rusted brake rotors, first lift the vehicle securely. Remove the wheel and caliper carefully. Use penetrating oil to loosen rust. Tap the rotor gently with a hammer to free it. Always wear protective gloves and eyewear during the process.
What Tools Are Needed To Remove Rusted Brake Rotors?
You will need a jack, lug wrench, socket set, penetrating oil, hammer, and a screwdriver. These tools help loosen bolts, remove the wheel, and free the rusted rotor safely and effectively.
Can Rusted Brake Rotors Be Reused After Cleaning?
Light surface rust can be cleaned and reused if rotors are not deeply pitted. Use a wire brush or sandpaper to remove rust. If rotors are severely damaged, replacement is safer to maintain braking performance.
How Often Should Brake Rotors Be Inspected For Rust?
Brake rotors should be inspected every 12,000 miles or during regular brake maintenance. Early detection of rust prevents damage and maintains safe braking. Check for rust, cracks, or warping regularly.
Conclusion
Removing rusted brake rotors keeps your car safe and smooth. Clean rotors help brakes work better and last longer. Use the right tools and follow each step carefully. Rust removal takes time, but it is worth the effort. Check your brakes often to avoid big problems later.
A little care now saves money and stress later. Keep your car in good shape and drive with confidence. Rust on rotors won’t stop you if you act fast. Stay safe on the road every time you drive.


