
Are your Trux wheel nut covers stuck or hard to remove? If you want to keep your wheels looking sharp or need to access the nuts for maintenance, knowing the right way to take off these covers is key.
In this guide, you’ll discover simple, effective steps to remove your Trux wheel nut covers without damaging them or your wheels. Keep reading to save time, avoid frustration, and protect your vehicle while handling your wheel nuts like a pro.

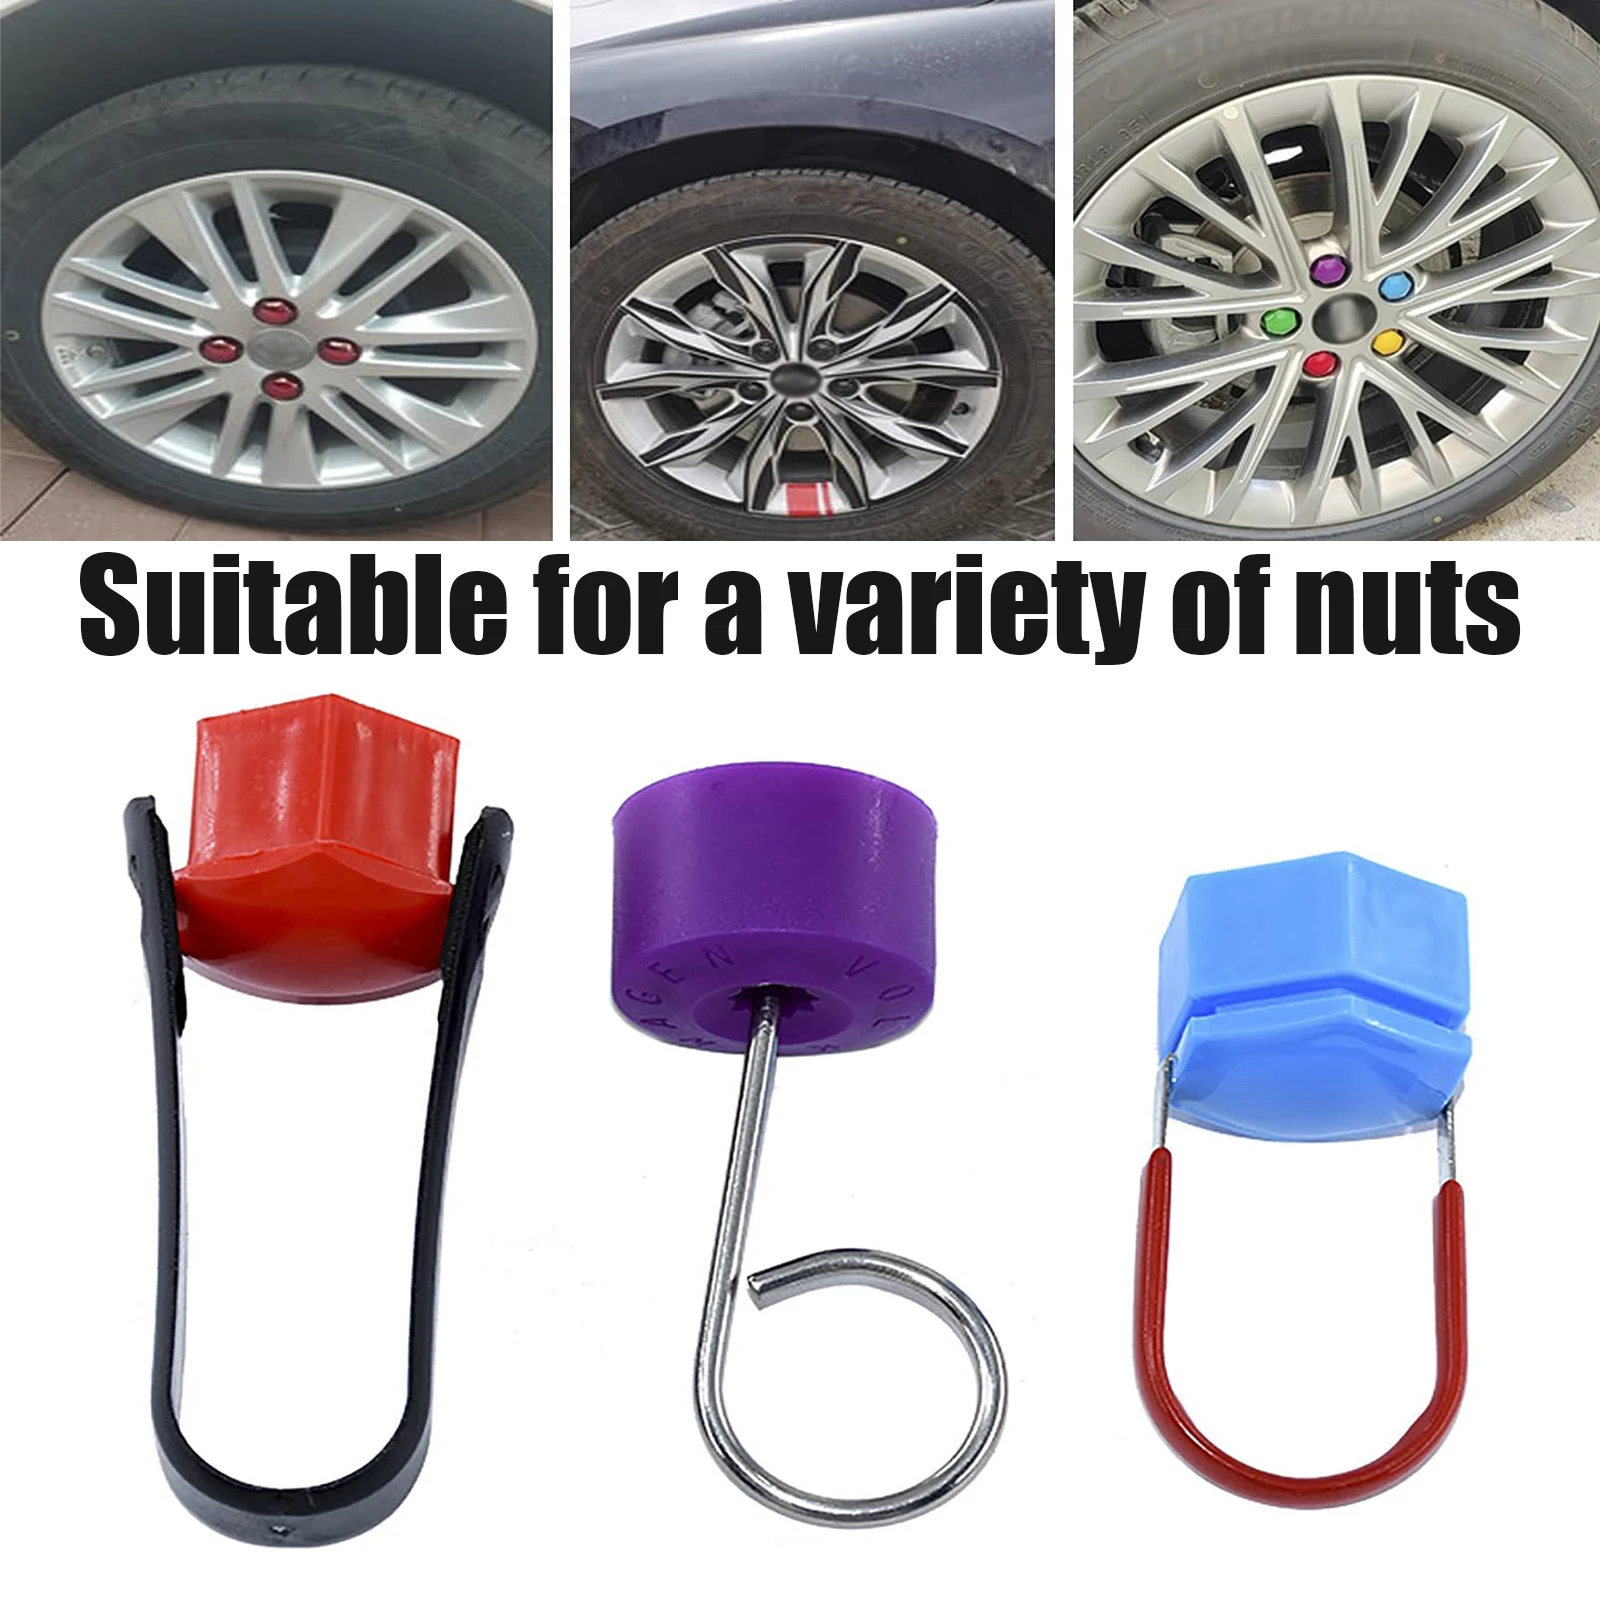
Credit: yourpghlawyer.com
Tools Needed
Removing Trux wheel nut covers is easier with the right tools. Using proper equipment saves time and prevents damage. Prepare all tools before starting the job.
Essential Equipment
A flathead screwdriver works well to pry off covers gently. Choose one with a thin, sturdy tip to avoid scratching the wheel.
A pair of gloves protects your hands during the process. It helps you grip the covers firmly without slipping.
Use a cloth or rag to protect the wheel surface from scratches. Place it between the screwdriver and the wheel if needed.
Optional Tools For Stubborn Covers
A plastic trim removal tool is useful for tight or stuck covers. It reduces the risk of damaging the wheel or cover.
A rubber mallet helps loosen covers that are hard to remove. Tap gently to avoid breaking any parts.
WD-40 or a similar lubricant can ease removal. Spray a small amount around the cover edges and wait a few minutes before trying again.
Safety Precautions
Removing Trux wheel nut covers requires attention to safety. These covers fit tightly and need force to remove. Taking safety steps protects your hands and prevents damage to the vehicle. Follow these precautions before starting the process.
Protective Gear
Wear sturdy gloves to protect your hands from sharp edges. Safety glasses shield your eyes from dust and small debris. Use closed-toe shoes to prevent foot injuries. Avoid loose clothing that can get caught in tools or wheels.
Vehicle Stability
Park the vehicle on a flat surface to keep it steady. Engage the parking brake firmly before removing covers. Use wheel chocks on opposite wheels to stop movement. Never work under a vehicle that is not securely supported.
Preparing The Truck
Preparing the truck is the first step before removing Trux wheel nut covers. It helps make the task safe and easier. Taking time to prepare protects you and the truck. Follow simple steps to get ready.
Start by making sure the truck is in a safe place. This avoids accidents and keeps the truck still. Next, clean the wheel nuts. Dirt and grease can stop you from removing the covers smoothly.
Parking And Securing
Park the truck on a flat, level surface. Avoid slopes or uneven ground. Set the parking brake firmly to stop the truck from moving. Use wheel chocks on the opposite wheels. This adds extra safety by holding the truck in place.
Cleaning The Wheel Nuts
Wipe the wheel nuts with a clean cloth. Remove dust, mud, and grease. Use a mild cleaner if needed. Dry the nuts fully before starting. Clean nuts help tools grip better. This makes removing the nut covers easier and safer.
Credit: colonyglamping.com
Removing Standard Wheel Nut Covers
Removing standard wheel nut covers is a simple task. These covers protect the wheel nuts and keep dirt away. Over time, they may get stuck or dirty. Removing them carefully helps keep your wheels clean and safe. Follow these easy steps to remove the covers without damage.
Loosening The Covers
Start by checking the cover’s grip on the wheel nut. Use a flat tool, like a screwdriver, to gently pry around the edges. Work slowly to avoid scratching the cover or wheel. Tap lightly if the cover feels tight. Loosening the cover first makes it easier to pull off.
Pulling Off The Covers
Once loosened, hold the cover firmly with your fingers. Pull straight out with steady force. Avoid twisting or bending the cover. If it does not come off, try loosening again. Clean the covers after removal to keep them in good shape.
Dealing With Stuck Covers
Removing stuck Trux wheel nut covers can be tricky. These covers sometimes get tight over time. Dirt, rust, or weather can cause them to stick. Patience and the right methods help avoid damage. Use simple tools and care to loosen them safely.
Using Lubricants
Apply a small amount of lubricant around the cover’s edge. WD-40 or penetrating oil works well. Let it sit for 5 to 10 minutes. The oil seeps into tight spaces, loosening rust and dirt. Try to turn the cover gently after waiting.
Applying Gentle Tapping
Use a soft mallet or a small hammer for tapping. Tap around the cover’s edge lightly. This shakes loose rust and dirt inside the cover. Avoid heavy hits to prevent damage. Repeat tapping and turning until the cover moves freely.
Replacing Or Storing Covers
Replacing or storing Trux wheel nut covers keeps them safe and ready for use. Proper care helps avoid damage and loss. It also ensures covers last longer and look good on your wheels.
Proper Storage Tips
Store covers in a dry place to stop rust and dirt buildup. Use a small box or container to keep them together. Avoid stacking heavy items on top to prevent cracks or breaks. Clean covers before storing to remove dust and grease. Wrap covers in soft cloth for extra protection.
Installing New Covers
Check the size matches your wheel nuts before installing new covers. Align the cover with the nut and press firmly. Use gentle force to avoid damaging the cover. Make sure the cover fits snugly and does not move. Test by driving a short distance and check if covers stay in place.

Credit: maiamidwifery.com
Frequently Asked Questions
How Do I Safely Remove Trux Wheel Nut Covers?
Use a flathead screwdriver or a special removal tool. Gently pry the cover from the wheel nut without scratching the surface. Apply steady pressure and work slowly to avoid damage.
What Tools Are Needed To Remove Trux Wheel Nut Covers?
A flathead screwdriver or a wheel nut cover removal tool is ideal. Some covers may require gloves for better grip. Avoid using sharp or metal tools that could cause scratches.
Can I Remove Trux Wheel Nut Covers Without Damaging Them?
Yes, by using the correct tools and gentle pressure. Always pry from the edge carefully. Avoid using excessive force to keep the covers reusable and intact.
How Often Should Trux Wheel Nut Covers Be Removed?
Remove covers only when necessary for maintenance or cleaning. Frequent removal can increase wear or damage risk. Handle with care to extend their lifespan.
Conclusion
Removing Trux wheel nut covers is simple with the right steps. Use proper tools to avoid damage. Take your time and work carefully. Clean the area after removal to keep parts in good shape. Practice makes the task easier over time.
Now, you can handle wheel nut covers confidently. Keep safety in mind during the process. This small skill helps maintain your vehicle well. Try it yourself and see the difference.

