
Are your vinyl wrap doors looking worn, bubbled, or peeling? It can be frustrating when your car or room loses its sleek, smooth finish.
But here’s the good news: you don’t have to replace the entire wrap or spend a fortune on repairs. You can fix those vinyl wrap doors yourself, saving time and money. In this guide, you’ll discover simple, effective steps to restore your vinyl wrap to its best condition.
Keep reading, and you’ll learn how to bring back that flawless look quickly and easily.

Credit: www.dianellapolishing.com.au
Tools And Materials Needed
Fixing vinyl wrap doors requires the right tools and materials. Using proper supplies ensures a smooth and lasting finish. Preparing everything before starting makes the job easier and faster.
Essential Tools
Gather a squeegee to smooth the vinyl and remove air bubbles. A utility knife helps cut the wrap cleanly. Heat guns soften the vinyl for better adhesion. Use microfiber cloths to clean surfaces without scratching. A tape measure ensures accurate cuts and placement.
Choosing The Right Vinyl Wrap
Select vinyl designed for automotive or door wrapping. Look for high-quality, durable vinyl with adhesive backing. Matte or gloss finishes depend on your style choice. Pick a vinyl that resists fading and peeling. Check the size to cover your door fully.
Surface Preparation Supplies
Clean the door with soap and water first. Use isopropyl alcohol to remove grease and dirt. Sandpaper smooths rough spots and helps vinyl stick better. Use tack cloths to remove dust after sanding. Ensure the surface is dry before applying vinyl.
Credit: www.dianellapolishing.com.au
Preparing The Door Surface
Preparing the door surface is the first step to fix vinyl wrap doors. A clean and smooth surface helps the new wrap stick well. This step avoids bubbles and peeling later. Take time to make the door ready for the wrap.
Cleaning Techniques
Start by wiping the door with a soft cloth. Use warm water mixed with mild soap. This removes dust, dirt, and oils. Avoid harsh chemicals that can damage the door. Dry the door fully with a clean towel. Clean surfaces help the wrap stick firmly.
Removing Old Wrap Or Adhesives
Peel off any old vinyl wrap carefully. Use a plastic scraper to avoid scratches. Remove sticky adhesive residues with rubbing alcohol or adhesive remover. Apply remover gently to the sticky spots. Wipe the door clean after removing all residues. A smooth, adhesive-free door is ready for wrapping.
Sanding And Smoothing
Lightly sand the door surface with fine-grit sandpaper. This smooths rough spots and helps the wrap bond better. Avoid heavy sanding that can damage the door. After sanding, wipe off dust with a damp cloth. A smooth, clean surface ensures a neat wrap finish.
Measuring And Cutting The Vinyl
Measuring and cutting the vinyl is a key step for a perfect door wrap. It needs care and attention to detail. A good measurement stops mistakes and waste. Cutting must be neat to fit the door shape. This part sets the base for smooth installation and a clean look.
Accurate Measurements
Start by measuring the door’s height and width. Use a soft tape measure for exact numbers. Write down the measurements clearly on paper. Add an extra 2 inches on each side for trimming. Double-check the numbers before cutting the vinyl.
Cutting Tips
Use a sharp craft knife or scissors for clean cuts. Cut on a flat, stable surface to avoid slips. Make straight cuts by following the marked lines closely. Take your time. Small mistakes can spoil the wrap. Keep the blade fresh to prevent rough edges.
Handling Curves And Edges
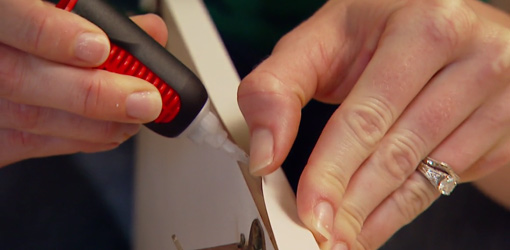
Curves and edges need careful shaping. Score lightly on curves to help the vinyl bend smoothly. Use a heat gun or hairdryer to soften the vinyl around edges. Press the vinyl firmly to avoid bubbles or wrinkles. Trim excess vinyl neatly for a tight fit.
Applying The Vinyl Wrap
Applying vinyl wrap to your doors requires care and patience. This step ensures a smooth, neat finish that lasts long. Follow the process carefully to avoid mistakes. Proper application makes the vinyl look like part of the door.
Positioning The Vinyl
Start by aligning the vinyl wrap on the door surface. Peel a small part of the backing paper from one edge. Place the sticky side gently on the door. Check the fit and adjust it slowly. Make sure the vinyl covers all edges without stretching.
Using Heat For Flexibility
Use a heat gun or hairdryer to warm the vinyl. Heat softens the material and makes it easier to shape. Move the heat source evenly over the vinyl surface. Avoid staying too long in one spot to prevent damage. Warm vinyl molds better around curves and corners.
Smoothing Out Bubbles And Wrinkles
Use a squeegee or soft cloth to press the vinyl. Start from the center and push air bubbles outwards. Work slowly and apply steady pressure. Small wrinkles disappear as the vinyl heats and stretches. Trim excess vinyl carefully for a clean edge.
Trimming And Finishing Touches
Trimming and finishing touches are key to a clean vinyl wrap door. This step makes the wrap look neat and professional. Small details can change the whole look. Take your time to trim and secure the edges properly. This will help the vinyl last longer and avoid peeling.
Precision Trimming
Use a sharp blade for trimming the excess vinyl. Cut slowly along the edges to avoid mistakes. Keep the blade at a low angle for clean cuts. Do not rush this step. Careful trimming shapes the wrap perfectly to the door.
Securing Edges
Press down firmly on the edges after trimming. Use a heat gun or hairdryer to soften the vinyl. This helps the edges stick well to the door. Smooth out any bubbles near the edges. Secure edges prevent lifting and peeling over time.
Final Inspection
Check the door from all angles. Look for loose edges or air bubbles. Fix small issues before finishing the job. Clean the surface gently with a soft cloth. A final check ensures a smooth and lasting finish.
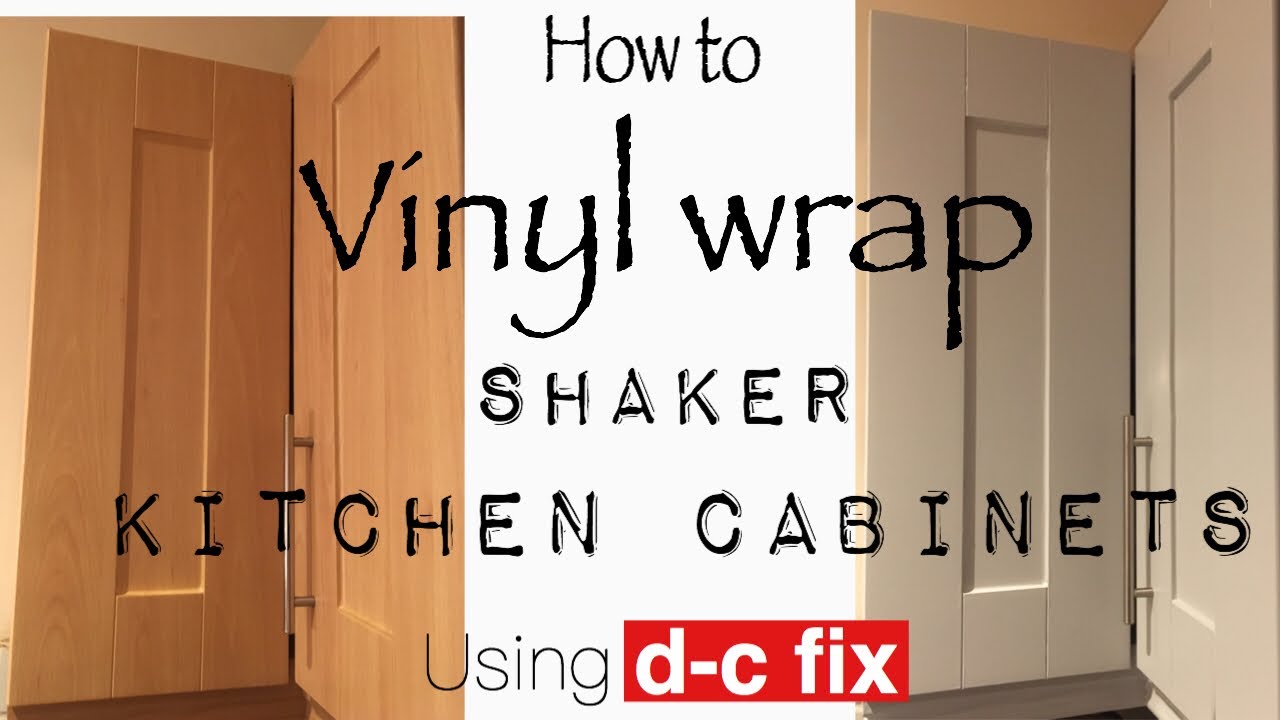
Credit: www.youtube.com
Common Issues And Fixes
Vinyl wrap doors can face several common issues over time. These problems affect the look and durability of the wrap. Understanding simple fixes helps maintain a fresh appearance and extends the wrap’s life.
Below are common problems and easy ways to fix them. These tips help keep your vinyl wrap smooth and clean.
Dealing With Air Bubbles
Air bubbles appear when the wrap is not applied smoothly. They look like small bumps under the vinyl. Use a sharp pin to gently prick the bubble. Press the air out with a soft cloth or squeegee. Work slowly to avoid tearing the wrap. Heat the area slightly with a hairdryer to soften the vinyl. This helps the wrap lay flat again.
Handling Tears And Wrinkles
Tears and wrinkles ruin the smooth look of vinyl wrap. Small tears can be fixed with clear vinyl tape under the wrap. For wrinkles, warm the area with a heat gun. Gently stretch and smooth the vinyl while heating. Avoid overheating, which can damage the vinyl. For deep wrinkles, remove the section carefully and reapply fresh wrap.
Reapplying Problem Areas
Some parts of the wrap may peel or lift over time. Clean the surface with rubbing alcohol to remove dirt and oils. Peel back the loose vinyl slowly. Apply heat to make it flexible. Press the wrap back firmly using a squeegee. Trim any damaged edges to prevent further peeling. Use a vinyl adhesive if needed for stronger hold.
Frequently Asked Questions
How Do I Fix Bubbles On Vinyl Wrap Doors?
To fix bubbles, use a pin to gently puncture the bubble. Then, smooth it out with a squeegee. Heat with a hairdryer to soften the vinyl and remove trapped air. This prevents peeling and keeps the wrap looking smooth.
Can I Repair Torn Vinyl Wrap On Doors?
Yes, small tears can be repaired by cutting out the damaged section. Replace it with a matching vinyl patch. Use strong adhesive to bond the patch and carefully smooth edges to blend. This extends the wrap’s life and appearance.
What Tools Do I Need To Fix Vinyl Wrap Doors?
Essential tools include a heat gun or hairdryer, squeegee, sharp utility knife, and a pin for bubbles. Clean cloth and adhesive remover help prep and fix the surface. These tools make repairs easier and more professional-looking.
How Long Does Vinyl Door Wrap Repair Take?
Minor repairs typically take 30 minutes to an hour. Larger repairs or replacements can take several hours. Time depends on damage extent, tools, and experience. Proper preparation speeds up the process and ensures lasting results.
Conclusion
Fixing vinyl wrap doors is easier than it seems. Small tears and bubbles can be smoothed out with care. Clean the surface well before starting any repair. Use gentle heat to help the wrap stick better. Take your time and follow each step slowly.
A neat repair keeps your doors looking fresh and new. Regular care can prevent future damage. Enjoy the look of your fixed vinyl wrap door every day. Simple fixes save money and keep your car stylish.


