
Removing vinyl wrap from your vehicle might seem tricky, but it doesn’t have to be. If you want your car to look fresh again or prepare it for a new wrap, knowing the right steps can save you time and money.
In this guide, you’ll discover easy, practical tips to peel off that vinyl without damaging your paint. Ready to bring back your car’s original shine? Keep reading to learn how you can do it yourself, quickly and safely.
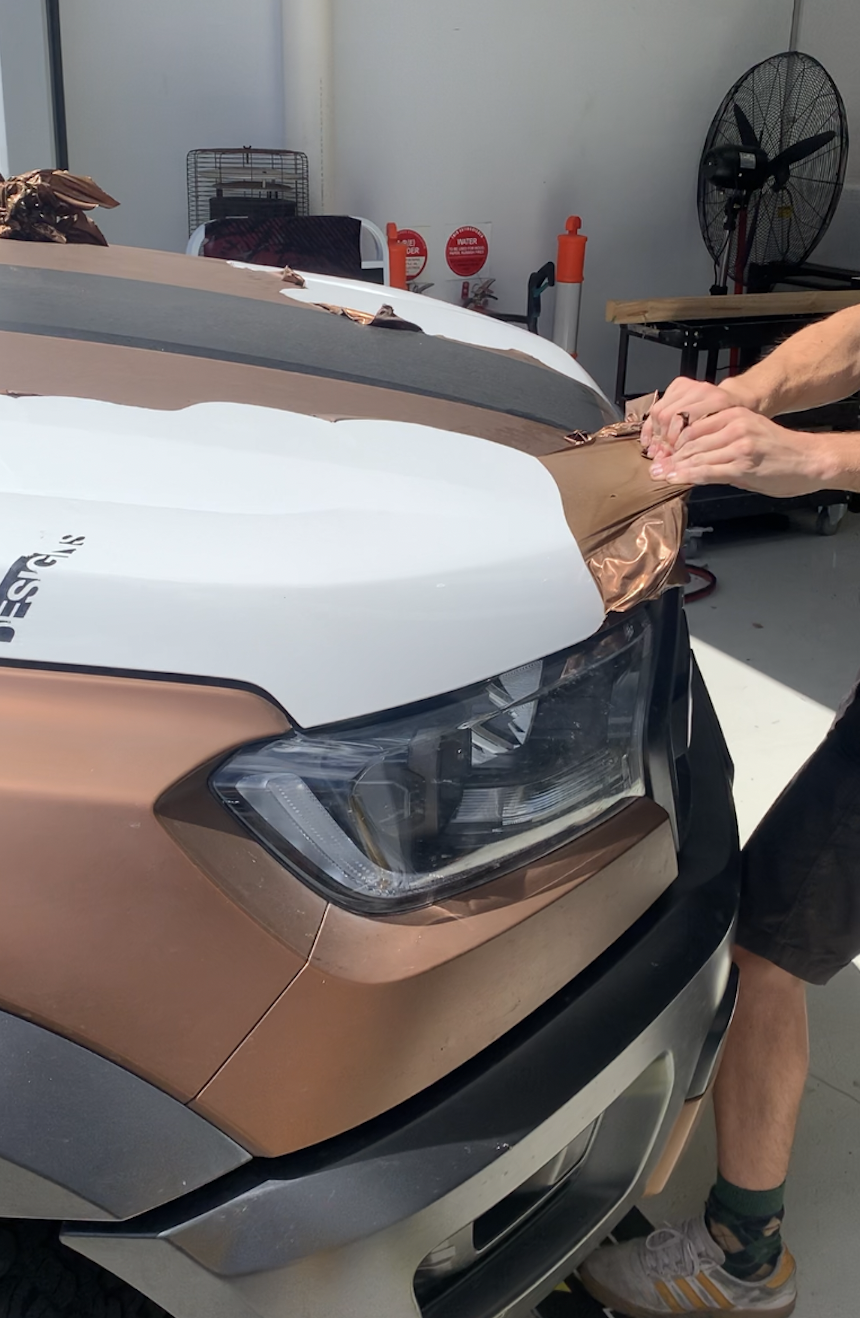
Credit: crgdesigns.com.au
Tools Needed
Removing vinyl wrap from a vehicle requires the right tools. Using proper tools makes the process safer and faster. It helps protect your car’s paint and reduces damage risk. Gather all necessary items before starting. Here are the essential tools you will need.
Heat Gun Or Hair Dryer
A heat gun or hair dryer softens the vinyl wrap adhesive. Warm vinyl becomes easier to peel off. A heat gun works faster but use it carefully to avoid burns. A hair dryer is a gentler option and still effective.
Plastic Scraper Or Squeegee
Use a plastic scraper or squeegee to lift vinyl edges. These tools prevent scratches on the vehicle’s surface. Avoid metal tools as they can damage the paint. Gently slide the scraper under the vinyl to start peeling.
Adhesive Remover
Adhesive remover cleans sticky residue left on the car. Choose a remover safe for automotive paint. Apply it with a soft cloth and wipe gently. This step ensures a smooth and clean finish.
Microfiber Cloths
Microfiber cloths help wipe the vehicle without scratching. Use them to apply adhesive remover or clean the surface. They absorb residue and prevent lint from sticking to the car.
Gloves
Wear gloves to protect your hands from heat and chemicals. Gloves also keep oils from your skin off the vehicle surface. Use comfortable gloves that allow easy movement.
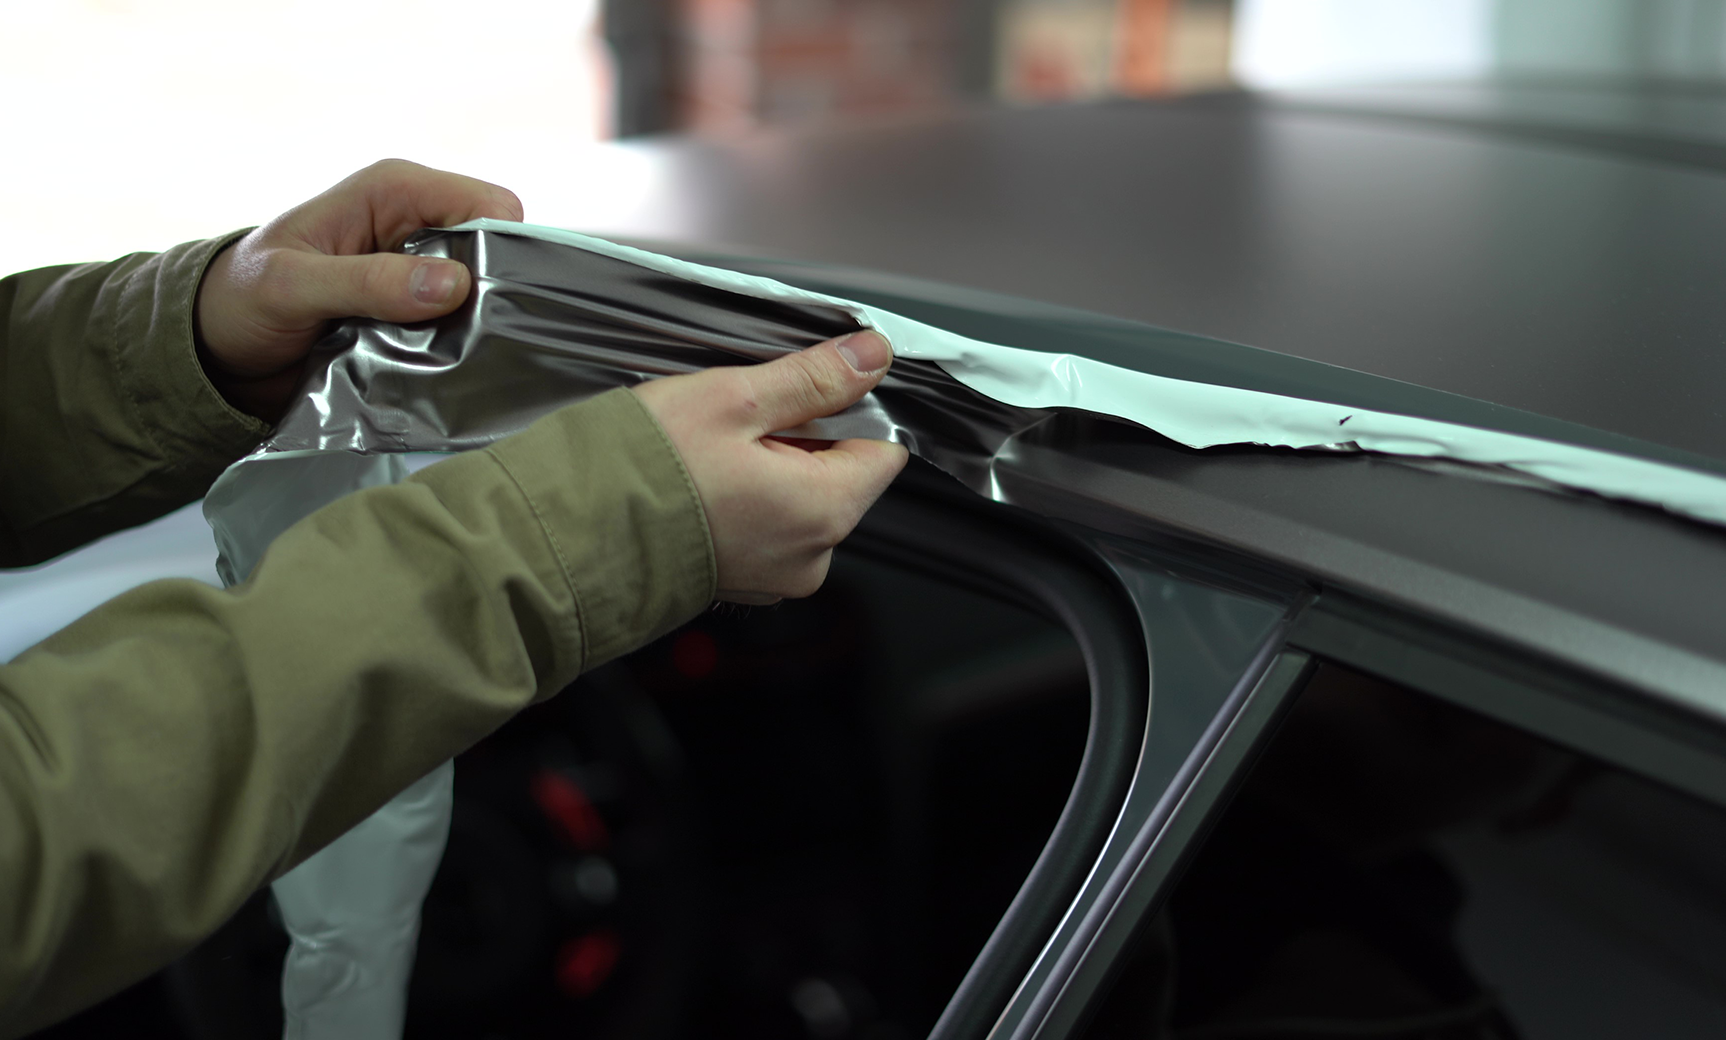
Credit: vvividshop.com
Preparing The Vehicle
Preparing your vehicle before removing vinyl wrap is important. This step helps protect your car’s surface and makes the removal easier. Take time to clean and check the vehicle carefully. Proper preparation saves effort and reduces damage risk.
Clean The Vehicle Thoroughly
Wash the car to remove dirt and dust. Use soap and water for best results. Dry the surface completely. A clean car helps the vinyl peel off smoothly.
Inspect For Damage
Look for scratches or dents under the wrap. Note any areas with damage. This helps avoid further harm during removal. Plan to fix these spots later.
Choose A Suitable Work Area
Pick a shaded, dry place to work. Avoid direct sunlight or rain. A cool area prevents the vinyl from sticking too much. It also protects your tools.
Gather Necessary Tools
Prepare items like a heat gun, plastic scraper, and gloves. Having tools ready speeds up the job. Use soft tools to protect the car paint.
Heating The Vinyl Wrap
Heating the vinyl wrap softens the adhesive, making it easier to peel off. Use a heat gun or hairdryer and move it slowly across the surface. Avoid overheating to prevent damage to the vehicle’s paint.
Why Heat The Vinyl Wrap?
Heating the vinyl wrap makes it soft and easier to remove. Cold vinyl can tear or leave glue behind. Warm vinyl stretches and peels off smoothly. This step helps protect your vehicle’s paint.
Tools For Heating Vinyl Wrap
Use a heat gun or a hairdryer for heating. A heat gun works faster but needs careful handling. A hairdryer is safer for beginners but takes longer. Keep the tool moving to avoid damage.
How To Heat The Vinyl Wrap Safely
Hold the heat source about 6 inches from the surface. Move it slowly in small circles. Heat each section for 20 to 30 seconds. Stop if the vinyl feels too hot or sticky.
Signs The Vinyl Is Ready To Peel
The vinyl will look soft and slightly shiny. It will stretch without breaking when pulled gently. If it resists or tears, heat it a little more. Proper heating reduces residue and effort.
Peeling Off The Wrap
Peeling off a vinyl wrap from a vehicle takes patience and care. The process starts with lifting the edges gently. Vinyl wraps are designed to stick well but also peel off without damaging the paint. Taking small steps helps avoid tearing the wrap or leaving adhesive behind. Follow these tips to remove the wrap safely and cleanly.
Starting At The Edges
Begin by finding a corner or edge of the vinyl wrap. Use your fingernail or a plastic tool to lift it slightly. Pull the wrap slowly and steadily. Avoid quick or sharp movements to prevent ripping. Work your way along the edge, lifting more of the wrap as you go. This method helps the vinyl come off in larger pieces.
Using A Plastic Scraper
A plastic scraper helps remove vinyl without scratching the paint. Slide the scraper under the wrap at a low angle. Push gently to separate the wrap from the vehicle surface. Keep the scraper flat and move carefully to avoid damage. This tool is especially useful on flat areas or curves where fingers cannot reach easily.
Removing Stubborn Sections
Some parts of the wrap stick stronger than others. Apply gentle heat with a hairdryer to soften the adhesive. Warm the vinyl for 20 to 30 seconds before peeling. Use the plastic scraper or your fingers to lift the softened area. Take your time to avoid tearing or leaving glue behind. Patience pays off in smooth removal.
Removing Adhesive Residue
Removing adhesive residue after taking off a vinyl wrap is key to a clean car surface. Sticky bits can catch dirt and spoil the look. They also make applying a new wrap hard. Careful cleaning keeps your vehicle smooth and shiny.
Choosing The Right Cleaner
Pick a cleaner made for car surfaces. Look for products labeled “adhesive remover” or “tar remover.” Avoid harsh chemicals like acetone. They can damage paint. Test the cleaner on a small spot first. This ensures no harm to your car’s finish.
Applying And Scrubbing
Apply the cleaner to a soft cloth or sponge. Gently rub the sticky areas. Use small circles to lift the residue. Avoid hard scrubbing to protect the paint. Let the cleaner sit a few minutes if residue is tough. Repeat the process until the surface feels smooth.
Wiping Clean
Use a clean, dry cloth to wipe off residue and cleaner. Check for any leftover sticky spots. If needed, repeat cleaning steps on these areas. Once clean, wash the area with mild soap and water. Dry the surface with a soft towel. Your car is ready for its next step.
Final Cleaning And Inspection
After removing the vinyl wrap, the vehicle needs a thorough cleaning and close inspection. This step ensures no residue or damage remains on the paint. A clean surface helps protect the car and keeps it looking fresh.
Careful inspection also catches any small issues early. Fixing problems now prevents bigger repairs later. A well-cleaned and checked vehicle looks much better and keeps its value.
Cleaning Off Adhesive Residue
Use a gentle adhesive remover or soapy water to clean leftover glue. Apply the cleaner with a soft cloth. Rub gently to avoid scratching the paint. Rinse with clean water and dry with a microfiber towel.
Checking For Paint Damage
Look closely for scratches, bubbles, or discoloration. Shine a light at different angles. Small spots might need polishing or touch-up paint. Early repair keeps the vehicle’s finish smooth and bright.
Final Wash And Dry
Wash the entire vehicle with car shampoo. Use a soft sponge to avoid marks. Rinse well and dry with a clean towel. This step removes any dust or dirt left behind.
Protecting The Paint
Apply a layer of wax or sealant after cleaning. This shields the paint from sun and dirt. Wax also brings out a deep shine. Use a soft cloth and work in small sections for best results.
Tips To Avoid Damage
Removing vinyl wrap from a vehicle needs care to keep the paint safe. Use these tips to avoid damage and get the best result. These steps help protect the car’s surface and save you money on repairs.
Use Heat To Soften The Vinyl
Heat makes the vinyl easier to peel off. Use a heat gun or a hair dryer. Keep the heat moving to avoid burning the paint. Warm the vinyl in small sections for better control.
Peel Slowly And Steadily
Pull the vinyl back slowly at a low angle. Fast or sharp pulling can tear the vinyl and damage the paint. Take your time and work in small areas. This reduces the risk of paint lifting.
Keep The Surface Clean
Dirt or dust can scratch the paint during removal. Clean the vehicle before starting. Use a gentle soap and water solution. Dry the car well to avoid trapping grit under the vinyl.
Use Proper Tools
Plastic scrapers or fingers work best to lift edges. Avoid metal tools that can scratch or dent the paint. Use soft cloths to wipe away adhesive residue. Choose tools made for delicate surfaces.
Remove Residue Carefully
Adhesive leftovers can harm the paint if scraped roughly. Use adhesive remover or rubbing alcohol gently. Apply with a soft cloth and test on a small area first. Wipe residue away slowly to protect the finish.
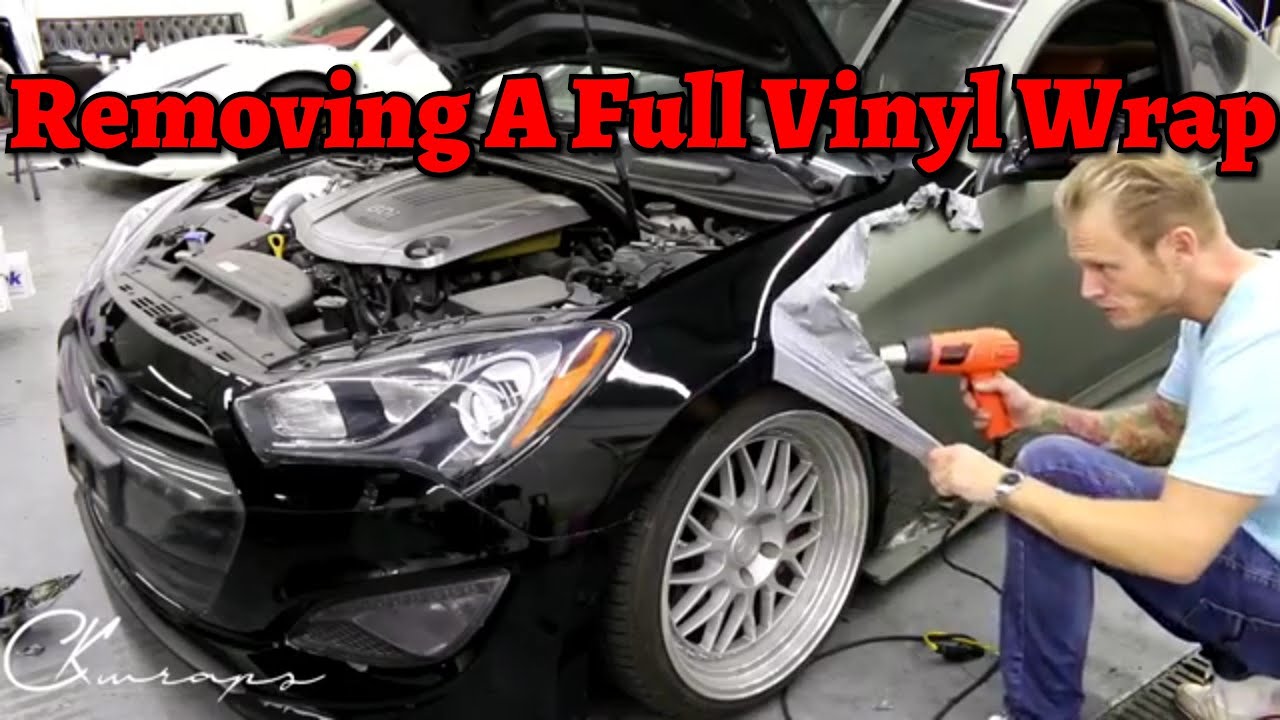
Credit: www.youtube.com
Frequently Asked Questions
How Long Does It Take To Remove Vinyl Wrap?
Removing vinyl wrap usually takes 1 to 3 hours. The time varies based on wrap size and adhesive strength. Proper heat application speeds up the process and prevents damage to the vehicle’s paint.
Can I Remove Vinyl Wrap Without Heat Gun?
Yes, but a heat gun is recommended. Without heat, removing vinyl wrap becomes difficult and risks damaging the paint. Using warm water or a hairdryer can help soften the adhesive as alternatives.
Will Vinyl Wrap Removal Damage My Car’s Paint?
If done correctly, vinyl wrap removal shouldn’t damage paint. Use proper heat and gentle peeling techniques. Avoid sharp tools that can scratch or chip the paint beneath the wrap.
What Tools Do I Need To Remove Vinyl Wrap?
Essential tools include a heat gun, plastic scraper, adhesive remover, and microfiber cloths. These help safely loosen and remove the vinyl without harming the vehicle’s surface.
Conclusion
Removing vinyl wrap from a vehicle takes time and care. Start slowly and use heat to help peel the wrap. Avoid rushing to stop damage to your paint. Use gentle tools and cleaners to remove sticky residue. Clean the surface well once the wrap is off.
This keeps your car looking neat and fresh. Following these simple steps makes the process easier. You can do it yourself with patience and care. Your vehicle will look great again, ready for a new look or just clean and smooth.


