Thinking about removing the vinyl wrap from your car but don’t know where to start? You’re not alone.
Vinyl wraps look great, but when it’s time to take them off, the process can feel tricky and overwhelming. The good news is, with the right steps, you can remove the wrap yourself without damaging your car’s paint. In this guide, you’ll discover simple, clear methods to get the job done smoothly and safely.
Keep reading, and you’ll soon have your car looking fresh and clean again.
Tools Needed
Removing vinyl wrap from your car needs the right tools. These tools make the job easier and protect your car’s paint. Having them ready saves time and avoids damage.
Heat Gun Or Hair Dryer
A heat gun or hair dryer softens the vinyl wrap. Heat loosens the adhesive, making the wrap easier to peel off. Use warm, steady heat. Avoid too much heat to protect the paint.
Plastic Scraper
A plastic scraper helps lift the edges of the vinyl wrap. It slides under the wrap without scratching the car. Use gentle pressure. Metal tools can damage the paint, so avoid them.
Adhesive Remover
Adhesive remover cleans leftover glue after the vinyl is off. It breaks down sticky residue without harming the paint. Choose a remover made for cars. Follow the instructions carefully for best results.
Microfiber Cloths
Microfiber cloths wipe away adhesive and dirt. They are soft and won’t scratch your car’s surface. Use them with adhesive remover or water. Keep several cloths on hand to stay clean.

Credit: www.youtube.com
Preparing Your Car
Preparing your car is the first step to remove vinyl wrap safely. A clean, organized space helps the process go smoothly. Take time to get everything ready before peeling the wrap. This saves effort and protects your car’s paint.
Clean The Surface
Start by washing your car with soap and water. Dirt and dust can scratch the paint during removal. Use a soft cloth to wipe the surface gently. Make sure the car is dry before you begin. A clean surface helps the wrap come off easier.
Choose A Comfortable Workspace
Pick a spot with good light and enough space around the car. Indoor garages or shaded areas work best. Avoid direct sunlight. Heat can make the vinyl sticky and hard to remove. A calm place reduces mistakes and keeps you safe.
Protect Surrounding Areas
Cover nearby parts like windows, mirrors, and trim with painter’s tape. This stops damage from tools or heat guns. Use drop cloths or old sheets on the ground. Protects your car and work area from scratches and mess.
Heating The Vinyl
Heating the vinyl wrap is a crucial step in removing it from your car. Heat softens the adhesive, making the wrap easier to peel off. Proper heating protects your car’s paint and prevents damage. Use heat carefully to ensure smooth removal without leaving residue.
Set The Right Temperature
Use a heat gun or a hair dryer to warm the vinyl. Keep the temperature between 120°F and 180°F (49°C and 82°C). This range softens the adhesive without harming the wrap or paint. Avoid using high heat settings that can burn the vinyl.
Evenly Warm The Wrap
Move the heat source slowly across the vinyl surface. Keep it about 6 inches away from the car. Heating small sections at a time helps the adhesive loosen evenly. This prevents the wrap from tearing or stretching during removal.
Avoid Overheating
Too much heat can damage the vinyl and the car’s paint. Do not hold the heat gun in one spot for too long. Watch for signs of overheating like bubbling or discoloration. Stop heating immediately if you notice any damage.
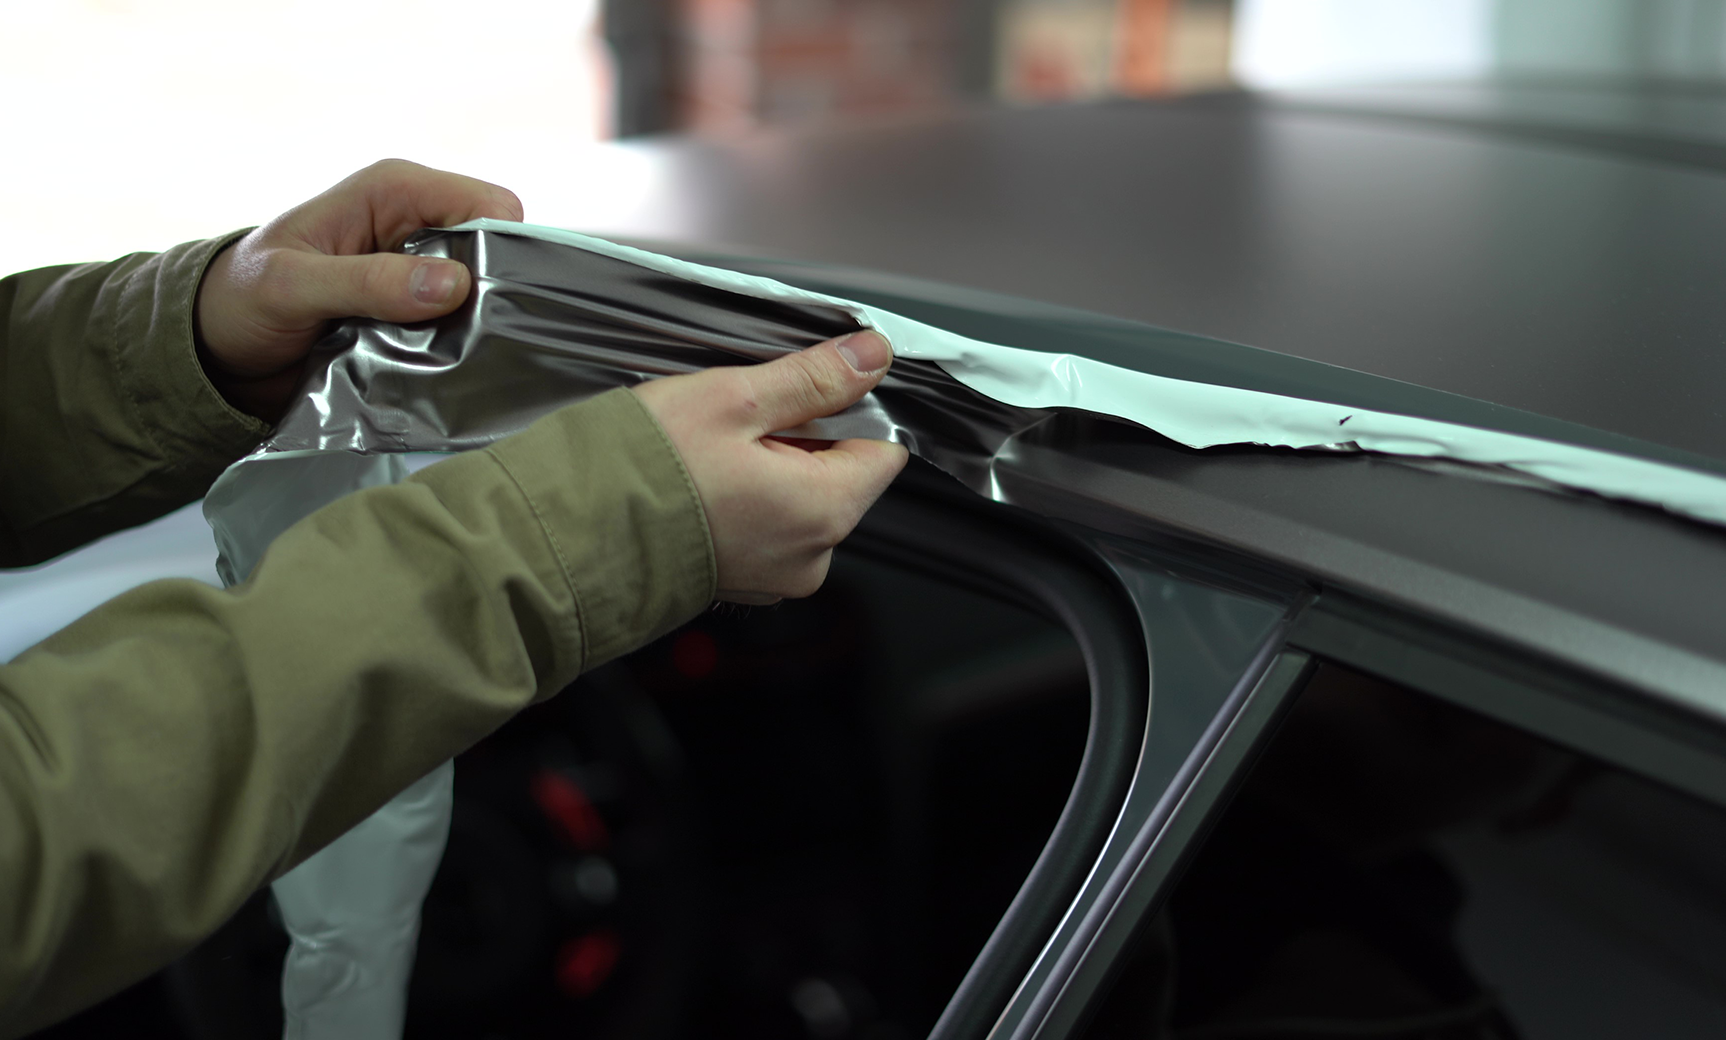
Peeling Off The Vinyl
Peeling off the vinyl wrap is the key step to remove it from your car. It requires patience and care to avoid damage. Taking it slow helps keep the paint safe and makes the process easier. Follow simple steps to remove the wrap cleanly and smoothly.
Start From A Corner
Find a corner of the vinyl wrap to begin. Use your fingernail or a plastic tool to lift the edge gently. Avoid sharp tools that can scratch the paint. Starting at a corner makes it easier to get a good grip.
Pull Slowly And Steadily
Pull the vinyl back slowly and evenly. Do not rush or yank the wrap off quickly. Stretching it gently helps reduce tears. Keep the angle low, close to the car surface, to avoid pulling paint off.
Handle Difficult Spots
Some areas may stick more tightly than others. Use heat from a hair dryer or heat gun to soften the adhesive. Warm it for a few seconds, then try peeling again. Work carefully to avoid damage or residue left behind.
Removing Adhesive Residue
After removing the vinyl wrap from your car, sticky adhesive residue often remains. This leftover glue can attract dirt and spoil your car’s look. Removing it carefully helps keep your paint safe and clean. Follow these simple steps to clear off the adhesive without damage.
Apply Adhesive Remover
Choose a good adhesive remover made for car surfaces. Spray or apply it on the sticky areas. Let it sit for a few minutes. This softens the glue and makes it easier to remove. Avoid harsh chemicals that can harm your paint.
Use Gentle Scraping
Use a plastic scraper or an old credit card. Gently scrape the adhesive off the car’s surface. Do not use metal tools that can scratch the paint. Take your time and scrape carefully. This helps remove residue without causing damage.
Wipe Clean With Cloth
After scraping, wipe the area with a clean, soft cloth. Use circular motions to remove leftover adhesive and remover. Repeat if needed until the surface is clean. Finish by washing the spot with soap and water. This restores your car’s smooth finish.
Final Touches
After removing the vinyl wrap, the car’s surface needs care. Final touches help restore the paint and make the car look good. This step is important to keep the car’s finish smooth and clean.
Wash And Dry The Surface
Start by washing the car gently. Use mild soap and water to remove glue and dirt. Rinse well to avoid soap spots. Dry the surface with a soft cloth. This prevents water marks and prepares the surface for inspection.
Inspect For Damage
Check the paint for any scratches or glue residue. Look closely at edges and corners. Use a bright light to see small marks. Small scratches may need light touch-ups. Glue spots can be removed with a gentle adhesive remover.
Consider Polishing
Polishing helps restore shine and smoothness. Use a mild polish and a soft pad. Apply polish in small sections with light pressure. Wipe off excess polish with a clean cloth. This step improves the car’s look and protects the paint.
Tips For Best Results
Removing vinyl wrap from a car can be tricky without the right approach. Simple tips help make the process smooth and protect your car’s paint. These tips save time, reduce damage risk, and give better results. Follow clear steps for a clean, easy removal.
Work In Warm Weather
Warm weather softens the vinyl wrap adhesive. This makes peeling easier and reduces tearing chances. Choose a sunny day or a warm garage to work in. Avoid cold days as vinyl can crack or break. Use a heat gun or hair dryer to warm the vinyl gently. Keep the heat moving to avoid damage.
Take Your Time
Rushing causes wrinkles, tears, or leftover glue. Pull the wrap slowly and steadily at a low angle. Small sections work better than large pieces. Stop if the vinyl resists and warm it again. Patience helps keep the paint safe. Use a plastic scraper to lift edges carefully.
Seek Professional Help If Needed
Some wraps are hard to remove without damage. Professionals use special tools and experience to protect your car. Call an expert if the wrap is old or stuck tightly. They save time and avoid costly paint repairs. It is a smart choice for complex jobs.
Credit: vvividshop.com

Credit: www.youtube.com
Frequently Asked Questions
How Do I Safely Remove Vinyl Wrap From My Car?
Use a heat gun to warm the vinyl wrap gently. Peel it slowly from one corner. Avoid sharp tools to prevent paint damage. Clean residue with adhesive remover afterward.
Can I Remove Vinyl Wrap Without Heat?
Removing vinyl wrap without heat is difficult. Heat softens the adhesive for easier peeling. Without heat, the vinyl may tear or leave residue. Using a heat gun is recommended for best results.
How Long Does Vinyl Wrap Removal Usually Take?
Vinyl wrap removal typically takes 1 to 3 hours. The duration depends on car size and wrap condition. Experienced individuals may finish faster. Taking time prevents paint damage and ensures thorough cleaning.
Will Removing Vinyl Wrap Damage My Car’s Paint?
Proper removal usually does not damage paint. Use heat and peel gently to protect the surface. If the wrap was applied correctly, paint remains intact. Avoid scraping or rushing the process to prevent damage.
Conclusion
Removing vinyl wrap from your car takes patience and care. Heat the wrap gently to soften the adhesive. Peel slowly to avoid damage to the paint. Clean any leftover glue with a mild solvent. Take breaks to prevent frustration and mistakes.
This simple process keeps your car’s surface safe. A careful approach saves time and effort. Now, your car is ready for a fresh look or new wrap.