
If your Craftsman Weedwacker isn’t running as smoothly as it used to, the fuel filter might be the problem. A clogged or dirty fuel filter can stop fuel from reaching the engine properly, causing your weedwacker to sputter or stall.
But don’t worry—replacing the fuel filter is easier than you think. In this guide, you’ll learn simple, step-by-step instructions to get your Craftsman Weedwacker back to peak performance quickly. Keep reading, and you’ll save time, money, and frustration by doing this essential maintenance yourself.
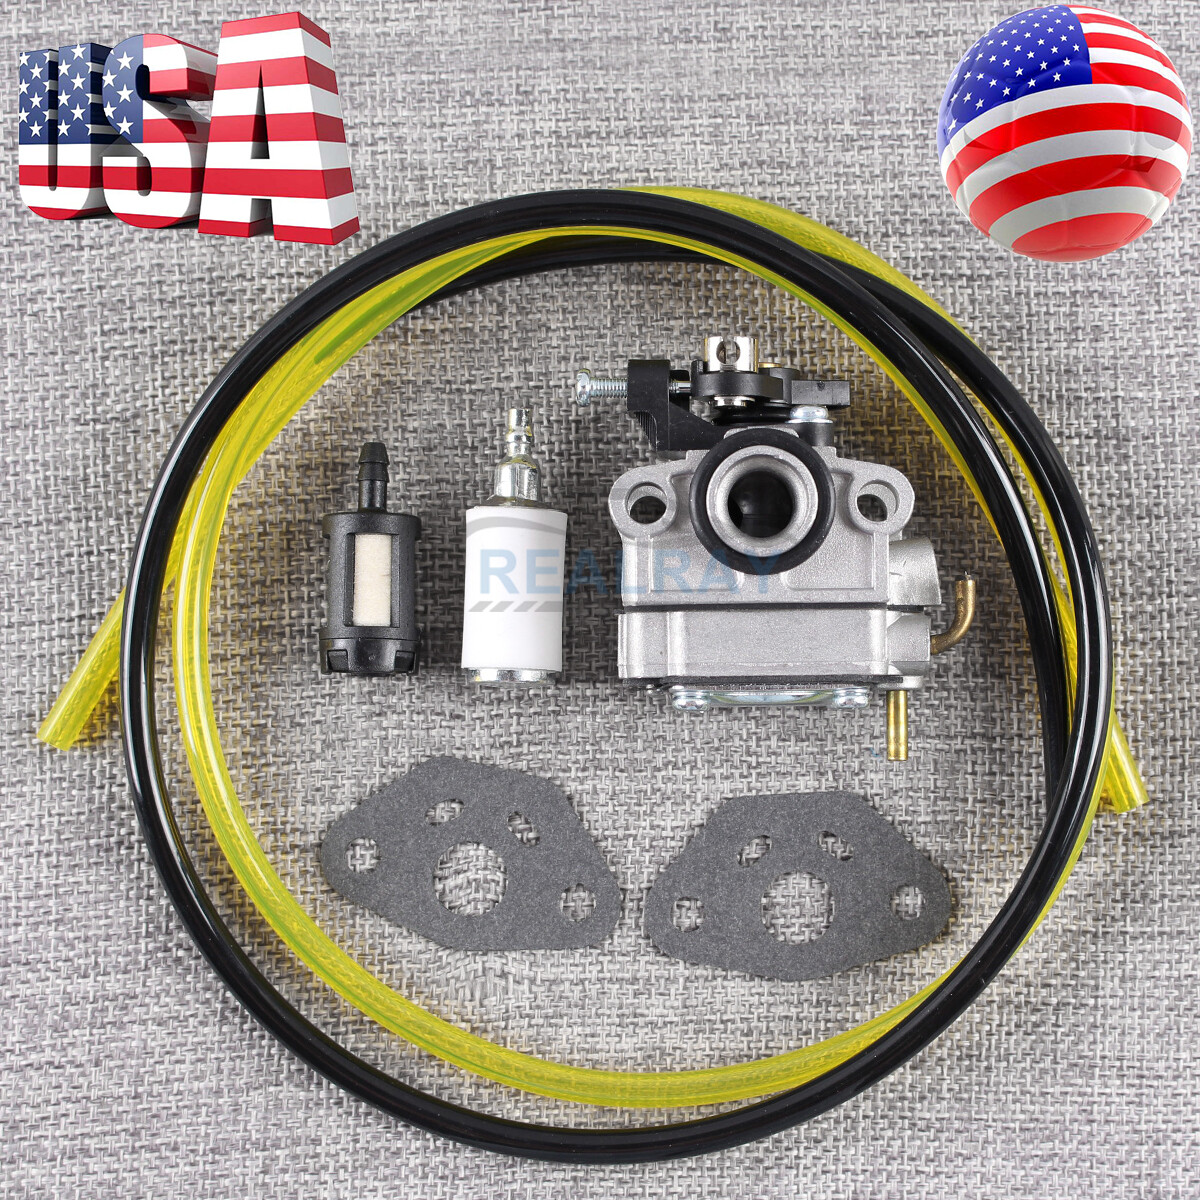
Tools And Materials Needed
Replacing the fuel filter on your Craftsman Weedwacker requires a few basic tools and materials. Having everything ready makes the job quicker and easier. This section lists all you need to complete the task smoothly.
Essential Tools
Gather a small flathead screwdriver to remove clips or covers. A pair of needle-nose pliers helps to pull out the old filter and hoses. Keep a clean cloth or rag handy for wiping up any fuel spills.
Materials Needed
Get a new fuel filter designed for your specific Craftsman model. Use fresh fuel to avoid clogging after replacement. A small container can catch any fuel that leaks during the process.

Credit: www.youtube.com
Locate The Fuel Filter
Knowing where to find the fuel filter on your Craftsman Weedwacker is the first step. The filter keeps dirt and debris from entering the engine. It helps the trimmer run smoothly and last longer.
The fuel filter is small and easy to miss. It is inside the fuel line, between the gas tank and the carburetor. Finding it may take some patience, but this guide will help you.
Check Near The Fuel Tank
Start by looking close to the fuel tank. The fuel filter is often right next to the tank’s outlet. Look for a small, clear or white plastic piece inside the fuel line. It should be easy to spot.
Follow The Fuel Line
Trace the fuel line from the tank toward the engine. The fuel filter sits along this line. It looks like a tiny cylinder or a small mesh piece inside the tube. The filter is usually inside a clear plastic casing.
Use A Flashlight For Better View
Use a flashlight to see in dark or tight spaces. The fuel line might be twisted or hidden under parts. A bright light helps find the small filter quickly. Take your time to spot it clearly.
Identify The Fuel Filter Type
Craftsman Weedwackers often use inline fuel filters. These filters fit snugly inside the fuel line. They can be plastic or nylon mesh. Knowing the type helps you choose the right replacement part.
Prepare The Weedwacker
Preparing your Craftsman Weedwacker before replacing the fuel filter is crucial. It ensures safety and makes the process easier. Follow these simple steps carefully to get ready.
Taking time to prepare protects you from accidents. It also protects your equipment from damage. Let’s get started with the first steps.
Turn Off And Cool Down
Make sure the Weedwacker is turned off completely. Let it rest for at least 15 minutes. The engine and parts must cool down before you touch them. Hot parts can cause burns. Cooling also prevents fuel from spilling or igniting.
Disconnect Spark Plug
Locate the spark plug wire on the engine. Carefully pull the wire off the spark plug. This stops the engine from starting accidentally. It is a key safety step. Always handle the spark plug wire with clean hands to avoid damage.

Credit: www.walmart.com
Remove The Old Fuel Filter
Removing the old fuel filter is an essential step in replacing it on a Craftsman Weedwacker. This part keeps dirt and debris from entering the engine. Over time, the filter clogs and reduces performance. Replacing it helps the weedwacker run smoothly and start easily.
Follow these steps carefully. They will guide you through the process safely and efficiently.
Access The Fuel Line
First, locate the fuel line on your Craftsman Weedwacker. It usually runs from the fuel tank to the carburetor. Find the small fuel filter attached to this line. Make sure the engine is off and cool before you start. This prevents fuel spills and accidents. Use gloves to protect your hands from fuel. Gently move any parts that block your view or access to the fuel line.
Detach The Filter
Next, carefully detach the old fuel filter. Squeeze the clamps or use pliers to loosen the hose clamps holding the filter. Slide the fuel line off the filter ends slowly. Be ready to catch any fuel that leaks out. Dispose of the old filter properly. Avoid spilling fuel on the ground or your skin. The fuel line is now ready for the new filter installation.
Install The New Fuel Filter
Installing the new fuel filter on your Craftsman Weedwacker is a simple step. This part helps keep the fuel clean and your tool running well. Take your time to place it correctly. A proper install ensures good fuel flow and engine health.
Insert The Filter Correctly
Hold the new filter by its ends. Notice the arrow on the filter body. This arrow shows the fuel flow direction. Insert the filter so the arrow points toward the engine. Push it gently into the fuel line. Avoid forcing it, which can cause damage.
Secure The Fuel Line
Slide the fuel line firmly onto the filter ends. The line should fit snugly. Use a clamp if your Weedwacker has one. Tighten the clamp to keep the line from slipping. Check for any gaps or loose spots. A tight connection prevents leaks and keeps the engine running smoothly.
Check For Leaks And Test
After replacing the fuel filter on your Craftsman Weedwacker, checking for leaks and testing the tool is vital. This step ensures the fuel system works properly. It also helps prevent damage and unsafe conditions.
Careful inspection of all connections is the first part of this process. Tight and secure connections stop fuel from leaking out. Then, starting the Weedwacker allows you to see if the engine runs smoothly. Both steps are simple but very important.
Inspect Connections
Look closely at the fuel lines and filter. Make sure the filter is tight and the clamps hold the hoses firmly. Check for cracks or loose fittings. Any fuel smell or wet spots means a leak. Fix these problems before moving on.
Start The Weedwacker
Pull the starter cord gently. Listen for the engine to run steadily. Watch for fuel leaks near the filter and connections. If the engine stalls or sputters, the filter might not be installed correctly. Fix any issues and try again. A smooth start means your job is done right.
Maintenance Tips For Fuel Filters
Maintaining the fuel filter on your Craftsman Weedwacker keeps the engine running smoothly. A clean fuel filter stops dirt and debris from reaching the engine. This helps avoid damage and extends the tool’s life. Regular care of the fuel filter saves you money and hassle.
Replacement Frequency
Change the fuel filter every 25 hours of use or once a year. If you use the Weedwacker often, check the filter more often. A fresh filter ensures proper fuel flow. It keeps the engine working at its best.
Signs Of A Clogged Filter
Watch for slow engine start or stalling during use. The Weedwacker may run rough or lose power. These are signs that fuel is not flowing well. A clogged filter blocks fuel and reduces performance. Check and replace the filter if you see these signs.
Credit: www.ebay.com
Frequently Asked Questions
How Often Should I Replace The Fuel Filter?
Replace the fuel filter every 25 hours of use or once a season. Frequent replacement ensures optimal engine performance and prevents clogging.
What Tools Do I Need To Replace The Fuel Filter?
You need pliers, a screwdriver, and a replacement fuel filter. These tools help safely remove and install the new filter without damaging parts.
Can I Replace The Fuel Filter Myself Safely?
Yes, you can replace it safely by following the manufacturer’s instructions. Ensure the engine is off and cool before starting the replacement.
How Do I Know If The Fuel Filter Needs Replacing?
Signs include engine sputtering, loss of power, or difficulty starting. A clogged filter restricts fuel flow, affecting weedwacker performance.
Conclusion
Replacing the fuel filter on your Craftsman Weedwacker keeps it running well. Clean fuel helps the engine work smoothly and last longer. Taking a little time now saves trouble later. Follow the steps carefully for best results. Regular maintenance makes yard work easier and more efficient.
Simple tasks like this improve your tool’s performance. Keep your Weedwacker ready for the next job. It’s worth the effort.


