Is your steering wheel looking worn or outdated? Replacing the upper cover accent can instantly refresh your car’s interior without spending a fortune.
You might think it’s a complicated job, but with the right steps, you can do it yourself quickly and safely. In this guide, you’ll learn exactly how to replace your steering wheel’s upper cover accent, saving time and money while giving your vehicle a fresh new look.
Keep reading, and you’ll discover easy tips that make this project a breeze—even if you’ve never done it before.
Tools And Materials Needed
Replacing the steering wheel upper cover accent requires specific tools and materials. Having the right items makes the job easier and safer. Preparing well helps you avoid damage to the steering wheel or cover.
This section lists all essential tools and guides you on choosing the right replacement cover. Use this information to get ready for your project.
Essential Tools
First, gather basic tools. A small flathead screwdriver helps pry off the old cover. A Phillips screwdriver is useful for removing screws. Use a trim removal tool to avoid scratches. Clean cloths keep the area dust-free. Gloves protect your hands during the work. Finally, have some adhesive or double-sided tape ready for the new cover.
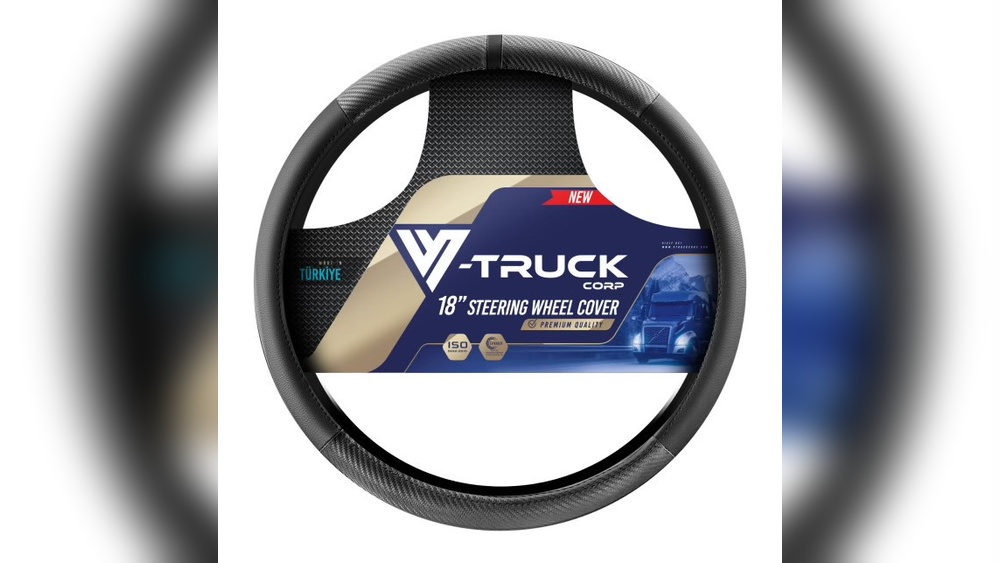
Choosing The Right Replacement Cover
Pick a cover that fits your steering wheel model exactly. Check the size and shape carefully. Choose durable materials like plastic or leather for long-lasting use. Match the color with your car’s interior. Buy from trusted brands or stores to ensure quality. Avoid cheap covers that may not fit well or last long.
Preparing Your Workspace
Preparing your workspace is the first step to replace the steering wheel upper cover accent. A clean and organized area makes the task easier and safer. You will find every tool quickly. It also reduces the chance of losing small parts. Setting up properly saves time and stress.
Safety Precautions
Safety must come first. Disconnect the car battery before starting. This prevents accidental airbag deployment. Wear gloves to protect your hands. Use eye protection to avoid dust or debris. Keep sharp tools away from your body. Work in a well-lit place to see clearly. Take your time to avoid mistakes.
Clearing The Area
Remove any clutter around your work spot. Clear the seat and floor of objects. Keep only the tools and parts you need. This stops you from tripping or dropping tools. A tidy area helps you focus. Use a tray or container for screws and small parts. This keeps everything in one place. Clean the steering wheel surface gently before starting.
Removing The Old Cover
Removing the old steering wheel upper cover accent is the first step. This process needs care and patience. Doing it right helps avoid damage to the steering wheel or cover.
Start by understanding how the cover is fixed in place. Some covers snap on, while others use screws or clips. Knowing this helps plan the removal process.
Locating Fasteners
Look closely around the edges of the cover. Fasteners may hide under small panels or trim pieces. Use a flashlight to see clearly. Check for screws, clips, or bolts holding the cover. Mark their positions for easy access. This step prevents guessing and saves time.
Detaching The Cover Carefully
Use a plastic pry tool to avoid scratching the wheel. Gently insert the tool between the cover and the wheel. Apply light pressure to release clips or tabs. If screws hold the cover, unscrew them slowly. Avoid forcing the cover off. Pulling too hard can break clips or damage the wheel. Take your time and stay gentle.
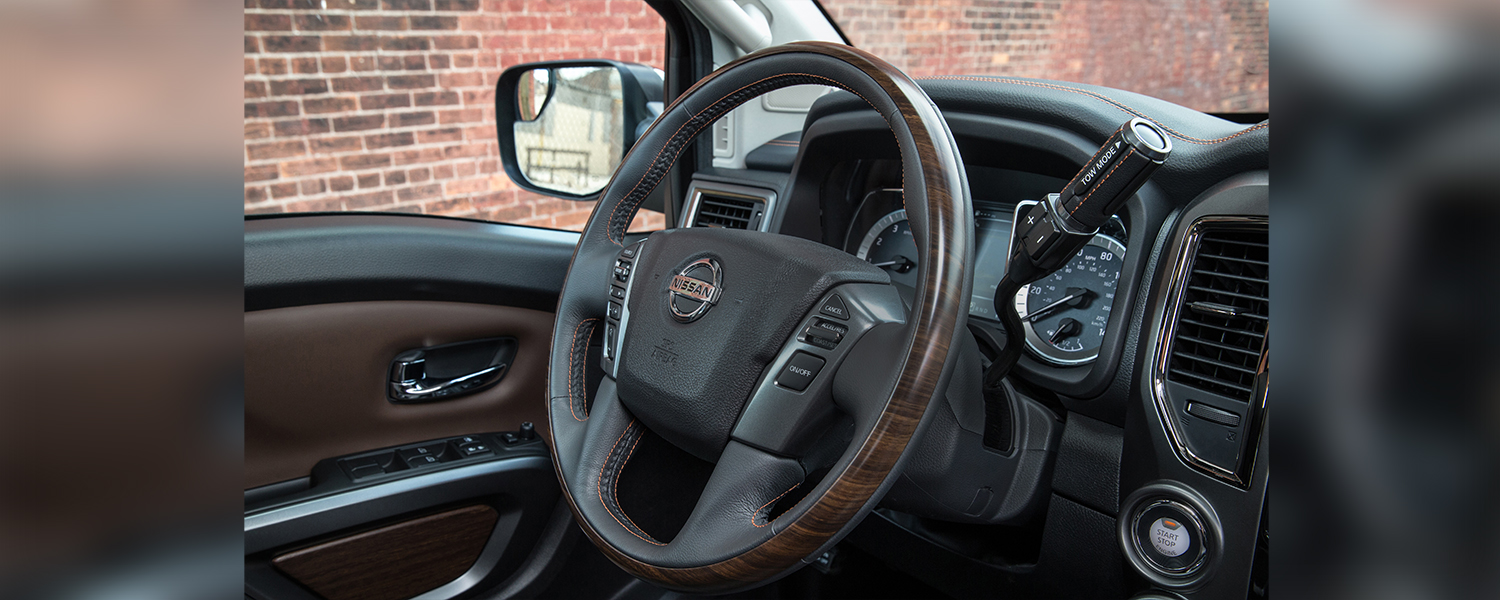
Credit: usa.nissannews.com
Installing The New Cover
Installing the new steering wheel upper cover accent is a key step. It improves the look and feel of your steering wheel. Proper installation ensures the cover fits well and stays secure. Take your time and follow these steps carefully.
Aligning The Cover Correctly
Start by placing the new cover near the steering wheel. Check the shape and edges to match the original. Align the cover so all holes and edges fit the wheel perfectly. Make small adjustments to avoid gaps or overlaps. Proper alignment helps avoid damage and ensures a clean look.
Securing The Cover In Place
Once aligned, press the cover firmly against the wheel. Use clips, screws, or adhesive as needed to hold it. Apply even pressure around the cover to secure all sides. Double-check that the cover does not move or shift. A tight fit keeps the cover safe during driving.
Testing And Final Checks
After installing the new steering wheel upper cover accent, it is important to test and check everything carefully. This step ensures your work is safe and looks good. Small issues can cause big problems later. Take time to do these final checks.
Ensuring Proper Fit
Check the cover for tightness and alignment. It should sit flush with the steering wheel. No gaps or loose edges must appear. Press around the cover to confirm it stays in place. A well-fitted cover prevents rattles and damage.
Checking Steering Wheel Functionality
Turn the steering wheel fully left and right. Listen for any unusual sounds or resistance. Make sure the horn and buttons work as before. The steering must move smoothly without obstruction. Testing these functions keeps driving safe and comfortable.
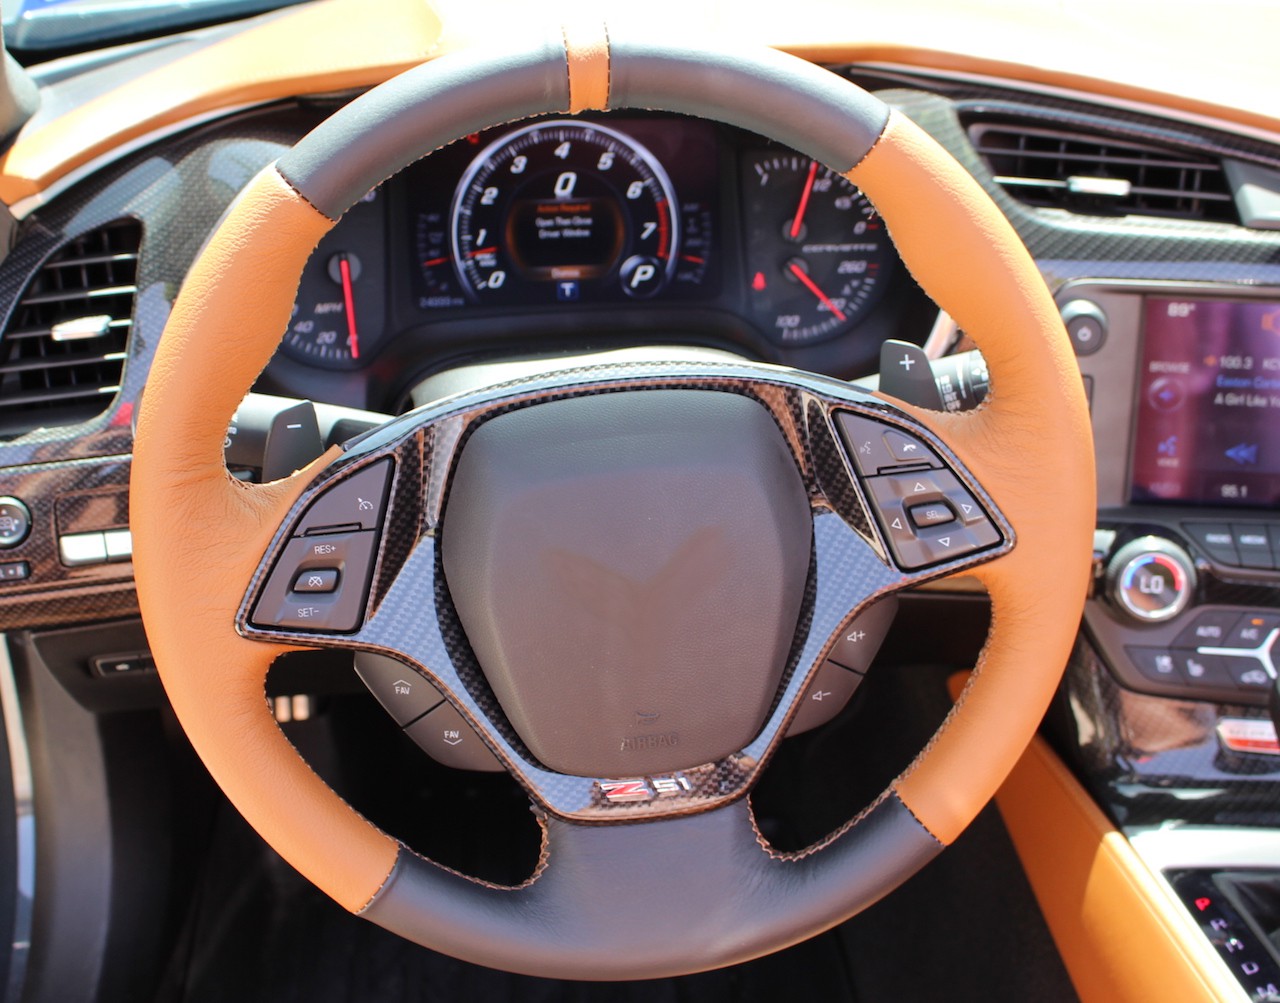
Credit: www.redlinegoods.com
Troubleshooting Common Issues
Troubleshooting is key when replacing a steering wheel upper cover accent. Problems often arise during installation. These issues can slow you down or cause damage. Knowing how to fix common problems helps finish the job quickly and safely.
Cover Misalignment Fixes
Misalignment happens when the cover does not fit evenly. It can cause gaps or pressure points. Start by loosening all screws or clips. Gently adjust the cover to fit snugly against the wheel. Check for any wiring or parts blocking the cover.
Use light pressure to align edges. Avoid forcing the cover, which can crack it. Test fit before tightening screws fully. Repeat adjustments until the cover fits perfectly. Proper alignment ensures a clean look and prevents damage.
Handling Stubborn Fasteners
Fasteners may stick due to rust or tight fittings. Apply a small amount of lubricant to ease removal. Let it sit for a few minutes. Use the correct size screwdriver or tool to avoid stripping screws.
Try gentle tapping with a rubber mallet if fasteners do not budge. Avoid excessive force that can break parts. If a screw is stripped, use a screw extractor tool. Patience is key to safely handling tough fasteners.
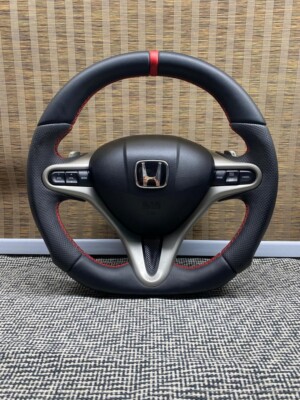
Credit: www.ebay.com
Frequently Asked Questions
How Do I Remove The Old Steering Wheel Upper Cover Accent?
To remove the old cover, first disconnect the car battery. Then gently pry off the cover using a plastic trim tool. Avoid using metal tools to prevent damage to the steering wheel surface or surrounding components.
What Tools Are Needed To Replace The Steering Wheel Accent?
You will need a plastic trim removal tool, screwdriver, and possibly a Torx driver. These tools help safely remove and reinstall the cover without scratching or damaging the steering wheel.
Can I Replace The Steering Wheel Cover Accent Myself?
Yes, you can replace it yourself if you follow the instructions carefully. Basic tools and some patience are required. Make sure to disconnect the battery for safety before starting.
How Long Does It Take To Replace The Steering Wheel Cover Accent?
Replacing the cover usually takes 15 to 30 minutes. The time varies depending on your experience and the vehicle model. Taking your time ensures a proper, damage-free installation.
Conclusion
Replacing the steering wheel upper cover accent is simple with clear steps. Take your time and follow each part carefully. Doing it yourself saves money and gives a fresh look. Keep tools ready and work in a clean space. After finishing, check the cover fits well and feels secure.
Regular care can keep your steering wheel looking nice. Try this task to improve your car’s interior easily. Enjoy the satisfaction of fixing things on your own.


