Your car’s wheel covers may seem like a small detail, but they play a big role in keeping your wheels protected and your vehicle looking sharp. If one of your wheel covers is damaged or missing, it’s easy to feel unsure about what to do next.
The good news? Replacing wheel covers is simpler than you think. In this guide, you’ll learn step-by-step how to replace your wheel covers quickly and safely, saving you time and money. Keep reading, and by the end, you’ll have the confidence to give your wheels a fresh, polished look all by yourself.

Credit: www.youtube.com
Tools Needed
Replacing wheel covers is a simple task that anyone can do. Having the right tools makes the job easier and faster. Prepare these basic tools before starting the replacement process.
Flathead Screwdriver
A flathead screwdriver helps to pry off the old wheel covers carefully. It fits under the edge and lifts the cover without damaging the wheel.
Rubber Mallet
A rubber mallet secures the new wheel cover in place. It applies gentle taps to avoid scratching or breaking the cover.
Gloves
Gloves protect your hands from dirt and sharp edges. They also improve your grip on tools and parts.
Cleaning Cloth
A cleaning cloth removes dust and dirt from the wheel surface. Clean wheels help the cover fit better and last longer.
Removing Old Wheel Covers
Removing old wheel covers is the first step in replacing them. It helps prepare your wheels for new covers. Taking off old covers carefully prevents damage to wheels and new covers.
Loosening The Covers
Start by loosening the wheel covers gently. Use a flat tool like a screwdriver or a plastic pry tool. Insert the tool between the wheel and the cover edge. Twist the tool slowly to lift the cover a little. Move around the cover to loosen it evenly. Avoid forcing the cover too much to stop breaking it.
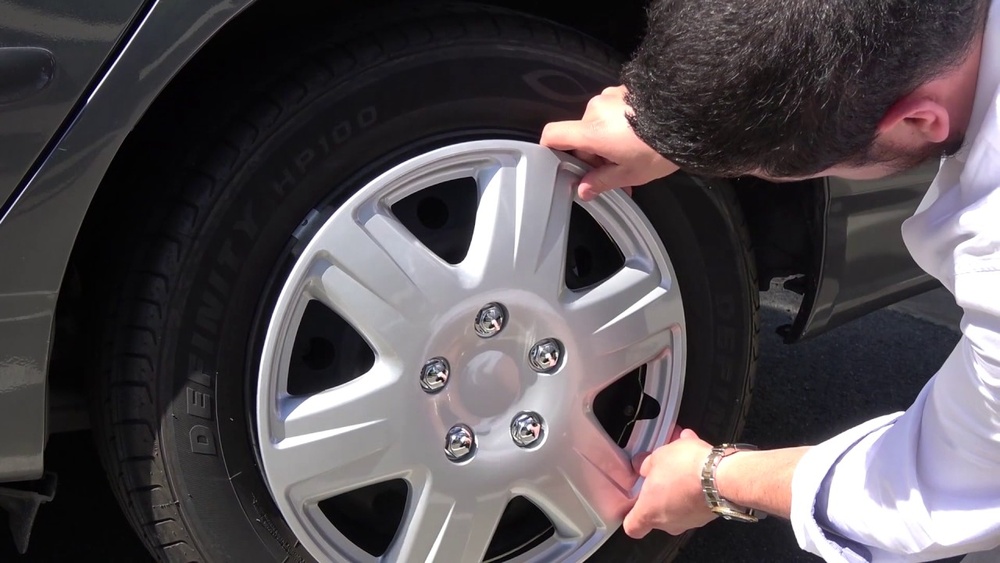
Safely Taking Off Covers
After loosening, pull the cover away from the wheel. Hold the wheel firmly with one hand. Use the other hand to pull the cover straight off. If the cover feels stuck, loosen it more before pulling. Place the removed covers in a safe spot. This keeps them from getting scratched or lost.
Choosing The Right Replacement
Choosing the right replacement wheel covers is key to a smooth and good-looking repair. Picking the correct size and style ensures the covers fit well and match your vehicle. Material matters too, as it affects durability and appearance. This section guides you through these important choices.
Matching Size And Style
Start by checking your current wheel cover size. Sizes are usually marked on the back or in your car manual. The cover must fit snugly on the wheel to avoid falling off. Style matters for the car’s look. Choose a design that matches or improves the original look. Simple or modern styles work for many cars.
Material Options
Wheel covers come in plastic, metal, or alloy. Plastic covers are light and cheap but less durable. Metal covers last longer and resist dents better. Alloy covers offer a mix of strength and style. Consider your driving habits and weather conditions before choosing. Durable material saves money over time.
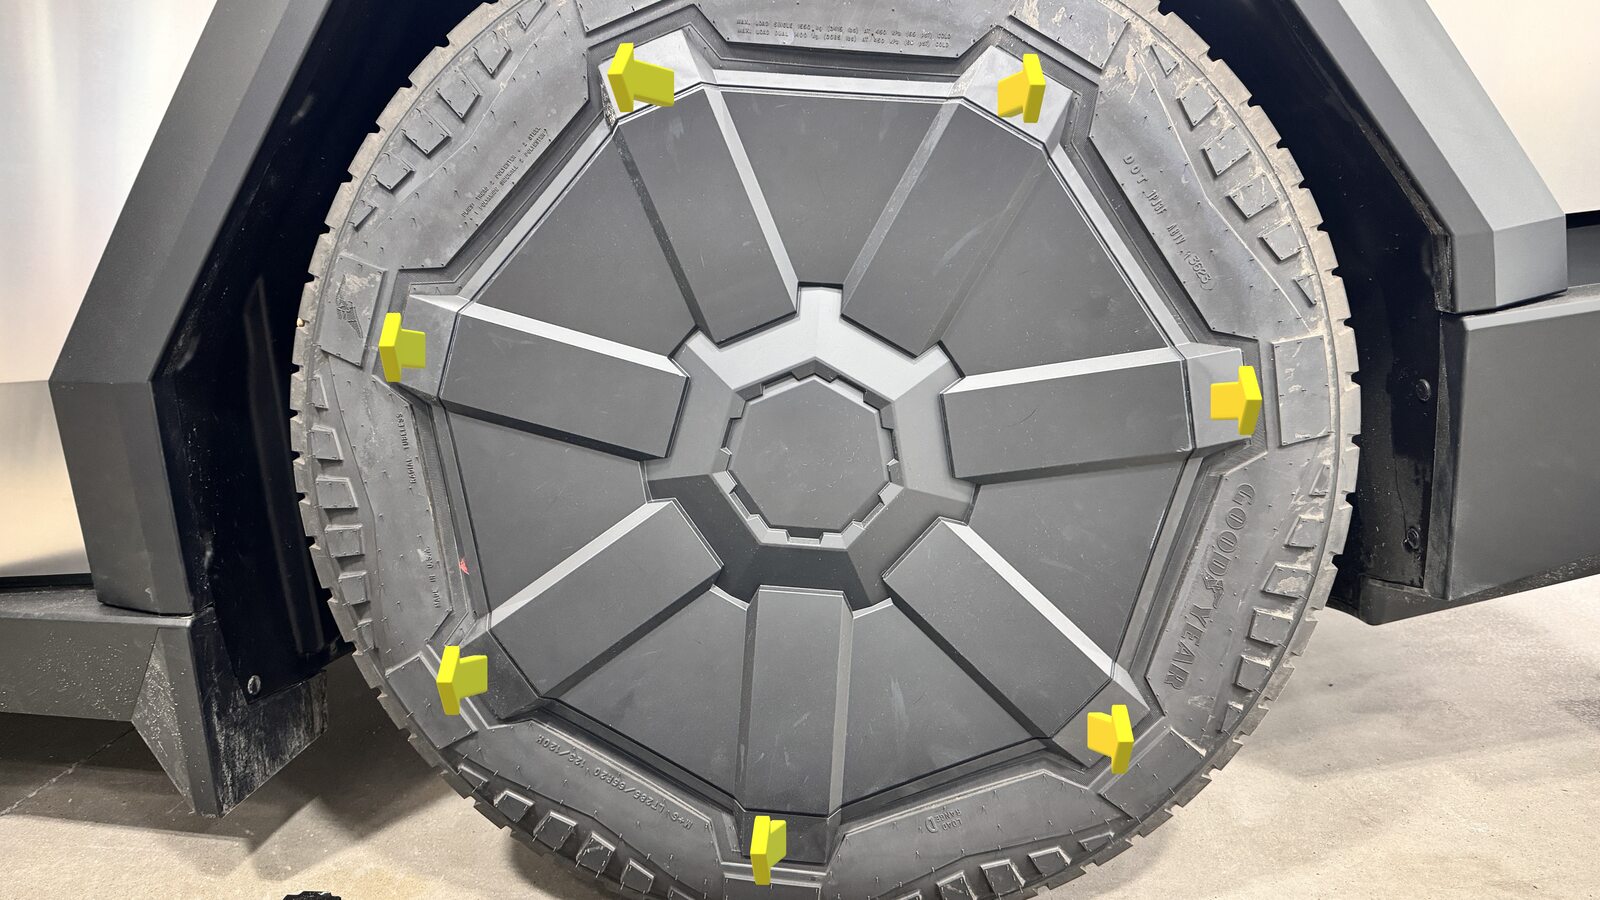
Credit: service.tesla.com
Preparing Wheels For New Covers
Preparing your wheels for new covers is an important step. It helps the new covers fit well and last longer. Proper preparation also keeps your wheels safe and looking good. Start by making sure the wheel surface is clean and free from dirt. Then, check for any damage that could affect the new cover’s fit. Taking these steps makes the replacement process smoother and more effective.
Cleaning The Surface
Remove all dirt, dust, and grease from the wheel surface. Use a brush or cloth with mild soap and water. Clean every part where the wheel cover will touch. Rinse the wheel thoroughly to remove soap. Dry the wheel with a clean towel. A clean surface helps the cover stick and prevents damage.
Inspecting For Damage
Look closely for scratches, dents, or cracks on the wheel. Small damage can cause the cover to fit poorly or fall off. Check the wheel edges where the cover clips will hold. Fix any damage before placing the new cover. Replace the wheel if the damage is severe. This ensures a safe and secure fit for the new covers.
Installing New Wheel Covers
Installing new wheel covers can refresh your car’s look quickly. The process is simple and requires no special tools. Focus on careful alignment and secure fitting for the best result.
Aligning Properly
Start by matching the wheel cover’s clips with the wheel’s rim holes. Hold the cover close to the wheel and line it up. Make sure the valve stem on the tire fits through the cover’s opening. This helps keep the cover in place and avoids damage.
Securing The Cover
Press the wheel cover firmly against the wheel. Use your hands to push evenly around the edges. You may hear clicks as the clips snap into the rim. Check all sides to ensure the cover sits tight and does not wiggle. A secure fit prevents the cover from falling off while driving.

Credit: www.wikihow.com
Checking For A Secure Fit
Checking for a secure fit is an important step after placing the wheel cover. It ensures the cover stays in place while driving. A loose cover can fall off and cause problems on the road. This step helps keep your wheel covers safe and your car looking good.
Press And Hold The Wheel Cover Firmly
Push the wheel cover against the wheel firmly. Hold it for a few seconds. This helps the clips or fasteners lock into place. Make sure you apply even pressure around the cover.
Check For Gaps Around The Edges
Look closely at the edges of the wheel cover. No gaps should appear between the cover and the wheel. Gaps mean the cover is not fully attached. Adjust the cover by pressing more firmly if needed.
Try Gently Pulling The Cover
Pull the wheel cover gently to test its hold. A securely fitted cover will not move or come off. If it shifts or feels loose, press it again. Repeat until the cover feels tight and secure.
Spin The Wheel Slowly
Turn the wheel slowly by hand. Watch the wheel cover as it moves. It should stay in place and not wobble. If it moves, recheck the fit and press the cover harder.
Maintenance Tips
Proper maintenance keeps your wheel covers looking new and lasting longer. Simple care steps prevent damage and save money. Regular cleaning and careful handling make a big difference. Follow these tips to keep your wheel covers in great shape.
Cleaning Techniques
Wash wheel covers with mild soap and water. Use a soft cloth or sponge to avoid scratches. Avoid harsh chemicals that can damage the surface. Rinse thoroughly to remove all soap. Dry covers with a clean towel to stop water spots. Clean covers often to prevent dirt build-up.
Preventing Damage
Handle wheel covers gently during removal and installation. Avoid dropping or hitting them on hard surfaces. Park away from curbs to prevent scrapes and dents. Store covers in a safe place when not in use. Check for cracks or loose parts regularly. Replace damaged covers to protect your wheels.
Frequently Asked Questions
How Do I Remove Old Wheel Covers Safely?
To remove old wheel covers, use a flathead screwdriver or pry tool. Gently insert it between the cover and rim. Pry slowly around the cover’s edge to avoid damage. Work your way evenly until the cover pops off completely without bending it.
What Tools Are Needed To Replace Wheel Covers?
You typically need a flathead screwdriver or pry tool to remove covers. For installation, no special tools are required. Simply align the cover with the wheel and press firmly. Make sure the clips or fasteners snap into place securely to avoid loss.
How To Choose The Right Size Wheel Cover?
Measure your wheel diameter in inches to find the right cover size. Wheel covers come in standard sizes like 14, 15, or 16 inches. Check your vehicle’s manual or existing cover for size details. Correct sizing ensures a snug fit and protects your wheels.
Can I Replace Wheel Covers Myself?
Yes, replacing wheel covers is a simple DIY task. It requires no special skills or tools. Just remove the old covers and snap the new ones on. Ensure the covers fit properly and clips are secure to avoid them falling off while driving.
Conclusion
Replacing wheel covers is easier than many think. Follow the steps carefully for best results. Use the right tools and take your time. A good fit keeps your wheels safe and looking neat. Regular checks help keep covers secure and damage-free.
Doing this yourself saves money and builds confidence. Now, you can keep your car’s look fresh and tidy. Simple tasks like this make car care less stressful. Give it a try and enjoy the satisfaction of a job well done.


