
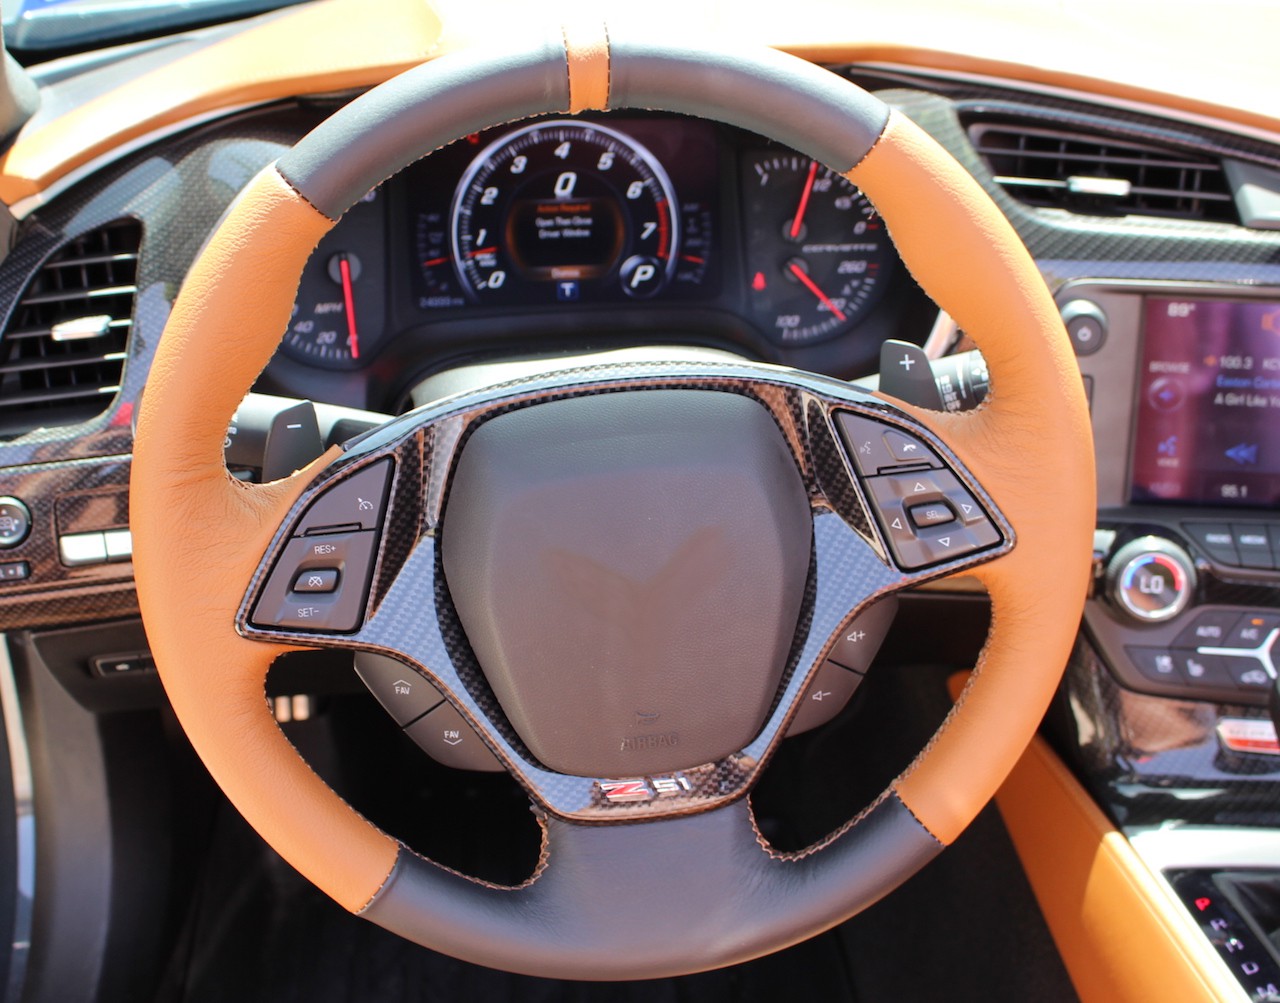
If you want to give your car’s interior a sleek, sporty look while improving your grip on the wheel, stitching your own race leather steering wheel cover is a great project for you. It’s easier than you might think, and the result will make you feel more connected to your drive every time you get behind the wheel.
In this guide, you’ll discover simple steps and expert tips that will help you stitch a professional-looking leather cover, even if you’ve never worked with leather before. Ready to transform your steering wheel and enjoy a more comfortable, stylish ride?
Let’s get started!

Credit: www.youtube.com
Materials Needed
Before stitching a race leather steering wheel cover, gather the right materials. Having quality tools and supplies makes the project easier and the result better. Use materials that fit your steering wheel size and your style. Prepare everything before you start to avoid interruptions.
Leather Selection
Choose leather that feels soft and strong. Full-grain or top-grain leather works best for durability. Pick a thickness that fits snugly around your wheel. Consider leather with a good grip to improve handling. Select a color that matches your car’s interior for a stylish look.
Thread And Needle
Use strong, thick thread made for leather work. Nylon or polyester thread lasts longer and resists wear. Pick a color that contrasts or blends with your leather. Choose a leather stitching needle with a sharp point. The needle should be sturdy enough to go through tough leather.
Additional Tools
Get a pair of sharp scissors to cut leather cleanly. Use leather glue to hold pieces before stitching. Have a stitching pony or clamp to keep leather steady. Get a ruler or measuring tape for precise cuts. Use an awl to punch holes for stitching if needed.
Preparing The Steering Wheel
Before stitching a race leather steering wheel cover, prepare the wheel carefully. This step ensures the cover fits well and lasts long. A clean and measured surface helps the leather stick and look neat.
Skipping preparation can cause loose stitching or a bad fit. Take time to clean and measure the steering wheel. These tasks set a strong base for the entire project.
Cleaning The Surface
Start by wiping the steering wheel with a damp cloth. Remove dust, dirt, and oils that can stop glue from sticking. Use mild soap if needed, but avoid harsh chemicals. Let the wheel dry completely before moving on.
Clean surfaces help the leather grip better. This step also prevents bad smells and keeps the wheel fresh.
Measuring The Wheel
Measure the steering wheel’s circumference using a soft tape. Wrap it around the wheel’s widest part. Note the length in inches or centimeters. This measurement guides cutting the leather cover to size.
Also, measure the wheel’s width. Knowing both length and width ensures the cover fits snugly. Accurate measuring avoids tight spots or loose areas on the cover.
Cutting The Leather
Cutting the leather is a key step in making a race leather steering wheel cover. It shapes the leather to fit perfectly around the wheel. Accurate cutting ensures a smooth fit and neat look. Careful measuring and cutting also help the stitching stay strong and even.
Take your time during this step. Use sharp tools and steady hands for the best results. The leather must match the wheel’s size and shape exactly.
Creating A Template
Start by making a paper template of your steering wheel. Wrap paper around the wheel to trace the exact shape. Mark the edges clearly with a pencil. Add a small extra margin for stitching space. This template guides your leather cutting.
Check the template fits well on the wheel. Adjust if any part looks off. A good template saves leather and prevents errors.
Trimming The Leather
Place the paper template on the leather piece. Use a sharp utility knife or leather scissors. Cut slowly and follow the template edges closely. Smooth, clean cuts avoid rough edges that show after stitching.
Trim the leather in a flat, well-lit area. Keep your hands steady to prevent slips. Remove any excess leather beyond the stitching margin. This makes the cover fit snugly and look professional.
Marking Stitch Points
Marking stitch points is a key step in making a race leather steering wheel cover. It sets the path for your stitching. Clear, even marks help keep the stitches tight and neat. This step makes sure the leather fits well and looks professional.
Spacing The Holes
Start by measuring the wheel’s circumference. Divide it by the number of stitch points you want. This gives even spacing for each hole. Use a ruler or tape measure for accuracy. Mark small dots with a pencil or tailor’s chalk. Keep the marks light to avoid visible stains.
Even spacing prevents bunching and loose spots. Keep the distance between holes consistent. About 1/4 inch apart works well for most covers. Adjust slightly for thicker or thinner leather. Mark on both edges of the leather strip for alignment.
Using A Stitching Awl
A stitching awl makes clean, precise holes in the leather. Choose one with a sharp, narrow tip. Position the awl on each marked spot. Press firmly but gently to pierce through the leather. Avoid pushing too hard to prevent tears.
Make holes straight and deep enough for the thread. Check each hole fits your thread size. If holes are too small, the leather may tear during stitching. If too big, the stitches will be loose. Take your time and work carefully for best results.
Stitching Techniques
Stitching techniques are key to making a race leather steering wheel cover strong and stylish. Good stitches hold the leather tight and give a neat look. Different stitching styles change how the cover feels and lasts. Below are two easy and popular stitching methods for this project.
Basic Saddle Stitch
The basic saddle stitch is simple and very strong. It uses two needles and a single thread that crosses inside each hole. This makes the stitch tight and less likely to come undone. Start by making holes evenly along the leather edges. Push one needle through the hole from one side and the other needle from the opposite side. Pull both threads tight after each stitch. This stitch gives a clean, classic look that fits well on any steering wheel cover.
Cross Stitch Pattern
The cross stitch pattern adds a decorative touch while keeping the cover secure. It forms X shapes along the seam, making the cover look sporty. To create it, punch holes in pairs along the leather edges. Pass the thread diagonally from one hole to the opposite side, then cross back in the next pair. Keep stitches even and tight. This pattern gives extra grip and a bold style to your steering wheel cover.
Credit: www.redlinegoods.com
Attaching The Cover
Attaching a race leather steering wheel cover takes care and patience. The cover must fit tightly around the wheel for safety and style. Follow each step carefully to avoid loose edges or wrinkles. Proper attachment ensures a neat look and long-lasting use.
Fitting The Leather
Start by placing the leather cover over the steering wheel. Stretch it evenly around the entire wheel. Check that the cover lines up with the wheel’s shape. Adjust the leather to avoid folds or gaps. The cover should feel snug but not too tight. Take your time to make sure it fits smoothly.
Securing The Ends
Once the leather fits well, secure the ends with stitching. Use a strong thread designed for leather. Begin stitching at one end and pull the thread tight as you go. Make small, even stitches to keep the cover in place. Tie off the thread securely to prevent unraveling. Trim any extra thread for a clean finish.
Finishing Touches
Finishing touches make your race leather steering wheel cover look neat and last longer. These small steps protect your work and give a clean, polished look. Take time for these last details. They improve both style and durability.
Trimming Excess Thread
Cut all extra threads close to the leather surface. Use sharp scissors for a clean cut. Avoid pulling threads loose. Trim carefully to prevent unraveling. Check the entire cover for stray threads. This step keeps the stitching tight and tidy.
Conditioning The Leather
Apply leather conditioner to keep the cover soft and strong. Use a small amount on a clean cloth. Rub gently in circular motions. Conditioning prevents cracking and drying. Let the leather absorb the conditioner fully. This step helps the cover stay fresh and comfortable.
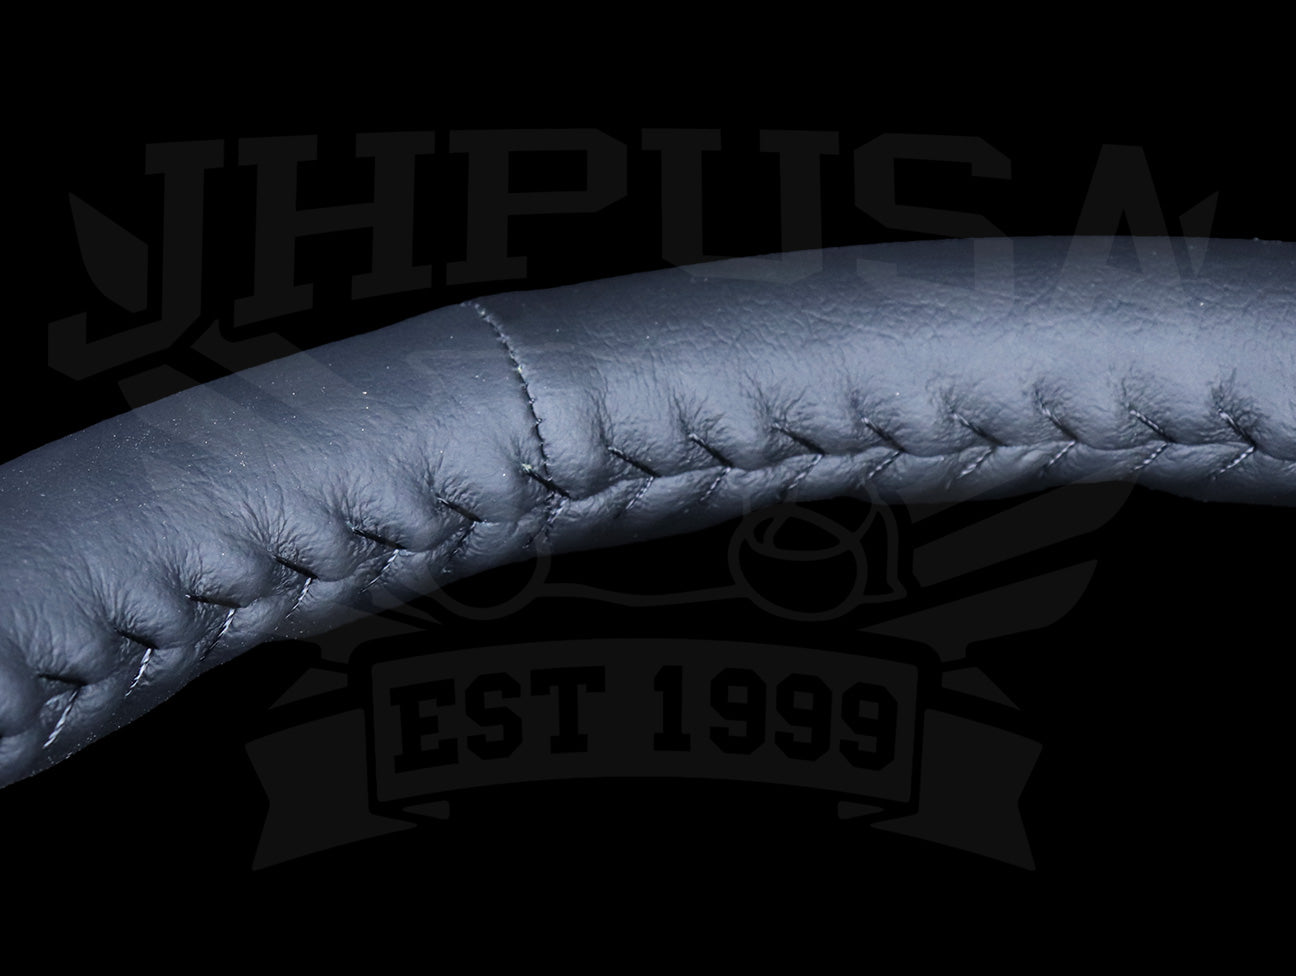
Credit: jhpusa.com
Frequently Asked Questions
How Do I Start Stitching A Race Leather Steering Wheel Cover?
Begin by aligning the leather cover evenly around the wheel. Use strong, waxed thread and a curved needle. Secure with a simple knot before starting the stitch. Begin stitching from the bottom center for a balanced finish.
What Tools Are Needed To Stitch Leather Steering Wheel Covers?
You need a curved leather needle, waxed thread, scissors, and a leather hole punch. Optional tools include leather glue and stitching awl. These tools ensure precise, durable, and neat stitching on your steering wheel cover.
How Long Does It Take To Stitch A Leather Steering Wheel Cover?
On average, it takes about 2 to 4 hours. Time varies by skill level and stitching pattern complexity. Patience and precision are key to achieving a professional look.
Can I Stitch A Steering Wheel Cover Without Experience?
Yes, beginners can stitch with practice and patience. Start with simple stitching patterns and follow tutorials. Using pre-punched holes or a hole punch tool simplifies the process. Practice on scrap leather before starting your cover.
Conclusion
Stitching a race leather steering wheel cover takes patience and care. Follow each step slowly to avoid mistakes. Use good quality thread and tools for best results. A well-stitched cover feels comfortable and lasts longer. Practice helps improve your stitching skills.
Enjoy the process as you create something unique. Now, your steering wheel looks sporty and stylish. Give your car a personal touch with this simple project.