Are you looking to give your car a fresh, stylish look without spending a fortune? Vinyl wrapping your car roof might be the perfect solution.
It’s a cost-effective way to change your car’s appearance and protect the original paint. But if you’ve never done it before, the process can seem tricky. Don’t worry—this guide will walk you through each step, making it easy for you to achieve a smooth, professional finish.
By the end, you’ll know exactly how to vinyl wrap your car roof and transform your ride with confidence. Keep reading, and let’s get started!
Choosing The Right Vinyl
Choosing the right vinyl is key to a great car roof wrap. The vinyl affects the look, durability, and ease of installation. Understanding different types and qualities helps pick the best fit for your needs.
Types Of Vinyl Films
There are cast and calendered vinyl films. Cast vinyl is thin and flexible. It molds well to curves and lasts longer. Calendered vinyl is thicker and less flexible. It suits flat surfaces better and costs less. Pick cast vinyl for curved roofs for a smooth finish.
Color And Finish Options
Vinyl comes in many colors and finishes. Glossy finishes shine and look like paint. Matte finishes reduce glare and give a modern look. Satin finishes sit between glossy and matte. Choose a color that matches your style and finish that suits your car’s look.
Quality Indicators
High-quality vinyl lasts longer and resists fading. Look for vinyl with UV protection and strong adhesive. Thicker vinyl usually means better durability. Check reviews or brand reputation before buying. Good vinyl also peels off cleanly without damage.
Preparing The Car Roof
Preparing the car roof is the first step in a successful vinyl wrap job. A clean, smooth surface helps the vinyl stick better and last longer. Take your time to get the roof ready. This makes the wrapping process easier and the results neater.
Start by removing any dirt, grease, or old vinyl. Check the roof carefully for damage. Fix any problems before applying the new wrap. This preparation ensures a smooth, professional finish.
Cleaning And Degreasing
Use soap and water to wash the car roof. Remove all dirt and dust. After washing, apply a degreaser. This removes oils and residues that block vinyl adhesion. Wipe the roof with a clean cloth. Let the surface dry completely before moving on.
Removing Old Wraps Or Debris
Check the roof for old vinyl pieces or stickers. Peel off any remaining wrap carefully. Use a plastic scraper to avoid scratches. Remove all glue and debris left behind. A clean surface helps the new vinyl stick properly.
Surface Inspection And Repairs
Look closely for dents, scratches, or rust spots. Small dents can be fixed with filler putty. Sand the repaired areas smooth once dry. Rust must be treated to stop spreading. A smooth, damage-free roof ensures the vinyl lays flat and looks good.
Tools And Materials Needed
Vinyl wrapping a car roof needs specific tools and materials. These items help you apply the vinyl smoothly. Using the right tools saves time and prevents mistakes. Below is a list of what you need to get started.
Essential Wrapping Tools
Start with a clean surface. Use a good cleaning spray and microfiber cloth. You need a sharp utility knife to cut vinyl precisely. A measuring tape helps you cut the right size. A plastic scraper or a felt-edge squeegee removes air bubbles. These tools make the wrapping process easier and neater.
Heat Guns And Squeegees
A heat gun softens the vinyl for better stretching. Use it carefully to avoid damage. A squeegee pushes out air and smooths the vinyl. Felt-edge squeegees protect the vinyl from scratches. Both tools work together to give a smooth finish.
Safety Gear
Wear gloves to protect your hands from cuts and heat. Safety glasses keep your eyes safe during cutting and heating. Work in a well-ventilated area to avoid breathing in fumes. Safety gear keeps you safe and comfortable throughout the job.

Credit: www.youtube.com
Measuring And Cutting The Vinyl
Measuring and cutting vinyl for a car roof requires care and attention. Accurate measurements help avoid waste and ensure a smooth wrap. Cutting the vinyl precisely makes installation easier and results in a clean finish. Planning for stretch and overlap allows the vinyl to fit perfectly over curves and edges.
Accurate Measurement Techniques
Start by cleaning the car roof. Use a tape measure to get the length and width. Measure the roof in sections if it has curves or edges. Write down each measurement clearly. Double-check all numbers before cutting the vinyl. Small errors can cause big problems later.
Cutting Tips For Precision
Use a sharp utility knife or vinyl cutter. Cut on a flat, clean surface to avoid mistakes. Follow the measurements exactly, but leave extra space for adjustments. Cut slowly and steadily to keep straight lines. Avoid jagged edges by using a ruler as a guide.
Allowing For Stretch And Overlap
Vinyl needs extra material to stretch over curves. Add about 3 to 4 inches on each side for overlap. Overlap helps secure the vinyl firmly to the roof edges. Stretch the vinyl gently during installation to avoid wrinkles. Proper overlap keeps the vinyl from lifting over time.
Applying The Vinyl Wrap
Applying the vinyl wrap on a car roof needs care and patience. The process must be done step by step. This part focuses on how to place and smooth the vinyl for the best look. Attention to detail here makes a big difference.
Positioning The Vinyl
Start by laying the vinyl over the roof carefully. Align it so it covers the entire area evenly. Avoid stretching the wrap too much at this stage. Check that edges reach all corners without gaps. Use magnets or tape to hold it lightly in place.
Using Heat For Flexibility
Use a heat gun or hair dryer to warm the vinyl. Heat makes the wrap soft and easier to shape. Gently warm the surface as you work. Move the heat source in small circles for even warmth. Be careful not to overheat; too much heat can damage the vinyl.
Smoothing Out Air Bubbles
Use a squeegee or soft cloth to press out air bubbles. Start from the center and push toward edges. Work slowly to avoid new bubbles forming. Small bubbles can be lifted and smoothed again. Keep the surface flat and tight for a clean finish.
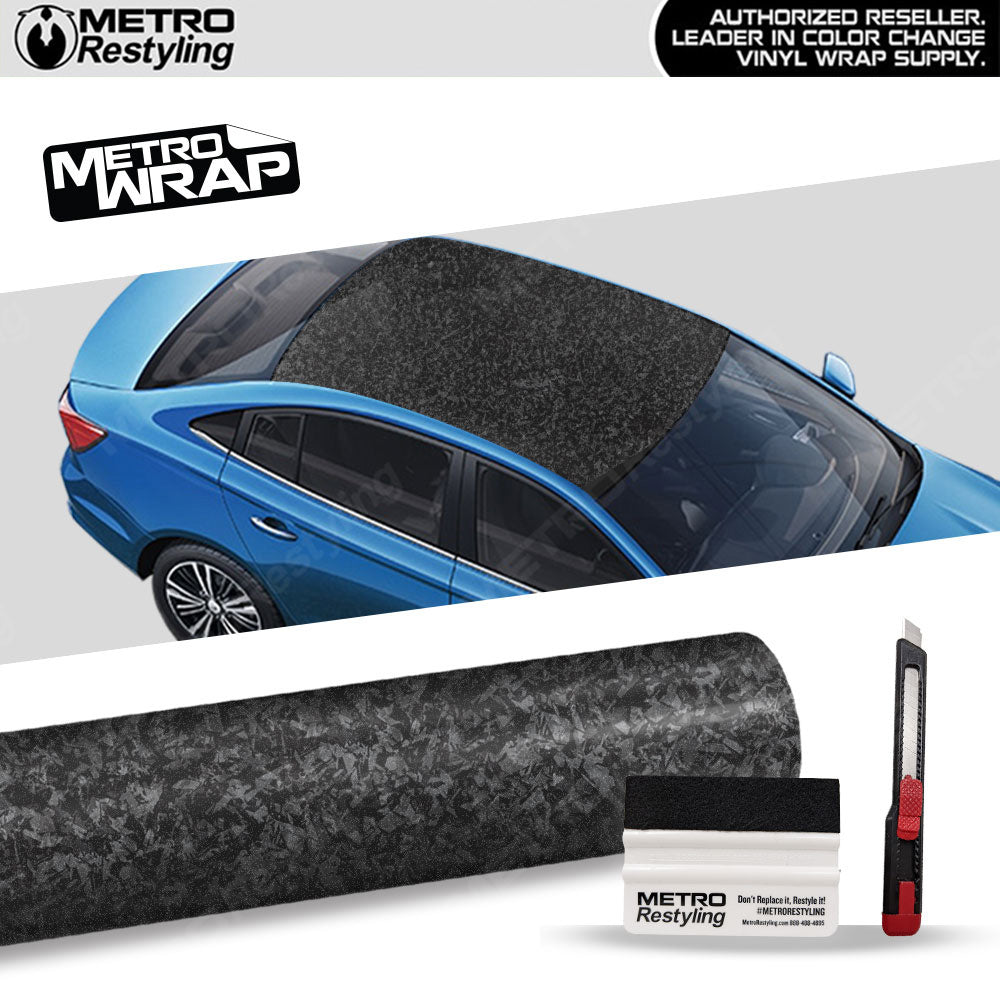
Credit: metrorestyling.com
Handling Edges And Curves
Handling edges and curves is one of the most important steps in vinyl wrapping a car roof. These parts need special care to avoid bubbles, wrinkles, or tears. Proper techniques ensure a smooth and clean finish.
Stretching Techniques
Stretch the vinyl carefully over curves. Use a heat gun to warm the vinyl slightly. This makes it more flexible and easier to shape. Pull the vinyl gently to avoid tearing. Stretching helps the vinyl fit snugly around roof edges.
Tucking And Trimming
Tuck excess vinyl into corners and edges. Use a sharp blade to trim away extra material. Cut slowly and precisely to prevent damage. Proper trimming gives the wrap a neat and professional look. Tucking keeps the vinyl secure and smooth.
Dealing With Complex Roof Shapes
Complex roof shapes need extra patience and care. Work on one section at a time. Use heat and stretching to fit vinyl around curves and dips. Avoid rushing to prevent creases. Take small steps and check your work often.
Finishing Touches
Finishing touches are key to a smooth and long-lasting vinyl wrap on your car roof. This stage ensures the wrap stays in place and looks neat. It also protects the edges from lifting and damage. Follow these steps carefully to complete your vinyl wrap project with a professional look.
Sealing The Edges
Seal the edges of the vinyl wrap to prevent peeling. Use a heat gun to warm the edges slightly. Press down with a squeegee or your fingers to stick the vinyl firmly. Apply edge sealer or adhesive promoter for extra hold. This step stops dirt and water from getting underneath the wrap.
Post-application Heating
Heat the entire wrapped roof gently after application. Use a heat gun or infrared lamp to warm the vinyl evenly. This action helps the vinyl conform to curves and tight spots. It also activates the adhesive for a stronger bond. Move the heat source constantly to avoid damage or bubbles.
Cleaning And Maintenance Tips
Clean your wrapped roof regularly with a soft cloth and mild soap. Avoid harsh chemicals or abrasive materials. Dry the surface fully to prevent water spots. Check the edges often for any signs of lifting. Address small problems early to keep the wrap looking fresh longer.
Common Mistakes To Avoid
Vinyl wrapping a car roof can be rewarding but tricky. Avoiding common mistakes saves time and money. Knowing what to watch out for helps you get smooth, lasting results.
Wrinkles And Bubbles
Wrinkles and bubbles ruin the smooth look of a vinyl wrap. They happen when the vinyl isn’t stretched or smoothed properly. Work slowly and use a squeegee to push out air pockets. Heat the vinyl gently to make it more flexible. Take care near edges and curves to avoid creases.
Improper Adhesion
Vinyl needs good adhesion to stick well and last long. Poor adhesion causes peeling or lifting edges. Press the vinyl firmly, especially on corners and edges. Use a heat gun to activate the glue. Avoid touching the sticky side with dirty hands or gloves.
Ignoring Surface Preparation
Surface preparation is key to a clean wrap. Dirt, dust, and grease stop vinyl from sticking. Clean the roof thoroughly with soap and water first. Then use rubbing alcohol to remove oils. Make sure the surface is completely dry before applying the wrap.
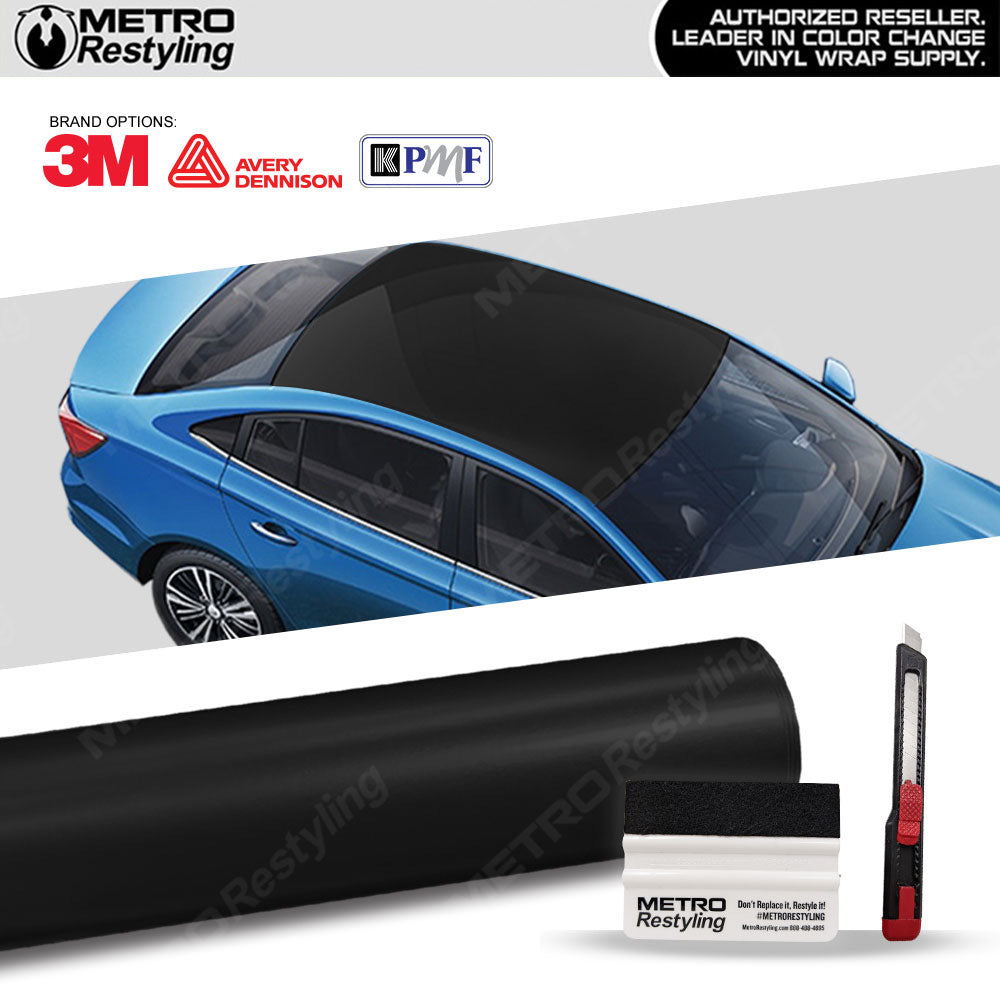
Credit: metrorestyling.com
Frequently Asked Questions
What Tools Do I Need To Vinyl Wrap A Car Roof?
You need a vinyl wrap film, squeegee, heat gun, knife, cleaning solution, and gloves. These tools ensure smooth application and proper adhesion of the vinyl to your car roof.
How Long Does Vinyl Wrapping A Car Roof Take?
Vinyl wrapping a car roof typically takes 2 to 4 hours. Time depends on experience, roof size, and prep work like cleaning and trimming.
Can I Vinyl Wrap A Car Roof Myself?
Yes, you can wrap a car roof yourself with patience and practice. Follow instructions carefully, use the right tools, and work in a dust-free environment.
How Do I Prepare My Car Roof For Vinyl Wrapping?
Clean the roof thoroughly with soap and water, then use an alcohol-based cleaner. Remove dirt, wax, and grease for better vinyl adhesion and a smooth finish.
Conclusion
Vinyl wrapping a car roof can change its look quickly. Take your time and work carefully for best results. Clean the roof well before you start. Use a heat gun to smooth out wrinkles. Stretch the vinyl gently to fit curves.
Small bubbles can be pushed out with a squeegee. Practice on a small area first to build confidence. A neat wrap protects your roof and looks great. Try this project and enjoy a fresh, new style.