
Have you ever wanted to give your cylinder a fresh, stylish look without spending a fortune? Vinyl wrapping is the perfect way to do just that.
It’s affordable, customizable, and can completely change the appearance of your item. But wrapping a cylinder can seem tricky at first. Don’t worry—you’re about to learn simple, step-by-step tips that make the process easy and fun. By the end of this article, you’ll have the confidence to wrap your cylinder like a pro and enjoy a smooth, flawless finish every time.
Ready to transform your cylinder? Let’s dive in!
Preparing The Cylinder
Preparing the cylinder is the first important step in vinyl wrapping. This process ensures the vinyl sticks well and lasts longer. A smooth, clean surface helps avoid bubbles and wrinkles. Take your time with preparation for the best results.
Cleaning The Surface
Start by cleaning the cylinder thoroughly. Use soap and water to remove dirt and dust. Rinse well and dry with a soft cloth. Oils and grease can stop the vinyl from sticking. Use rubbing alcohol on a clean cloth to remove any leftover oils. Make sure the surface is fully dry before moving on.
Removing Old Wraps Or Paint
Check if the cylinder has old wraps or loose paint. Vinyl will not stick properly on these. Peel off any old vinyl carefully. Use a plastic scraper to avoid damaging the surface. If there is loose paint, sand it down gently. Wipe the surface clean after sanding. The cylinder must be smooth and free of debris.
Measuring And Cutting The Vinyl
Measure the cylinder’s length and circumference accurately. Add a little extra to your measurements for overlap. Use a ruler and marker to mark the vinyl sheet. Cut the vinyl carefully along the marks. Straight, clean cuts help the vinyl wrap fit perfectly. Prepare the vinyl pieces before starting to wrap.
Credit: alwanwraps.com
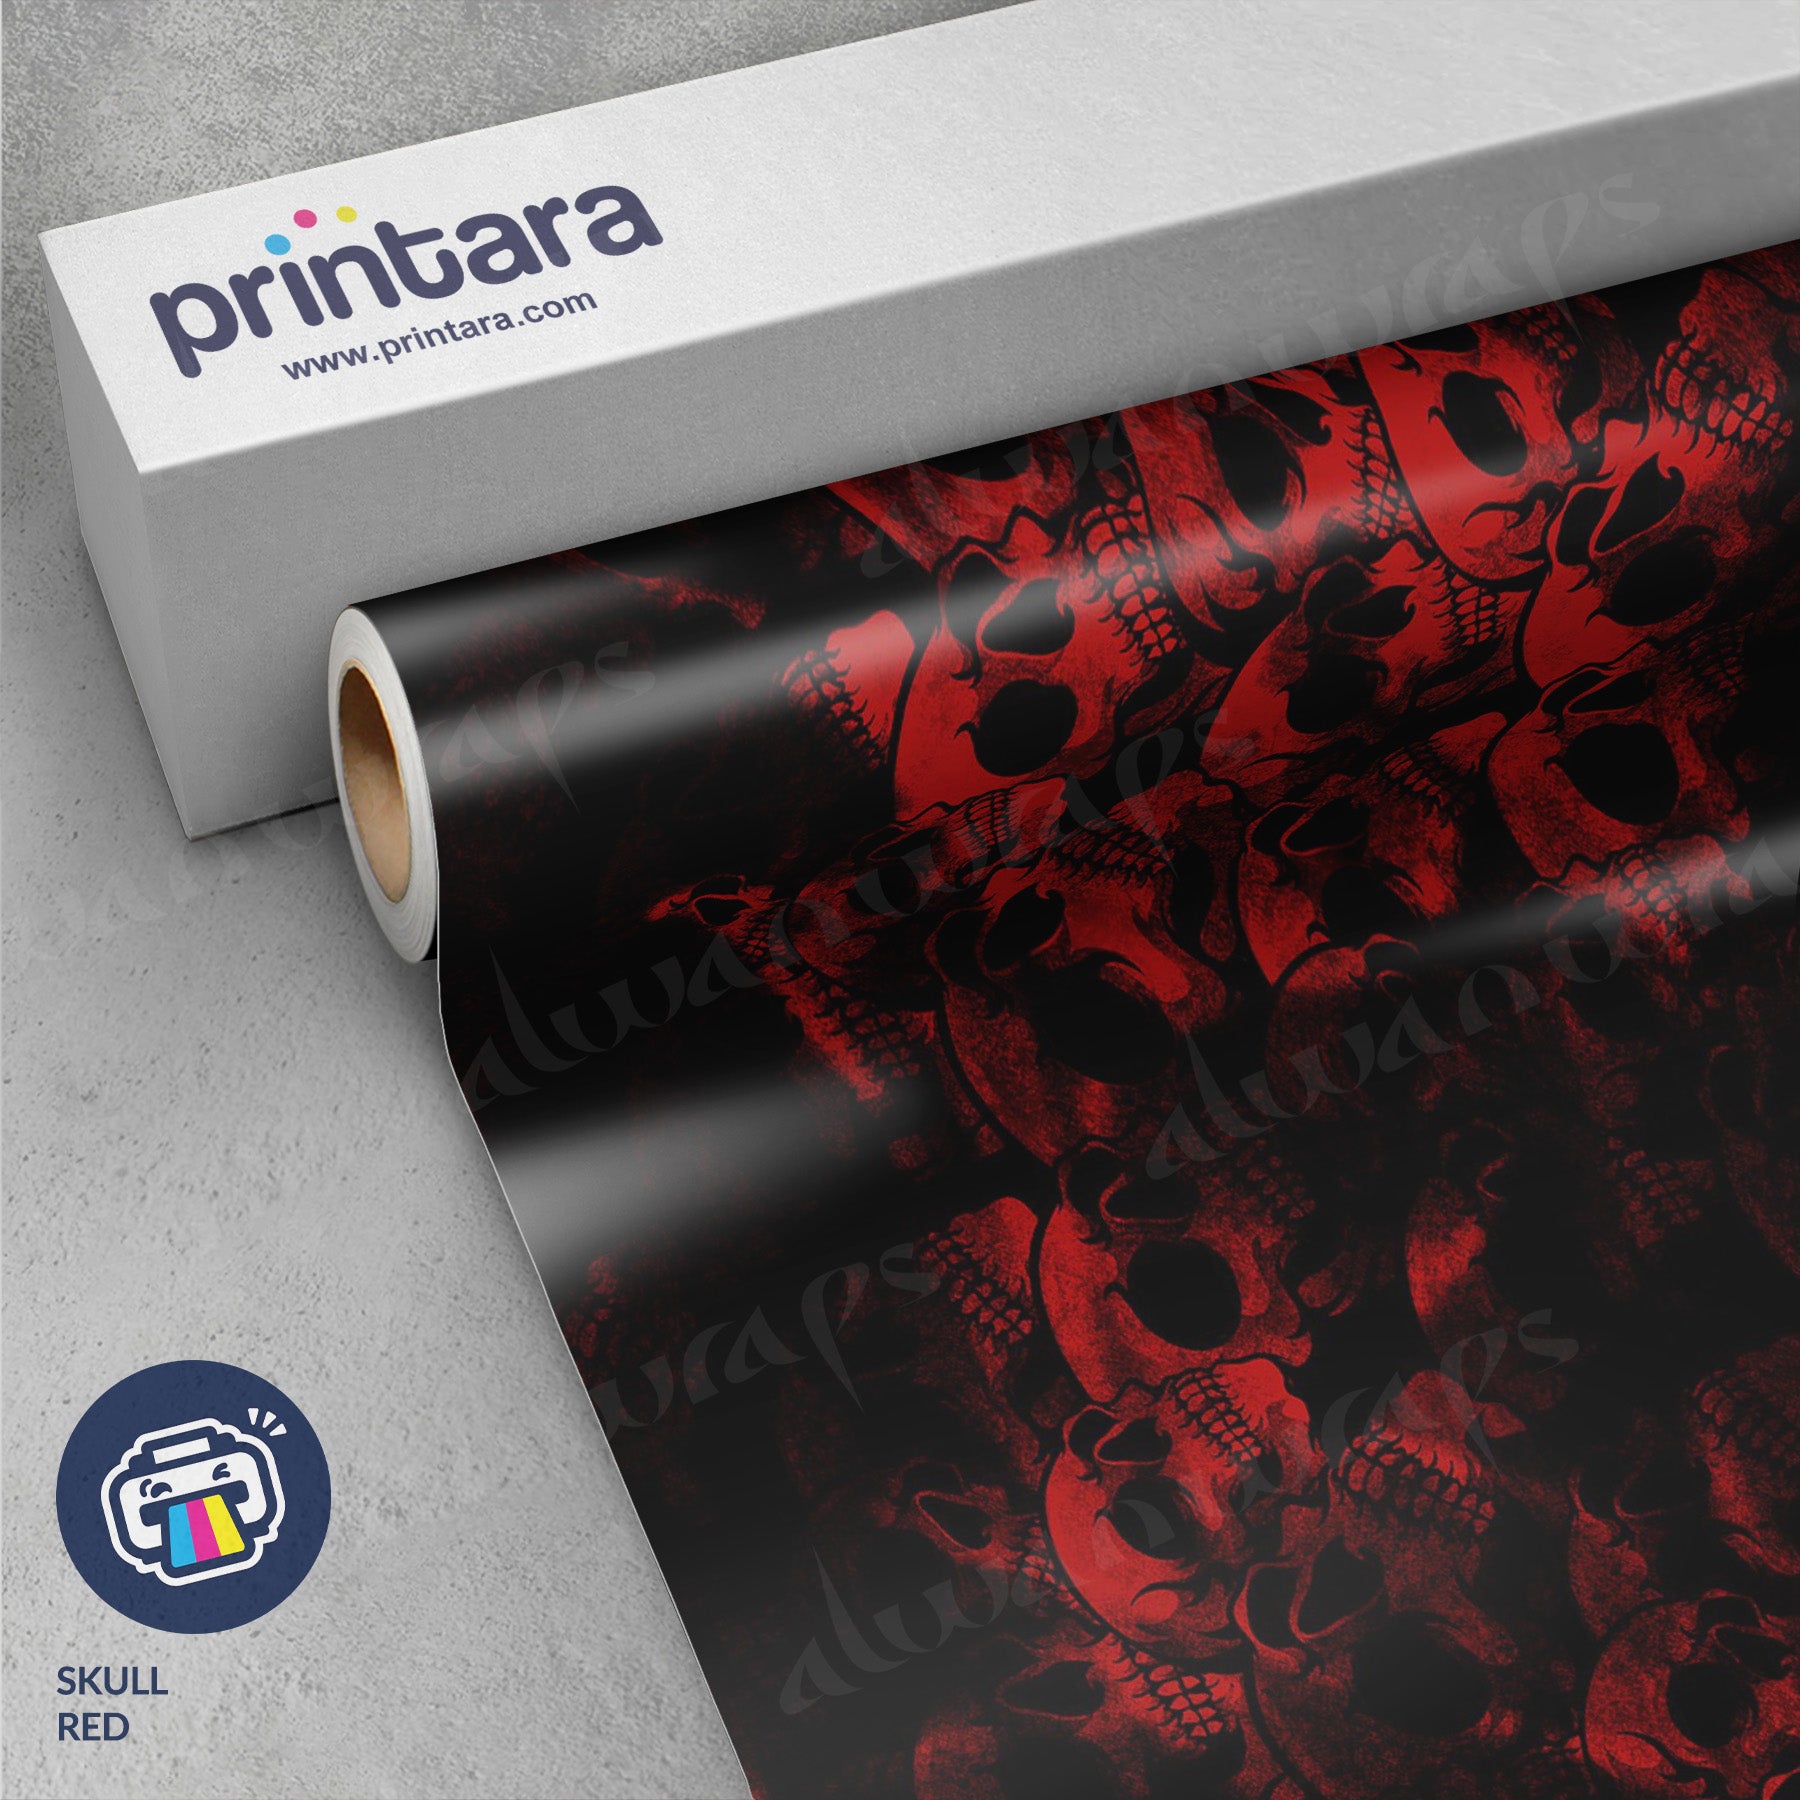
Choosing The Right Vinyl
Choosing the right vinyl is key to a smooth and lasting wrap on a cylinder. The right vinyl makes wrapping easier and helps the wrap stay in place. Different projects need different types of vinyl. It is important to pick the best one for your specific cylinder.
Types Of Vinyl Wraps
Cast vinyl is thin and flexible. It conforms well to curves and edges. It lasts longer and resists fading. Calendered vinyl is thicker and less flexible. It works best on flat or gently curved surfaces. This vinyl costs less but may peel sooner.
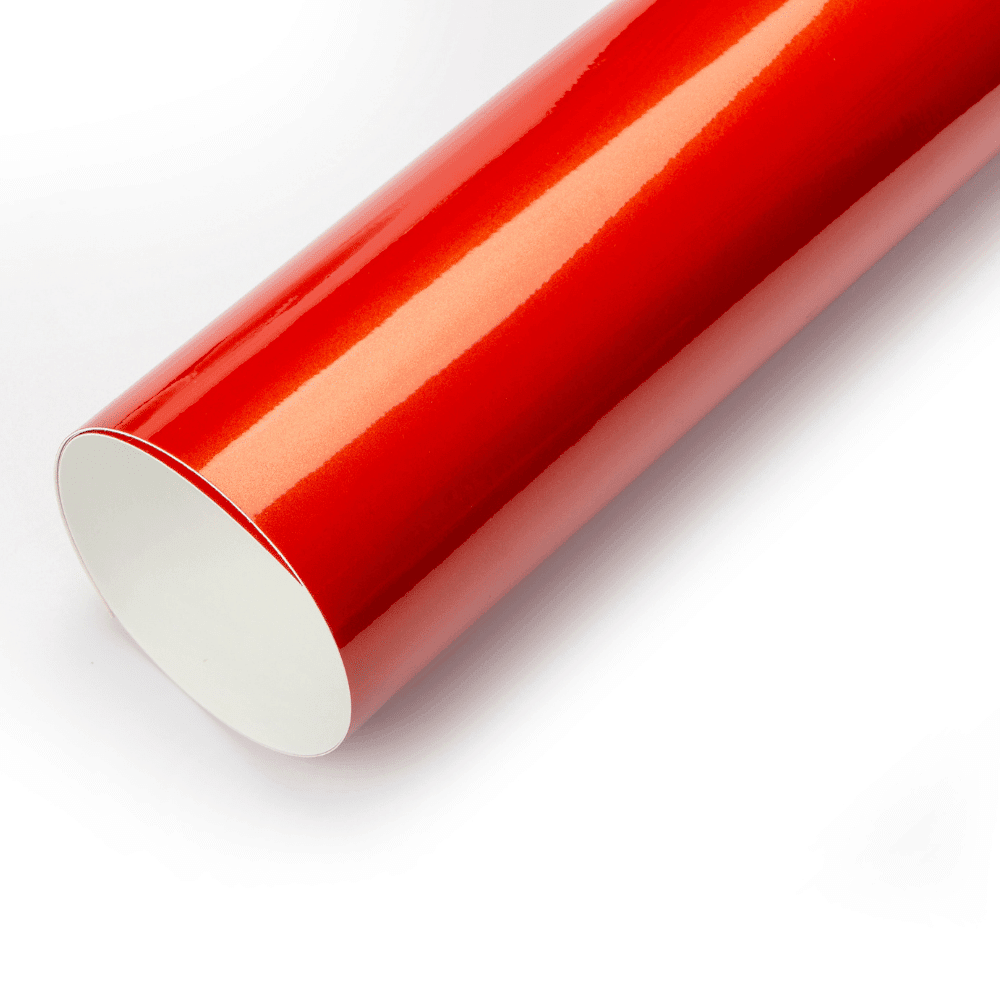
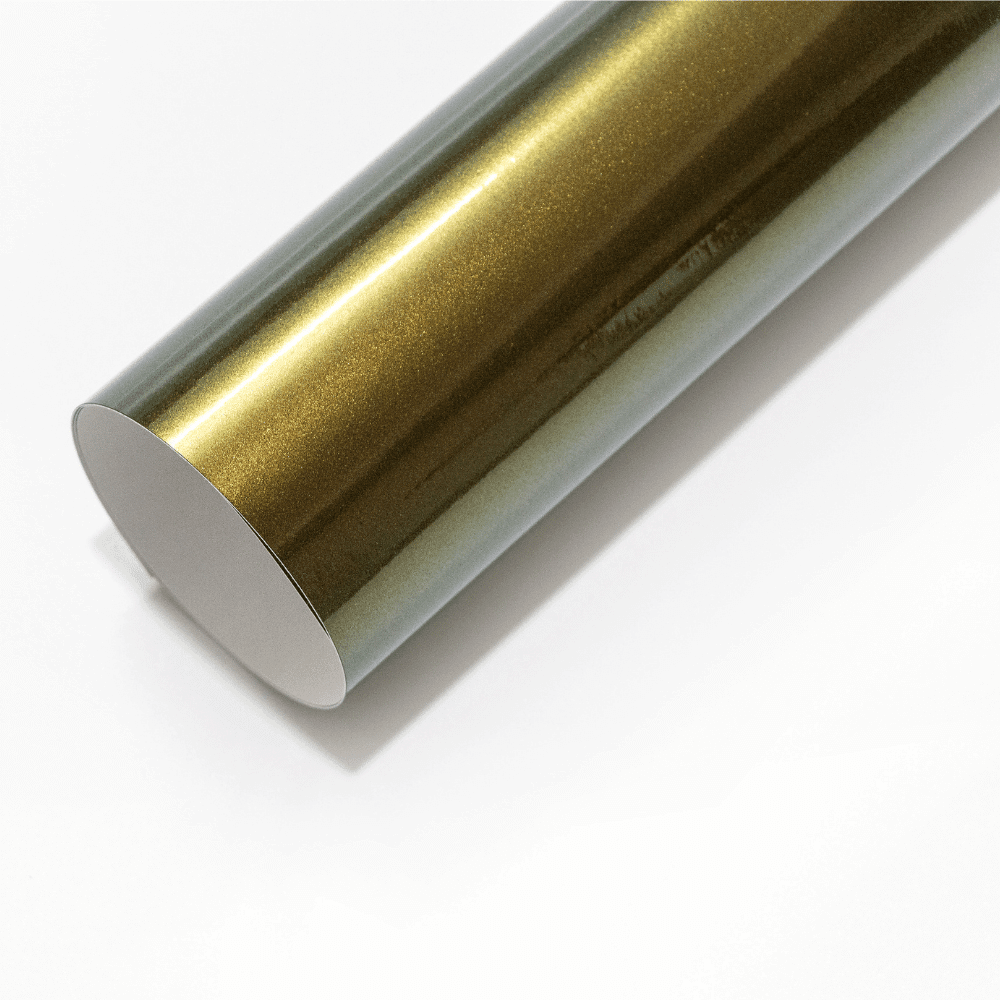
Selecting Colors And Finishes
Choose colors that suit your style or purpose. Bright colors stand out well. Matte finishes reduce shine for a subtle look. Glossy finishes reflect light and look shiny. Textured finishes can add a unique feel. Think about where the cylinder will be used.
Tools Needed For Wrapping
You need a few simple tools. A squeegee helps remove air bubbles. A heat gun softens the vinyl for tight curves. A sharp knife trims excess vinyl cleanly. Cleaning supplies remove dirt before wrapping. A measuring tape ensures accurate cuts.
Applying The Vinyl Wrap
Applying the vinyl wrap on a cylinder requires care and patience. The goal is a smooth, even surface without bubbles or wrinkles. Follow each step closely for the best result.
Aligning The Vinyl On The Cylinder
Start by placing the vinyl at the edge of the cylinder. Make sure it is straight and centered. Slowly press the vinyl onto the surface. Use gentle pressure to avoid stretching. Check alignment often as you go around.
Smoothing Out Air Bubbles
Air bubbles can ruin the look of your wrap. Use a soft squeegee or cloth to push bubbles out. Work from the center toward the edges. Small bubbles can be pricked with a pin and smoothed out. Take your time to ensure a flat surface.
Handling Curved Surfaces
Curves need special attention to avoid wrinkles. Heat the vinyl slightly with a heat gun or hair dryer. This makes it more flexible. Stretch the vinyl gently over the curves. Use your fingers or a soft tool to smooth it down. Take care not to overheat or tear the material.
Trimming And Finishing Touches
Trimming and finishing touches are key steps in vinyl wrapping a cylinder. They ensure a neat, smooth look. Proper trimming avoids wrinkles or bubbles. Finishing touches make the wrap last longer and look professional.
Cutting Excess Vinyl
Use a sharp blade to cut extra vinyl carefully. Cut close to the edge but avoid cutting the cylinder surface. Keep the blade steady to get a clean line. Remove small strips bit by bit for control. This prevents tearing or lifting of the vinyl.
Sealing The Edges
Seal edges with a heat gun or roller to keep them stuck. Press edges firmly to the cylinder with a soft cloth or squeegee. This stops dust or water from getting under the vinyl. Edge sealing improves the wrap’s strength and appearance.
Heat Setting For Durability
Heat setting makes the vinyl fit tightly around curves. Use a heat gun at a low temperature and move it evenly. Avoid overheating to prevent damage. The heat activates the adhesive for a stronger bond. This step helps the wrap resist peeling and wrinkles over time.
Common Mistakes To Avoid
Vinyl wrapping a cylinder can be tricky. Many beginners make the same errors. Avoiding these mistakes helps get a smooth, clean finish. The right approach saves time and frustration.
Wrinkles And Creases
Wrinkles happen when the vinyl is stretched too much. Creases form if the vinyl folds sharply. Both spoil the look and make the wrap less durable. Use slow, even pressure to smooth the vinyl. Work from the center out to the edges.
Improper Surface Prep
Dirt, dust, and oil stop vinyl from sticking well. Clean the surface fully before starting. Use rubbing alcohol or a good cleaner. A clean surface helps the vinyl last longer. Skip this step, and the wrap may peel off.
Ignoring Temperature Guidelines
Heat affects how vinyl sticks and stretches. Cold weather makes vinyl stiff and hard to apply. Too much heat can cause bubbles or tears. Apply vinyl in a room between 60°F and 80°F. Keep the surface dry and at the right temperature.
Credit: yeswrap.com
Maintaining Your Vinyl Wrap
Maintaining your vinyl wrap on a cylinder keeps it looking fresh and new. Proper care helps avoid damage and fading. Simple steps can protect your investment and make the wrap last longer.
Cleaning Tips
Use a soft cloth or sponge for cleaning. Avoid rough brushes that can scratch the vinyl. Wash with mild soap and water only. Do not use strong chemicals or solvents. Rinse well to remove soap residue. Dry the wrap with a soft towel to prevent water spots.
Repairing Minor Damage
Small scratches or bubbles can appear over time. Gently lift the vinyl near bubbles to release trapped air. Use a heat gun carefully to soften the vinyl for better adhesion. For tiny cuts, use vinyl repair kits available online. Act quickly to prevent damage from spreading.
Extending The Wrap’s Lifespan
Keep the wrapped cylinder out of direct sunlight when possible. Sunlight can cause fading and peeling. Store the item in a cool, dry place. Avoid harsh weather conditions like heavy rain or snow. Regular cleaning and prompt repairs also help the wrap last longer.
Credit: yeswrap.com
Frequently Asked Questions
What Materials Do I Need To Vinyl Wrap A Cylinder?
You need vinyl wrap film, a heat gun, a squeegee, a knife, and cleaning supplies. These tools ensure smooth and precise wrapping.
How Do I Prepare A Cylinder For Vinyl Wrapping?
Clean the cylinder thoroughly to remove dirt and oils. A smooth, dry surface helps the vinyl stick better and last longer.
Can Vinyl Wrap Conform To Curved Surfaces Like Cylinders?
Yes, vinyl wrap is flexible and stretches slightly. Using heat helps it conform smoothly to curves without bubbles or wrinkles.
How Do I Avoid Bubbles When Wrapping A Cylinder?
Apply vinyl slowly, use a squeegee to press out air, and heat the vinyl gently to improve adhesion and remove bubbles.
Conclusion
Vinyl wrapping a cylinder takes patience and careful work. Start with a clean, smooth surface for best results. Use steady hands to avoid bubbles and wrinkles. Heat helps the vinyl stretch around curves easily. Trim edges neatly for a clean finish.
Practice makes the process easier over time. This skill can change how objects look without paint. Try simple projects first to build confidence. Enjoy the satisfaction of a smooth, wrapped cylinder!


