
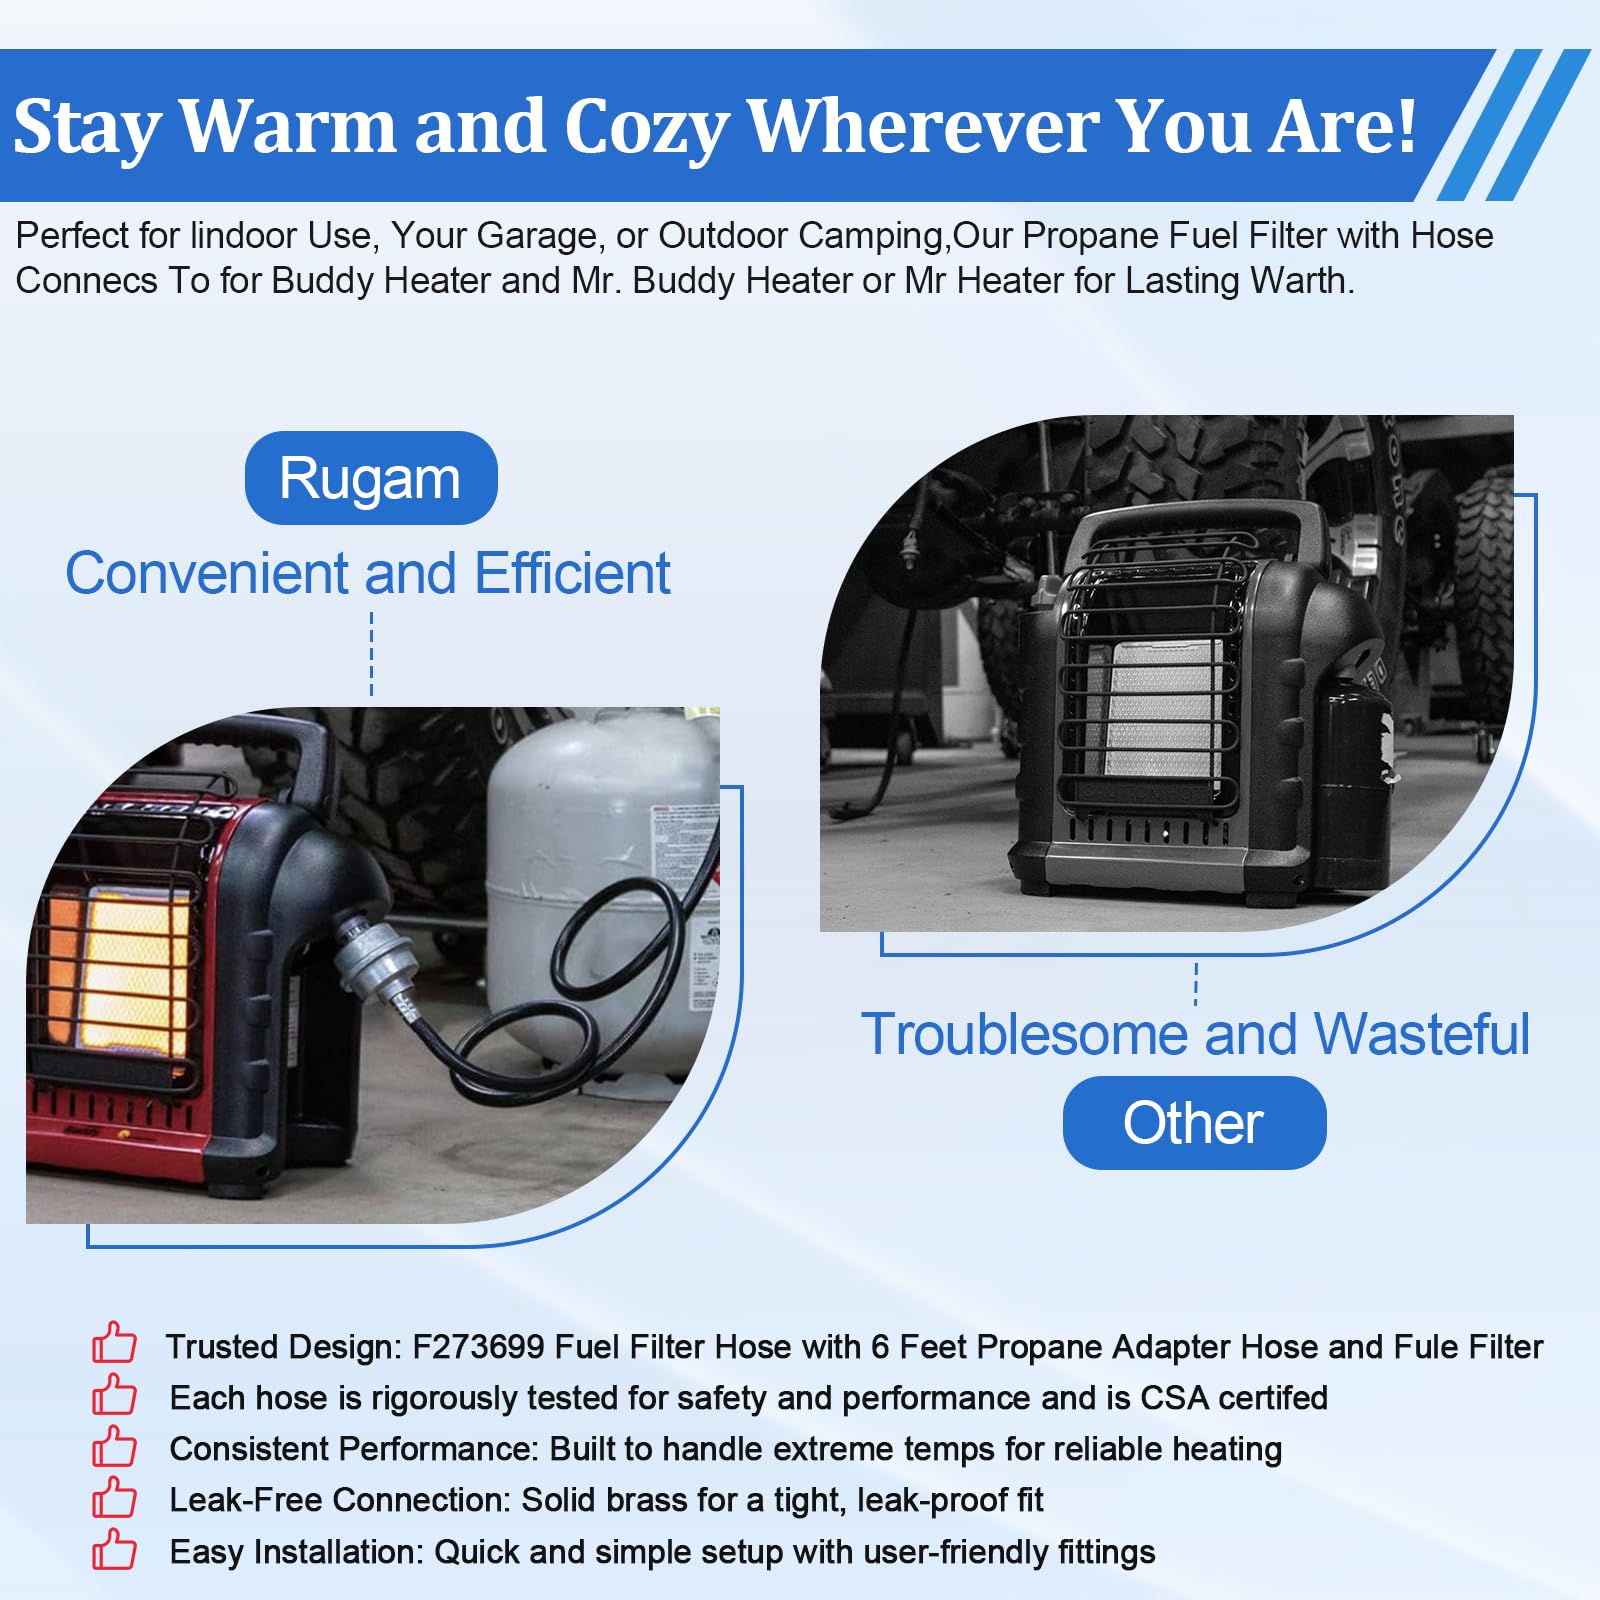
If you own a Mr Heater, you know how important it is to keep your heater running safely and efficiently. Installing a universal fuel filter is a simple step that can protect your heater from dirt and debris, ensuring it works smoothly every time you need it.
But how exactly do you install this small yet crucial part? In this guide, you’ll get clear, step-by-step instructions that anyone can follow—even if you’re not a DIY expert. By the end, you’ll feel confident that your Mr Heater is set up for peak performance and safety.
Keep reading to learn how to do it right the first time.
Credit: yourpghlawyer.com
Tools And Materials Needed
Installing a Mr Heater Universal Fuel Filter requires a few simple tools and materials. Having everything ready makes the job faster and easier. The right tools also help avoid damage to the heater or fuel system.
Gather all items before starting. This prevents interruptions and keeps the process smooth. Here is a list of what you need.
Basic Hand Tools
A set of basic hand tools is essential. You need a wrench or adjustable spanner to loosen and tighten fittings. A pair of pliers helps hold small parts steady. Screwdrivers may be required to remove any protective covers.
Replacement Fuel Filter
The Mr Heater Universal Fuel Filter is the main part. Make sure it matches your heater model. Check the filter’s condition before installation to ensure it is clean and undamaged.
Fuel Safe Container
Use a safe container to catch any fuel that spills out during the filter change. This prevents mess and reduces fire risk. Choose a container with a tight seal and stable base.
Clean Cloths Or Rags
Keep clean cloths or rags nearby. They help wipe away any fuel drips or dirt. Clean surfaces avoid clogging and maintain heater efficiency.
Gloves And Safety Glasses
Wear gloves to protect your hands from fuel and grime. Safety glasses shield your eyes from splashes. Safety gear is important for a safe installation process.
Safety Precautions
Safety is very important when installing a Mr Heater Universal Fuel Filter. This device handles fuel, which can be dangerous. Taking the right steps helps prevent accidents and keeps you safe. Always prepare your workspace and tools before starting. Never rush the process.
Wear Protective Gear
Always wear gloves to protect your hands from fuel. Use safety glasses to shield your eyes from splashes. Long sleeves help protect your skin. These simple steps reduce the risk of injury.
Work In A Well-ventilated Area
Fuel fumes can build up quickly. Open windows or work outside to avoid breathing harmful vapors. Good airflow lowers fire risk and keeps the air fresh.
Keep Away From Flames And Sparks
Fuel is highly flammable. Make sure no open flames, cigarettes, or sparks are nearby. Turn off electrical devices that might cause sparks before you start.
Use Proper Tools
Use tools designed for fuel systems. Avoid using damaged or worn tools. Proper tools make installation easier and safer.
After installation, inspect all connections carefully. Look for any fuel leaks. Leaks can cause fire or damage. Fix leaks immediately before using the heater.
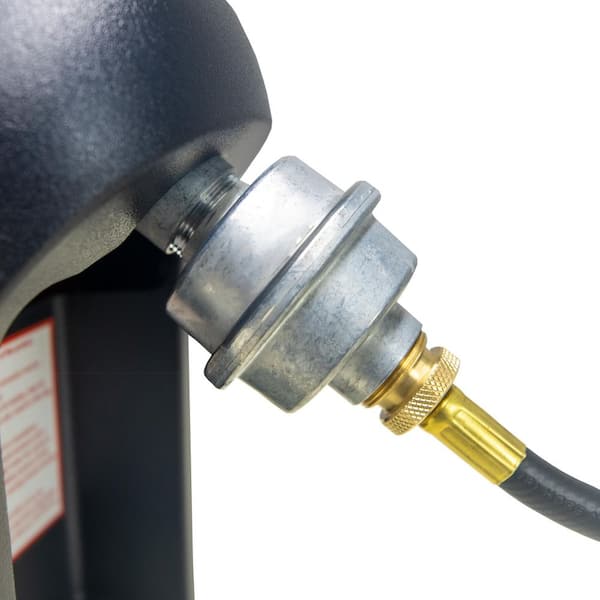
Locate The Fuel Line
Before installing the Mr Heater Universal Fuel Filter, you need to find the fuel line. The fuel line carries the fuel from the tank to the heater. Knowing its location helps you install the filter correctly and safely.
Fuel lines are usually flexible tubes connected to the fuel tank and the heater. They can be hidden or easy to spot, depending on the heater model. Careful observation is important to avoid damaging the line during installation.
Identify The Fuel Tank
Start by locating the fuel tank on your heater. It is often a small metal or plastic container. The fuel line usually comes out from this tank. The tank might be near the heater’s base or on the side.
Trace The Fuel Line Path
Follow the tube that leads away from the fuel tank. This tube is the fuel line. It is often black or clear plastic. It should run straight to the heater’s engine or burner area.
Check For Connectors Or Clamps
Look for small metal or plastic clamps on the fuel line. These secure the line to the tank and heater. The filter will be installed between these connectors. Make sure you can reach these points easily.
Ensure The Heater Is Off And Cool
Before touching the fuel line, turn off the heater. Let it cool down to avoid burns or fire risks. Safety first when working with fuel systems.
Credit: www.homedepot.com
Remove Old Fuel Filter
Removing the old fuel filter is an important step before installing a Mr Heater universal fuel filter. This process helps keep your heater running safely and efficiently. A clean fuel filter prevents dirt and debris from clogging the system.
Start by making sure the heater is off and cool. Safety first. Next, locate the fuel filter. It is usually near the fuel tank or along the fuel line. Removing the old filter carefully avoids damaging fuel lines or other parts.
Gather Tools And Prepare Workspace
Get the right tools ready. You might need pliers or a small wrench. Have a cloth or paper towel to catch any spilled fuel. Work in a well-ventilated area to avoid inhaling fumes.
Disconnect Fuel Line From Old Filter
Loosen the clamps holding the fuel line to the filter. Gently pull the fuel line off the filter. Be careful not to crack or bend the fuel line. Some fuel may leak; wipe it quickly.
Remove The Old Fuel Filter
Take out the old fuel filter from its holder. Check the filter for dirt or damage. Dispose of the old filter properly. Do not leave it near open flames or heat sources.
Prepare The New Fuel Filter
Preparing the new fuel filter is a key step before installation. It ensures the filter works properly and protects your heater. Taking time here avoids problems later.
Start by checking the fuel filter package. Make sure it is the correct model for your Mr Heater. The filter should be clean and undamaged.
Remove Packaging Carefully
Open the package carefully to avoid dirt or dust getting inside. Keep the filter clean at all times. Dirt can clog the filter and harm the heater.
Inspect The Filter For Damage
Look closely at the filter for cracks or breaks. Any damage can cause leaks or poor fuel flow. Do not use a damaged filter.
Check The Flow Direction Marking
Notice the arrow on the filter. It shows the fuel flow direction. Install the filter so fuel moves in the right direction for proper operation.
Prepare The Fuel Lines
Clean the fuel lines before attaching the filter. Remove any dirt or old fuel residue. Clean lines help the new filter work better and last longer.
Credit: meyerdogs.com
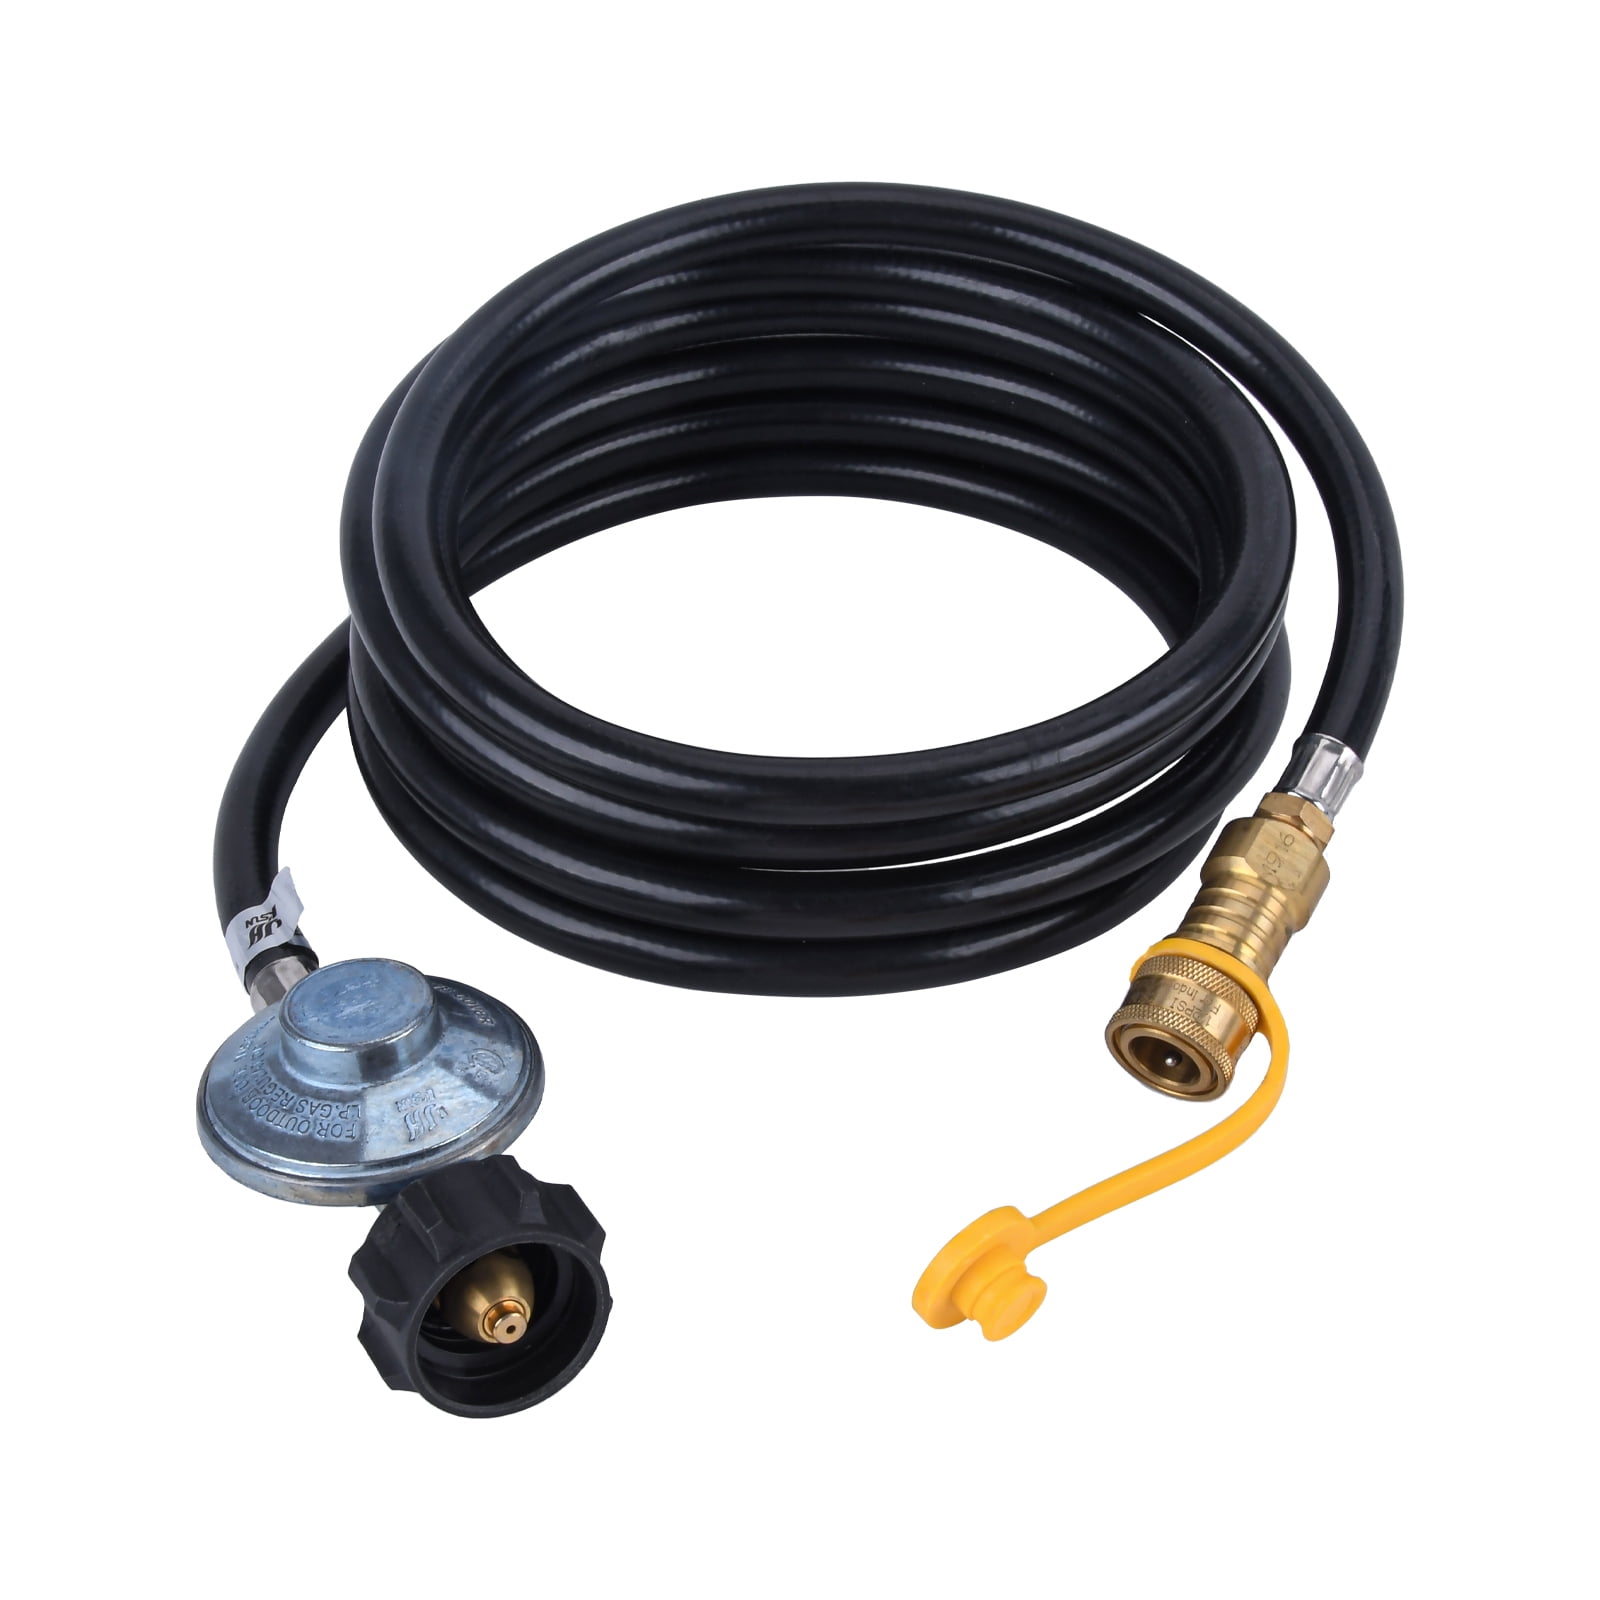
Install The New Filter
Installing the new Mr Heater universal fuel filter is a simple step. It helps keep your heater running smoothly. A clean filter stops dirt from reaching the fuel line. This section guides you through the process of installing the new filter safely and correctly.
Prepare The New Filter For Installation
Take the new fuel filter out of its package. Check for any damage or dirt. Make sure it matches the old filter in size and shape. This ensures a good fit and proper function.
Attach The Fuel Filter To The Hose
Slide the fuel hose onto the filter’s inlet side. Push it firmly to avoid leaks. The filter has an arrow that shows fuel flow direction. Point the arrow towards the heater, not the fuel tank.
Secure The Filter With Clamps
Use hose clamps to hold the filter in place. Tighten clamps with a screwdriver until snug. Do not overtighten to avoid damage. A secure clamp prevents fuel leaks during operation.
Double-check The Installation
Look over the filter and hose connections. Make sure everything is tight and properly aligned. Check that the arrow points the correct way. A quick review helps avoid problems later.
Check For Leaks
Checking for leaks is a crucial step after installing a Mr Heater Universal Fuel Filter. Fuel leaks can cause safety hazards and reduce heater efficiency. It is important to find and fix leaks before using the heater. This ensures safe and smooth operation.
After installation, inspect all connections carefully. Look for any signs of fuel dripping or wet spots. Even small leaks can lead to problems over time. Use your sense of smell to detect any fuel odors around the filter area. A strong smell might indicate a leak.
Visual Inspection Of Connections
Start by looking closely at the fuel lines and filter ends. Check if the clamps are tight and secure. The filter should fit snugly without gaps. Move the fuel lines gently to see if any fuel escapes. Check around the filter housing and fittings.
Use Soapy Water Test
Mix water with a little dish soap. Apply the soapy water to the fuel filter joints with a brush or spray bottle. Watch for bubbles forming at the connections. Bubbles mean air or fuel is leaking out. This test helps find leaks that are not visible.
Turn On The Fuel Supply Slowly
Open the fuel valve slowly to pressurize the line. Watch closely for leaks as pressure builds. A slow flow helps detect leaks without waste. Stop if you see any dripping or smell fuel. Tighten connections and repeat the test if needed.
Listen For Hissing Sounds
Listen carefully near the filter after turning on fuel. A hissing sound may show a leak. This sound means gas or air escapes through small openings. Use this hint to find leaks in hard-to-see spots. Fix any leaks immediately to avoid danger.
Test The Heater Function
Testing the heater function is a key step after installing the Mr Heater Universal Fuel Filter. This step ensures the heater runs safely and efficiently. It confirms the filter is working well and fuel flows smoothly.
Start this process in a safe, well-ventilated area. Keep the heater away from flammable objects. Follow all safety instructions in the heater’s manual.
Turn On The Heater
Switch on the heater according to the manufacturer’s guide. Listen for the sound of fuel starting to flow. The heater should ignite without delay. A smooth start means the fuel filter is installed correctly.
Check For Unusual Smells Or Sounds
Watch for any strange smells or noises. A strong fuel odor may show a leak. Unusual sounds could mean the filter is clogged. Stop the heater immediately if you notice these signs.
Observe The Flame
Look at the heater’s flame carefully. It should be steady and blue. Flickering or yellow flames suggest a problem with fuel flow. This might mean the filter needs adjustment or replacement.
Monitor Heater Temperature
Feel the heater’s surface to check heat output. It should warm up steadily. Overheating or low heat might signal filter issues. Adjust or clean the filter if needed.
Turn Off And Inspect
After testing, turn off the heater and let it cool. Inspect the fuel filter and connections for leaks. Tighten fittings if any fuel drips appear. Safe operation depends on a secure setup.
Maintenance Tips
Proper maintenance of your Mr Heater Universal Fuel Filter ensures it works well and lasts longer. Regular care helps avoid blockages and keeps fuel flowing smoothly. Follow these simple tips to keep your fuel filter in top shape.
Cleaning The Fuel Filter
Remove the fuel filter carefully before cleaning. Use clean water to rinse out dirt and debris. Avoid harsh chemicals that can damage the filter. Let it dry completely before reinstalling it.
Checking For Damage
Inspect the fuel filter for cracks or tears regularly. Replace the filter if you find any damage. A damaged filter cannot protect your heater properly.
Replacing The Fuel Filter
Change the fuel filter every 3 to 6 months. More often if you use your heater frequently. Use only filters made for your Mr Heater model for best results.
Storing The Filter Correctly
Keep spare filters in a clean, dry place. Avoid exposure to dust and moisture. Proper storage keeps the filter ready for use anytime.
Frequently Asked Questions
How Do I Install A Mr Heater Universal Fuel Filter?
To install the Mr Heater fuel filter, first disconnect the propane tank. Attach the filter between the tank and heater hose. Ensure tight connections to prevent leaks. Check for leaks using soapy water before use.
What Tools Are Needed For Installing The Fuel Filter?
You only need a wrench or pliers to tighten connections. No special tools are required. The filter fits standard propane tanks and hoses for easy installation.
How Often Should I Replace The Mr Heater Fuel Filter?
Replace the fuel filter every 6 to 12 months. Change it sooner if you notice reduced heater performance. Regular replacement ensures clean fuel flow and heater efficiency.
Can I Install The Fuel Filter Myself Safely?
Yes, installation is simple and safe if you follow instructions. Always turn off and disconnect the propane tank before starting. Check for leaks after installation to ensure safety.
Conclusion
Installing a Mr Heater Universal Fuel Filter is quick and simple. Follow the steps carefully to avoid fuel flow problems. Clean fuel means better heater performance and longer life. Check the filter regularly to keep it working well. Taking these small steps saves time and money.
Enjoy warm, safe heating without worry. Easy maintenance makes your heater reliable all winter long.


