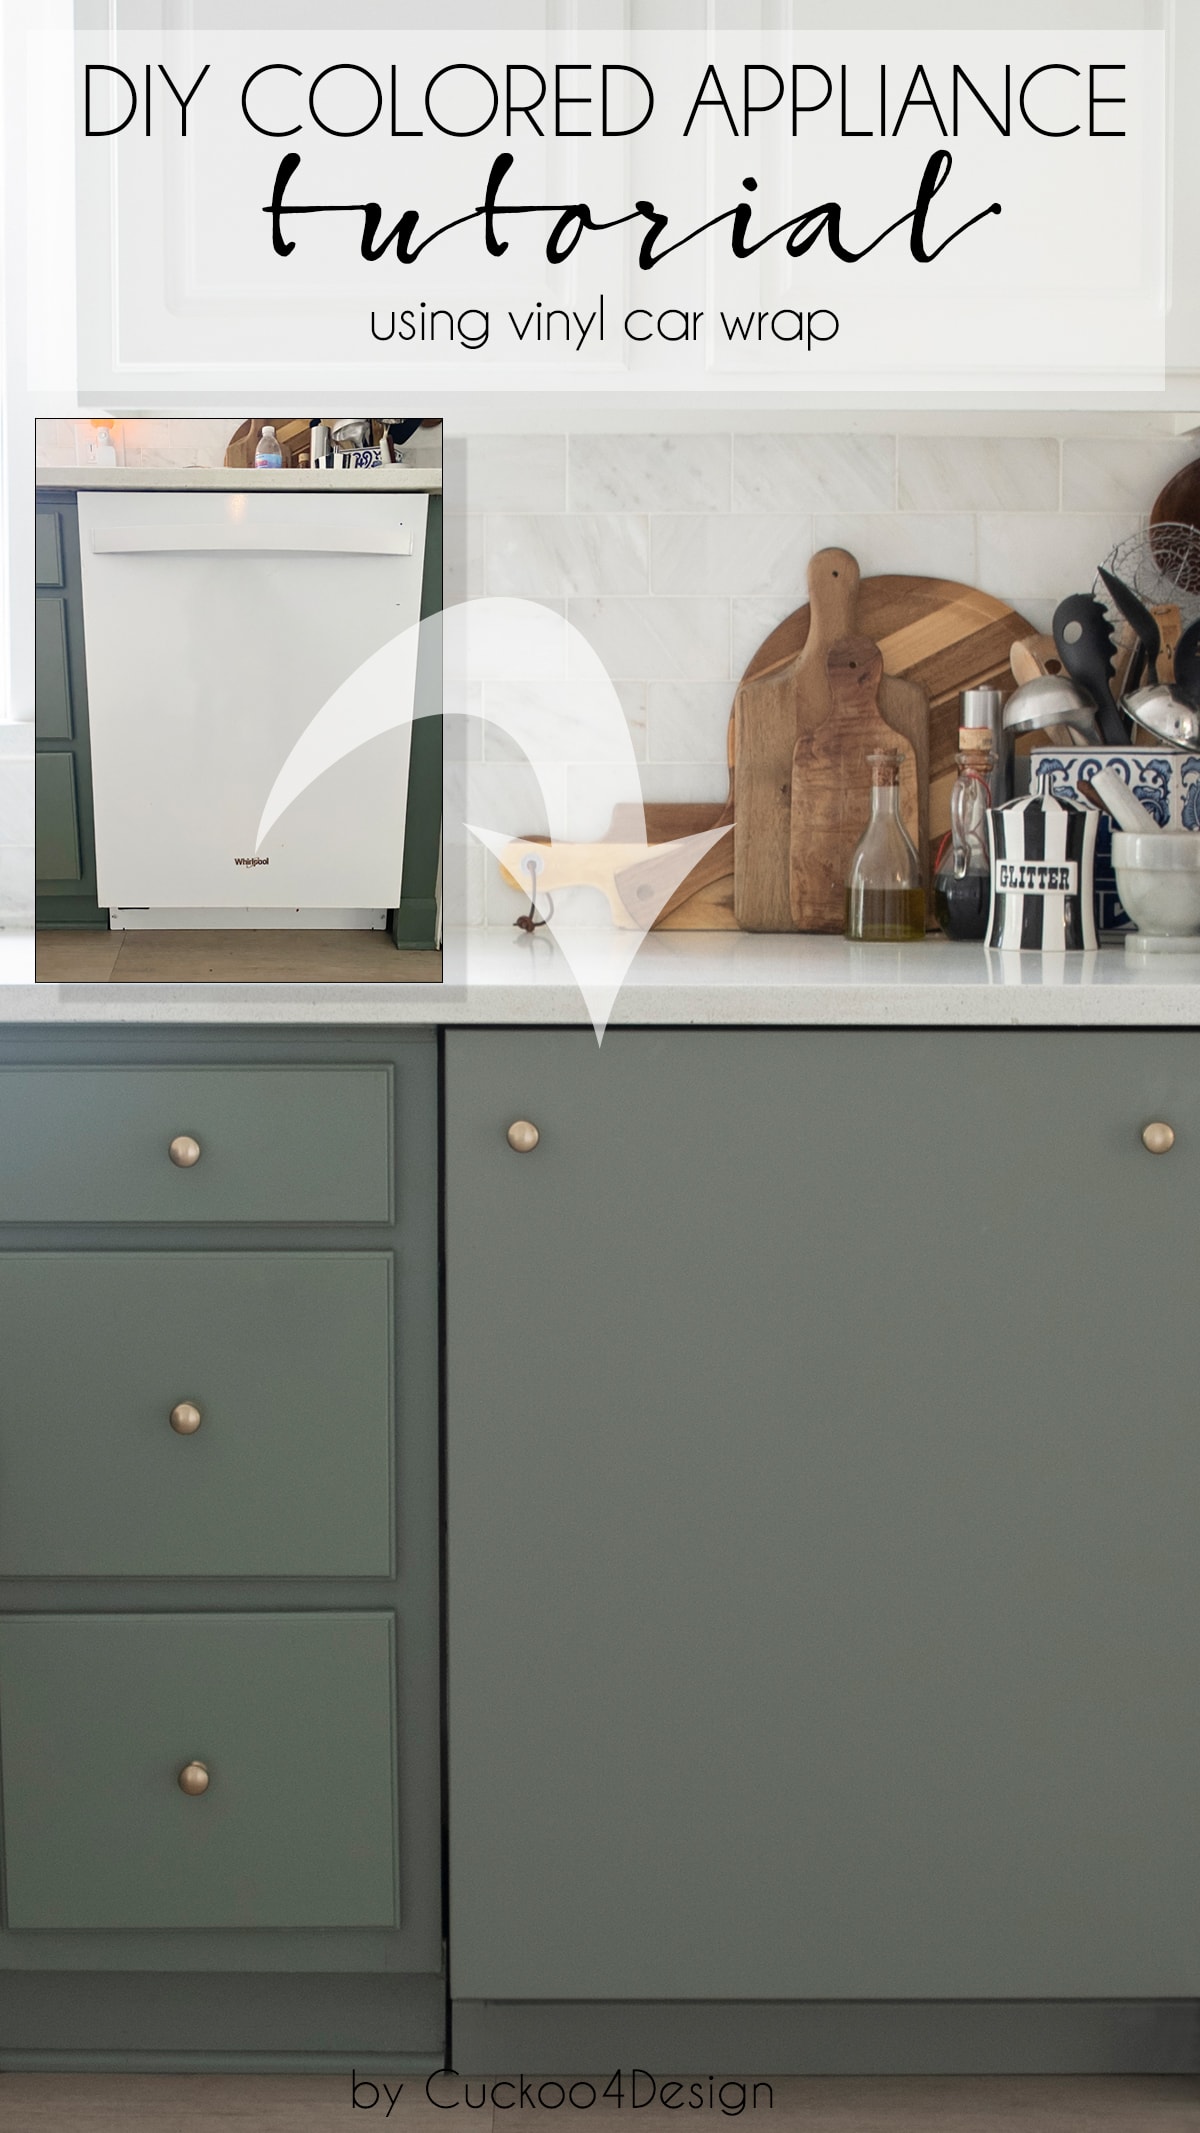
Are you tired of your old appliances looking dull and outdated? What if you could give them a fresh, stylish makeover without spending a fortune on replacements?
Vinyl wrapping is the secret trick that can transform your appliances quickly and easily. In this guide, you’ll learn exactly how to vinyl wrap your appliances step-by-step, making them look brand new in no time. Keep reading, and you’ll discover simple tips and tricks that will save you money and impress everyone who sees your refreshed home.
Ready to take your appliances from boring to beautiful? Let’s dive in!
Choosing The Right Vinyl
Choosing the right vinyl is a key step for a successful appliance wrap. The vinyl you select affects how your appliance looks and lasts. Different types suit different needs. Colors and finishes change the style. Durability keeps your wrap looking fresh longer.
Types Of Vinyl Wraps
There are several types of vinyl wraps. Cast vinyl is thin and flexible. It fits curved surfaces well. Calendered vinyl is thicker and less flexible. It works best on flat surfaces. Some vinyls have air-release technology. This feature helps avoid bubbles during application.
Colors And Finishes
Vinyl comes in many colors. Pick a color that matches your style. Finishes vary too. Glossy vinyl shines bright and smooth. Matte vinyl offers a soft, non-reflective look. Satin finish is between glossy and matte. Some vinyls have textured finishes like carbon fiber or brushed metal. These add a unique touch to appliances.
Durability Considerations
Durability matters for appliance wraps. Choose vinyl with a good lifespan. Some vinyl resists heat and moisture. This is important for kitchen appliances. UV resistance prevents colors from fading. Thicker vinyl tends to last longer. Proper care also extends wrap life.

Credit: www.amazon.com
Preparing Appliances For Wrapping
Preparing appliances for vinyl wrapping is a key step for a smooth finish. Proper preparation helps the vinyl stick well and look great. It also makes the wrap last longer without peeling or bubbling.
Follow these simple steps to get your appliance ready for wrapping. Taking time here saves effort later.
Cleaning And Drying
Start by cleaning the appliance surface thoroughly. Use mild soap and warm water to remove dirt and grease. Avoid harsh chemicals that can damage the surface. Rinse well and dry completely with a soft cloth. Moisture can cause the vinyl to lift or bubble.
Removing Hardware
Take off any removable parts like handles, knobs, or vents. This makes wrapping easier and prevents wrinkles around edges. Use a screwdriver to remove screws carefully. Keep all hardware in a safe place for reassembly later.
Smoothing Surface Imperfections
Check the surface for dents, scratches, or bumps. Use fine sandpaper to smooth out rough spots gently. Wipe away dust with a clean cloth after sanding. A flat, even surface helps the vinyl lay down smoothly without bubbles.
Tools And Materials Needed
Vinyl wrapping appliances is a simple way to refresh their look. Before starting, gather all necessary tools and materials. This helps the process go smoothly. Preparation saves time and prevents mistakes.
Essential Tools
Start with a good quality vinyl wrap film. Choose a size that fits your appliance. A heat gun is important to soften the vinyl and help it stick. Use a squeegee to smooth out bubbles and wrinkles. A sharp utility knife is needed to trim excess vinyl. Clean cloths or rubbing alcohol remove dirt from the surface before wrapping. Measuring tape helps to cut the vinyl accurately.
Optional Accessories
A microfiber cloth can polish the surface after wrapping. A plastic scraper is gentle on surfaces and helps press vinyl into corners. Gloves protect your hands and prevent fingerprints. Masking tape can hold vinyl in place during application. A ruler or straight edge helps with precise cuts. Spray bottles with water mixed with a drop of soap can help reposition vinyl before it sticks.
Safety Precautions
Work in a well-ventilated area to avoid fumes from adhesive and heat gun. Wear gloves to protect your skin from sharp tools and hot air. Keep knives and blades away from children. Use heat guns carefully to prevent burns and damage to appliances. Always follow manufacturer instructions on vinyl and tool use. Take breaks to avoid mistakes caused by fatigue.
Measuring And Cutting Vinyl
Measuring and cutting vinyl are key steps in wrapping appliances. These steps ensure the vinyl fits perfectly. Poor measurements or cuts can cause bubbles or wrinkles. Careful work here saves time and improves the final look.
Taking Accurate Measurements
Start by measuring the appliance’s surface carefully. Use a soft measuring tape for curves and edges. Write down each measurement clearly. Double-check the numbers to avoid mistakes. Add an extra inch to each side for trimming.
Creating Templates
Templates help guide cutting and fitting. Use paper or cardboard to make a mock shape. Trace the appliance’s shape onto the template. Cut the template slightly larger than the surface. Test the template on the appliance and adjust if needed.
Cutting Techniques
Use a sharp utility knife or vinyl cutter. Cut on a clean, flat surface to avoid slips. Follow the template’s edges closely for clean lines. Cut slowly and steadily for precision. Avoid cutting too deep to protect the appliance’s surface.
Applying The Vinyl Wrap
Applying vinyl wrap to appliances requires care and patience. The process shapes the final look and feel. This section explains how to apply vinyl wrap properly for the best results. Follow the steps closely to avoid mistakes and get a smooth finish.
Positioning The Vinyl
Start by measuring the appliance surface carefully. Cut the vinyl wrap slightly larger than the area. Peel the backing paper slowly from one edge. Place the vinyl on the appliance lightly. Adjust the position before pressing down fully. Make sure the wrap covers all corners and edges.
Using Heat For Flexibility
Use a heat gun or hairdryer on low heat. Warm the vinyl wrap gently to make it soft. Heat helps the vinyl stretch around curves and corners. Avoid overheating to prevent damage. Move the heat source evenly across the surface. This step improves the vinyl’s grip and flexibility.
Smoothing Out Bubbles And Wrinkles
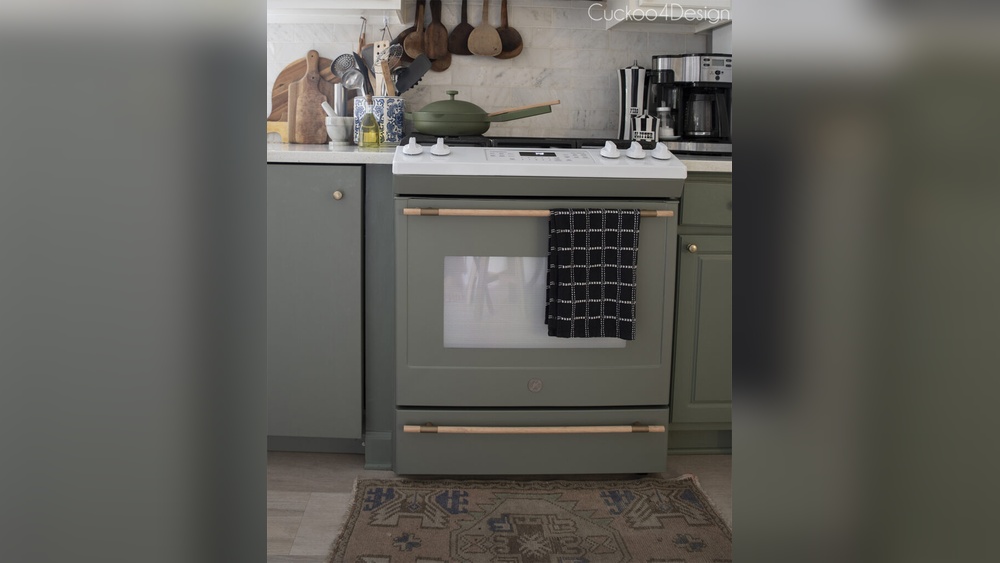
Use a squeegee or soft cloth to smooth the vinyl. Start from the center and push towards the edges. Work slowly to remove air bubbles and wrinkles. For stubborn bubbles, lift the vinyl gently and reapply. Heat can soften small wrinkles for easier smoothing. Take time to ensure a flat, clean finish.
Credit: cuckoo4design.com
Trimming And Finishing Touches
Trimming and finishing touches are key steps in vinyl wrapping appliances. These steps help make the wrap look neat and last longer. Careful work here improves the final result and keeps the wrap from peeling. Follow these tips to get smooth edges and a polished look.
Precise Cutting Around Edges
Use a sharp utility knife for clean cuts. Cut slowly to avoid mistakes. Trim excess vinyl close to the edges. Leave a tiny margin to tuck under curves. Take your time for smooth, even lines. Avoid jagged or rough cuts that ruin the look.
Reattaching Hardware
Remove screws or knobs before wrapping. Wrap the surface smoothly. Then, put the hardware back carefully. Tighten screws without overdoing it. This stops damage to the vinyl. Proper reattachment keeps the appliance functional and neat.
Sealing Edges For Longevity
Use a heat gun to gently warm edges. Press edges firmly with a squeegee or cloth. This helps the vinyl stick better. Apply edge sealer for extra protection. It stops water and dirt from getting under. Sealed edges make the wrap last longer.
Maintaining Your Vinyl-wrapped Appliances
Maintaining your vinyl-wrapped appliances keeps them looking fresh and new for a long time. Proper care helps avoid peeling, fading, and damage. Simple habits protect the wrap and extend its life. Follow these tips to keep your appliances stylish and clean.
Cleaning Tips
Use a soft cloth or sponge to clean the vinyl surface. Avoid abrasive scrubbers that can scratch the wrap. Mild soap and warm water work best for cleaning. Wipe gently in a circular motion. Dry the surface with a clean towel to prevent water spots. Regular cleaning removes dirt and oils that weaken the vinyl.
Avoiding Damage
Keep sharp objects away from the wrapped surface. Do not use harsh chemicals or solvents. Avoid exposure to direct sunlight for long hours. Heat can cause the vinyl to peel or fade. Do not use abrasive cleaning tools or rough cloths. Handle appliances carefully to prevent scratches or dents on the wrap.
Repairing Small Tears
Fix small tears quickly to stop them from growing. Use vinyl repair kits available online or in stores. Clean the area before applying the repair adhesive. Press the vinyl edges together and hold firmly. Let the repair dry completely before using the appliance. Small repairs keep the wrap looking smooth and neat.

Credit: www.amazon.com
Frequently Asked Questions
What Materials Do I Need For Vinyl Wrapping Appliances?
You need vinyl wrap film, a squeegee, a heat gun, scissors, and cleaning supplies. Quality vinyl ensures durability and smooth application. Clean the appliance surface thoroughly before starting to avoid bubbles and ensure proper adhesion.
How Long Does Vinyl Wrapping An Appliance Take?
Vinyl wrapping usually takes 1 to 3 hours, depending on appliance size. Complex curves or edges may require more time. Proper preparation and careful application speed up the process while ensuring a smooth, bubble-free finish.
Can Vinyl Wrap Protect Appliances From Damage?
Yes, vinyl wrap protects appliances from scratches, minor dents, and stains. It acts as a protective layer, preserving the original surface. However, it doesn’t prevent major impacts or deep damages, so handle appliances with care.
Is Vinyl Wrap Removable Without Damaging Appliances?
Vinyl wrap is removable and usually leaves no residue if peeled slowly. Use a heat gun to soften the adhesive for easier removal. Avoid pulling too hard to prevent surface damage or paint peeling.
Conclusion
Vinyl wrapping appliances can freshen your space quickly. It saves money and avoids buying new items. Choose the right vinyl and prepare surfaces well for best results. Take your time to smooth out bubbles and wrinkles. This simple project can change your kitchen’s look easily.
Give it a try and enjoy your updated appliances today.


