Are you looking to give your car spoiler a fresh, stylish look without spending a fortune? Vinyl wrapping is an easy and affordable way to transform your spoiler’s appearance while protecting it from scratches and wear.
But if you’ve never tried it before, the process might seem tricky or overwhelming. Don’t worry—this guide will walk you through every step, making it simple for you to achieve a smooth, professional finish. Keep reading to discover how you can upgrade your car’s style and turn heads wherever you go.
Credit: www.rpmtesla.com
Preparation And Tools
Proper preparation is key to a smooth vinyl wrap on your car spoiler. Gathering the right tools and cleaning the surface carefully helps the wrap stick better. Removing the spoiler can make wrapping easier and give a cleaner finish. Each step saves time and avoids mistakes.
Gathering Materials
Start by collecting all needed tools. You will need vinyl wrap film, a heat gun, and a squeegee. A utility knife helps cut the vinyl precisely. Use gloves to avoid fingerprints on the vinyl. Have cleaning supplies ready, like soap, water, and rubbing alcohol.
Cleaning The Spoiler
Wash the spoiler with soap and water first. Remove dirt, dust, and grease completely. Dry the surface with a clean cloth. Use rubbing alcohol on a lint-free cloth to wipe the spoiler. This step removes any oils that block vinyl adhesion.
Removing The Spoiler
Removing the spoiler is optional but recommended for best results. Use the correct tools to unscrew or unclip the spoiler carefully. Keep all screws and parts in one place. Wrapping the spoiler separately helps reach all edges. It also prevents dust and dirt from getting under the vinyl.
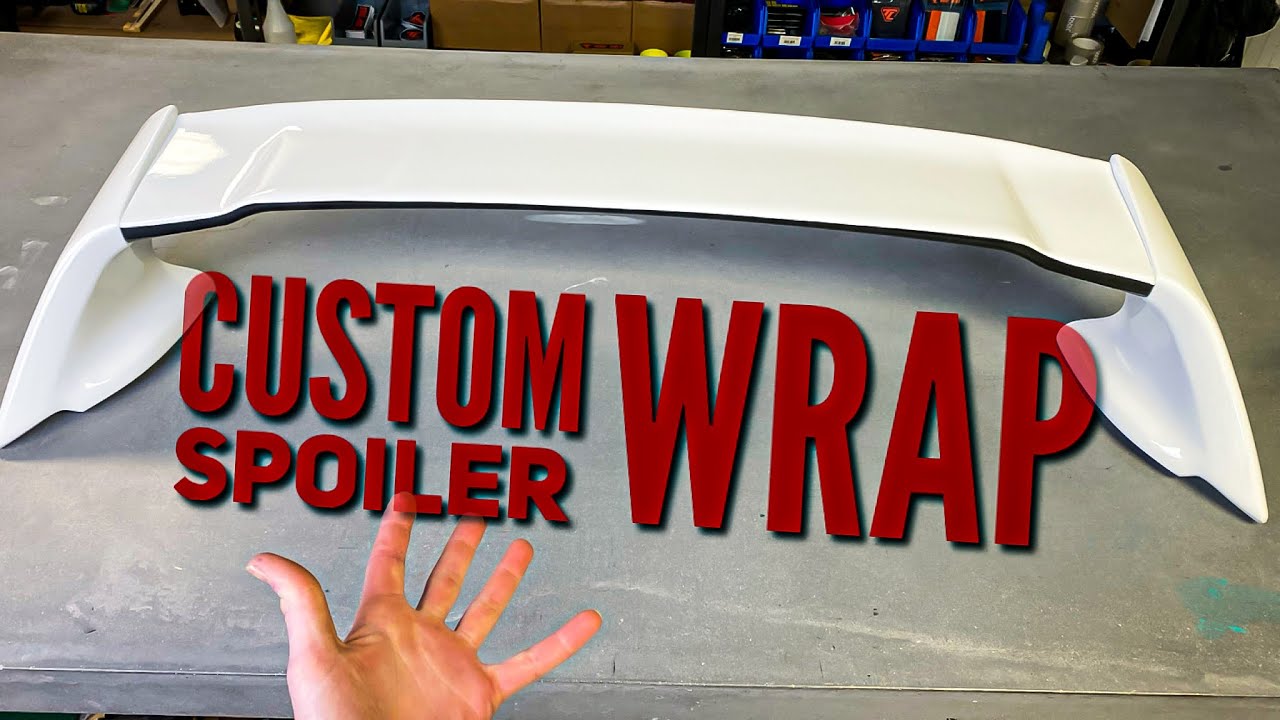
Credit: www.youtube.com
Measuring And Cutting Vinyl
Measuring and cutting vinyl are key steps in wrapping a car spoiler. These steps ensure the vinyl fits perfectly. A good fit gives a smooth, clean look. It also prevents air bubbles and wrinkles.
Taking your time during this stage saves effort later. Precise measurements and careful cutting make the wrap easier to apply. It helps the vinyl stick better and last longer.
Taking Accurate Measurements
Start by cleaning the spoiler surface. Use a soft cloth and mild cleaner. Dry the surface completely before measuring. Use a flexible measuring tape to get all curves.
Measure the length, width, and height of the spoiler. Note down each measurement clearly. Add an extra 2 to 3 inches on all sides. This extra material allows for trimming and stretching.
Measure more than once to avoid mistakes. Write measurements on paper for easy reference. Accuracy here prevents vinyl waste and poor fitting.
Cutting The Vinyl Sheet
Place the vinyl on a clean, flat surface. Lay the vinyl with the printed side down. Use the measurements to mark the vinyl with a pencil or marker.
Draw straight lines for easier cutting. Use a sharp utility knife or scissors for clean edges. Cut slowly to avoid jagged lines.
Keep extra vinyl for adjustments and future repairs. Cutting carefully ensures the vinyl covers the spoiler fully. It also helps in achieving a smooth finish.
Applying The Vinyl Wrap
Applying the vinyl wrap to your car spoiler is a key step. It requires care and patience. Proper application ensures a smooth, lasting finish. Follow the steps below to get the best results.
Positioning The Vinyl
Start by placing the vinyl wrap carefully over the spoiler. Align it so the edges match perfectly. Leave a small extra margin for trimming. Check the fit before peeling off the backing. This helps avoid mistakes and waste.
Smoothing Out Air Bubbles
Once the vinyl is in place, press it down gently. Use a soft squeegee or cloth to push out air bubbles. Work from the center toward the edges. Small bubbles can cause wrinkles later. Take your time to smooth the surface evenly.
Heating And Stretching
Use a heat gun or hair dryer to warm the vinyl. Heat makes the vinyl flexible and easier to stretch. Carefully stretch the vinyl over curves and edges. Avoid overheating to prevent damage. Heat helps the wrap cling tightly and look seamless.
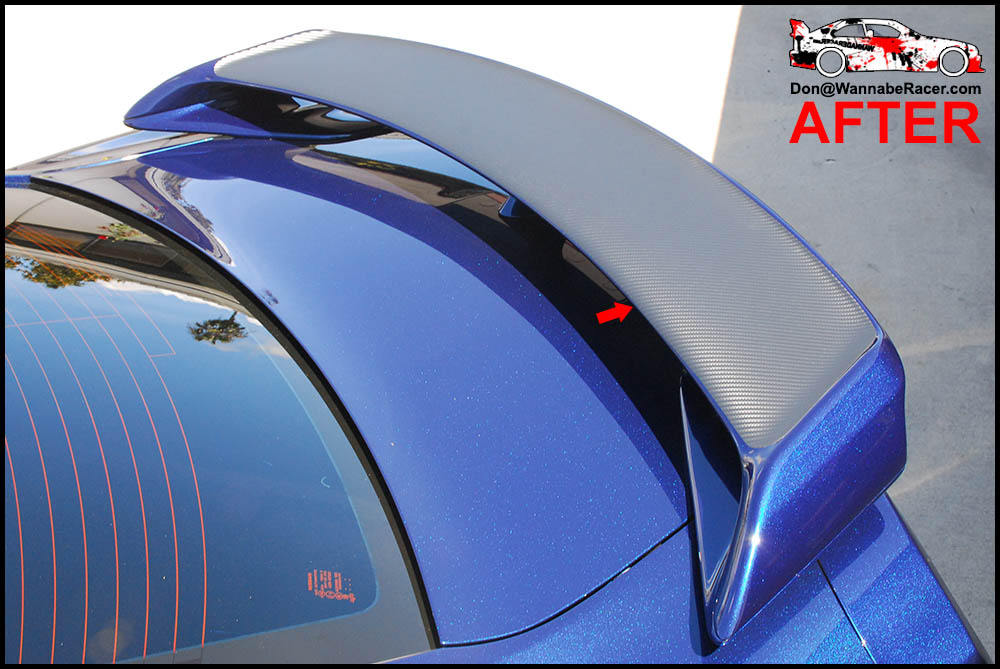
Credit: www.wannaberacerwraps.com
Trimming And Finishing Touches
Trimming and finishing touches are crucial for a clean, professional look on your wrapped car spoiler. This step ensures the vinyl fits perfectly and stays durable over time. Take your time to carefully cut away extra vinyl and seal the edges well. These actions protect your work and improve the overall appearance.
Trimming Excess Vinyl
Use a sharp utility knife or precision blade for trimming. Cut slowly along the edges of the spoiler to remove extra vinyl. Leave a small margin to avoid cutting too close. Keep the knife at a low angle to prevent damage to the spoiler surface. Clean cuts prevent peeling and help the wrap last longer.
Sealing The Edges
Seal the vinyl edges with heat using a heat gun or hair dryer. Warm the edges gently to make the vinyl more flexible. Press the edges down firmly with a squeegee or cloth. This step stops air and water from getting under the wrap. Proper sealing improves the vinyl’s durability and finish.
Reinstalling The Spoiler
After wrapping, carefully put the spoiler back on the car. Align it with the mounting points to avoid scratches. Tighten screws or bolts securely but not too tight. Check the wrap again for any loose edges or bubbles. A well-installed spoiler completes the vinyl wrap job perfectly.
Maintenance Tips
Keeping a vinyl-wrapped car spoiler in great shape needs regular care. Proper maintenance helps the wrap look fresh and last longer. Follow simple steps to protect the wrap and avoid common problems. These tips save time and money on repairs.
Cleaning Wrapped Spoilers
Use a soft cloth or sponge with mild soap and water. Avoid harsh chemicals or abrasive cleaners that can damage the vinyl. Rinse the spoiler gently and dry it with a microfiber towel. Clean the wrap regularly to prevent dirt buildup and stains.
Avoiding Damage
Park your car away from sharp objects and tight spaces. Keep the spoiler safe from scratches and dents. Avoid high-pressure washers near the edges of the wrap. Do not use scrapers or sharp tools on the vinyl surface. Careful handling keeps the wrap intact and looking good longer.
Frequently Asked Questions
How Do I Prepare A Car Spoiler For Vinyl Wrapping?
Clean the spoiler thoroughly to remove dirt and grease. Sand any rough spots and dry completely before starting the wrap. Proper preparation ensures better vinyl adhesion and a smooth finish.
What Tools Are Needed To Vinyl Wrap A Car Spoiler?
You need vinyl wrap film, a heat gun, a squeegee, a utility knife, and gloves. These tools help apply the wrap evenly and prevent bubbles or wrinkles.
Can I Vinyl Wrap A Curved Car Spoiler Easily?
Yes, but it requires careful heating and stretching of the vinyl. Use a heat gun to soften the vinyl and gently mold it to curves for a seamless fit.
How Long Does Vinyl Wrapping A Car Spoiler Take?
The process typically takes 1 to 2 hours. This varies based on spoiler size and your experience level with vinyl wrapping.
Conclusion
Vinyl wrapping a car spoiler can change your car’s look easily. It protects the spoiler from scratches and weather damage. Take your time and work carefully for best results. Clean the surface well before applying the vinyl wrap. Use a heat gun to smooth out bubbles and wrinkles.
Practice makes perfect, so don’t rush the process. Enjoy the fresh, new style your car shows off now. This simple upgrade keeps your car unique and stylish.