Looking to give your vehicle a fresh, sleek look without spending a fortune? Vinyl wrapping your exterior trim is the perfect way to do just that.
You might think it’s complicated or only for professionals, but with the right steps, you can achieve a smooth, lasting finish yourself. Imagine transforming your car’s appearance quickly while protecting the trim from damage. In this guide, you’ll discover simple, clear instructions that make vinyl wrapping easy and even enjoyable.
Ready to take your car’s style to the next level? Let’s dive in and get started!
Choosing The Right Vinyl Wrap
Choosing the right vinyl wrap is key for a smooth and lasting finish. The right material and color make your exterior trim look fresh and neat. Careful measuring saves time and money. This guide helps you pick the best wrap for your trim.
Types Of Vinyl Wrap Materials
Vinyl wraps come in different types. Cast vinyl is thin, flexible, and lasts long. It works well on curves and edges. Calendered vinyl is thicker and cheaper. It suits flat surfaces but may peel on curves. Consider your trim shape before choosing the material.
Color And Finish Options
Vinyl wraps offer many colors and finishes. Glossy finishes shine bright and look new. Matte finishes give a smooth, soft look. Satin finishes balance shine and dullness. Choose a color that matches your vehicle or style. Light colors show dirt less than dark ones.
Measuring Your Exterior Trim
Measure your trim carefully. Use a tape measure for length and width. Add extra inches for mistakes and overlap. Write down all measurements clearly. Accurate size helps avoid waste and fitting problems. Prepare your trim surface before applying the wrap.
Preparing The Trim Surface
Preparing the trim surface is the first step in vinyl wrapping exterior trim. It ensures the wrap sticks well and lasts longer. A clean, smooth surface prevents bubbles and peeling. Skipping this step can cause poor results. Follow the steps below to get the trim ready.
Cleaning And Degreasing
Start by cleaning the trim thoroughly. Use soap and water to remove dirt and dust. Rinse well and let it dry. Next, use a degreaser or rubbing alcohol to remove oils and grease. This step helps the vinyl stick better. Wipe the surface with a clean cloth. Make sure no residue remains.
Removing Old Wrap Or Paint
Check if the trim has old wrap or paint. Remove any peeling or loose material carefully. Use a plastic scraper or heat gun for stubborn parts. Avoid scratching the trim surface. Clean again after removing old material. This step ensures a fresh base for the new wrap.
Sanding And Smoothing
Lightly sand the trim to smooth rough spots. Use fine-grit sandpaper, around 600 to 800 grit. Sand evenly to avoid deep scratches. This creates a better surface for the vinyl to grip. After sanding, wipe away dust with a damp cloth. Let the trim dry completely before wrapping.
Tools And Supplies Needed
Vinyl wrapping exterior trim needs the right tools and supplies. Using proper equipment helps you get clean, smooth results. It also saves time and avoids mistakes. Prepare all items before starting to wrap your trim.
Essential Tools Checklist
- Vinyl wrap film – choose quality and color carefully
- Heat gun – softens vinyl for bending and stretching
- Squeegee – removes air bubbles and smooths vinyl
- Utility knife – cuts vinyl cleanly and precisely
- Cleaning solution – removes dirt and grease from trim
- Microfiber cloth – dries and cleans surfaces without scratches
- Masking tape – holds vinyl in place during application
- Gloves – protect hands and avoid fingerprints on vinyl
Optional Accessories For Better Results
- Surface primer – improves vinyl adhesion on tricky surfaces
- Edge sealer – prevents vinyl edges from peeling off
- Plastic scraper – helps lift vinyl edges without damage
- Measuring tape – ensures accurate vinyl sizing and cutting
- Spray bottle with water and soap – assists in repositioning vinyl
- Heat-resistant gloves – protect hands from hot tools
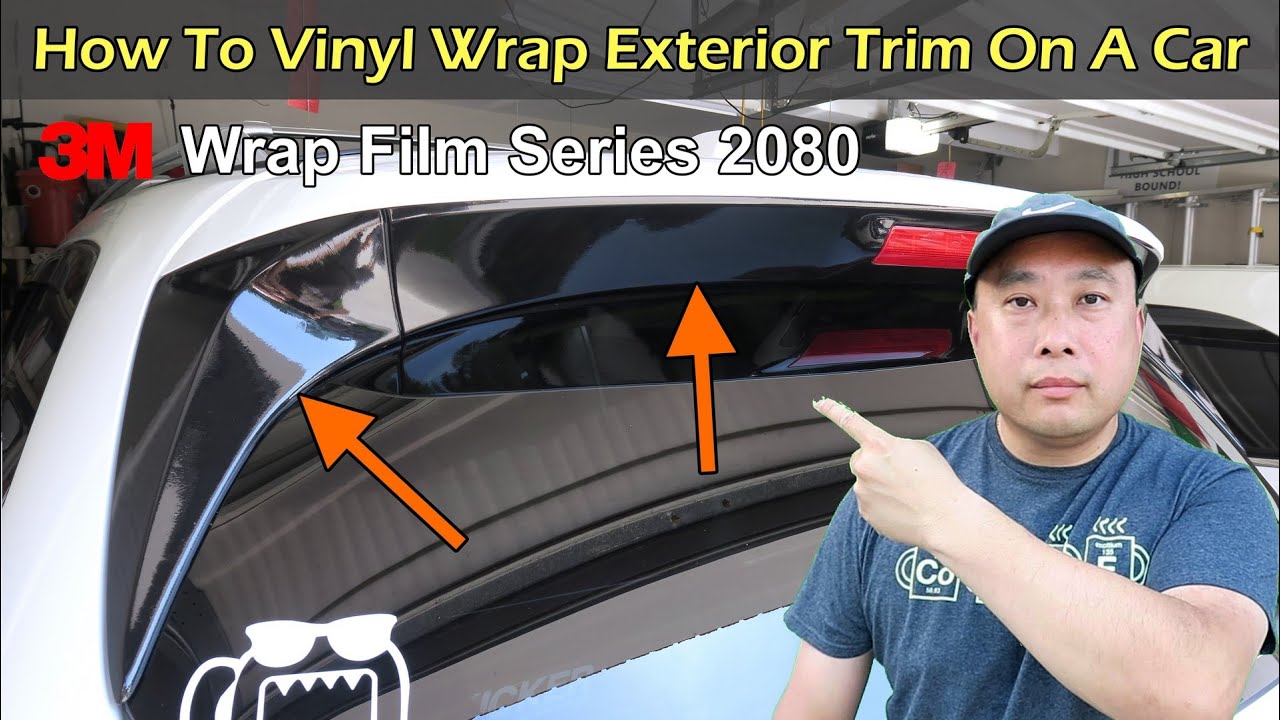
Credit: www.youtube.com
Applying The Vinyl Wrap
Applying vinyl wrap to exterior trim needs care and focus. This process ensures the wrap fits well and looks smooth. Following each step carefully helps avoid mistakes and keeps the trim protected.
Cutting And Positioning The Vinyl
Start by cutting the vinyl slightly larger than the trim size. This extra material allows room to adjust and wrap corners easily. Place the vinyl on the trim and line it up properly. Make sure the pattern or color matches the trim shape.
Using Heat To Shape The Wrap
Use a heat gun to warm the vinyl gently. Heat makes the vinyl soft and flexible for bending around curves. Move the heat gun evenly across the surface to avoid burns. Stretch the vinyl carefully to cover edges and corners without tearing.
Eliminating Air Bubbles And Wrinkles
Press the vinyl down with a squeegee or soft cloth. Push out air bubbles from the center towards the edges. Work slowly to smooth wrinkles and prevent creases. Small bubbles can be pierced carefully with a pin and pressed flat.
Trimming And Finishing Touches
Trimming and finishing touches are key steps in vinyl wrapping exterior trim. These steps ensure a clean, professional look. They also help the wrap last longer. Careful trimming avoids peeling edges. Finishing touches protect the vinyl from weather and wear.
Precise Cutting Techniques
Use a sharp blade to cut the vinyl. Cut slowly and follow the trim’s shape closely. Avoid cutting too deep to prevent damage. Use a straight edge for straight lines. For curves, take small, careful cuts. Always cut excess vinyl after applying it firmly.
Sealing Edges For Durability
Seal edges to stop moisture and dirt from entering. Use heat to slightly warm the vinyl edges. Press edges firmly against the trim to stick well. Apply edge sealer or clear tape for extra protection. Proper sealing helps prevent lifting and cracking over time.
Final Inspection And Adjustments
Check the wrap for bubbles or wrinkles. Smooth out any imperfections with a squeegee or soft cloth. Look closely at all edges and corners. Fix any loose or lifted areas immediately. A careful final check ensures a neat and lasting finish.

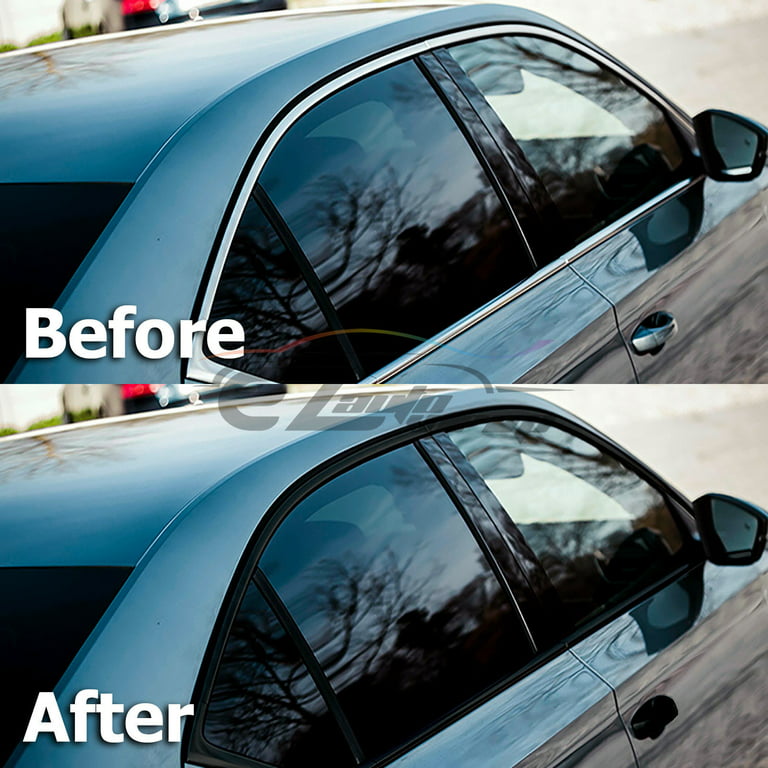
Credit: www.ebay.com
Maintaining Your Wrapped Trim
Maintaining your wrapped trim keeps it looking fresh and new. Proper care extends the life of the vinyl and protects your investment. Simple habits can prevent damage and maintain shine. Follow these tips to ensure your trim stays perfect for years.
Cleaning Tips
Use a soft cloth or sponge to clean the trim. Avoid abrasive materials that can scratch the vinyl surface. Mix mild soap with water for a gentle cleaning solution. Rinse the area with clean water after washing. Dry with a microfiber cloth to prevent water spots. Clean your trim regularly to avoid dirt buildup.
Avoiding Damage
Do not use harsh chemicals or solvents on the vinyl wrap. Avoid pressure washers that can lift or peel the edges. Be careful when parking near bushes or trees that may scratch the surface. Avoid sharp objects that can puncture the wrap. Park in shaded areas to reduce sun damage. These habits protect the wrap and keep it intact.
Long-term Care
Apply a vinyl-safe protectant every few months for extra durability. Inspect the wrap for small tears or peeling edges often. Repair minor damage quickly to stop it from worsening. Store your vehicle indoors or use a car cover for protection. Regular care helps your vinyl wrap stay vibrant and strong.
Troubleshooting Common Issues
Troubles can happen when vinyl wrapping exterior trim. Knowing how to fix these common problems helps keep the wrap looking fresh and neat. This guide covers the most frequent issues and easy ways to solve them.
Peeling Edges
Edges may start to peel if the surface was not clean. Dirt or oil stops the vinyl from sticking well. Press edges down firmly with a heat gun or hairdryer. Use a squeegee to smooth the edges. Trim any loose vinyl with a sharp blade. This prevents the peel from growing.
Bubbles And Wrinkles
Bubbles form when air is trapped under the vinyl. Use a pin to gently prick the bubble. Press the air out with a squeegee. Wrinkles happen if the vinyl stretches too much. Heat the vinyl slightly to soften it. Then pull and smooth it carefully. Work slowly to avoid new wrinkles.
Fading And Discoloration
Sunlight and weather can cause colors to fade. Use vinyl made for outdoor use to reduce fading. Clean the wrap regularly with mild soap and water. Avoid harsh chemicals that damage the color. If fading occurs, consider replacing the wrap to keep trim looking good.
Credit: www.walmart.com
Frequently Asked Questions
What Tools Are Needed To Vinyl Wrap Exterior Trim?
You need a vinyl wrap, heat gun, squeegee, knife, and cleaning supplies. These tools ensure smooth application and durability for your trim wrap.
How Long Does Vinyl Wrap On Trim Typically Last?
Vinyl wrap on exterior trim usually lasts 5 to 7 years. Proper installation and care can extend its lifespan significantly.
Can I Vinyl Wrap Exterior Trim Myself?
Yes, with patience and the right tools, you can DIY vinyl wrap exterior trim. Follow detailed instructions for best results.
How Do I Prepare Trim Before Vinyl Wrapping?
Clean the trim thoroughly to remove dirt and grease. Use isopropyl alcohol and ensure the surface is dry before applying vinyl.
Conclusion
Vinyl wrapping exterior trim is a smart way to update your vehicle’s look. It protects the trim from scratches and sun damage. Take your time to prepare and apply the wrap carefully. Clean surfaces help the vinyl stick better and last longer.
Use heat to smooth out bubbles and wrinkles. With patience, you can achieve a neat, professional finish. This method saves money compared to repainting or replacing trim. Try it yourself and enjoy a fresh, stylish appearance on your car.