Are you looking to give your car’s interior a fresh, stylish look without the hassle of taking everything apart? Vinyl wrapping your interior trim without removing it might sound tricky, but it’s easier than you think.
Imagine transforming your car’s style quickly, saving time and avoiding damage. In this guide, you’ll discover simple, step-by-step tips to wrap your interior trim smoothly and professionally—right where it is. Keep reading, and you’ll be ready to upgrade your ride like a pro!
Credit: www.ctsvowners.com
Tools And Materials Needed
Before starting to vinyl wrap your car’s interior trim without removing it, gather all the right tools and materials. Having everything ready saves time and helps achieve a neat finish. Each item plays a role in making the wrap stick well and look smooth.
Vinyl Wrap Selection
Choose a high-quality vinyl wrap made for interior surfaces. Look for vinyl with a strong adhesive that won’t damage the trim. Matte, gloss, or carbon fiber finishes work well. Pick a color or texture that matches your style. Thin vinyl is easier to fit around curves and edges.
Essential Tools
Use a heat gun to soften the vinyl and help it bend around corners. A plastic squeegee removes air bubbles and smooths the wrap. Sharp scissors or a craft knife cut the vinyl cleanly. Gloves protect your hands and keep the vinyl free from dirt and fingerprints.
Cleaning Supplies
Clean the trim thoroughly before applying the vinyl. Use rubbing alcohol or a mild cleaner to remove dust, oils, and grease. Lint-free cloths or microfiber towels work best. A clean surface ensures the vinyl sticks properly and lasts longer.
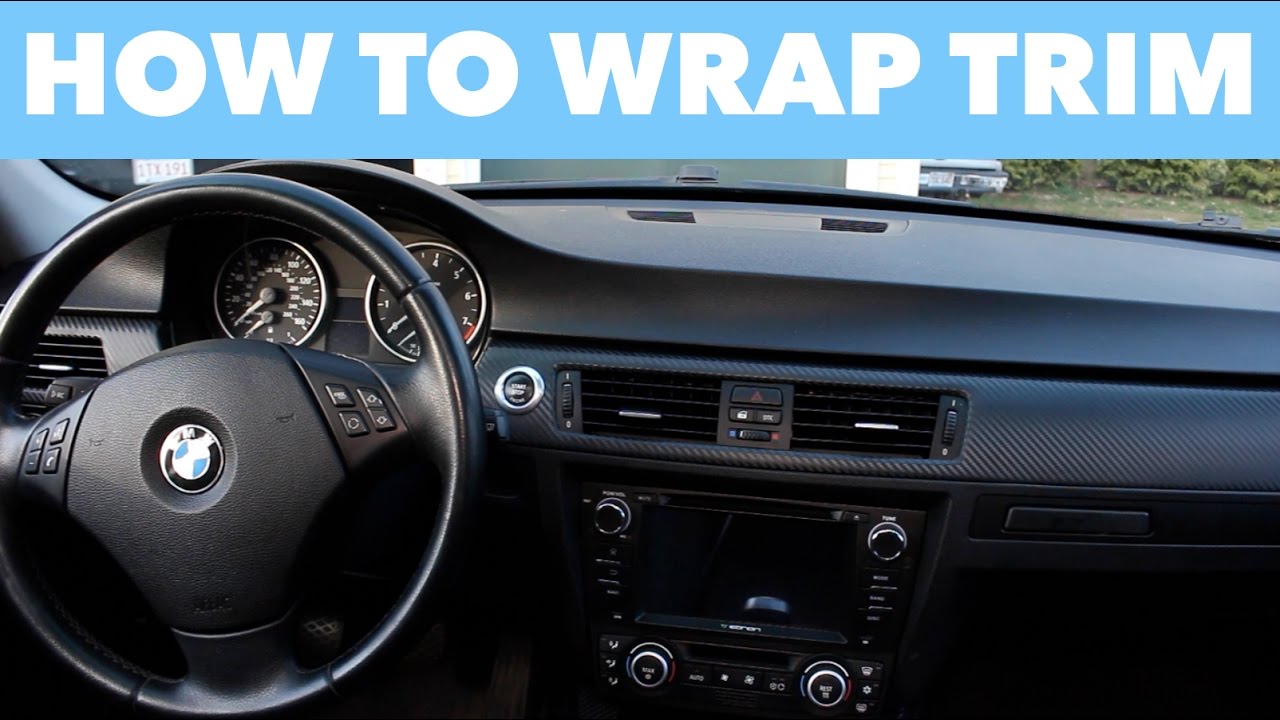
Credit: www.youtube.com
Preparing The Interior Trim
Preparing the interior trim is a crucial step before applying vinyl wrap. It ensures the wrap sticks well and lasts longer. Taking time to prepare the surface helps avoid bubbles and peeling. Clean, smooth trim makes the wrapping process easier and the final look better.
Cleaning The Surface
Start by wiping the trim with a soft cloth. Use a mild cleaner to remove dust and grime. Avoid harsh chemicals that can damage the trim. Clean surfaces help the vinyl stick firmly without lifting later.
Removing Dirt And Oils
Grease and oils stop the vinyl from sticking properly. Use isopropyl alcohol on a clean cloth to wipe the trim. This removes oils left from skin or cleaners. Make sure the surface feels dry and clean before moving on.
Ensuring A Smooth Base
Check the trim for scratches or bumps. Sand rough spots lightly with fine sandpaper. Fill deep scratches with a plastic filler if needed. A smooth base prevents wrinkles and bubbles in the vinyl wrap.
Measuring And Cutting The Vinyl
Measuring and cutting the vinyl is a key step in wrapping interior trim. It helps achieve a clean, smooth look without removing parts. Careful work here saves time and materials later. Follow these tips to get the best fit for your vinyl wrap.
Taking Accurate Measurements
Use a flexible measuring tape for curves and edges. Measure the trim length and width carefully. Write down each measurement clearly. Double-check numbers before cutting. Small errors can cause big problems.
Cutting With Precision
Place the vinyl on a flat surface. Use a sharp blade or scissors for clean cuts. Cut slowly and follow your measurements exactly. Avoid jagged or uneven edges. Smooth cuts help the vinyl stick better and look neat.
Allowing For Extra Material
Add a small margin to each measurement. Leave about half an inch extra around edges. This extra material allows for stretching and adjusting. It also helps cover corners and curves fully. Trim the excess after applying the vinyl.
Applying The Vinyl Wrap
Applying the vinyl wrap to interior trim without removing it requires patience and care. This step is crucial for a smooth, clean finish. The wrap must fit perfectly on the surface. Take your time during this phase for the best results.
Positioning The Vinyl
Start by placing the vinyl on the trim carefully. Align the edges with the trim shape. Do not stretch the vinyl yet. Gently smooth it out to check the fit. Adjust the position if needed before sticking it down.
Using Heat For Flexibility
Use a heat gun or hairdryer on low heat. Warm the vinyl to make it soft and flexible. Heat helps the wrap bend around curves and edges. Keep the heat moving to avoid damage. Warm vinyl sticks better and shapes well.
Smoothing Out Bubbles And Wrinkles
Use a plastic squeegee or your fingers to press the vinyl. Start from the center and move outward. Push out any air bubbles and wrinkles. Heat can help soften stubborn areas. Keep smoothing until the surface feels flat and tight.
Trimming And Finishing Edges
Trimming and finishing edges is a key step in vinyl wrapping interior trim. Clean and neat edges make your wrap look professional. This step ensures the vinyl fits perfectly and stays in place long-term.
Pay close attention to details here. Take your time to avoid mistakes that can ruin your work. Proper trimming and finishing also protect the vinyl from peeling or damage.
Careful Edge Cutting
Use a sharp blade or craft knife for cutting edges. Cut slowly and steadily along the trim lines. Avoid rushing to prevent uneven or jagged edges.
Cut just enough vinyl to cover the area without excess. Keep the blade angle low to get smooth, clean cuts. Replace dull blades often to maintain precision.
Tucking Vinyl Into Crevices
Crevices and small gaps need special care. Gently push the vinyl into these spaces using a plastic squeegee or a soft tool. Avoid sharp objects that could tear the vinyl.
Tucking vinyl creates a tight fit and hides cut edges. It helps the wrap look seamless and protects edges from lifting over time.
Final Heat Application
Apply heat with a heat gun or hair dryer after trimming. Warm the vinyl gently to soften it. This makes the vinyl stretch slightly and stick better.
Focus heat on edges and tucked areas to secure the wrap. Keep the heat moving to prevent damage. Let the wrap cool naturally for a firm hold.
Credit: www.ctsvowners.com
Tips For Long-lasting Results
Keeping your vinyl wrap looking fresh and new takes care and attention. Follow some simple steps to make the wrap last longer. These tips help protect the surface and keep the colors bright. Small efforts can prevent damage and save money on repairs.
Avoiding Harsh Cleaners
Use mild soap and water to clean the vinyl wrap. Harsh chemicals can break down the adhesive and fade colors. Avoid products with alcohol, ammonia, or bleach. Soft cloths and gentle scrubbing work best to remove dirt. Always rinse with clean water after washing.
Regular Maintenance
Check the wrap often for dirt and dust buildup. Clean the surface regularly to stop grime from sticking. Use a microfiber cloth to avoid scratches. Keep the car indoors or under shade to prevent sun damage. These small steps keep the wrap shiny and smooth.
Handling Wear And Tear
Inspect the wrap edges for lifting or peeling. Press down loose edges to keep them stuck. Avoid sharp objects near the wrap to prevent cuts. Repair small damages quickly with vinyl patch kits. Taking care of problems early keeps the wrap strong and neat.
Frequently Asked Questions
Can You Vinyl Wrap Interior Trim Without Removal?
Yes, you can vinyl wrap interior trim without removing it. Careful preparation, slow application, and proper tools ensure a smooth finish without removal.
What Tools Are Needed For Vinyl Wrapping Trim?
Essential tools include a heat gun, squeegee, precision knife, and microfiber cloth. These help in applying vinyl smoothly and trimming edges accurately.
How Do You Prepare Interior Trim For Vinyl Wrapping?
Clean the trim thoroughly with a mild cleaner to remove dirt and oils. Dry completely before applying vinyl to ensure strong adhesion.
Is Vinyl Wrapping Interior Trim Reversible?
Yes, vinyl wrapping is reversible. You can peel off the vinyl without damaging the trim, making it a flexible customization option.
Conclusion
Vinyl wrapping interior trim without removal saves time and effort. You can achieve a fresh look with simple tools. Careful measuring and slow application help avoid bubbles and wrinkles. Patience during heat application improves the wrap’s fit and finish. This method keeps your trim intact and looks clean.
Try it yourself to refresh your car’s interior easily. Small changes make a big difference inside your vehicle. Enjoy a new style without complicated steps or damage.