
Are you looking to give your car’s interior a fresh, stylish makeover without spending a fortune? Vinyl wrapping your interior is the perfect solution.
It lets you change the look of your dashboard, door panels, and other surfaces quickly and easily. Plus, you get to choose from endless colors and finishes to match your style. In this guide, you’ll discover simple steps to vinyl wrap your interior like a pro.
By the end, you’ll have the confidence to transform your car’s inside into something truly unique. Ready to make your ride stand out? Let’s dive in!
Choosing The Right Vinyl Wrap
Choosing the right vinyl wrap is key to a great interior look. It affects how the wrap feels, lasts, and looks. Picking the best type helps make your project easier and more successful.
Types Of Vinyl Films
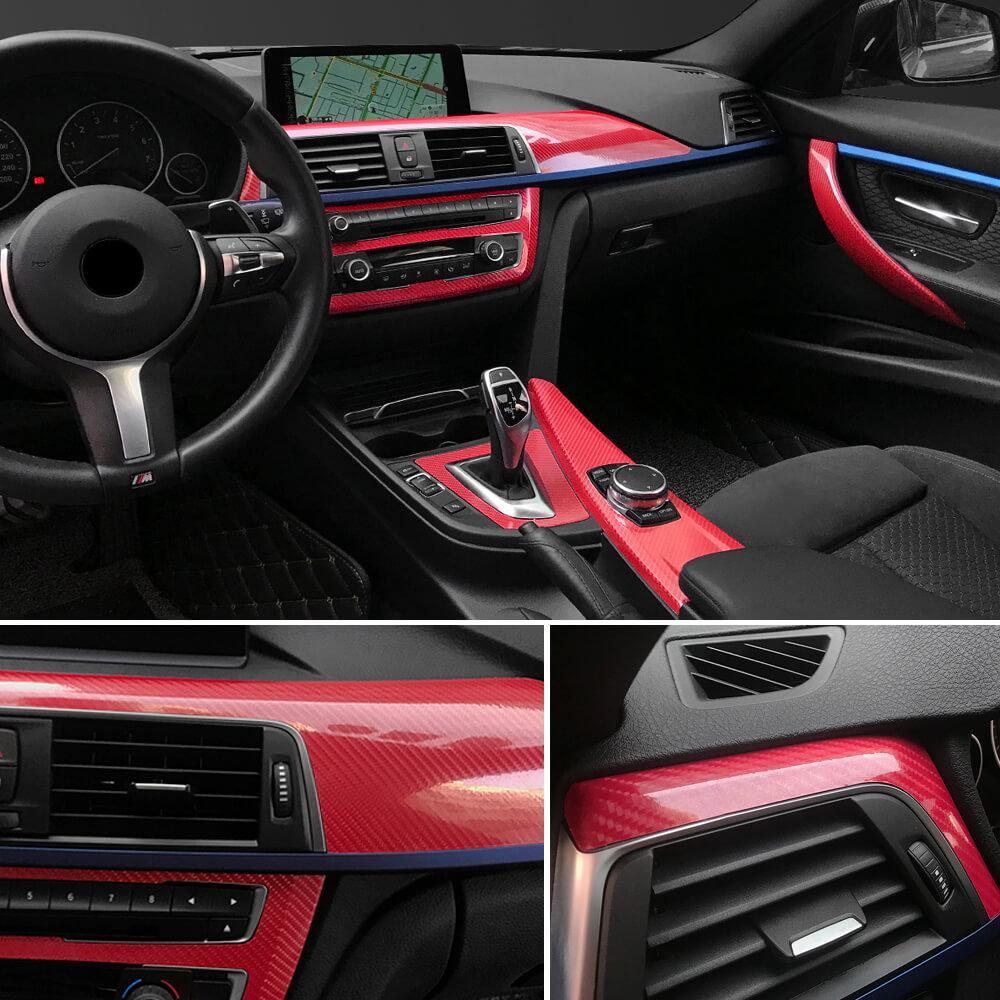
Vinyl films come in several types. Cast vinyl is thin and flexible. It molds well around curves and lasts long. Calendered vinyl is thicker and less flexible. It works well on flat surfaces. Textured vinyl adds a special feel, like carbon fiber or leather. Each type suits different parts of your interior.
Colors And Finishes
Vinyl wraps come in many colors. Bright, dark, or neutral shades fit various styles. Finishes include matte, glossy, satin, and metallic. Matte hides fingerprints well. Glossy shines and looks sleek. Satin gives a soft glow. Metallic adds a rich, reflective look. Choose color and finish that match your taste and car interior.
Tools And Materials Needed
Good tools help apply vinyl smoothly. You need a squeegee to remove bubbles. A heat gun helps stretch the film. Use a sharp knife for cutting edges. Cleaning materials prepare the surface. Gloves protect your hands and keep the vinyl clean. Having the right tools saves time and effort.
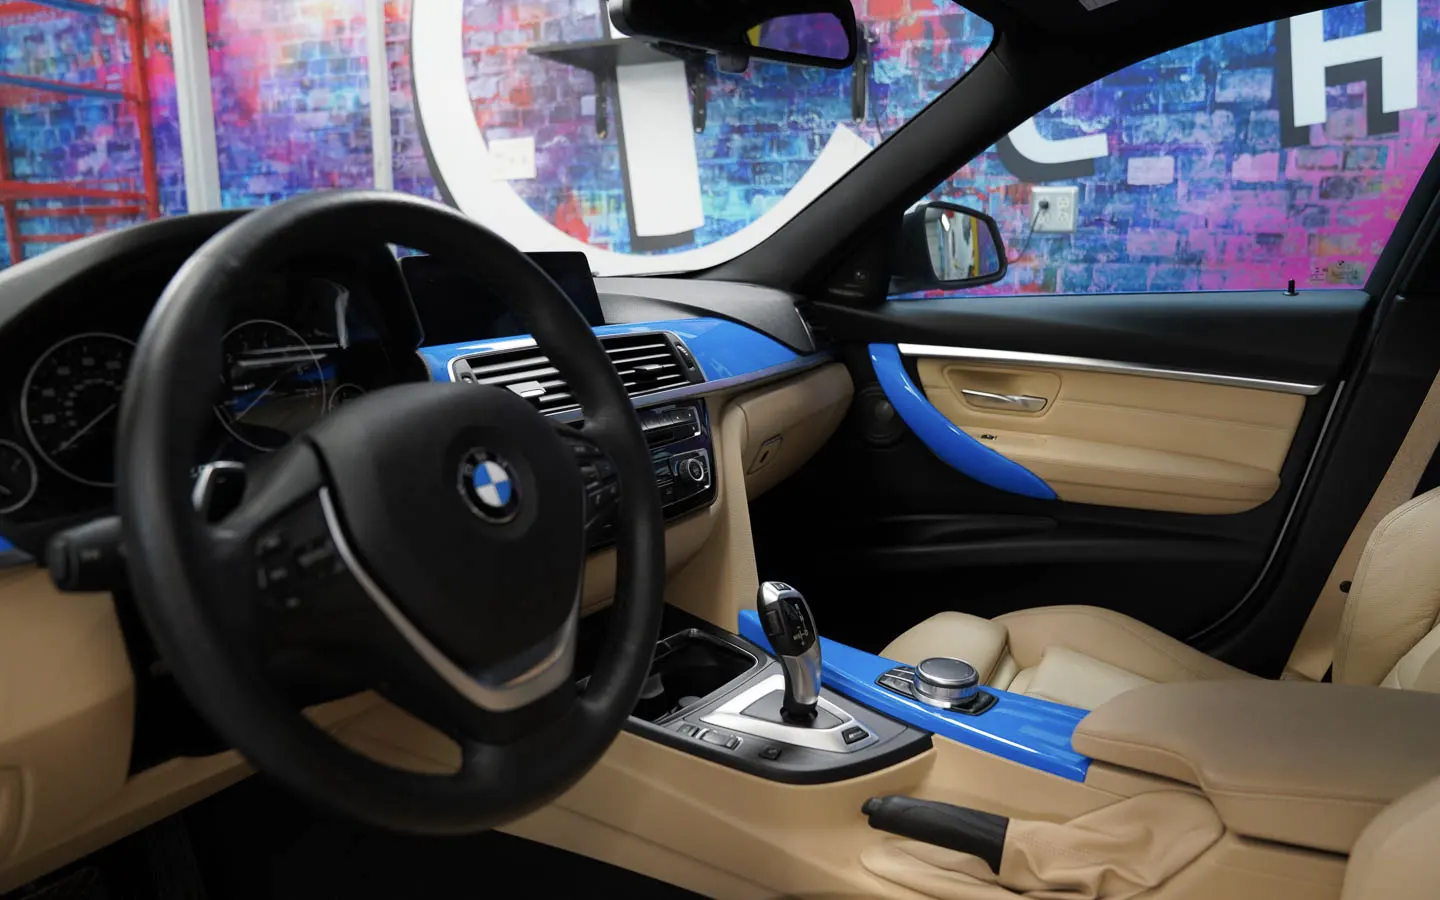
Credit: www.tintingchicago.com
Preparing The Interior Surface
Preparing the interior surface is a key step before applying vinyl wrap. It ensures the wrap sticks well and lasts longer. A clean, smooth surface helps avoid bubbles and wrinkles. Take your time with this process for the best results.
Cleaning And Degreasing
Start by wiping down all surfaces with a mild cleaner. Remove dust, dirt, and oils that block adhesion. Use a degreaser to clear any grease spots. Dry the area fully with a clean cloth. A spotless surface is critical for the vinyl to stick properly.
Removing Interior Panels
Take off panels that cover the areas you want to wrap. Use the right tools to avoid damage. Removing panels gives better access and helps wrap edges neatly. Keep screws and clips safe for reassembly later. Handle everything gently to prevent cracks or scratches.
Sanding And Smoothing Surfaces
Lightly sand rough or uneven spots with fine-grit sandpaper. This helps create a flat surface for the vinyl. Avoid heavy sanding that can damage the plastic or paint. Wipe off dust after sanding to keep the surface clean. Smooth surfaces allow the vinyl to lay flat and look professional.
Measuring And Cutting Vinyl
Measuring and cutting vinyl is a key step in wrapping your interior parts. Precise measurements ensure the vinyl fits smoothly without wrinkles or gaps. Cutting the vinyl correctly saves material and avoids mistakes. Handling the vinyl carefully helps keep it clean and ready to apply. This section guides you through each important part of the process.
Taking Accurate Measurements
Use a soft measuring tape for curves and edges. Measure twice to avoid errors. Write down the length and width clearly. Add extra inches for overlapping and trimming. Mark the measurements on the vinyl using a pencil or chalk. Keep the vinyl flat on a clean surface during measuring.
Cutting Techniques
Use a sharp utility knife or scissors for clean cuts. Cut slowly along the marked lines. Avoid jagged or uneven edges. Use a straight edge as a guide for straight cuts. Change blades often to keep cuts smooth. Cut slightly larger pieces to allow for adjustment.
Handling Vinyl Stretch
Vinyl can stretch when pulled or heated. Stretch gently to avoid damage. Use a heat gun carefully to soften the vinyl. Do not overheat; it can cause bubbles or tears. Stretch only as much as needed to fit curves. Let the vinyl relax before final trimming.
Applying The Vinyl Wrap
Applying the vinyl wrap to your car’s interior takes patience and care. This step changes the look of your vehicle and protects the surfaces. Getting it right means the wrap will last longer and look smooth. Follow each stage closely for the best result.
Positioning The Vinyl
Place the vinyl carefully on the surface. Start at one edge and slowly lay it down. Make sure it covers the area fully. Align it well to avoid cuts or overlaps later. Take your time to adjust before sticking it firmly.
Using Heat For Flexibility
Heat the vinyl gently using a heat gun or hairdryer. Warm vinyl becomes soft and easier to shape. This helps it bend around curves and corners. Move the heat source evenly to prevent damage. Keep the wrap warm as you work.
Smoothing Out Air Bubbles
Press the vinyl from the center outward. Use a squeegee or soft cloth for this. Push all air bubbles toward the edges. Small bubbles can be popped carefully with a pin. Smooth vinyl looks clean and keeps its grip well.
Finishing Touches
Finishing touches are key to a perfect vinyl wrap inside your car. They make the wrap look clean and last longer. Take time to finish every small detail carefully.
Trimming Excess Vinyl
Remove extra vinyl carefully using a sharp blade. Cut close to edges without damaging the surface. Small cuts help keep the wrap smooth and neat. Take your time to avoid mistakes.
Reinstalling Interior Panels
Put back all removed parts gently. Check that the vinyl does not get caught or folded. Tighten screws and clips firmly but do not overforce. Proper reinstalling keeps the wrap secure and clean.
Caring For Wrapped Surfaces
Clean wrapped areas with a soft cloth and mild soap. Avoid harsh chemicals that can damage the vinyl. Wipe spills quickly to prevent stains. Regular care keeps the wrap looking fresh and new.
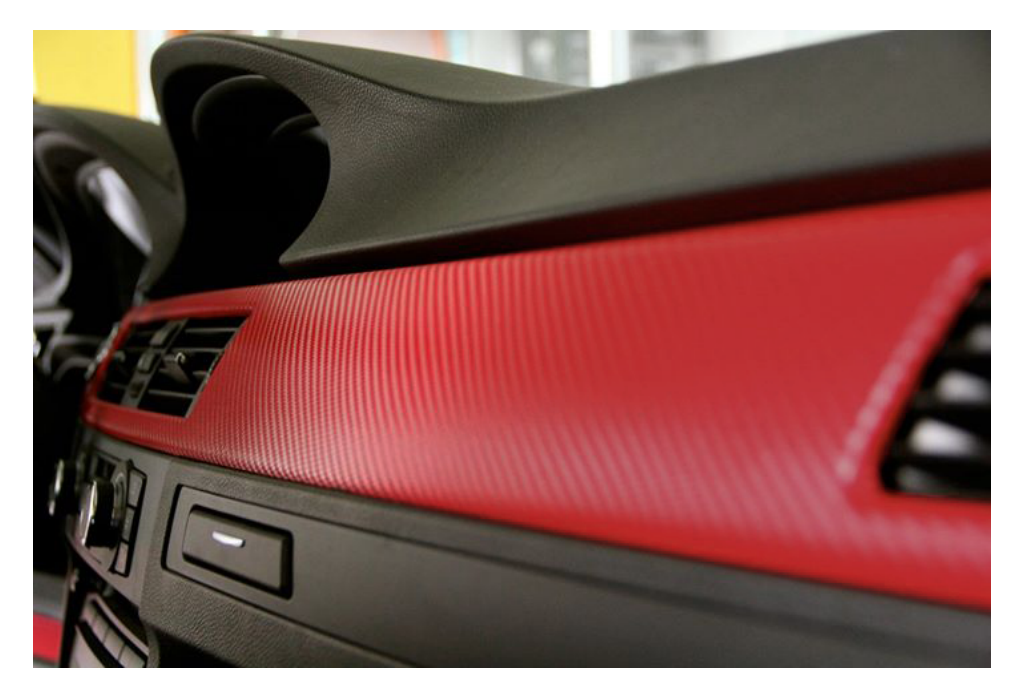
Credit: www.carlawrap.com
Common Mistakes To Avoid
Vinyl wrapping the interior can change your car’s look quickly. Many beginners make simple mistakes that cause problems. Avoiding these common errors saves time and money. It helps you get a smooth, clean finish that lasts long.
Skipping Surface Prep
Cleaning the surface is the first step. Dirt, dust, and oil stop vinyl from sticking well. Use a good cleaner and dry the area fully. Skipping this step causes bubbles and peeling later. Take time to prep the surface carefully.
Overstretching Vinyl
Stretching vinyl too much can ruin its shape. It may tear or lose color. Pull the vinyl gently and evenly. Work slowly and avoid sharp edges. Proper stretching keeps the vinyl smooth and intact.
Ignoring Temperature Conditions
Temperature affects vinyl’s flexibility and adhesion. Wrap vinyl in a place between 60°F and 80°F. Too cold makes vinyl stiff and hard to apply. Too hot makes it sticky and difficult to control. Check the weather before starting your wrap.
Tips For Long-lasting Results
Vinyl wrapping your interior can refresh your space and protect surfaces. To keep it looking good for a long time, you need to care for it properly. Small habits make a big difference in how long your vinyl wrap lasts.
Proper Cleaning Methods
Clean your vinyl wrap with a soft cloth and mild soap. Avoid harsh chemicals that can damage the vinyl. Use gentle circular motions to remove dirt. Dry the surface with a clean towel to prevent water spots.
Avoiding Sharp Objects
Sharp items can scratch or tear the vinyl wrap easily. Keep knives, keys, and tools away from wrapped surfaces. Handle objects near the vinyl with care. Small cuts can cause peeling over time.
Regular Inspections
Check your vinyl wrap often for any signs of damage. Look for bubbles, tears, or lifting edges. Early fixes stop small problems from growing. Catching issues early extends the life of your wrap.
Credit: vvividshop.com
Frequently Asked Questions
What Tools Are Needed To Vinyl Wrap Interior Surfaces?
You need a heat gun, squeegee, utility knife, microfiber cloth, and vinyl wrap film. These tools help ensure smooth application and precise cuts.
How Long Does Vinyl Wrapping Interior Parts Take?
Vinyl wrapping interior parts usually takes 2 to 4 hours, depending on complexity. Proper preparation and patience improve results.
Can Vinyl Wrap Be Removed Without Damaging Interior?
Yes, vinyl wrap can be safely removed using heat and slow peeling. It leaves no residue or damage when done correctly.
Is Vinyl Wrapping Interior Cost-effective Compared To Painting?
Vinyl wrapping is often cheaper, faster, and less messy than painting. It also offers easy customization and reversibility.
Conclusion
Vinyl wrapping your car’s interior can change its look quickly. It protects surfaces and adds a personal touch. With the right tools and care, you can do it yourself. Take your time to get smooth, bubble-free results. Practice on small parts first to build confidence.
Enjoy the fresh, clean style that vinyl wrap brings inside your vehicle. This simple update can make your car feel new again. Keep your wrap clean to make it last longer. Try it and see how much difference a wrap can make.


