
Are you tired of your steering wheel feeling slippery or worn out? A Wheelskins steering wheel cover can give your car’s interior a fresh, comfortable look and a better grip while you drive.
But if you’re not sure how to put it on, don’t worry—you’re in the right place. This guide will walk you through each simple step, so you can easily install your Wheelskins cover and start enjoying a safer, more stylish drive.
Keep reading, and you’ll have your new cover fitted in no time!
Choose The Right Size
Choosing the right size for your Wheelskins steering wheel cover is very important. A good fit keeps the cover tight and secure. It stops slipping and makes driving safer. The wrong size can cause discomfort or damage to the cover.
Measure your steering wheel before buying. Most wheels come in standard sizes. Knowing the exact diameter helps pick the perfect cover.
How To Measure Your Steering Wheel
Use a tape measure or ruler. Measure across the center of the wheel. Include only the circular part, not the spokes. Write down this number in inches or centimeters. This is the diameter of your steering wheel.
Common Steering Wheel Sizes
Most cars have wheels between 14 and 16 inches. Some trucks or SUVs may have larger wheels. Wheelskins covers often list the sizes they fit. Check this list carefully before buying.
Why Size Matters For Wheelskins Covers
A cover too small will stretch too much. This can tear or wear out the material fast. A cover too large will be loose. It may slide around while driving. Correct size keeps the cover snug and comfortable.

Credit: www.autoseatskins.com
Prepare Your Steering Wheel
Preparing your steering wheel is the first step before installing a Wheelskins cover. A clean, dry surface helps the cover fit better. It also keeps the cover from slipping or wearing out quickly.
Take time to check your steering wheel. Remove dirt, oils, and any debris. This makes the cover stick firmly and look neat.
Clean The Steering Wheel Thoroughly
Use a mild cleaner and a soft cloth. Wipe the entire surface of the wheel. Focus on removing grease and dust. Let the wheel dry completely before moving on.
Check For Damage Or Wear
Look closely for cracks or rough spots. These can affect how the cover fits. Fix small issues or replace the wheel if needed. A smooth surface ensures a snug fit.
Remove Any Existing Covers Or Accessories
Take off old covers, wraps, or decorations. Clear the wheel completely. This avoids bumps under the new cover. A clean base helps the cover lay flat and tight.
Position The Wheelskins Cover
Positioning the Wheelskins steering wheel cover correctly is key for a perfect fit. This step ensures comfort and safety while driving. Take your time to align it properly before moving on.
Center The Cover On The Steering Wheel
Place the Wheelskins cover over the top of the steering wheel. Make sure the logo or design is straight and centered. Check both sides to confirm even placement.
Align The Cover With The Wheel’s Shape
Match the cover’s shape to the steering wheel’s curves. Smooth out any folds or wrinkles. The cover should hug the wheel tightly without gaps.
Check The Position Before Stretching
Look closely at the cover’s edges. They should line up with the wheel’s outer rim. Adjust the cover if needed before stretching it down.
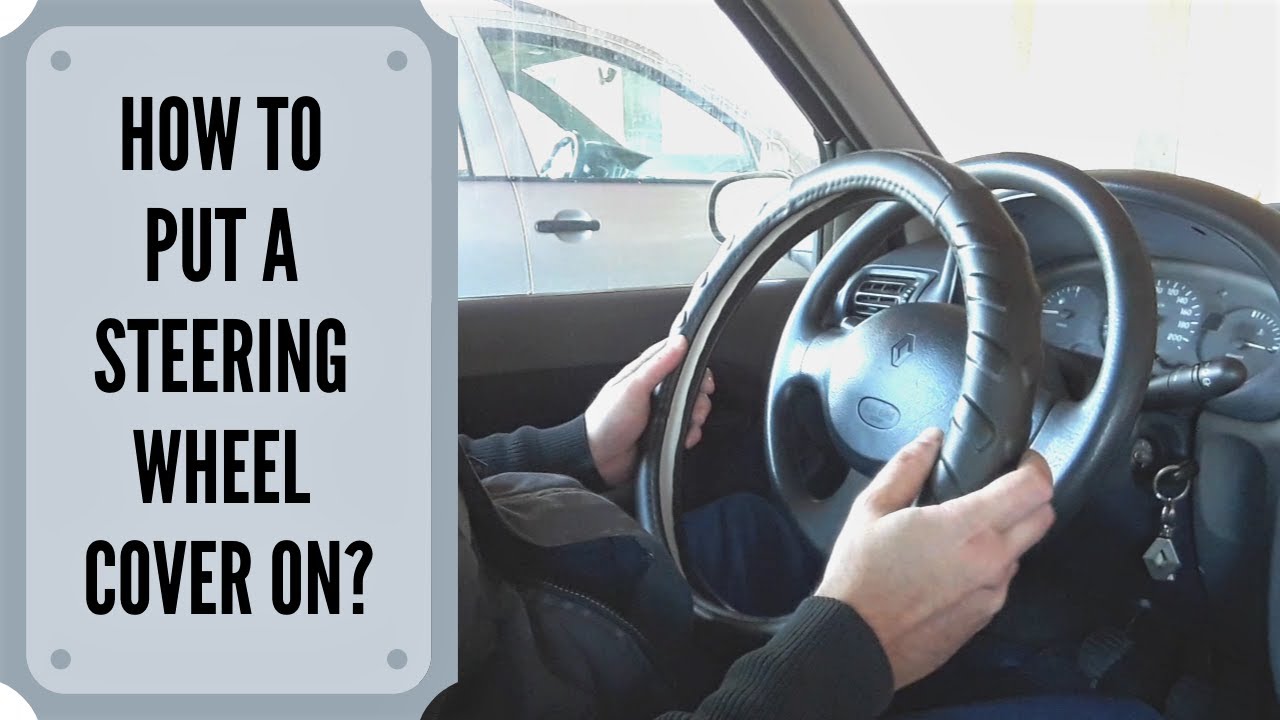
Credit: www.youtube.com
Stretch And Fit The Cover
Stretching and fitting the Wheelskins steering wheel cover is a key step. It ensures the cover sits tight and looks great. A well-fitted cover improves your grip and driving comfort.
This process requires patience and care. The cover is made from flexible material that expands. You need to stretch it evenly around the wheel.
Prepare The Cover For Stretching
Start by placing the cover in warm water for a few minutes. Warmth makes the material softer and easier to stretch. Dry it lightly with a towel before fitting.
Align The Cover On The Wheel
Position the cover at the top of the steering wheel first. Make sure the logo or design is centered. Slowly pull the cover down over the sides.
Stretch The Cover Evenly
Use both hands to pull the cover gently. Stretch it bit by bit around the entire wheel. Avoid pulling too hard to prevent tearing.
Check For Wrinkles And Adjust
Look for any wrinkles or loose spots. Smooth them out by pulling the material carefully. The cover should fit snugly without gaps.
Final Fit And Secure
Once the cover is fully in place, press it firmly. This helps the material settle into the wheel’s shape. Let it rest for a few minutes before driving.
Secure The Cover Edges
Securing the edges of your Wheelskins steering wheel cover is important for a perfect fit. It keeps the cover tight and stops it from slipping while driving. This step ensures comfort and safety. Take your time to do it right.
Align The Cover Edges Carefully
Start by matching the cover edges with the wheel edges. Make sure the seams line up evenly. This helps the cover fit snugly and look neat. Avoid bunching or wrinkles along the edges.
Use The Provided Laces Or Straps
Wheelskins covers often come with laces or straps. Thread these through the holes along the cover edges. Pull them tight to hold the cover firmly on the wheel. Secure the ends with knots or clips as instructed.
Check For Even Tension Around The Wheel
After tightening, feel around the wheel for any loose spots. Adjust the laces or straps to spread tension evenly. This prevents the cover from sliding or folding during use.
Trim Excess Material If Needed
If any part of the cover extends too far past the wheel edge, trim it carefully. Use sharp scissors and cut little by little. This avoids damaging the cover or wheel.

Credit: www.seatcoversolutions.com
Check For Proper Fit
Checking the fit of your Wheelskins steering wheel cover is a key step. A proper fit ensures comfort and safety while driving. It also helps the cover last longer. Poor fit can cause slipping or damage.
Take your time to inspect the cover on the wheel. Make sure it fits snugly without stretching too much. A cover that is too loose may slide around. Too tight can be hard to install and may tear.
Match The Cover Size To Your Steering Wheel
Measure your steering wheel diameter first. Wheelskins covers come in different sizes. Choose the one that matches your wheel size exactly. This prevents problems during installation.
Slide The Cover Onto The Wheel Evenly
Start by placing the cover at the top of the wheel. Slowly work it down on both sides. Check that it stays centered and straight. Adjust if one side looks loose or uneven.
Check For Wrinkles Or Bunching
Look closely for any wrinkles or folds on the cover. These can reduce grip and look messy. Smooth out any bunching by pulling gently. A smooth surface feels better to hold.
Test The Grip After Installation
Hold the steering wheel and turn it fully left and right. The cover should stay firm and not slip. Feel the texture to confirm it gives a good grip. This step ensures safe driving.
Tips For Maintaining Your Cover
Maintaining your Wheelskins steering wheel cover keeps it looking new and lasting longer. Simple care steps help avoid dirt build-up and wear. Clean and protect the cover regularly to keep its grip and feel fresh.
Cleaning Your Steering Wheel Cover
Use a soft cloth to wipe the cover often. For deeper cleaning, use mild soap and water. Avoid harsh chemicals that can damage the material. Let it air dry completely before using the car again.
Protecting From Sun Damage
Park in shaded areas to reduce sun exposure. Use a windshield sunshade when parking outside. Sunlight can fade and dry out the cover, causing cracks over time.
Avoiding Excess Moisture
Keep the cover dry to prevent mold and mildew. Wipe off any spills quickly. Avoid using the car cover if the steering wheel is wet.
Regular Inspection And Adjustment
Check the cover often for any signs of wear or looseness. Adjust it to keep a snug fit. A loose cover can slip and reduce driving control.
Frequently Asked Questions
How Do I Prepare My Steering Wheel For Wheelskins Cover?
Clean the steering wheel thoroughly using a mild cleaner. Remove all dirt and oils. This ensures better grip and a snug fit for the Wheelskins cover.
Can I Install Wheelskins Cover Without Tools?
Yes, no tools are required. The cover is designed to stretch and fit securely by hand. Just align it carefully and pull evenly for a tight fit.
How Long Does Installing A Wheelskins Cover Take?
Installation typically takes 5 to 10 minutes. The process is simple and straightforward, making it quick even for first-time users.
Will Wheelskins Cover Fit All Steering Wheel Sizes?
Wheelskins covers come in various sizes to fit most standard steering wheels. Check the product size chart before purchasing to ensure compatibility.
Conclusion
Installing a Wheelskins steering wheel cover is simple and quick. Follow the steps carefully for a snug fit. The cover improves grip and protects your steering wheel. It also adds a fresh look to your car’s interior. Taking a little time to install it pays off in comfort.
Enjoy better control and a stylish touch every time you drive. Your car deserves this small upgrade. Try it today and feel the difference yourself.


