
Have you ever wanted to give your plastic items a fresh, stylish look without spending a fortune? Vinyl wrapping is the perfect way to transform your plastic surfaces quickly and easily.
Whether it’s your car’s trim, gadgets, or home decor, vinyl wrap can protect and personalize your belongings. In this guide, you’ll learn simple, step-by-step techniques to get a smooth, professional finish every time. Keep reading, and you’ll discover how to make your plastic look brand new with vinyl wrap—no special skills required.
Materials Needed
Vinyl wrapping plastic surfaces requires specific materials. Having the right items makes the process smoother and the results better. Gathering these materials before starting saves time and effort.
Each tool and product serves a purpose. From selecting the vinyl to preparing the workspace, every step matters. The right materials help the vinyl stick well and last longer.
Choosing The Right Vinyl Wrap
Pick vinyl designed for plastic surfaces. This type offers better adhesion and flexibility. Choose a vinyl with a strong adhesive backing. It should resist peeling and bubbles. Matte, gloss, or textured finishes work well. Match the vinyl type to your project needs.
Essential Tools
Prepare a squeegee to smooth the vinyl. Use a sharp utility knife to trim edges. A heat gun helps stretch and mold the vinyl. Keep cleaning supplies like isopropyl alcohol handy. Use microfiber cloths to avoid scratches. Painter’s tape can hold vinyl in place during application.
Preparing The Workspace
Work in a clean, dust-free area. Dust and dirt cause bubbles under the vinyl. Ensure good lighting to spot imperfections. Use a flat, sturdy surface for the project. Have enough space to spread out materials. Keep pets and children away while working.
Credit: www.alamy.com
Preparing Plastic Surfaces
Preparing plastic surfaces is the first key step in vinyl wrapping. A clean, smooth surface helps the vinyl stick better and last longer. Skipping this step can cause bubbles, peeling, or poor adhesion. Taking time to prepare plastic properly makes the whole process easier and the final look much neater.
Cleaning Techniques
Start by cleaning the plastic surface thoroughly. Use warm water and mild soap to remove dirt and dust. Wipe gently with a soft cloth or sponge. Avoid harsh chemicals that can damage the plastic. After washing, dry the surface with a clean towel. Make sure no dust or lint remains before moving on.
Sanding And Smoothing
Light sanding helps the vinyl stick to plastic better. Use fine-grit sandpaper, around 400 to 600 grit. Sand the surface gently in circular motions. This roughens the plastic just enough for better grip. After sanding, wipe the surface again to remove dust. Smooth plastic without scratches will improve the vinyl wrap’s finish.
Removing Old Adhesives
Old glue or tape residue stops vinyl from sticking well. Use adhesive remover or rubbing alcohol to clean these spots. Apply the liquid on a cloth and rub the area gently. Avoid soaking the plastic to prevent damage. Once the residue is gone, clean the surface again. A residue-free surface ensures strong vinyl adhesion.
Cutting And Measuring
Cutting and measuring are key steps in vinyl wrapping plastic surfaces. Precise measurements ensure the vinyl fits perfectly without wrinkles or bubbles. Accurate cutting saves material and makes the wrap look smooth and professional.
Measuring The Surface
Start by cleaning the plastic surface. Use a tape measure to find the length and width. Write down the measurements clearly. Measure twice to avoid mistakes. Add a little extra to each side for trimming. This extra ensures full coverage.
Cutting Vinyl Accurately
Place the vinyl on a flat surface. Use a sharp utility knife or scissors. Cut slowly along the marked lines. Keep the blade straight to avoid jagged edges. Use a ruler or straight edge for guidance. Smooth cuts help the vinyl stick better.
Planning For Curves And Edges
Curves and edges need special attention. Cut the vinyl slightly larger than the curve. Stretch and smooth the vinyl gently around edges. Use a heat gun to soften the vinyl for tight curves. Trim excess vinyl carefully after applying. This helps avoid wrinkles and bubbles.

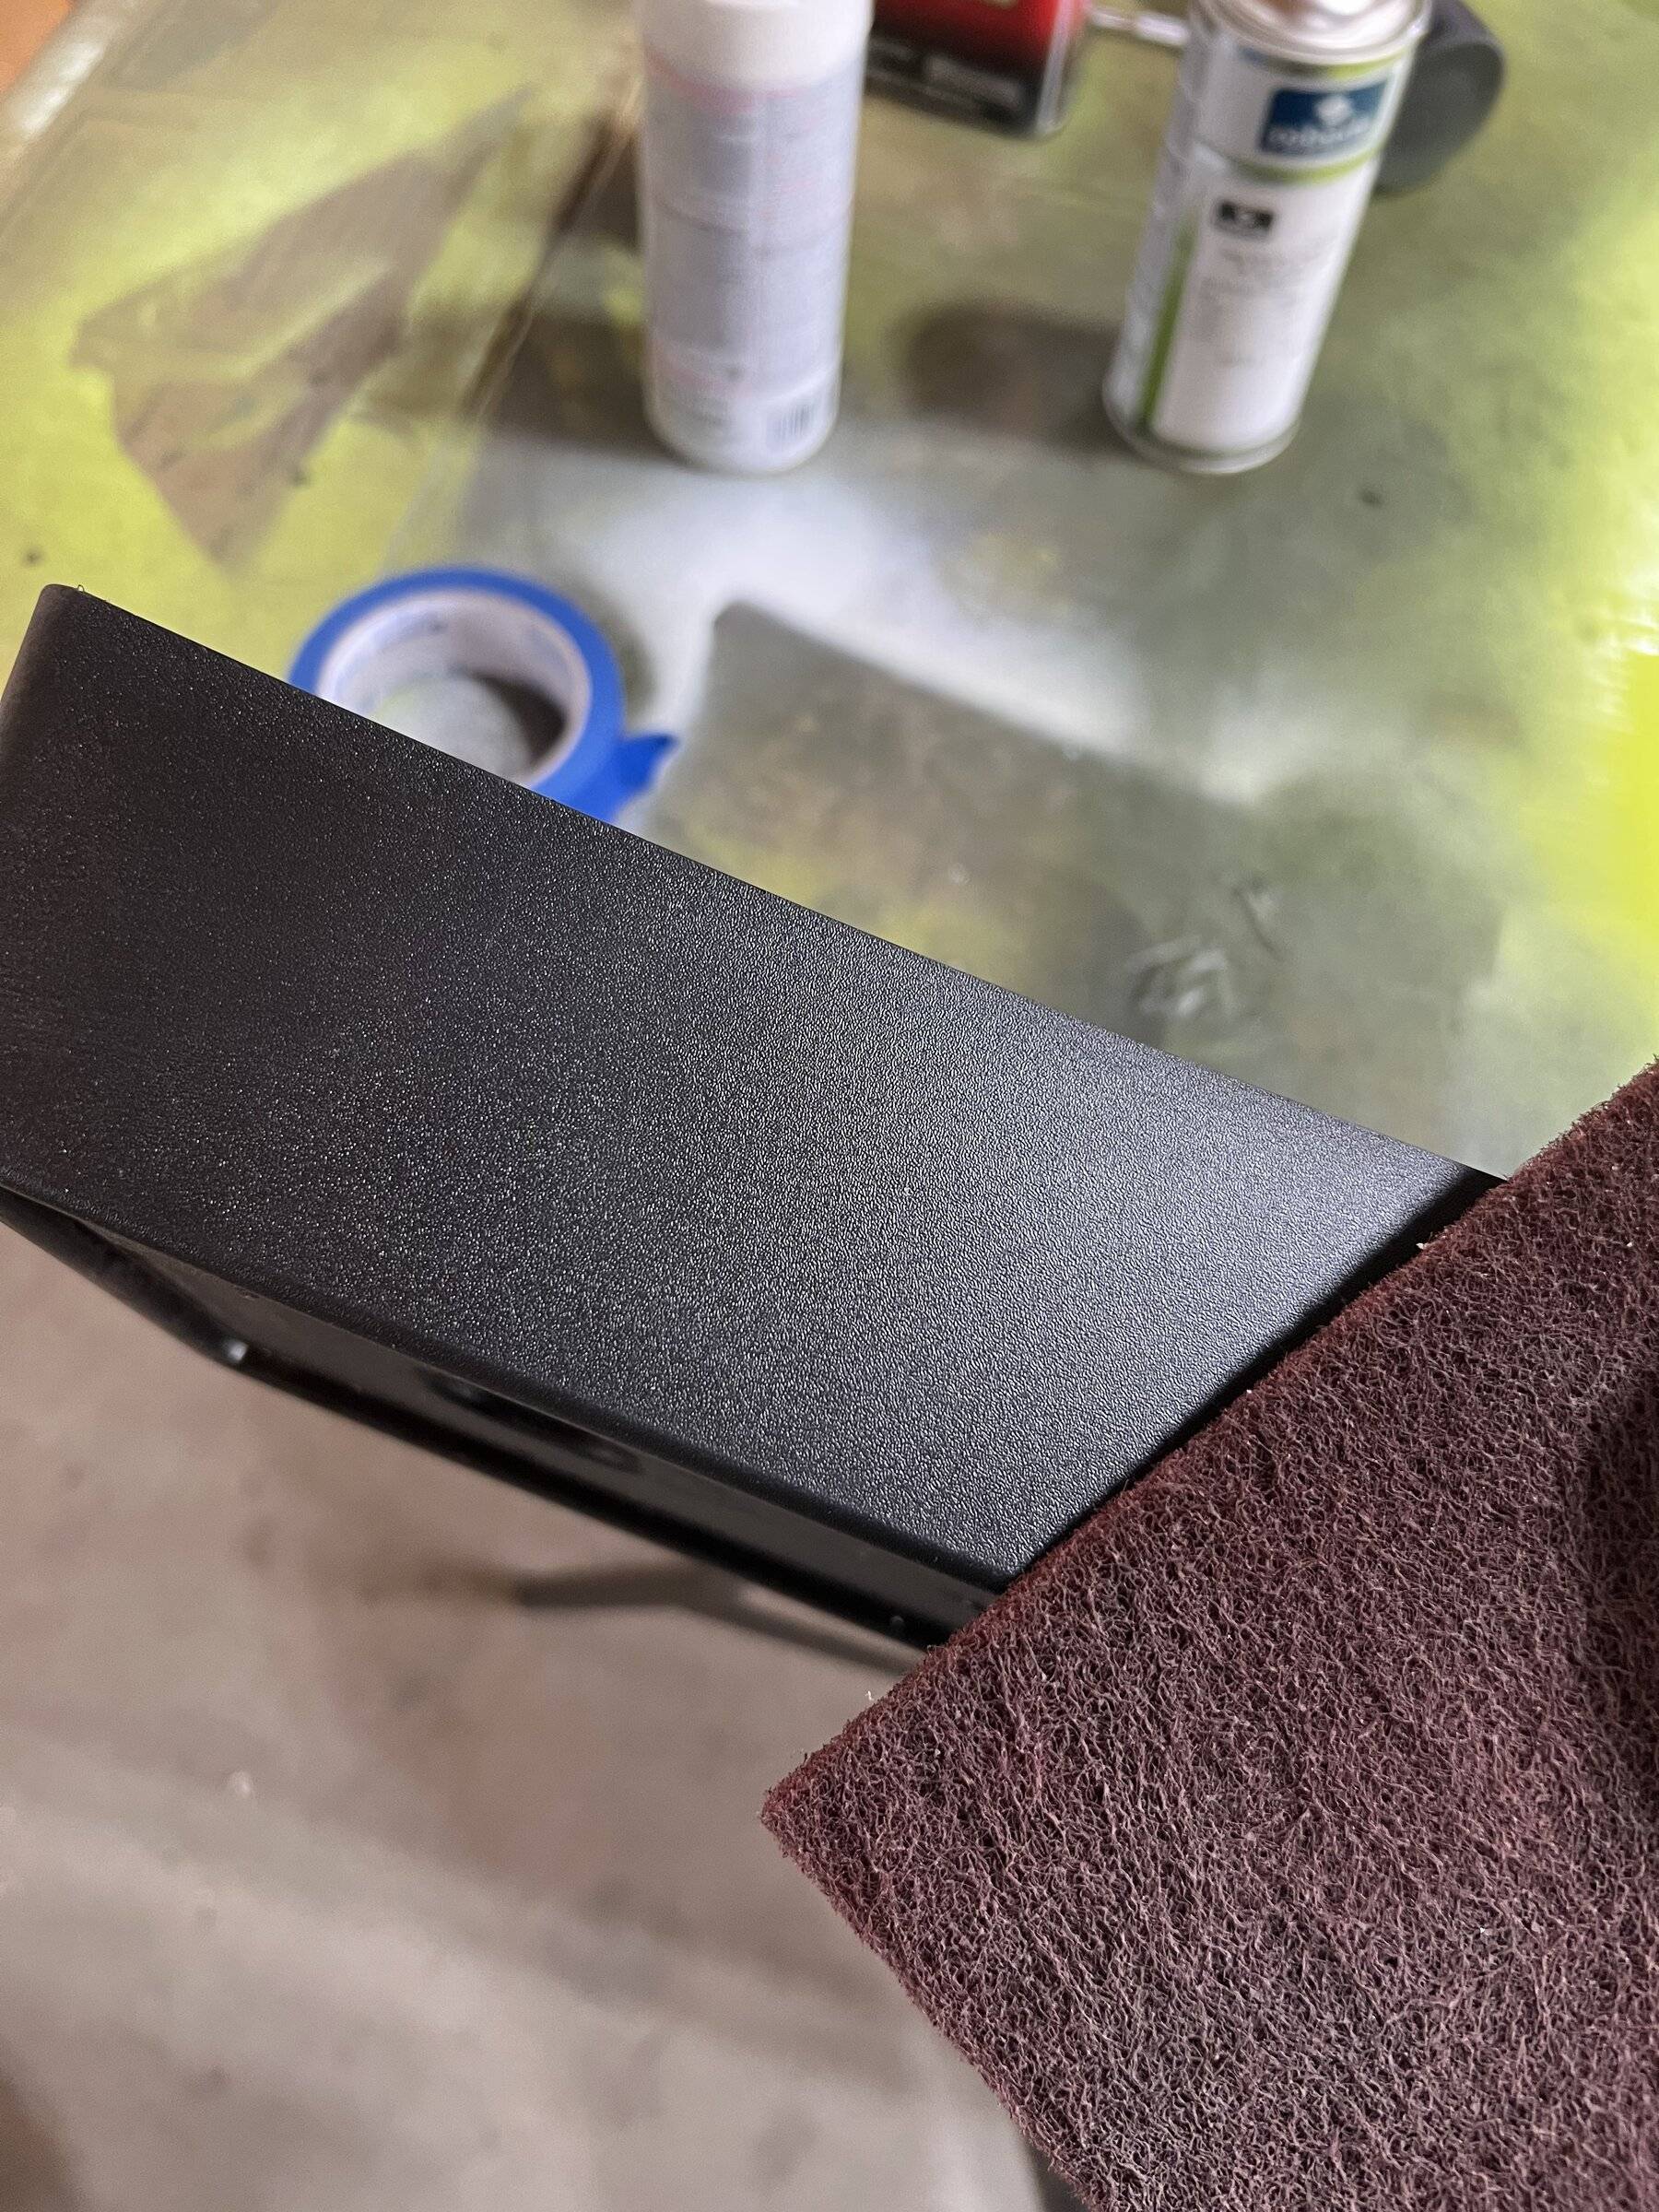
Credit: www.youtube.com
Applying The Vinyl Wrap
Applying vinyl wrap to plastic surfaces requires care and patience. The right technique ensures a smooth and lasting finish. Follow simple steps to place and shape the vinyl perfectly on your plastic item.
Positioning The Vinyl
Start by cleaning the plastic surface thoroughly. Peel the backing paper from the vinyl slowly. Place the vinyl gently on the plastic. Adjust it carefully to avoid misalignment. Use light pressure to keep it in place.
Using Heat For Flexibility
Heat softens the vinyl, making it easier to stretch. Use a heat gun or hairdryer on low heat. Warm the vinyl evenly without overheating. This helps the vinyl fit curves and edges. Move the heat source constantly to prevent damage.
Smoothing Out Air Bubbles
Use a squeegee or soft cloth to press the vinyl. Start from the center and push outward. This removes trapped air and wrinkles. Work slowly to avoid tearing the vinyl. Small bubbles can be pierced gently with a pin.
Trimming And Finishing
Trimming and finishing are the last steps in vinyl wrapping plastic. They make the wrap look clean and last longer. Proper trimming removes extra vinyl that can peel or catch dirt. Finishing seals the edges to stop lifting. These steps give a smooth and professional look.
Cutting Excess Vinyl
Use a sharp blade for clean cuts. Cut close to the edges but avoid damaging the plastic. Trim slowly and carefully. Removing extra vinyl stops wrinkles and bubbles. Keep small scissors for detailed areas. Cut in straight lines for neat edges.
Sealing Edges
Heat helps the vinyl stick better at edges. Use a heat gun on low setting. Gently warm the vinyl edges. Press edges down with a squeegee or cloth. Sealing stops water and dust from getting under the wrap. This step makes the wrap strong and durable.
Final Inspection Tips
Look closely for air bubbles or loose edges. Use a pin to pop small bubbles. Press the vinyl firmly afterward. Check all sides for smoothness. Fix any flaws before finishing. A good inspection keeps your wrap neat and lasting.
Credit: www.macheforum.com
Common Challenges
Vinyl wrapping plastic surfaces comes with some common challenges. These issues can affect the final look and durability of your wrap. Knowing how to handle these problems helps you get better results.
Dealing With Wrinkles
Wrinkles appear when the vinyl does not stretch evenly. They make the surface look uneven and cheap. Use a heat gun to warm the vinyl gently. Then, smooth the wrinkles with a squeegee or your hand. Work slowly from the center outwards. Avoid pulling too hard, or the vinyl may tear.
Fixing Bubbles Post-application
Bubbles trap air between the vinyl and plastic. They create bumps and reduce adhesion. Use a small pin to poke the bubble carefully. Press the air out with a squeegee afterward. For large bubbles, heat the area gently and smooth it out. This technique helps the vinyl stick better.
Handling Difficult Shapes
Curves and edges can be tricky to wrap. The vinyl may stretch or tear on tight bends. Cut small slits in the vinyl to help it lay flat. Use heat to make the material more flexible. Work slowly and adjust the vinyl as needed. Patience is key to wrapping complex shapes cleanly.
Maintenance And Care
Taking care of vinyl wrap on plastic surfaces keeps it looking fresh and new. Proper maintenance helps avoid peeling and fading. Small efforts extend the life of your wrap. Clean and protect it regularly for best results.
Cleaning Wrapped Surfaces
Use a soft cloth or sponge with mild soap and water. Gently wipe the surface without scrubbing hard. Avoid harsh chemicals or abrasive cleaners. Rinse with clean water and dry with a soft towel. Clean often to prevent dirt build-up.
Avoiding Damage
Keep sharp objects away from the wrap. Do not use pressure washers too close or too strong. Avoid parking under direct sunlight for long hours. Protect the wrap from extreme temperatures and harsh weather. Handle with care to prevent scratches or tears.
Longevity Tips
Apply a vinyl-specific protectant every few months. Store wrapped items in shade or indoors if possible. Avoid sticking stickers or tape on the vinyl. Check edges regularly for lifting or peeling. Fix small issues quickly to stop bigger problems.
Frequently Asked Questions
What Surface Preparation Is Needed Before Vinyl Wrapping Plastic?
Clean the plastic thoroughly using soap and water. Remove grease, dirt, and oils with isopropyl alcohol. Dry completely to ensure proper vinyl adhesion.
Can All Types Of Plastic Be Vinyl Wrapped?
Not all plastics are ideal for vinyl wrap. Smooth, rigid plastics like ABS or polycarbonate work best. Flexible or textured plastics may require special adhesives or primers.
How Do I Avoid Bubbles When Vinyl Wrapping Plastic?
Use a heat gun to warm the vinyl for flexibility. Apply slowly, smoothing with a squeegee to push out air bubbles. Work from the center outward for best results.
Is Heat Application Safe For All Plastic Vinyl Wraps?
Most plastics tolerate moderate heat well. Use low to medium heat settings to prevent warping or melting. Test on a small area before full application.
Conclusion
Vinyl wrapping plastic is easier than it seems. Clean the surface well before starting. Use a heat gun to help the wrap stick. Work slowly to avoid bubbles and wrinkles. Take your time for the best results. A neat wrap can change the look quickly.
With practice, your skills will improve. Try it on small items first. Enjoy the process and the new style you create.


