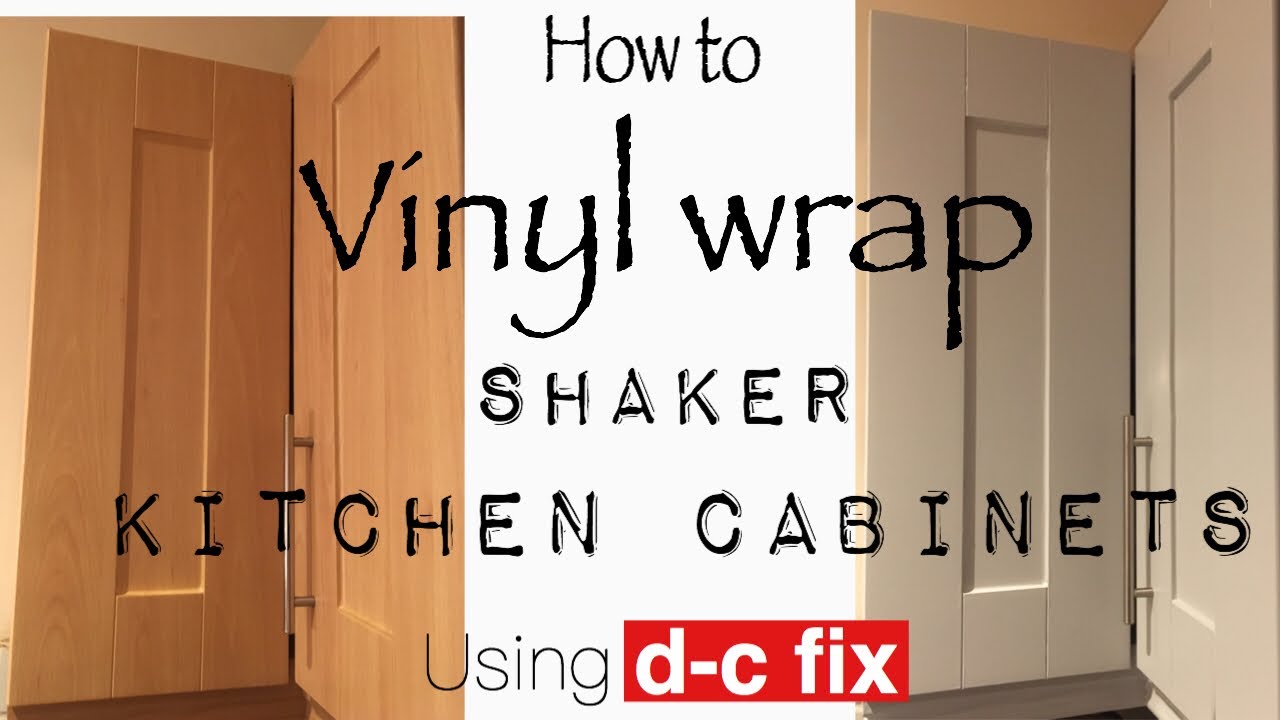
Are you ready to give your shaker style doors a fresh, modern look without the hassle of repainting or replacing them? Vinyl wrapping is the perfect solution to transform your doors quickly and affordably.
But how do you get a smooth, professional finish that lasts? In this guide, you’ll discover simple, step-by-step techniques that anyone can follow. Whether you’re a beginner or just want to improve your skills, you’ll learn how to make your doors stand out and impress everyone who walks into your space.
Keep reading—you’re about to unlock the secrets to a stunning door makeover!
Materials Needed
Preparing to vinyl wrap shaker style doors requires specific materials. Choosing the right supplies makes the process easier. Using proper tools and quality vinyl ensures a smooth finish. Gather everything before starting to avoid interruptions.
Choosing The Right Vinyl Wrap
Select vinyl designed for furniture or cabinets. Look for a matte or satin finish to match shaker doors. Choose a vinyl with air-release channels. This feature helps prevent bubbles during application. Pick a color or pattern that fits your room’s style.
Essential Tools For Wrapping
Prepare a squeegee to smooth out the vinyl. Use a sharp utility knife for clean cuts. Have a heat gun or hairdryer to soften the vinyl. A cleaning cloth and mild detergent help prepare the door surface. Use masking tape to hold vinyl in place if needed.
Preparing The Doors
Preparing the doors is the first step in a smooth vinyl wrap project. Proper preparation helps the vinyl stick well and last longer. It also gives a clean, professional look to your shaker style doors.
Cleaning And Sanding
Start by cleaning the door surface thoroughly. Use a mild soap and water to remove dirt and grease. Dry the doors completely with a soft cloth. Next, lightly sand the surface with fine-grit sandpaper. This roughens the surface so the vinyl can grip better. Wipe away dust with a damp cloth and let it dry fully.
Removing Hardware
Remove all handles, knobs, and hinges from the doors. This step prevents damage to the hardware and makes wrapping easier. Keep the screws and parts in a safe place. Wrapping around hardware can cause bumps and wrinkles in the vinyl. Removing them helps achieve a smooth finish.
Measuring And Cutting
Measuring and cutting are key steps in wrapping shaker style doors with vinyl. Getting these steps right ensures a smooth finish and a perfect fit. Take your time to measure accurately and cut carefully. This will help avoid mistakes and wasted material.
Accurate Measurements
Start by measuring the door’s flat surfaces precisely. Use a tape measure and note down the height and width. Measure each panel separately if your door has multiple sections. Double-check all measurements to avoid errors. Write down all numbers clearly to keep track.
Remember to add a little extra length for wrapping edges. This extra vinyl allows you to fold it neatly around corners. Precise measuring helps the vinyl lay flat without bubbles or wrinkles.
Cutting Vinyl To Size
Lay the vinyl on a clean, flat surface before cutting. Use a sharp utility knife or scissors for clean edges. Cut just outside your measured lines to leave a small margin. This margin helps when you wrap around the edges of the door.
Cut slowly and steadily to avoid jagged edges. Keep your hand steady and follow the outline carefully. Avoid cutting too close to the exact measurement. This prevents mistakes and allows for minor adjustments during application.
Credit: www.youtube.com
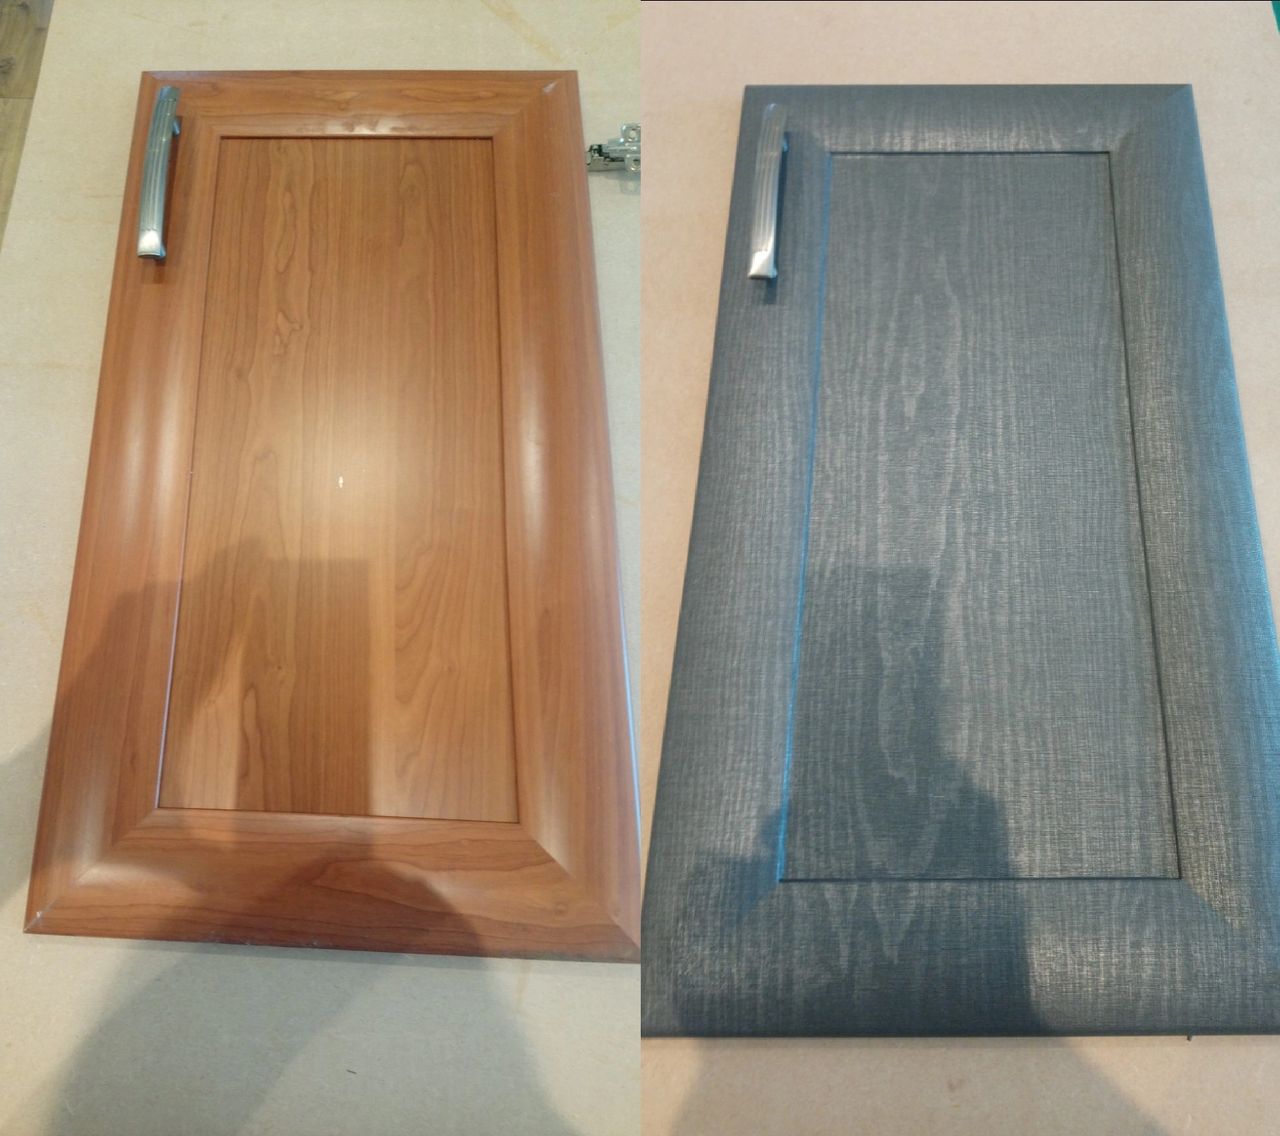
Applying The Vinyl Wrap
Applying the vinyl wrap to shaker style doors takes patience and careful work. This step is key for a smooth, professional look. Follow the process slowly to avoid wrinkles or bubbles. Each part of the door needs attention to detail.
Starting With The Center Panel
Begin by cutting the vinyl slightly larger than the center panel. Peel the backing off slowly, exposing a small section. Place the vinyl in the middle of the panel first. Press it gently to fix the vinyl in place. Work from the center outwards to prevent air pockets.
Smoothing Out Bubbles
Use a soft squeegee or cloth to smooth the vinyl. Push air bubbles toward the edges carefully. If bubbles stay, lift the vinyl slightly and press again. Avoid using too much force to prevent tearing. Take your time to make the surface flat and clean.
Wrapping Edges And Corners
Stretch the vinyl gently over the edges. Cut small slits if needed at corners for better fit. Fold the vinyl tightly around corners to avoid creases. Press the edges firmly to ensure strong adhesion. Trim excess vinyl with a sharp blade for neatness.
Finishing Touches
Finishing touches give your shaker style doors a clean, polished look. These steps make the vinyl wrap look smooth and professional. Taking time here improves the door’s durability and beauty.
Trimming Excess Vinyl
Carefully trim the extra vinyl around the edges. Use a sharp utility knife for precise cuts. Cut slowly to avoid damaging the door surface. Leave a small margin near corners for tucking in. This prevents peeling later on. Smooth out any wrinkles before trimming. Heat the vinyl slightly with a heat gun to soften it. This makes trimming easier and cleaner.
Reattaching Hardware
Remove any tape or coverings from hardware areas. Reattach handles, knobs, or hinges securely. Use the original screws and tools for best fit. Check that hardware fits flush against the vinyl surface. Tighten screws but avoid over-tightening to prevent damage. Make sure doors open and close smoothly after reassembly. This step completes the wrap and restores functionality.
Credit: wraplica.co.uk
Maintenance Tips
Keeping your vinyl wrapped shaker style doors in good shape takes effort. Proper maintenance helps the wrap look fresh and last longer. Simple steps prevent damage and keep the surface clean. Follow these tips to enjoy your doors’ new look for years.
Cleaning Wrapped Doors
Use a soft cloth or sponge for cleaning. Avoid abrasive materials that scratch the vinyl. Mild soap mixed with water works best. Gently wipe the door’s surface without scrubbing hard. Rinse with clean water and dry with a soft towel. Clean spills quickly to stop stains from forming.
Preventing Damage
Avoid sharp objects near the doors. They can cut or peel the wrap easily. Keep pets’ nails trimmed to prevent scratches. Do not use harsh chemicals or solvents on the vinyl. Open and close doors gently to avoid stress on edges. Regularly check for lifting corners and press them down firmly.

Credit: kitchenwrapper.com
Frequently Asked Questions
What Materials Do I Need To Vinyl Wrap Shaker Style Doors?
You need vinyl wrap film, a squeegee, a heat gun, a utility knife, and cleaning supplies. These tools ensure smooth application and durability.
How Do I Prepare Shaker Doors For Vinyl Wrapping?
Clean the doors thoroughly to remove dirt and grease. Lightly sand the surface to improve adhesion. Remove any hardware before starting.
Can I Vinyl Wrap Shaker Doors Myself?
Yes, with patience and proper tools, you can wrap shaker doors. Follow step-by-step instructions for best results and avoid bubbles or wrinkles.
How Long Does Vinyl Wrapping Shaker Style Doors Take?
It usually takes 2-4 hours depending on door size and experience. Proper preparation and careful application are key to efficiency.
Conclusion
Vinyl wrapping shaker style doors is a smart way to refresh your space. It saves money and looks great. Careful preparation and patience make the process smooth. Small bubbles or wrinkles can be fixed with a heat gun. Take your time to align the vinyl perfectly.
This project brings new life to old doors without much hassle. Try it yourself and enjoy the fresh, clean look. A simple change can make a big difference.