Are you looking to give your cup a fresh, personalized look? Wrapping a cup with vinyl is a simple and fun way to do just that.
Whether you want to add a custom design, protect your cup, or create a unique gift, vinyl wrapping can make your cup stand out. In this guide, you’ll learn easy, step-by-step methods to wrap your cup like a pro. By the end, you’ll have the confidence and skills to transform any plain cup into something special.
Ready to get started? Let’s dive in!

Credit: www.amazon.com
Materials Needed
Wrapping a cup with vinyl needs the right materials. These items help you get a smooth, neat look. Gather everything before you start for better results.
Types Of Vinyl
Choose vinyl made for cups. Permanent adhesive vinyl works well. It sticks tightly and lasts long. Heat transfer vinyl is another option for fabric cups. Pick vinyl that fits your cup’s surface.
Tools For Wrapping
You will need a few tools. A cutting machine or scissors help cut vinyl precisely. Use a scraper or credit card to smooth the vinyl. A weeding tool removes extra vinyl. A ruler or measuring tape ensures correct size.
Preparing The Cup
Clean the cup well before applying vinyl. Use soap and water to remove dirt. Dry it completely with a cloth. Avoid touching the surface after cleaning. This stops oils from your hands affecting the stickiness.
Preparing The Vinyl
Preparing the vinyl is a key step in wrapping a cup. It sets the base for a smooth and neat finish. Taking time to prepare vinyl carefully saves effort later.
Start by handling the vinyl gently. Avoid stretching or creasing it. Keep the surface clean and dry before cutting or applying.
Measuring And Cutting
Measure the cup’s height and circumference with a tape. Add a little extra length for overlap. Mark these measurements on the vinyl sheet.
Use sharp scissors or a craft knife to cut the vinyl. Cut along the marked lines slowly for accuracy. A clean cut helps the vinyl fit perfectly on the cup.
Weeding Excess Vinyl
Weeding means removing the unwanted vinyl parts. Use a weeding tool or a pin to lift edges of excess vinyl. Pull the extra vinyl away carefully.
Work in good light to see small details. Remove all small bits from inside designs for a clean look. This step makes the design clear and ready to apply.
Applying The Vinyl
Applying vinyl to a cup is an important step for a neat look. It needs care and patience. This section guides you through the process of applying vinyl smoothly. Follow each step for the best results.
Cleaning The Surface
Start by cleaning the cup surface well. Use rubbing alcohol or mild soap and water. Remove all dirt and oils. Dry the surface completely with a clean cloth. A clean surface helps vinyl stick better and last longer.
Positioning The Vinyl
Place the vinyl carefully on the cup. Hold it by the edges to avoid fingerprints. Align the design where you want it. Use a ruler or tape for straight placement. Take time to position it right before sticking.
Smoothing Out Bubbles
After placing the vinyl, smooth out air bubbles. Use a squeegee or credit card. Start from the center and push outward. Work slowly to avoid wrinkles. Small bubbles can be popped with a pin and pressed flat.
Finishing Touches
Finishing touches are key to a smooth, professional look on your vinyl-wrapped cup. They help the vinyl stay in place and look clean. Taking time at this stage makes your project last longer and appear neat. Let’s explore the final steps to perfect your cup wrap.
Trimming Edges
Use a sharp craft knife to trim excess vinyl carefully. Cut close to the cup’s edge but avoid cutting the cup itself. Smooth, even edges give your wrap a tidy finish. Take your time to prevent jagged cuts or peeling. Small, precise cuts work best around curves and handles.
Sealing For Durability
Seal the vinyl edges to protect against peeling and water damage. Apply a clear sealant or mod podge with a soft brush. Cover all edges evenly without flooding the surface. Let the sealant dry fully before using the cup. Sealing adds strength and keeps your design fresh longer.
Common Mistakes To Avoid
Wrapping a cup with vinyl can be fun, but some mistakes can spoil the look. Avoiding these common errors will help you get a smooth, neat finish. Small problems like wrinkles or wrong sizes can make the vinyl look bad. Pay attention to details to make your cup wrap look perfect.
Wrinkles And Bubbles
Wrinkles and bubbles happen when the vinyl does not lay flat. They make the wrap look messy and can peel off later. Press the vinyl gently and use a squeegee to smooth out air pockets. Take your time to avoid trapping air under the vinyl.
Start from the center and move outward when applying the vinyl. This method pushes out any trapped air. Heat the vinyl slightly if it feels stiff. Warm vinyl stretches better and fits the cup’s shape.
Incorrect Measurements
Wrong measurements cause the vinyl to be too small or too big. Too small means parts of the cup show. Too big creates extra vinyl that folds or wrinkles. Measure the cup’s height and circumference carefully before cutting the vinyl.
Add a little extra to the measurements for easier wrapping. Cut slowly and check the fit before removing the backing paper. Accurate sizing makes the wrapping process smooth and quick.
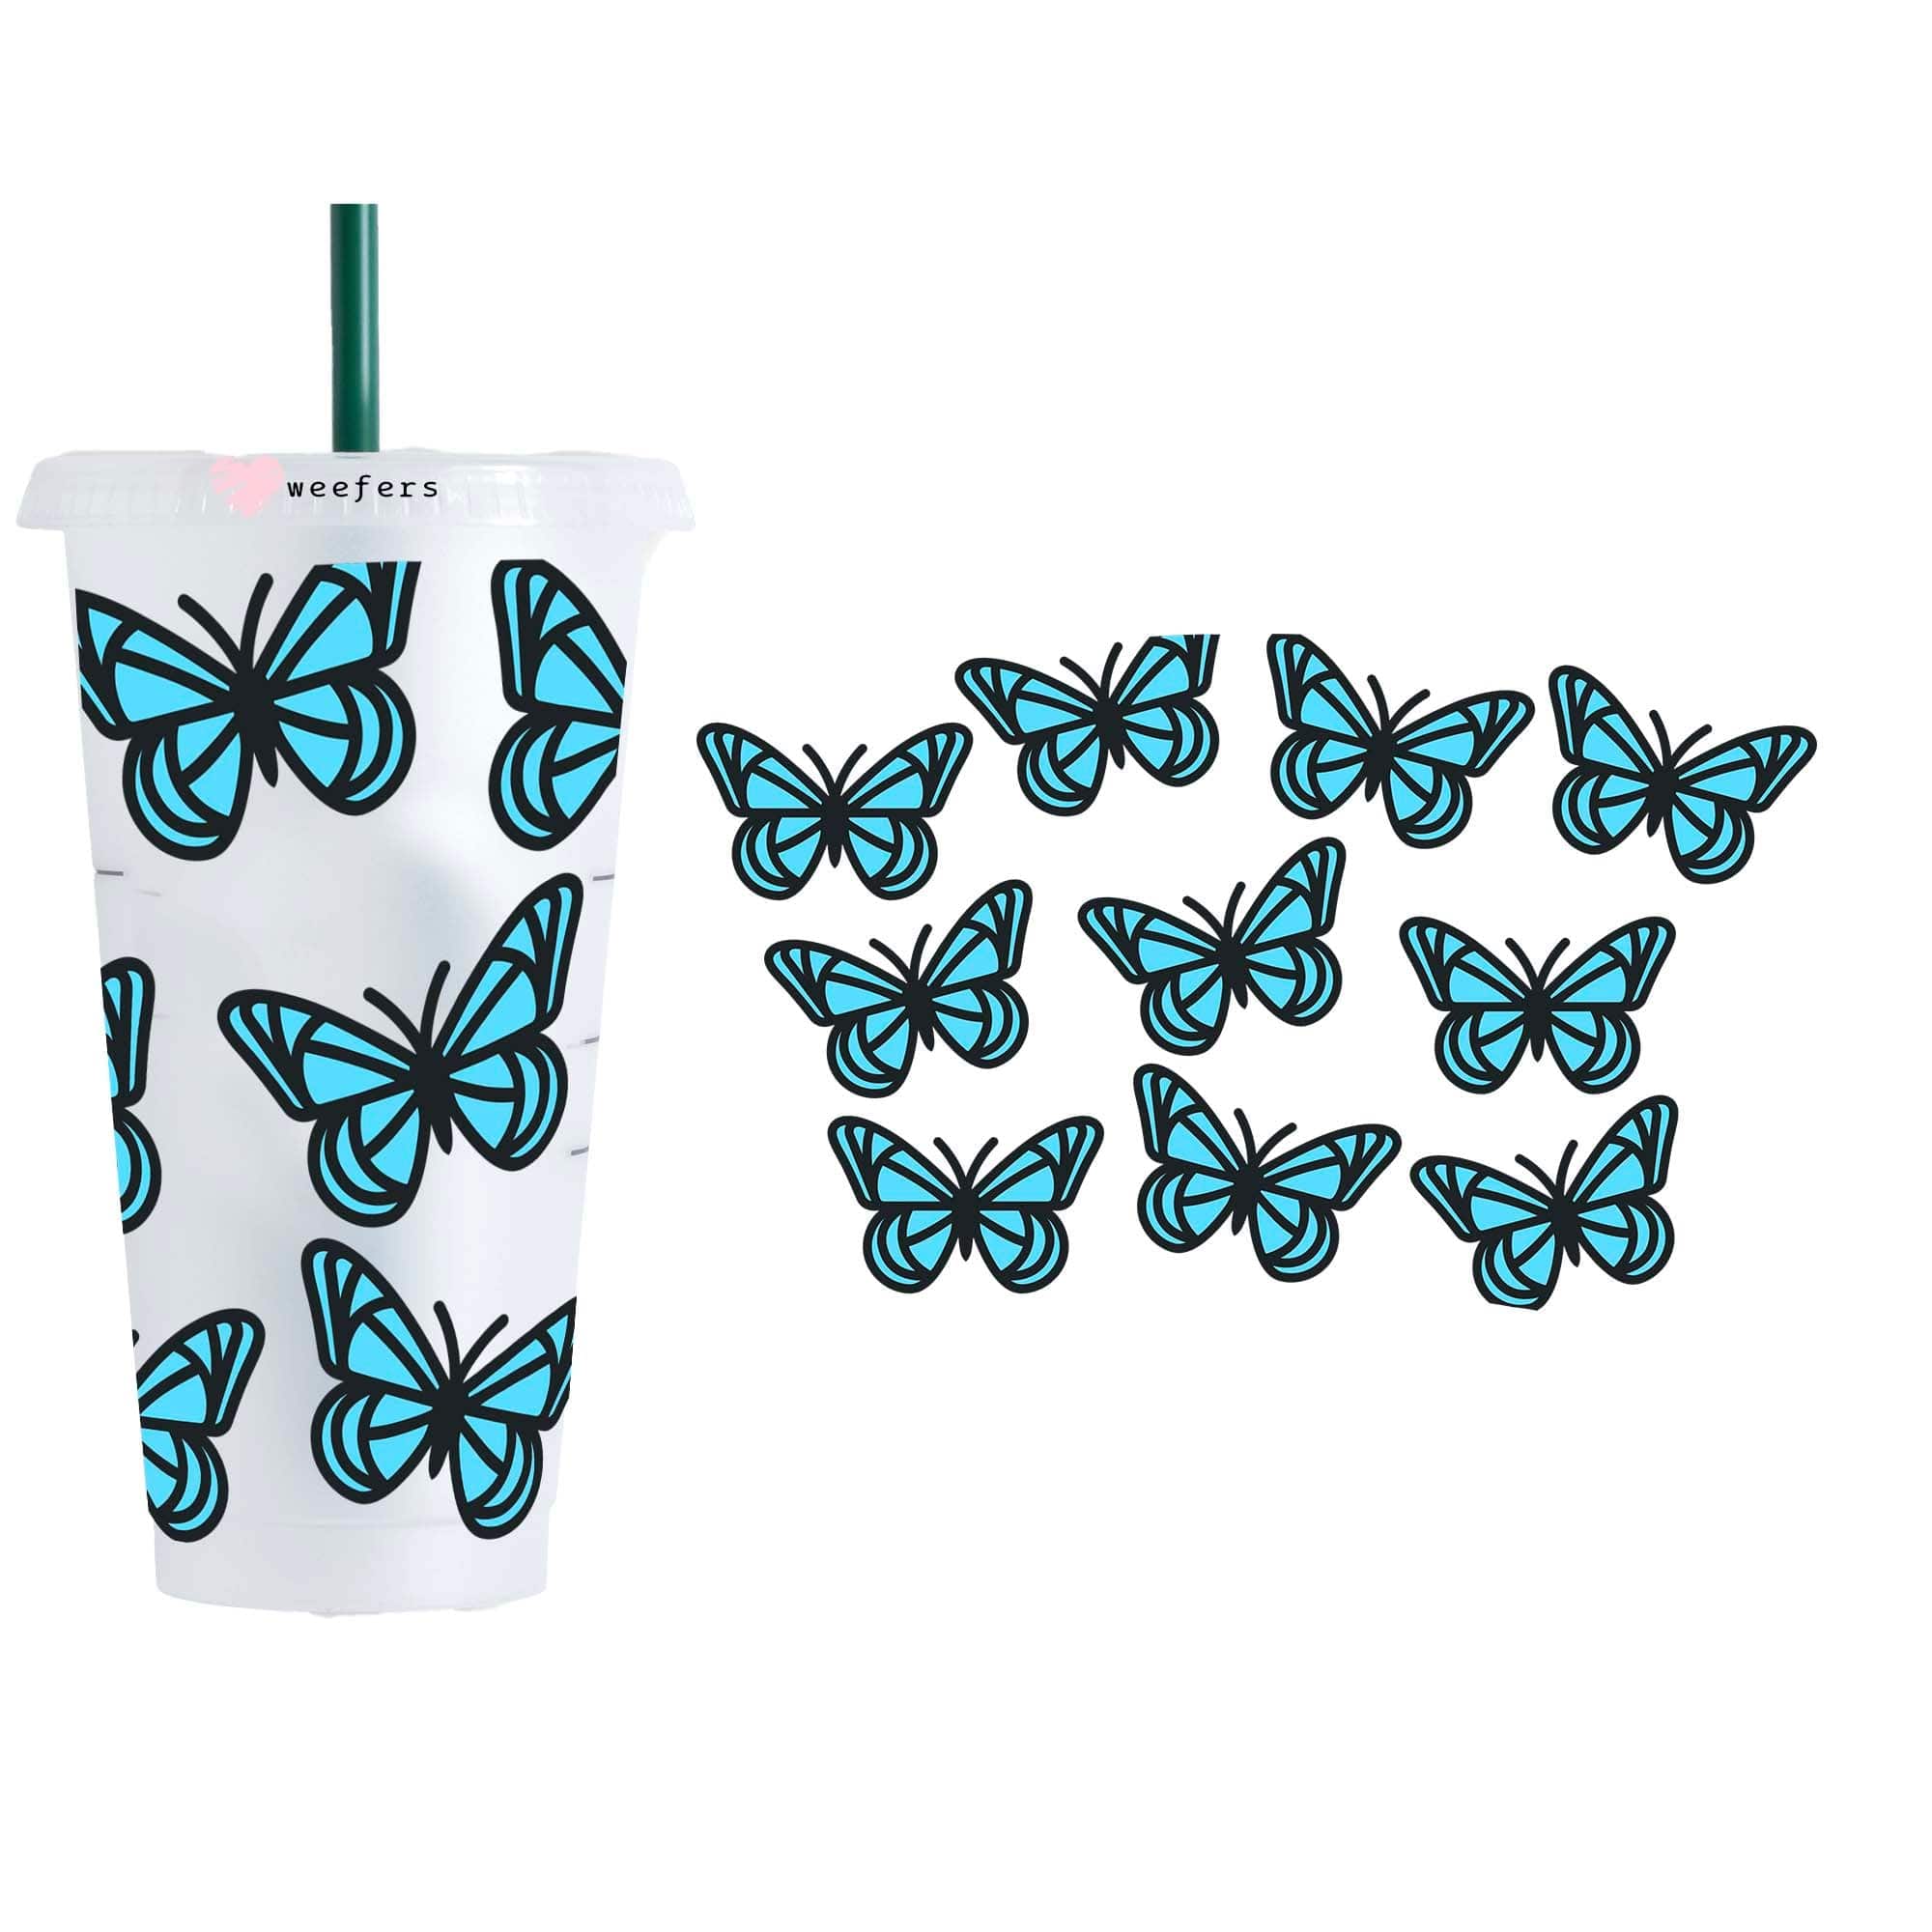
Credit: weefers.com
Tips For A Long-lasting Wrap
Wrapping a cup with vinyl is fun and creative. To keep your wrap looking fresh, you need some simple care tips. These tips help the vinyl stick better and last longer. They also keep the colors bright and avoid peeling. Follow these easy steps to protect your vinyl wrap for a long time.
Proper Care And Cleaning
Clean your wrapped cup gently with a soft cloth. Use mild soap and warm water only. Avoid harsh chemicals or scrubbing pads. Do not put the wrapped cup in the dishwasher. Hand wash it carefully instead. Dry the cup with a soft towel. Avoid soaking the wrap in water for too long.
Storage Recommendations
Store your wrapped cup in a cool, dry place. Avoid direct sunlight to keep colors bright. Do not place heavy objects on top of the cup. Keep it away from heat sources like ovens or heaters. Store the cup upright to protect the vinyl from damage. Proper storage helps the vinyl stay smooth and strong.

Credit: www.youtube.com
Frequently Asked Questions
How Do I Prepare A Cup For Vinyl Wrapping?
Clean the cup thoroughly with soap and water. Dry it completely to remove any dust or grease. This ensures vinyl sticks properly and lasts longer.
What Type Of Vinyl Works Best For Cups?
Use permanent adhesive vinyl designed for curved surfaces. Heat transfer vinyl (HTV) also works if applying with heat. Choose waterproof vinyl for durability.
How Do I Avoid Air Bubbles Under Vinyl?
Apply vinyl slowly from one edge, smoothing with a squeegee. Use a pin to release trapped air bubbles gently. Work patiently for a smooth finish.
Can I Wash A Vinyl-wrapped Cup Safely?
Yes, hand wash the cup gently with mild soap. Avoid scrubbing or using abrasive materials. Do not put vinyl-wrapped cups in the dishwasher.
Conclusion
Wrapping a cup with vinyl is simple with the right steps. Take your time to smooth out bubbles and wrinkles. Use a heat tool carefully to help the vinyl stick. Clean the cup before starting to get better results. Practice makes the process easier and more fun.
Soon, you will create custom cups for gifts or personal use. Enjoy your creativity and the unique style you add to each cup. Try different colors and patterns to make your projects stand out. Keep these tips in mind for great vinyl wrapping every time.