
Are you ready to give your space or project a fresh, stylish look? Learning how to wrap a vinyl can transform ordinary surfaces into eye-catching designs.
Whether you’re updating your car, decorating a wall, or personalizing a laptop, vinyl wraps offer endless possibilities. This guide will walk you through simple steps, making the process easy and fun for you. Stick with me, and you’ll discover tips that save time, avoid common mistakes, and help your wrap look flawless every time.
Let’s get started on making your vision come to life!

Credit: teckwrap.com
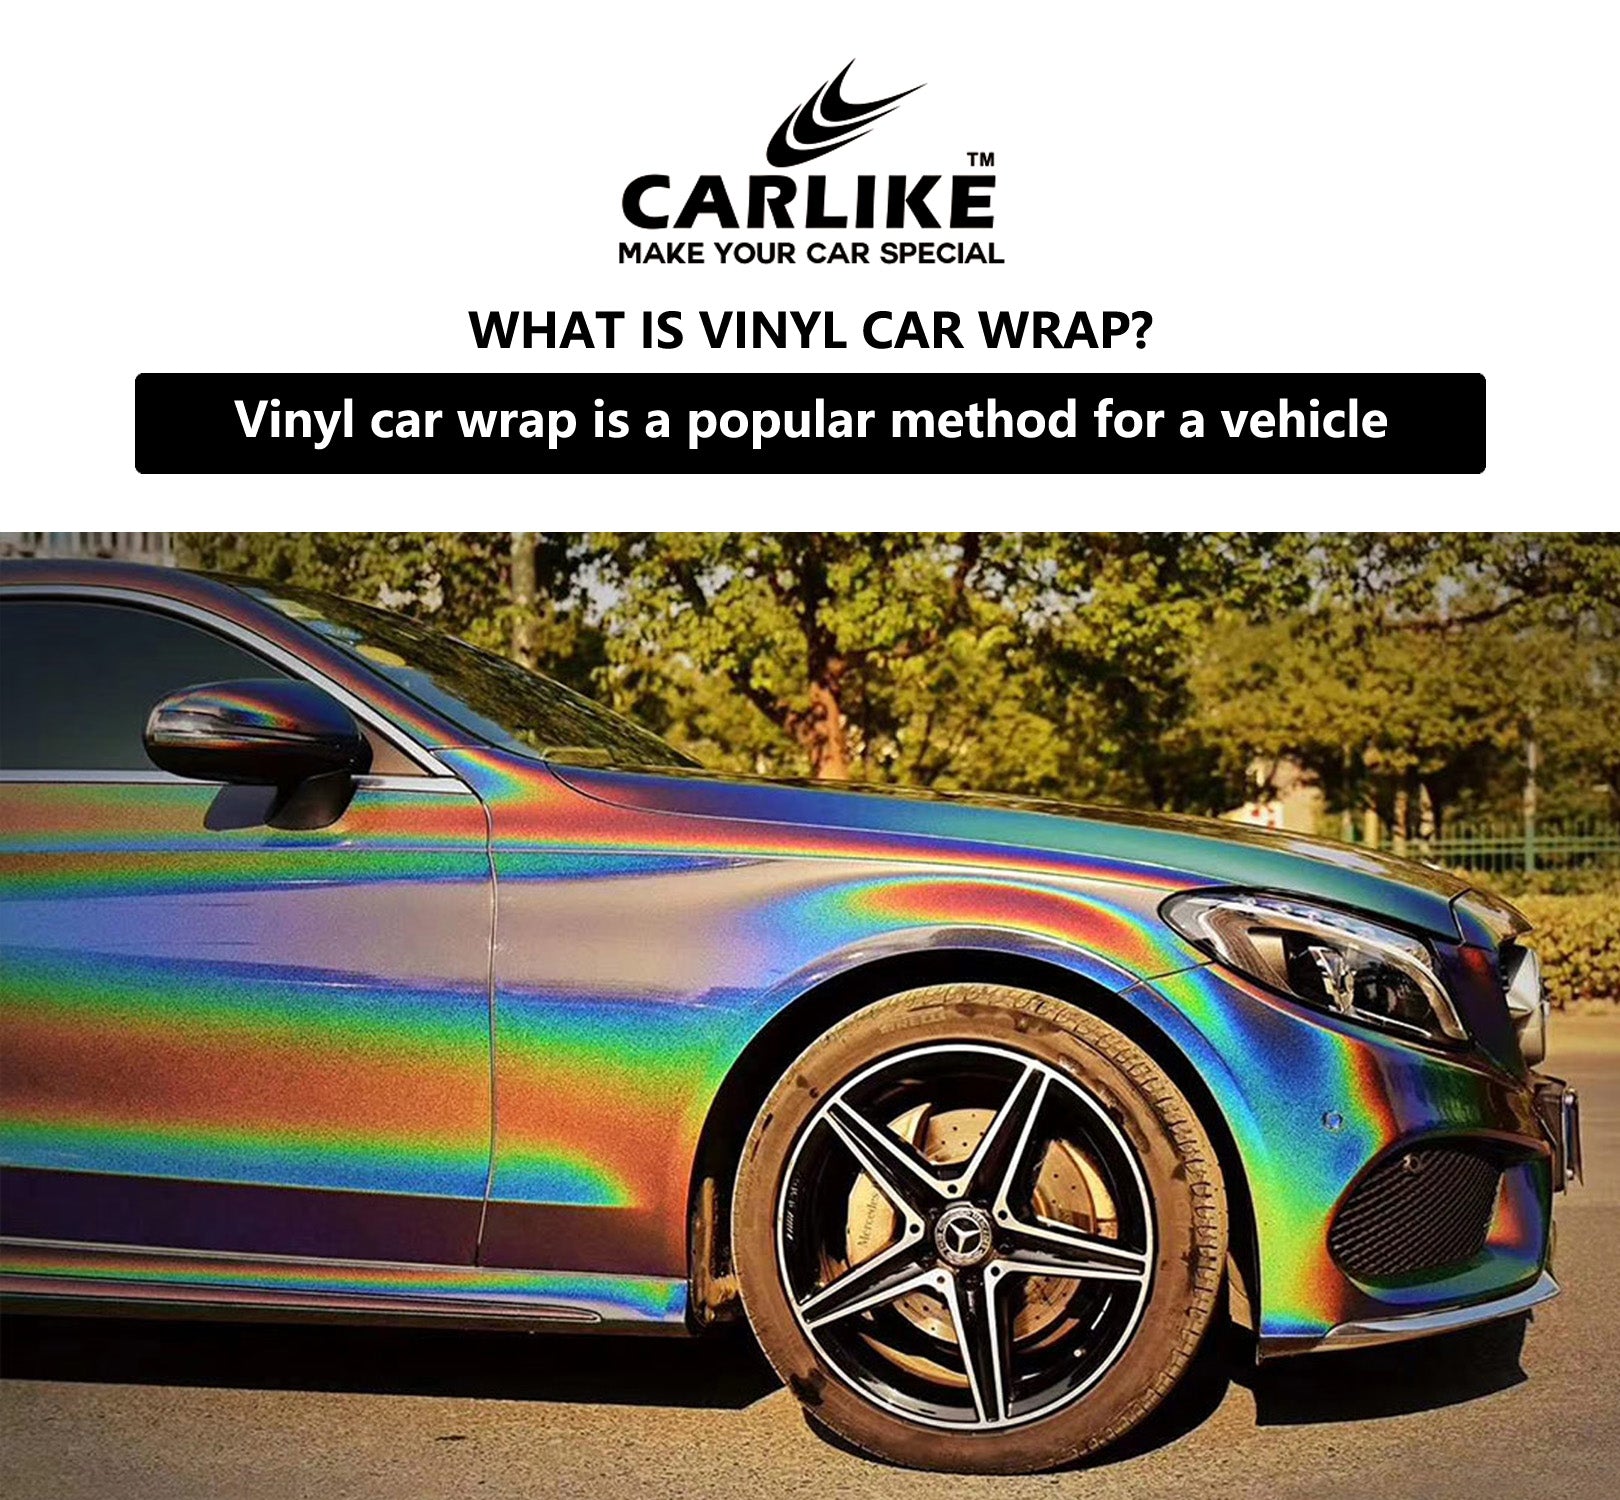
Choosing The Right Vinyl
Choosing the right vinyl is a key step in any wrapping project. The vinyl you pick affects the look and durability of the wrap. It also influences how easy the wrap will be to apply. Knowing the basics helps you make a good choice. This section explains the main types of vinyl, quality matters, and color options.
Types Of Vinyl Wraps
There are several types of vinyl wraps. Cast vinyl is thin and flexible. It molds well to curves and lasts longer. Calendered vinyl is thicker and less flexible. It suits flat surfaces and short-term wraps. Choose cast vinyl for a smooth, long-lasting finish. Calendered vinyl fits projects with less detail.
Selecting Quality Materials
Quality matters in vinyl wraps. Cheap vinyl can peel or fade fast. Look for vinyl with strong adhesives and UV protection. Trusted brands often offer reliable products. Good vinyl holds up to weather and cleaning. It also resists scratches better. Investing in quality saves money and effort later.
Color And Finish Options
Vinyl wraps come in many colors and finishes. Glossy finishes shine and highlight colors. Matte finishes create a sleek, modern look. Satin finishes give a soft sheen. Some vinyl wraps offer textures like carbon fiber or brushed metal. Choose a color and finish that fits your style and project needs.
Credit: carlikewrap.com
Preparing The Surface
Preparing the surface is the first and most important step in wrapping vinyl. A clean, smooth base helps the vinyl stick better and last longer. Poor surface preparation can cause bubbles, wrinkles, and peeling. Taking time to get this right makes a big difference in the final look.
Cleaning Techniques
Start by washing the surface with soap and water. Remove dirt, dust, and grease completely. Use a microfiber cloth to avoid scratches. For stubborn grease, use rubbing alcohol or a specialized cleaner. Let the surface dry fully before moving to the next step.
Removing Imperfections
Look closely for scratches, dents, or rust spots. Small imperfections can show through the vinyl. Sand rough areas gently with fine-grit sandpaper. Fill dents with a suitable filler and smooth it out. Clean the area again after fixing imperfections.
Ensuring A Smooth Base
Check the surface with your hand to feel for bumps. Smooth surfaces help the vinyl lay flat and look professional. Remove any leftover dust or debris using a tack cloth. Avoid oily or waxy substances that can stop the vinyl from sticking. The surface must be perfectly clean and smooth before wrapping.
Tools For Vinyl Wrapping
Wrapping vinyl requires specific tools to get a smooth, lasting finish. The right tools help avoid bubbles, wrinkles, and tears. They make the process easier and improve the final look. Understanding these tools is key for anyone starting vinyl wrapping.
Essential Equipment
Start with a clean surface and good light. You need a squeegee to press vinyl flat. A measuring tape helps cut the right size. Use microfiber cloths to clean surfaces before applying vinyl. Gloves protect your hands and keep the vinyl clean.
Using Heat Guns
Heat guns soften vinyl, making it easier to stretch and shape. They help remove bubbles and wrinkles. Keep the heat gun moving to avoid damage. Use low to medium heat for best results. Heat guns help the vinyl stick better around curves and edges.
Cutting And Smoothing Tools
Sharp knives or blades cut vinyl cleanly. Use a new blade to avoid rough cuts. A cutting mat protects surfaces and keeps blades sharp. Use a felt edge squeegee to smooth vinyl without scratching. These tools finish the job neatly and professionally.
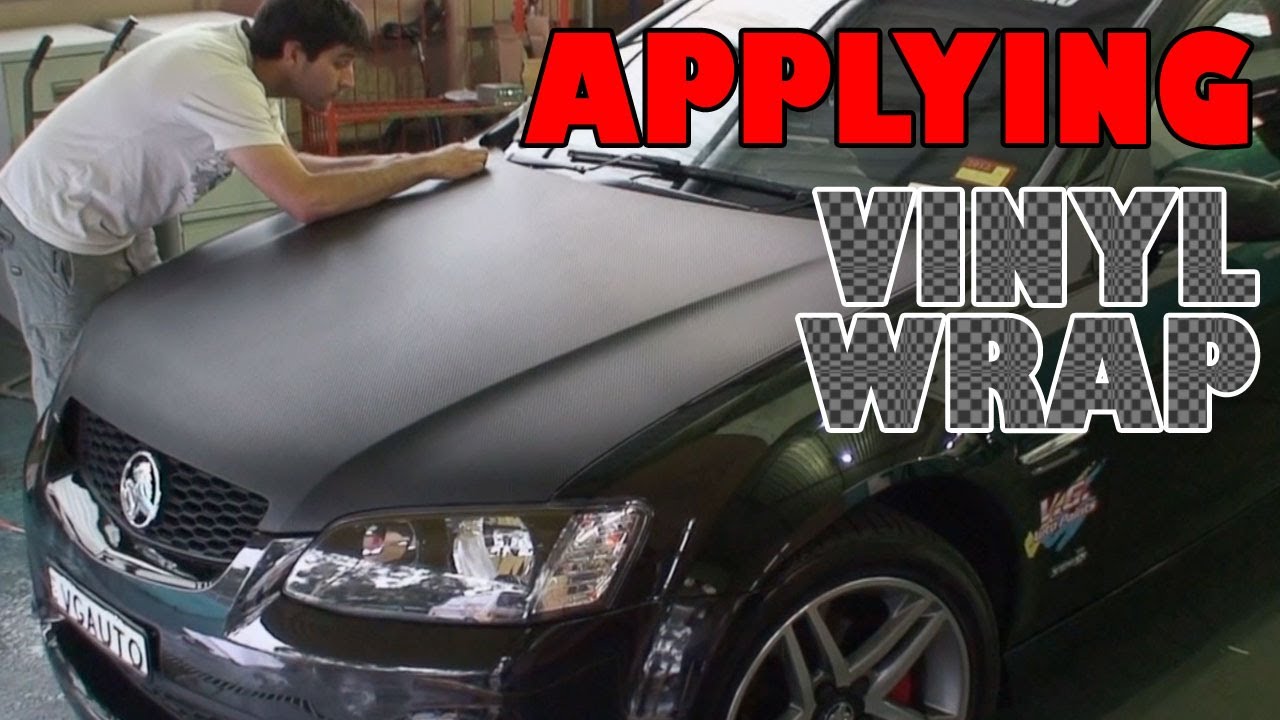
Applying The Vinyl Wrap
Applying the vinyl wrap is a key step in the wrapping process. This step needs care and patience. Proper application helps the vinyl stick well and look smooth. Follow each part carefully to avoid bubbles and wrinkles.
Measuring And Cutting
Start by measuring the surface to be wrapped. Add extra inches to the measurement. This gives space for adjustments and trimming. Use a sharp blade or scissors to cut the vinyl. Cut slowly to keep clean, straight edges.
Positioning The Vinyl
Place the vinyl carefully on the surface. Align it with the edges and curves. Peel back a small part of the backing paper. Stick that part lightly to hold the vinyl in place. Check that the vinyl is straight before pressing more.
Stretching And Aligning
Gently stretch the vinyl over curves and corners. Use a heat gun to soften the material if needed. Smooth the vinyl with a squeegee or soft cloth. Work from the center outwards to push air bubbles out. Keep adjusting the vinyl for perfect alignment.
Dealing With Curves And Edges
Vinyl wrapping on curves and edges can be tricky. These areas need careful handling to look smooth and neat. Wrapping vinyl on flat surfaces is easy. Curves and edges need special techniques to avoid wrinkles and bubbles. Taking time and using the right steps helps achieve a clean finish.
Techniques For Complex Areas
Start by heating the vinyl gently with a heat gun. This makes the vinyl soft and stretchable. Use a squeegee to press the vinyl into the curves slowly. Stretch the vinyl little by little, not all at once. Work from the center of the curve towards the edges. For sharp edges, make small cuts in the vinyl’s backing. These cuts allow the vinyl to fold smoothly over the edge.
Avoiding Wrinkles And Bubbles
Press the vinyl firmly with a squeegee to remove air pockets. Use a flat tool to push out bubbles from the center outwards. Heat helps the vinyl stretch and settle into place. Work slowly and check your progress often. If bubbles appear, lift the vinyl carefully and press again. Avoid rushing, as quick moves cause wrinkles and trapped air.
Trimming Excess Material
After wrapping, trim extra vinyl near edges with a sharp blade. Cut close to the edge but avoid cutting the surface underneath. Use a straight edge to guide your cuts for clean lines. Trim small sections at a time for better control. Removing excess vinyl stops peeling and improves the look. Always keep your blade sharp for smooth cutting.
Credit: www.youtube.com
Finishing Touches
Finishing touches make your vinyl wrap look professional and last longer. These steps help protect the edges and keep the wrap smooth. Proper care after application ensures the vinyl stays fresh and strong.
Sealing The Edges
Seal the edges with a heat-resistant tape or edge sealer. This prevents peeling and lifting over time. Press the edges firmly to lock the vinyl in place. Sealing stops water and dirt from getting under the wrap.
Post-application Heating
Heat the wrap gently with a heat gun after installation. This helps the vinyl stretch and fit curves better. Heating also activates the adhesive for a stronger bond. Avoid overheating to prevent damage to the vinyl.
Maintaining The Wrap
Clean the wrap regularly using mild soap and water. Avoid harsh chemicals or abrasive cleaners that can damage vinyl. Park your vehicle in shade to prevent fading from sun exposure. Inspect the wrap often and fix small tears quickly.
Common Mistakes To Avoid
Wrapping vinyl is a skill that needs care and attention. Many beginners make common mistakes that ruin the final look. Avoiding these errors saves time and money. Learn the most frequent mistakes and how to dodge them.
Incorrect Surface Prep
Cleaning the surface is the first step. Dirt, grease, or dust stop vinyl from sticking well. Use soap and water, then dry completely. Any bumps or old paint may cause bubbles. Smooth the surface before wrapping. Skipping this step causes peeling and wrinkles.
Poor Alignment
Placing the vinyl straight matters a lot. Misalignment makes the wrap look messy and uneven. Measure carefully and start from one side. Use small pieces of tape to hold the vinyl in place. Check the alignment before pressing down fully. Fix mistakes early to avoid waste.
Rushing The Process
Take your time with each step. Rushing leads to air bubbles and wrinkles. Use a squeegee slowly to press the vinyl down. Heat the vinyl gently to help it stretch and fit curves. Work in small sections. Patience gives smooth and clean results.
Expert Tips For Longevity
Keeping your vinyl wrap looking fresh and new takes care and attention. Small steps help the wrap last longer and keep its shine. These expert tips focus on simple ways to protect your wrap every day.
Cleaning Wrapped Surfaces
Use a soft cloth or sponge to clean vinyl wraps. Avoid harsh brushes that can scratch the surface. Mild soap and water work best to remove dirt and grime. Rinse well to stop soap from leaving marks. Dry the surface gently with a clean towel to prevent water spots.
Protecting From Weather
Sunlight can fade vinyl colors over time. Park your vehicle in shaded areas whenever possible. Cover your wrap during heavy rain or snow to avoid damage. Use a vinyl-safe protectant spray to shield against UV rays. Regular protection keeps the wrap looking bright and new.
Repairing Minor Damages
Small scratches or bubbles can happen. Fix bubbles by gently pushing the air out with a soft tool. For minor scratches, use a vinyl repair kit made for wraps. Act quickly to stop damage from worsening. Taking care of small problems saves money and effort later.
Frequently Asked Questions
How Do You Prepare A Surface For Vinyl Wrapping?
Clean the surface thoroughly with soap and water. Remove all dirt, grease, and wax. Use isopropyl alcohol for a final wipe to ensure proper adhesion. Smooth surfaces help the vinyl stick better and last longer.
What Tools Are Needed To Wrap Vinyl Properly?
You need a squeegee, a heat gun, a utility knife, and a measuring tape. These tools help apply vinyl smoothly and cut it precisely. Having the right tools ensures a professional finish.
Can Vinyl Wrap Be Removed Without Damage?
Yes, vinyl wrap can be removed without damaging the surface. Heat the vinyl with a heat gun to soften the adhesive. Peel it off slowly and evenly. Proper removal protects the original paint or surface.
How Long Does A Vinyl Wrap Typically Last?
A vinyl wrap usually lasts between 5 to 7 years. Longevity depends on quality, application, and exposure to elements. Proper care, like regular cleaning and avoiding harsh chemicals, extends its lifespan.
Conclusion
Wrapping vinyl takes some patience and care. Use the right tools and clean the surface well. Work slowly to avoid air bubbles and wrinkles. Heat helps the vinyl stick and bend around corners. Practice on small areas first to gain confidence.
With time, your wrapping will look smooth and neat. Enjoy the new look and protect your surfaces. Keep these tips in mind for better results every time.


