Are your interior trims looking outdated or worn out? Imagine giving them a fresh, modern look without the hassle of sanding, painting, or replacing.
Wrapping your interior trim with vinyl is a simple, cost-effective way to transform your space quickly. In this guide, you’ll discover easy steps to achieve a smooth, professional finish that lasts. Stick with me, and by the end, you’ll have the confidence to upgrade your home’s details like a pro.
Ready to make your trims stand out? Let’s get started!

Credit: www.tintingchicago.com
Tools And Materials Needed
Wrapping interior trim with vinyl requires specific tools and materials. Having the right items makes the job easier and ensures a smooth finish. Preparing everything before starting saves time and effort.
Vinyl Wrap Sheets
Choose vinyl wrap sheets made for interior use. They should be flexible and easy to stretch. Pick a color or pattern that fits your room’s style.
Measuring Tape And Pencil
Measure the trim accurately with a tape measure. Mark cutting lines lightly with a pencil. Precise measurements prevent material waste.
Utility Knife Or Scissors
Use a sharp utility knife or strong scissors to cut vinyl. Clean cuts help the vinyl fit well on the trim edges.
Heat Gun Or Hair Dryer
A heat gun softens the vinyl for bending around corners. A hair dryer works as a safer, less powerful option. Heat improves vinyl adhesion and smoothness.
Squeegee Or Plastic Card
Use a squeegee or a plastic card to press vinyl firmly. This removes air bubbles and wrinkles. Work slowly for a flat, clean surface.
Cleaning Supplies
Clean the trim with soap and water before wrapping. Dry it completely to ensure vinyl sticks well. Dust and dirt reduce the vinyl’s grip.
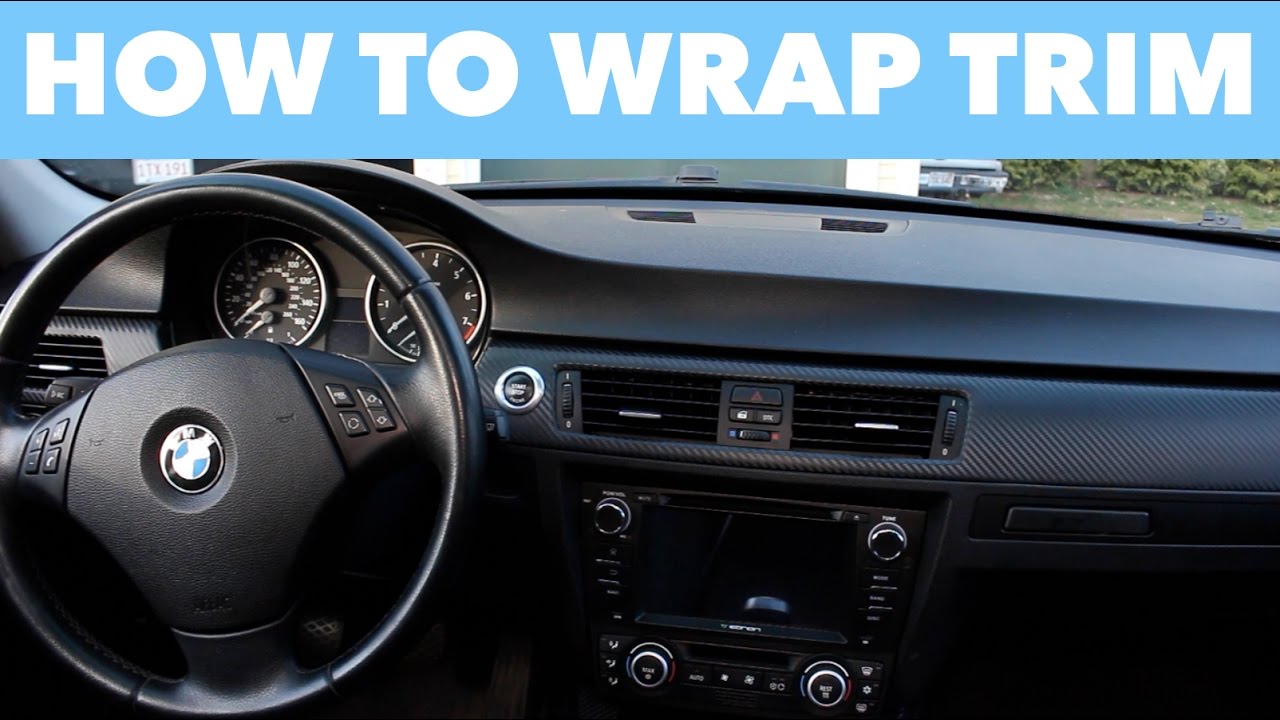
Credit: www.youtube.com
Preparing The Trim Surface
Preparing the trim surface is the first step to a smooth vinyl wrap. It helps the vinyl stick better and last longer. A clean and smooth surface stops bubbles and bumps. Follow these steps to get your trim ready.
Cleaning The Trim
Start by cleaning the trim well. Use a mild soap and warm water mix. Wipe the trim with a soft cloth to remove dust and dirt. Dry the trim completely before moving on. Dirt can cause the vinyl to peel early.
Sanding For Adhesion
Light sanding helps the vinyl stick to the trim. Use fine-grit sandpaper, about 220 grit. Sand gently to roughen the surface slightly. Do not sand too hard or deep. After sanding, wipe off the dust with a dry cloth.
Removing Old Paint Or Finish
Old paint or finish can stop vinyl from sticking well. Use a paint stripper or sandpaper to remove it. Make sure the trim surface is smooth and bare wood or primer shows. Clean off any residue before wrapping with vinyl.
Measuring And Cutting Vinyl
Measuring and cutting vinyl accurately is the first step to a neat trim wrap. Mistakes here can lead to wasted material and uneven edges. Precise measurements ensure the vinyl fits perfectly around your interior trim. Careful cutting helps avoid wrinkles and bubbles during application. Follow the steps below to measure and cut vinyl with confidence.
Taking Accurate Measurements
Use a tape measure to get the exact length of the trim piece. Measure twice to be sure. Note the width of the trim as well. Add an extra inch to your measurements. This extra length allows for proper wrapping around edges. Record all measurements clearly on paper. Keep the tape measure straight for best results.
Cutting Vinyl Strips
Lay the vinyl flat on a clean surface. Use a sharp utility knife or scissors for cutting. Cut slowly along the marked lines. Straight cuts prevent fraying and help with wrapping. Cut one strip at a time to avoid mistakes. Keep the edges smooth for a professional look. Dispose of scraps safely to keep your workspace tidy.
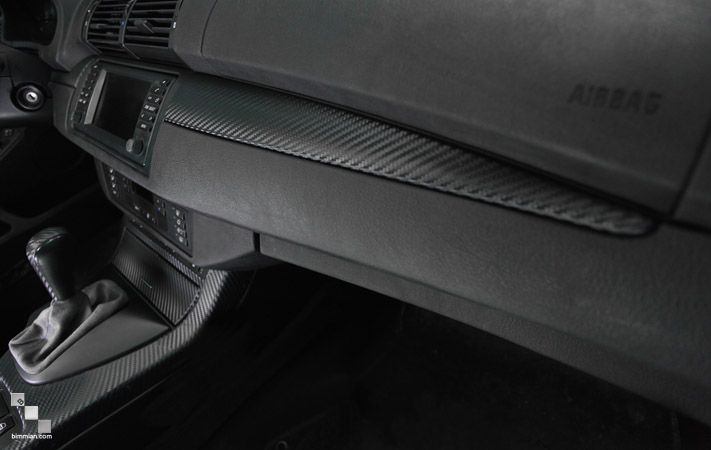
Credit: www.instructables.com
Applying Adhesive
Applying adhesive is a key step when wrapping interior trim with vinyl. It keeps the vinyl firmly attached for a smooth finish. Using the right adhesive and spreading it evenly helps avoid bubbles or peeling. This section explains how to choose and apply adhesive properly for best results.
Choosing The Right Adhesive
Select an adhesive that bonds well with both vinyl and trim material. Look for adhesives designed for vinyl wrapping or interior use. Avoid glues that dry too fast or stay too sticky. A good adhesive ensures the vinyl stays flat and lasts long.
Applying Adhesive Evenly
Spread the adhesive in a thin, uniform layer over the trim surface. Use a brush or roller for smooth application. Cover every part without overdoing it. Uneven adhesive causes bumps and weak spots. Let the adhesive become tacky before placing the vinyl.
Wrapping The Trim
Wrapping interior trim with vinyl gives it a fresh, clean look. This process protects the wood and updates the style without paint. It needs careful work to get smooth, neat results. The key is in how you wrap the vinyl around the trim. Follow these steps to cover your trim like a pro.
Positioning The Vinyl
Start by cutting a piece of vinyl larger than the trim. Place the vinyl flat on a clean surface. Align the vinyl with the trim edge carefully. Leave extra vinyl on all sides for wrapping. Press the vinyl down gently to stick it to the trim. Check that the pattern or grain runs the right way.
Smoothing Out Bubbles
Use a plastic scraper or squeegee to smooth the vinyl. Start in the center and push out toward the edges. Work slowly to avoid trapping air bubbles. If bubbles appear, lift the vinyl slightly and press again. Small bubbles can be removed by pressing firmly. Smooth vinyl means a professional finish.
Handling Corners And Edges
Trim corners need extra care. Fold the vinyl neatly at the corners, like wrapping a present. Avoid thick folds or wrinkles. Use a sharp knife to cut excess vinyl close to edges. Press the edges down firmly to secure the vinyl. Proper corner work keeps the trim looking sharp and clean.
Trimming Excess Vinyl
Trimming excess vinyl is a key step in wrapping interior trim. It shapes the final look and ensures the vinyl fits perfectly. Clean and precise cuts prevent peeling and give a neat finish.
Taking your time during this step helps avoid mistakes. Sharp tools and careful technique make the process easier and the result better.
Using A Sharp Blade
Use a fresh, sharp blade for cutting vinyl. Dull blades tear the material or leave rough edges. A sharp blade makes smooth, straight cuts without damaging the trim beneath. Change the blade often to keep cuts clean and safe.
Ensuring Clean Edges
Cut slowly along the trim edges. Hold the vinyl tight to avoid wrinkles. Use a straight edge or ruler as a guide. Smooth edges make the trim look professional and tidy. Remove small scraps immediately to keep the work area clean.
Finishing Touches
Finishing touches make your wrapped trim look neat and last longer. These final steps protect the vinyl and keep it clean. Pay close attention to each step to ensure a smooth, professional finish.
Sealing The Vinyl
Seal the edges of the vinyl to stop peeling. Use a clear adhesive or vinyl sealant for a strong hold. Apply a thin, even layer along all edges. Let the sealant dry fully before touching the trim. This step helps the vinyl resist moisture and damage.
Cleaning The Wrapped Trim
Clean the wrapped trim gently to keep it looking fresh. Use a soft cloth and mild soap with water. Avoid harsh chemicals that can harm the vinyl’s surface. Wipe the trim carefully to remove dust and dirt. Regular cleaning prevents buildup and maintains the trim’s shine.
Common Mistakes To Avoid
Wrapping interior trim with vinyl can be a great way to update your space. Yet, many make mistakes that cause problems later. Avoiding these errors saves time and effort. Here are some common mistakes to watch out for.
Not Cleaning The Trim Properly
Dirt and dust prevent vinyl from sticking well. Always clean the trim fully before starting. Use a mild soap and water solution. Dry the surface completely before applying vinyl.
Skipping Measurement And Cutting Steps
Cutting vinyl without measuring leads to waste and poor fit. Measure each trim piece carefully. Cut vinyl slightly larger than the trim. This helps with wrapping edges smoothly.
Ignoring Air Bubbles During Application
Air bubbles make the vinyl look uneven and can peel it off. Use a flat tool to press vinyl down firmly. Work from the center outwards to push air out.
Applying Vinyl In A Dusty Or Humid Room
Dust in the air sticks to vinyl easily. Humidity reduces vinyl’s adhesive power. Choose a clean, dry room for wrapping trim. This ensures better adhesion and finish.
Not Wrapping Around Edges Correctly
Edges are tricky but important. Vinyl may peel if edges are not wrapped well. Use a heat gun to soften vinyl around corners. Press edges firmly for a tight seal.
Frequently Asked Questions
How Do You Prepare Interior Trim For Vinyl Wrapping?
Clean the trim thoroughly to remove dust and grease. Sand lightly for better vinyl adhesion. Ensure the surface is dry before applying vinyl.
What Tools Are Needed To Wrap Interior Trim With Vinyl?
You need vinyl wrap, a heat gun, squeegee, utility knife, and cleaning supplies. These tools help achieve a smooth, bubble-free finish.
Can Vinyl Wrap Be Removed From Interior Trim?
Yes, vinyl wrap can be removed without damaging trim. Use heat to soften adhesive and peel slowly for best results.
How Long Does Vinyl Wrapping Interior Trim Last?
Vinyl wrap typically lasts 5 to 7 years with proper care. Avoid excessive heat and sharp objects to prolong its lifespan.
Conclusion
Wrapping interior trim with vinyl gives a fresh, clean look. It protects wood and hides imperfections well. The process is simple with the right tools and care. Take your time to measure and cut vinyl carefully. Press vinyl firmly to avoid bubbles or wrinkles.
Clean your space before starting for the best results. This method saves money compared to full replacement. Try it yourself and enjoy a neat, updated trim finish. Small steps bring big changes to your home’s style.