Are your brakes not working as smoothly as they used to? It might be time to install new disc brake rotors.
Knowing how to do this yourself can save you money and give you confidence in your vehicle’s safety. In this guide, you’ll find simple, clear steps to replace your rotors quickly and correctly. By the end, you’ll understand exactly what to do to keep your brakes performing at their best.
Ready to take control of your car maintenance? Let’s get started!

Credit: www.youtube.com
Tools And Materials Needed
Installing disc brake rotors requires specific tools and materials. Having the right items ready makes the job easier and safer. Proper preparation helps avoid mistakes during installation.
Essential Tools
You need a set of basic tools to install rotors. A socket wrench helps remove and tighten bolts. A torque wrench ensures bolts are fastened correctly. A screwdriver may be needed to remove clips or covers. Use a brake cleaner spray to clean the new rotor. Gloves protect your hands from dirt and sharp edges. A jack and jack stands lift and support the vehicle safely. A wire brush removes rust from the hub surface.
Choosing The Right Rotors
Pick rotors that match your vehicle’s make and model. Check the rotor size and thickness for compatibility. Opt for rotors made from high-quality materials like cast iron. Some rotors come with drilled or slotted designs for better cooling. Choose rotors that fit your driving style and conditions. New rotors should meet or exceed original equipment standards.

Credit: www.youtube.com
Preparing Your Vehicle
Preparing your vehicle is the first step to install disc brake rotors safely. Proper preparation makes the job easier and protects you from harm. Take your time to get ready before starting the work.
Check your tools and parts before you begin. A clean workspace helps avoid mistakes. Preparing well helps you do the job right the first time.
Safety Precautions
Wear gloves to protect your hands from sharp edges. Use safety glasses to shield your eyes from dust and debris. Avoid loose clothing that can get caught in moving parts. Work in a well-lit area to see clearly. Keep a fire extinguisher nearby, just in case. Always double-check your tools before use.
Lifting And Securing The Car
Park your car on a flat surface to keep it stable. Use wheel chocks on the opposite wheels to stop movement. Place the jack under the car’s recommended lift points. Lift the car slowly and steadily to avoid sudden shifts. Secure the car with jack stands before working underneath. Never rely on the jack alone to hold the car. Test the car’s stability by gently shaking it before starting work.
Removing The Old Rotors
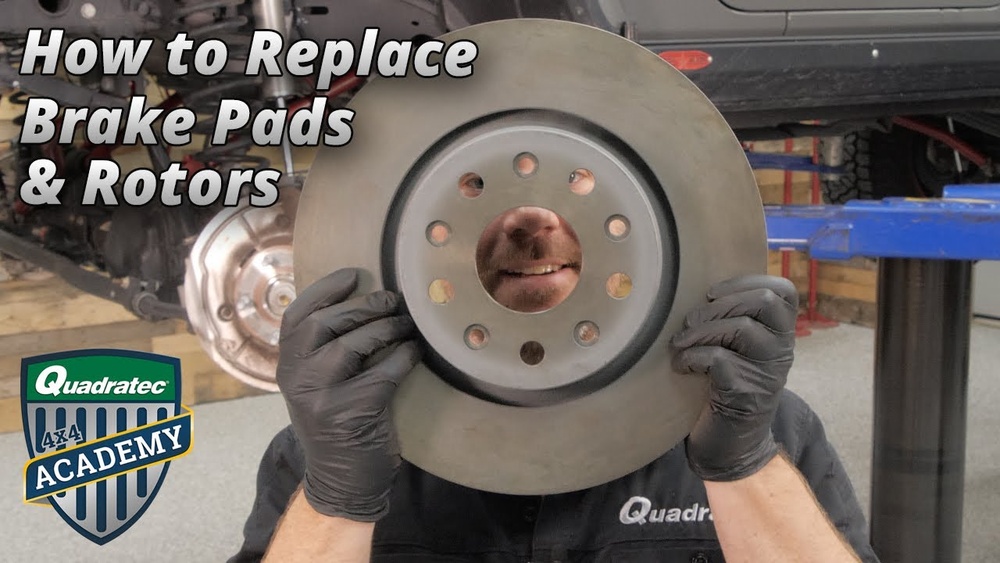
Removing old brake rotors is the first step in installing new disc brake rotors. It requires careful handling to avoid damage. Follow these steps to remove the old rotors safely and prepare your vehicle for new parts.
Removing The Wheel
Start by loosening the lug nuts on the wheel. Use a tire iron or a wrench for this task. Next, lift the vehicle with a jack and secure it with jack stands. Remove the lug nuts completely and take off the wheel. Set the wheel aside in a safe place.
Detaching The Brake Caliper
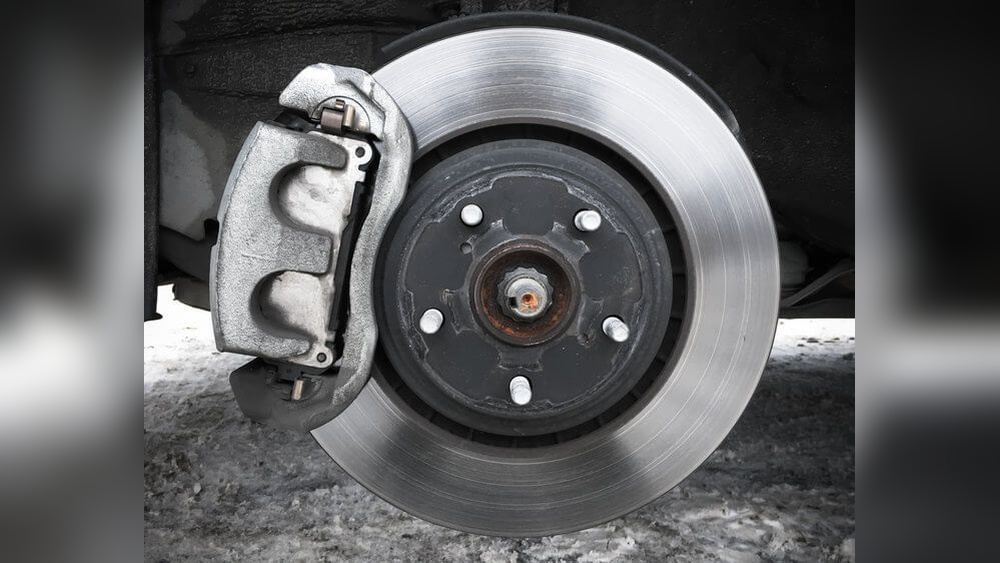
Locate the brake caliper, which holds the brake pads. Remove the bolts that secure the caliper using a socket wrench. Carefully slide the caliper away from the rotor. Support the caliper with a hanger or rest it on a solid surface. Do not let it hang by the brake hose.
Taking Off The Old Rotor
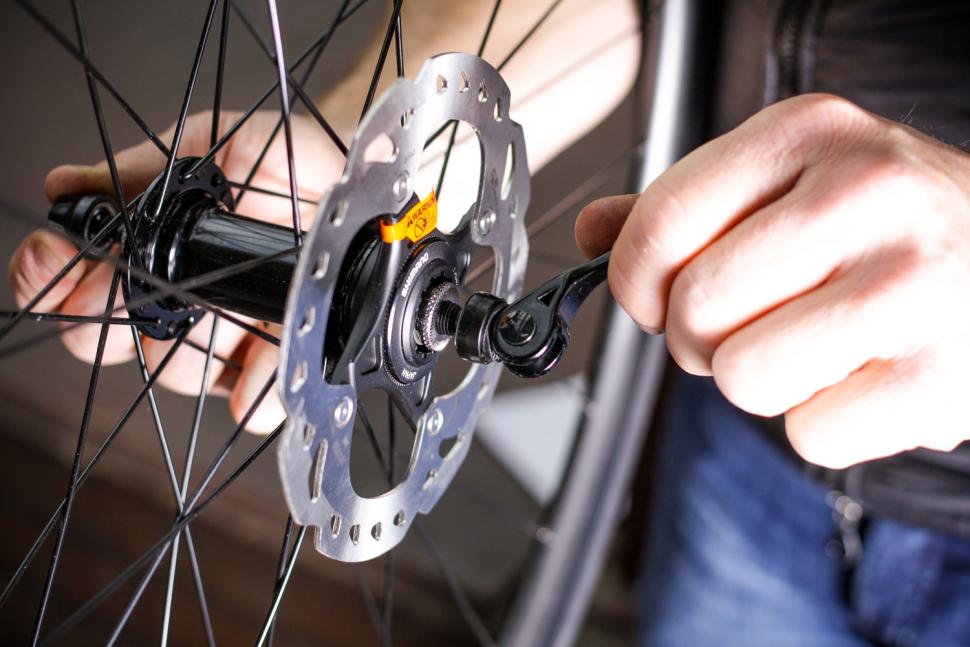
Inspect the rotor for retaining screws or clips. Remove any screws with a screwdriver. If the rotor is stuck, gently tap it with a rubber mallet to loosen it. Pull the rotor straight off the wheel hub. Clean the hub surface before installing the new rotor.
Credit: kdfoundation.org
Installing New Rotors
Installing new disc brake rotors is a key step in keeping your vehicle’s braking system safe and effective. The process involves careful handling and precise placement to ensure the rotors work perfectly. Follow these steps for a smooth and secure installation.
Cleaning The Hub
Start by cleaning the hub where the rotor will sit. Use a wire brush or sandpaper to remove rust and dirt. A clean surface helps the rotor fit tightly. Wipe the area with a cloth to remove leftover dust. This prevents vibration and uneven wear later.
Placing The New Rotor
Place the new rotor carefully onto the hub. Make sure it lines up with the bolt holes. The rotor should sit flush against the hub surface. Avoid touching the rotor surface with dirty hands. Oil and dirt can reduce braking power.
Securing The Rotor In Place
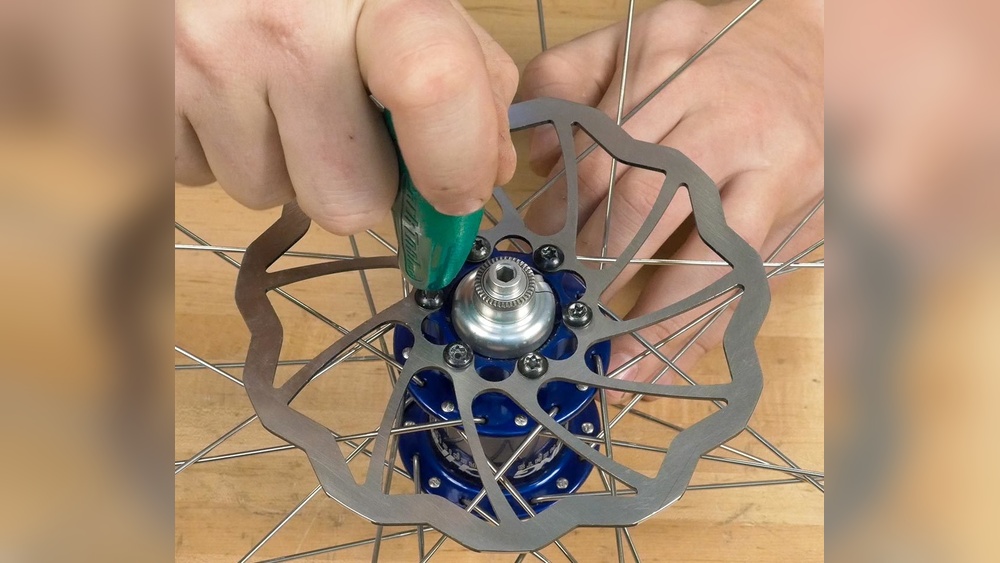
Secure the rotor using the screws or bolts provided. Tighten them evenly in a crisscross pattern. This ensures the rotor stays flat and stable. Use a torque wrench to reach the correct tightness. Loose rotors can cause noise and poor braking.
Reassembling The Brake Components
Reassembling the brake components is a crucial step after installing new disc brake rotors. This part ensures your brakes work correctly and safely. Take your time and follow each step carefully. Proper reassembly prevents brake failure and improves driving safety.
Reattaching The Brake Caliper
Start by positioning the brake caliper over the new rotor. Align it carefully with the mounting bracket. Use the original bolts to secure the caliper. Tighten them firmly but avoid over-tightening. Check that the caliper moves slightly to allow pad adjustment.
Checking Brake Pads
Inspect the brake pads for wear or damage. Replace pads if they are thin or cracked. Make sure pads sit flush against the rotor. They should not touch the rotor when the brake is released. Confirm the pads move freely within the caliper.
Reinstalling The Wheel
Place the wheel back onto the hub. Align the wheel holes with the lug bolts. Hand-tighten the lug nuts to keep the wheel in place. Lower the vehicle slightly to rest the wheel on the ground. Use a torque wrench to tighten lug nuts in a star pattern.
Final Checks And Testing
After installing disc brake rotors, final checks and testing are crucial. These steps ensure safety and proper performance. Skipping them can cause brake failure or damage. Take your time and follow each step carefully.
Torque Specifications
Tighten rotor bolts to the correct torque. Use a torque wrench for accuracy. Over-tightening can warp the rotor. Under-tightening can cause it to loosen during rides. Check your bike or car manual for exact numbers. This step prevents mechanical problems later.
Brake Function Test
Before riding, test the brakes in a safe place. Press the brake levers and feel for firm resistance. The brakes should stop the wheel quickly and smoothly. Listen for unusual noises like grinding or squeaking. These signs may mean installation issues or worn parts.
Breaking In New Rotors
New rotors need a break-in period to work best. Slowly apply the brakes several times from low speed. Avoid hard stops initially to prevent uneven wear. This process helps the brake pads and rotors fit together. Proper break-in improves braking power and rotor life.
Frequently Asked Questions
What Tools Are Needed To Install Disc Brake Rotors?
You need a socket set, torque wrench, screwdrivers, and brake cleaner. These tools help safely remove old rotors and install new ones efficiently.
How Do You Remove Old Disc Brake Rotors Safely?
First, remove the wheel and caliper. Then, unscrew the rotor bolts and gently slide the rotor off the hub. Avoid damaging surrounding parts.
How To Align Disc Brake Rotors Correctly?
Align the rotor with the hub holes. Secure bolts in a star pattern to ensure even pressure and prevent rotor warping during installation.
How Tight Should Disc Brake Rotor Bolts Be?
Torque bolts to manufacturer specifications, usually between 80-120 Nm. Proper torque prevents rotor movement and ensures safe braking performance.
Conclusion
Installing disc brake rotors can improve your bike’s stopping power. Take your time and follow each step carefully. Use the right tools to avoid damage and ensure safety. Check that all parts fit well before riding. Regular maintenance keeps brakes working smoothly.
Feel confident knowing you handled the job yourself. Remember, good brakes help you stay safe on the road. Keep practicing and soon it will become easier. Your bike will thank you with better performance.