
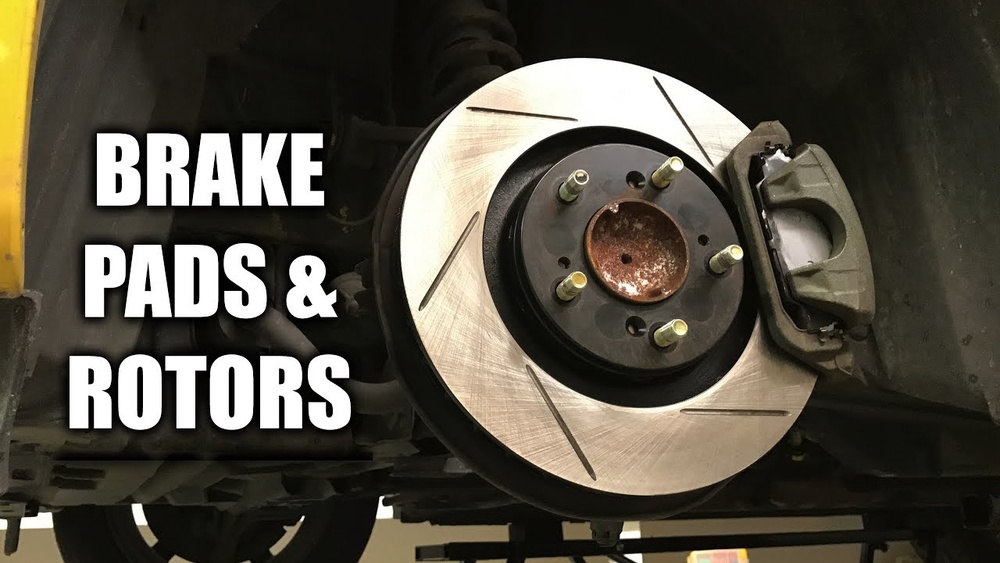
Are your brakes making noise or not stopping your car like they used to? Knowing how to do brake pads and rotors yourself can save you time and money.
Imagine being able to fix your brakes confidently, without waiting for a mechanic. This guide will walk you through every step clearly and simply. By the end, you’ll have the skills to keep your brakes in top shape and drive with peace of mind.
Ready to take control of your car’s safety? Let’s get started!

Credit: www.greatwater360autocare.com
Tools And Materials Needed
Replacing brake pads and rotors requires specific tools and materials. Using the right items makes the job safer and easier. Preparing these tools before starting helps save time and avoids frustration.
Essential Tools
You need a jack and jack stands to lift the car safely. A lug wrench is essential to remove the wheel nuts. A socket set with ratchet helps remove caliper bolts. A C-clamp or brake caliper tool compresses the brake caliper piston. A flathead screwdriver or pry bar can help remove old brake pads. A torque wrench ensures bolts are tightened to the right level.
Choosing Brake Pads And Rotors
Select brake pads designed for your vehicle model. Check the vehicle manual or ask at the auto parts store. Rotors come in different types, like solid or vented. Match rotors to your driving style and car specifications. Avoid mixing old and new parts for safety and performance.
Safety Equipment
Wear safety glasses to protect your eyes from dust and debris. Gloves keep your hands clean and safe from sharp edges. Use a dust mask if brake dust is present. Work in a well-ventilated area to avoid inhaling harmful particles. Always follow safety guidelines to prevent accidents.
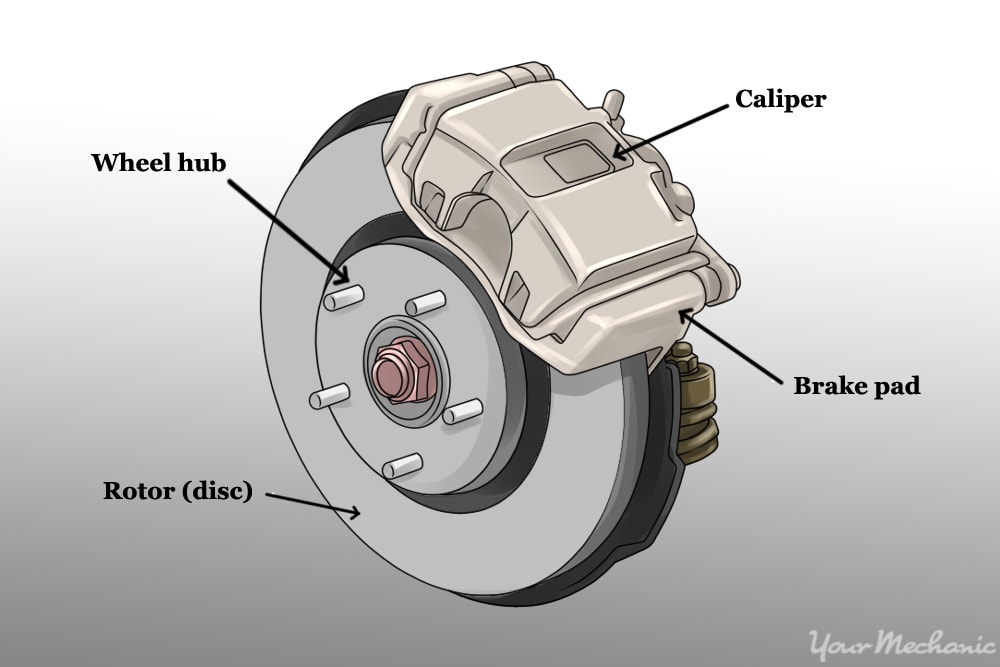
Credit: www.yourmechanic.com
Preparing Your Vehicle
Preparing your vehicle is the first step to change brake pads and rotors safely. You need to create a safe and stable working environment. This makes the job easier and protects you from accidents. Follow these steps carefully before starting any brake work.
Parking And Securing
Park your car on a flat surface. Avoid slopes or uneven ground. Engage the parking brake to stop the car from rolling. Place wheel chocks behind the wheels for extra safety. Turn off the engine and remove the keys. This prevents any accidental start during the repair.
Removing The Wheel
Loosen the lug nuts slightly before lifting the car. Use a jack to raise the vehicle carefully. Support it with jack stands for stability. Never rely on the jack alone. Remove the lug nuts completely and take off the wheel. Keep the nuts in a safe place to avoid loss.
Inspecting Brake Components
Look closely at the brake pads and rotors. Check for wear, cracks, or damage. Notice if the pads are thin or uneven. Inspect the rotor surface for grooves or rust. Also, examine the brake caliper and hardware. Good inspection helps decide if parts need replacement.
Removing Old Brake Pads And Rotors
Removing old brake pads and rotors is a key step in brake maintenance. It keeps your car safe and stops noises or poor braking. This process needs care and the right tools. Follow these steps carefully for the best results.
Loosening Caliper Bolts
Start by loosening the caliper bolts. These bolts hold the brake caliper in place. Use a wrench or socket to turn them counterclockwise. Do not remove them yet, just loosen. This step allows the caliper to move freely later.
Taking Out Brake Pads
Next, slide the caliper away from the rotor. Support the caliper so it does not hang by the brake line. Remove the old brake pads from the caliper bracket. They should come out easily. Check pads for damage or wear before disposal.
Removing The Rotor
Remove any screws or clips holding the rotor on the hub. If stuck, tap the rotor gently with a rubber mallet. Pull the rotor straight off the hub. Clean the hub surface before installing new parts. This step prevents future brake issues.
Installing New Brake Pads And Rotors
Installing new brake pads and rotors is a key step to ensure your vehicle stops safely. This process requires care and attention to detail. Proper installation helps your brakes work smoothly and last longer.
Cleaning And Preparing Surfaces
Start by cleaning the rotor hub and caliper bracket. Remove rust and dirt with a wire brush. Use brake cleaner spray to wipe all surfaces. Clean surfaces help the new parts fit correctly and prevent noise.
Fitting The New Rotor
Place the new rotor onto the wheel hub. Make sure it sits flat and aligns with the bolt holes. Tighten the rotor screws gently to hold it in place. Avoid touching the rotor surface with bare hands to keep it clean.
Installing Brake Pads
Apply a thin layer of brake grease on the back of the new pads. Insert the pads into the caliper bracket. Check that they fit snugly and move freely. Proper pad installation ensures even wear and strong braking power.
Reattaching The Caliper
Compress the caliper piston using a C-clamp or brake tool. Slide the caliper over the new brake pads and rotor. Align the mounting bolts and tighten them securely. Double-check the caliper is firmly attached before moving on.
Final Checks And Testing
After installing new brake pads and rotors, completing final checks is vital. These steps ensure the brakes work safely and correctly. Testing the brakes helps catch any issues before driving.
Reinstalling The Wheel
Place the wheel back onto the hub carefully. Align the holes with the wheel studs. Hand-tighten the lug nuts to keep the wheel in place. Avoid using power tools at this stage. This prevents the wheel from shifting.
Lowering The Vehicle
Use the jack to lower the vehicle slowly. Keep your hands and tools clear. Once the vehicle is on the ground, tighten the lug nuts fully. Use a torque wrench for the correct tightness. This stops the wheel from coming loose.
Brake Testing Tips
Start by pressing the brake pedal slowly. Feel for firm resistance without sponginess. Test the brakes at low speed in a safe area. Listen for unusual noises or vibrations. Stop immediately if something feels wrong. Repeat tests to confirm the brakes respond well.
Troubleshooting Common Issues
Troubleshooting common issues with brake pads and rotors helps keep your car safe. Problems can show up during or after installation. Knowing signs helps fix them early and avoid bigger damage.
Check your brakes carefully if you hear noises or feel unusual vibrations. Simple fixes often solve these problems. Let’s explore the most common issues and how to identify them.
Squeaking Or Noise
Squeaking sounds often mean brake pads need attention. Dust or dirt can cause noise. Pads may be worn out or missing lubricant. Check if pads touch the rotor unevenly.
Use brake grease on the back of pads to stop noise. Replace pads if worn below safe limits. Clean rotors and pads to remove dust and debris.
Brake Pulsation
Pulsation feels like shaking in the brake pedal. It usually happens due to warped rotors. Heat or uneven wear causes rotors to bend slightly. This makes brakes grab and release quickly.
Measure rotor thickness and check for warping. Resurface or replace rotors to restore smooth braking. Avoid overheating brakes to prevent this issue.
Uneven Wear
Uneven wear means brake pads or rotors wear more on one side. This can cause pulling to one side when braking. It often results from stuck caliper slides or pins.
Inspect calipers and clean or replace stuck parts. Make sure brake pads fit correctly and move freely. Proper installation prevents uneven wear and improves brake life.
Maintenance Tips For Longevity
Maintaining brake pads and rotors helps keep your car safe and saves money. Proper care extends their life and improves performance. Small habits make a big difference in brake health.
Regular Inspections
Check brake pads and rotors every 6,000 miles or during oil changes. Look for thin pads or grooves on rotors. Listen for squeaking or grinding sounds when braking. Early checks prevent costly repairs and keep brakes working well.
Proper Driving Habits
Avoid hard braking and sudden stops. Drive smoothly to reduce wear on pads and rotors. Use engine braking on hills to ease pressure on brakes. These habits help your brakes last longer and perform better.
When To Replace Again
Replace brake pads when thickness is below 3 mm. Rotors should be replaced if warped or deeply scored. Watch for vibrations or pulling while braking. Timely replacement keeps braking safe and effective.
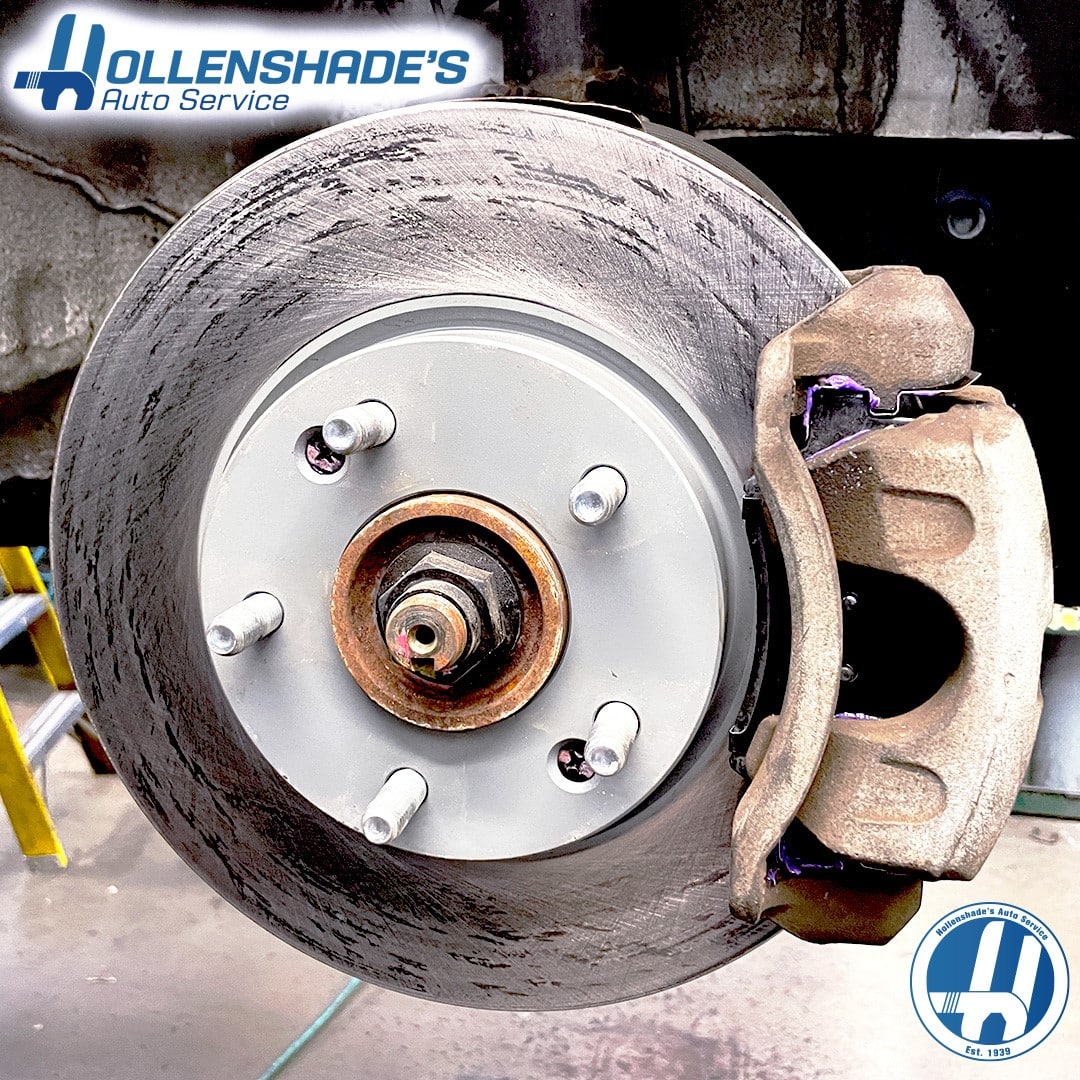
Credit: www.hollenshades.com
Frequently Asked Questions
How Often Should Brake Pads And Rotors Be Replaced?
Brake pads typically last 30,000 to 70,000 miles, while rotors last 50,000 to 70,000 miles. Inspect them regularly for wear or damage to ensure safety and optimal performance.
What Tools Are Needed To Replace Brake Pads And Rotors?
You will need a jack, lug wrench, socket set, C-clamp, brake cleaner, and a torque wrench. These tools help safely remove and install brake components.
Can I Replace Brake Pads And Rotors Myself?
Yes, with basic mechanical skills and proper tools, you can replace them. Follow safety precautions and detailed instructions to avoid mistakes.
How Do I Know When Brake Rotors Need Replacement?
If you hear squealing, grinding noises, or feel vibrations when braking, rotors may be warped or worn. Visual inspection for grooves or cracks also helps.
Conclusion
Changing brake pads and rotors can save you money and keep your car safe. Follow each step carefully to avoid mistakes. Take your time and use the right tools. Check your work before driving. Regular brake maintenance helps your car stop better and lasts longer.
Practice makes perfect, so don’t rush. Keep your brakes in good shape for a safer ride every time.


