
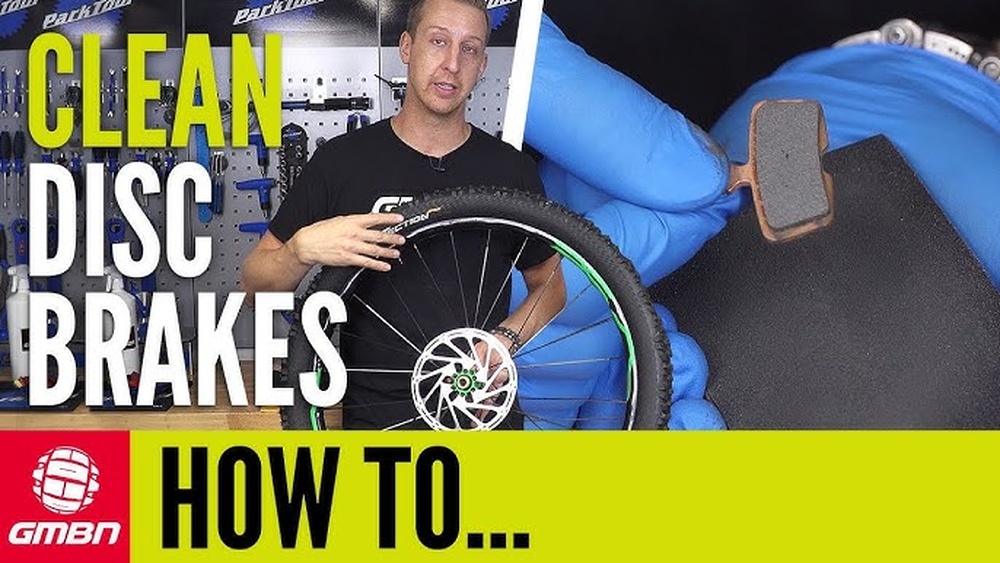
If you want your bike or car to stop smoothly and safely, keeping your disc brake rotors clean is a must. Dirty rotors can cause squeaky brakes, reduce stopping power, and wear down your brake pads faster.
But don’t worry—cleaning your disc brake rotor is easier than you think. In this guide, you’ll learn simple, step-by-step tips to get your rotors spotless and keep your brakes working like new. Keep reading, and you’ll save money, avoid frustration, and enjoy a safer ride every time you hit the road.
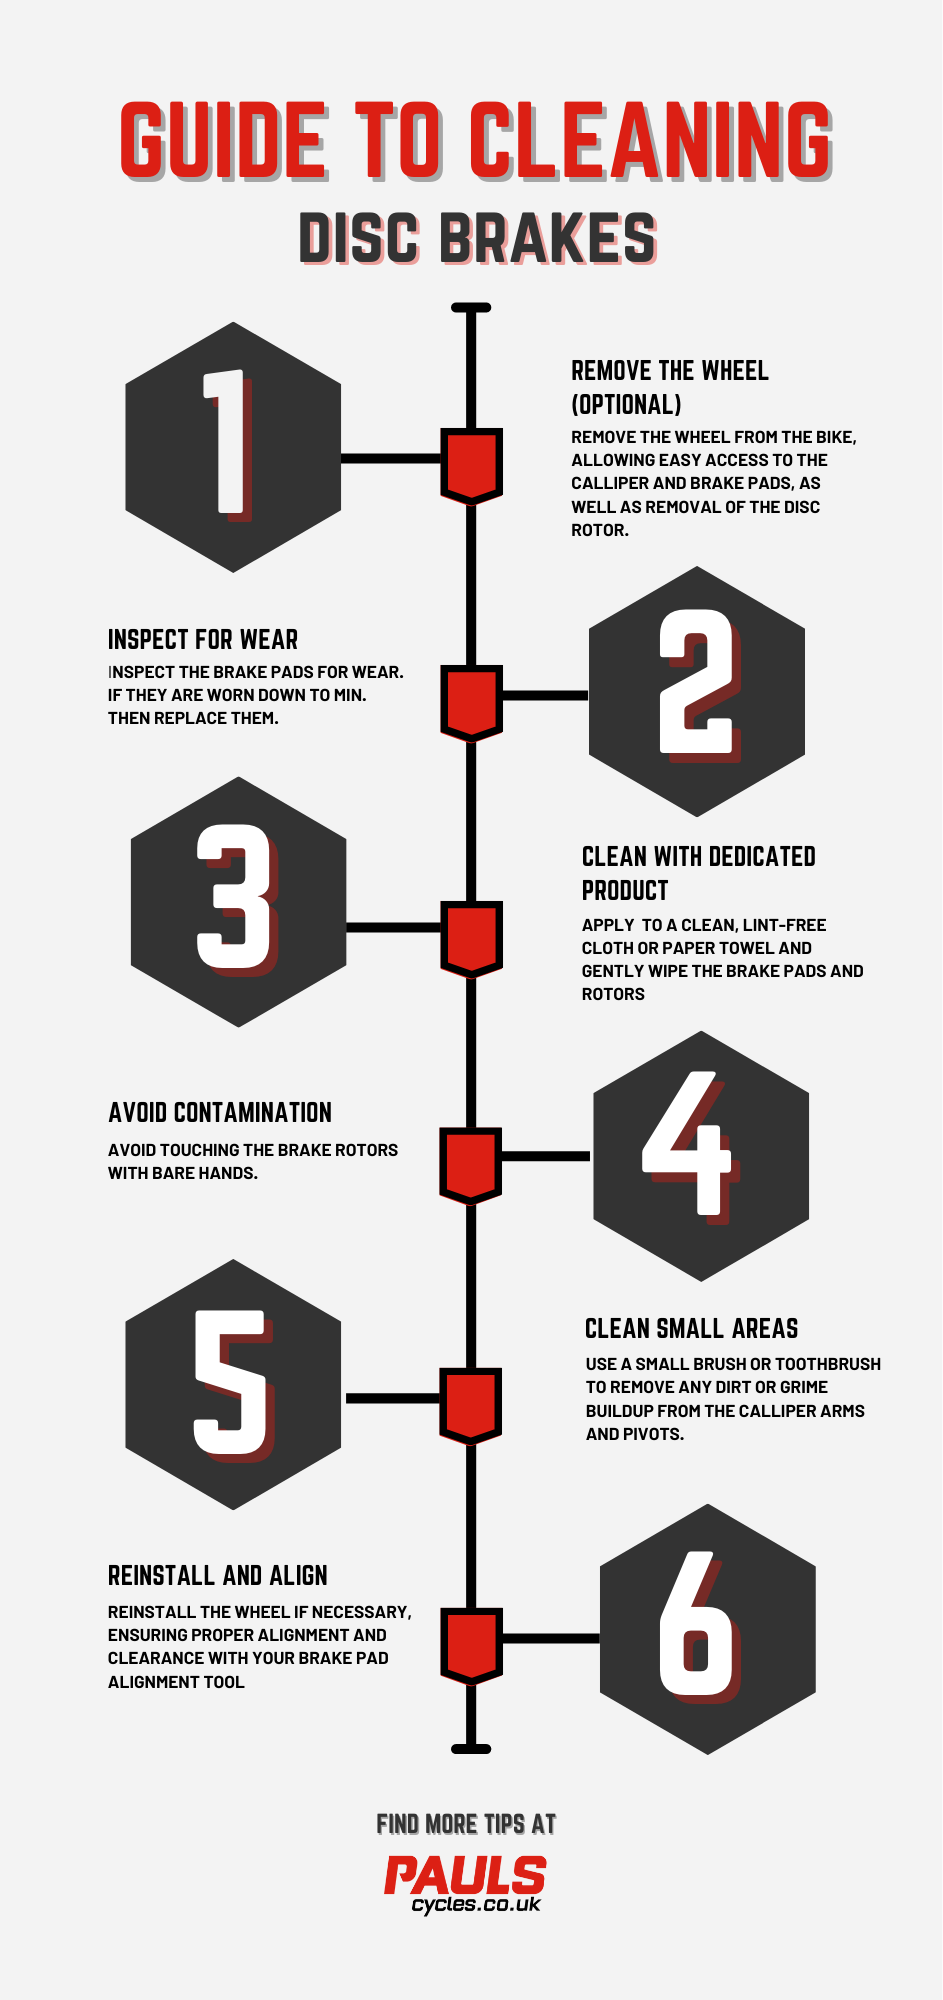
Credit: www.paulscycles.co.uk
Tools And Materials Needed
Cleaning a disc brake rotor needs the right tools and materials. Using proper items makes the job easier and safer. It helps to avoid damage and keeps brakes working well.
Gather everything before starting. This saves time and avoids interruptions during cleaning. Here is a list of essential tools and materials for a smooth process.
Isopropyl Alcohol
Use isopropyl alcohol to remove dirt and grease. It dries quickly and leaves no residue. This cleaner is safe for brake parts.
Clean Cloths Or Paper Towels
Soft, lint-free cloths or paper towels help wipe the rotor. They absorb dirt and oil without scratching the surface.
Protective Gloves
Wear gloves to keep hands clean and safe. Gloves also prevent oils from skin transferring to the rotor.
Brush Or Sponge
A soft brush or sponge helps remove stubborn dirt. Choose one that will not damage the rotor’s finish.
Bike Stand Or Support
Use a bike stand to hold the bike steady. This makes cleaning easier and more comfortable.
Optional: Brake Cleaner Spray
Brake cleaner spray can speed up cleaning. It is designed specifically for brake parts.
Preparing The Bike
Preparing your bike is the first step to clean the disc brake rotor properly. This step helps you work safely and reach the rotor easily. Taking time to prepare saves effort later.
Removing The Wheel
Start by shifting the chain to the smallest gear. This makes wheel removal easier. Use a wrench or quick-release lever to unlock the wheel. Gently pull the wheel away from the frame or fork. Keep the wheel in a safe place to avoid damage.
Securing The Bike
Place your bike on a stand or lean it against a wall. Make sure it will not fall during cleaning. Secure the bike so it stays steady. This keeps both you and the bike safe while you work.
Cleaning The Rotor
Cleaning the disc brake rotor is key to keeping your bike safe and smooth. Dirt and oil on the rotor reduce braking power. A clean rotor helps your brakes work better and last longer. Follow these steps to clean your rotor carefully and correctly.
Choosing The Right Cleaner
Select a cleaner made for bike disc rotors. Avoid oily or greasy products. Use isopropyl alcohol or a special disc brake cleaner. These remove dirt without leaving residue. Never use household cleaners or WD-40. They can damage the rotor or brake pads.
Applying The Cleaner
Spray the cleaner directly on the rotor surface. Cover the whole rotor, both sides. Use a light mist, not too much liquid. Let the cleaner sit for a minute. This loosens dirt, grime, and oil stuck on the metal. Avoid spraying on brake pads or other parts.
Wiping And Drying
Use a clean, lint-free cloth to wipe the rotor. Wipe in a circular motion along the rotor. Remove all dirt and cleaner from the surface. Make sure the rotor is dry before riding. Dry rotors stop brakes from squealing and slipping. Repeat if the rotor still looks dirty.
Inspecting The Rotor
Inspecting the rotor is a key step before cleaning your disc brake rotor. It helps spot any problems early. This can prevent further damage and keep your brakes working well.
Careful inspection saves time and money. It also ensures safety on the road or trail. Use good light and take your time checking the rotor closely.
Checking For Warping
Warped rotors cause brake vibration and noise. To check, spin the wheel and watch the rotor’s edge. It should be smooth and even.
If the rotor wobbles or looks bent, it is warped. A warped rotor needs straightening or replacement. Riding with a warped rotor is unsafe and damages brake pads.
Looking For Wear And Damage
Wear shows as grooves or scoring on the rotor surface. Deep grooves reduce braking power. Look for cracks or rust spots too.
Small scratches are normal. Large cracks or heavy rust mean you should replace the rotor. Clean rotors give better brake performance and last longer.
Reassembling And Testing
After cleaning the disc brake rotor, the final step is reassembling and testing. This step ensures the brake system works safely. Proper reassembly prevents damage and guarantees smooth braking. Testing confirms the rotor and brakes function well before riding.
Reattaching The Wheel
Place the wheel back into the fork or frame carefully. Align the axle with the dropouts. Tighten the axle nuts or quick-release lever securely. Check that the wheel spins freely without rubbing the brake pads. Adjust if the rotor touches the pads. Make sure the wheel is centered and stable.
Performing A Brake Test
Press the brake lever slowly to check pad contact. The lever should feel firm and responsive. Spin the wheel and apply the brakes to stop it smoothly. Listen for any unusual noises or vibrations. Test the brakes at low speed before riding faster. Repeat the test until the brakes feel safe and steady.

Credit: www.arloren.com
Tips For Maintaining Brake Rotors
Brake rotors need care to work well and last long. Cleaning them helps keep your brakes strong. Dirt and dust can make brakes less safe. Follow these tips to keep rotors clean and healthy.
Regular Cleaning Schedule
Clean brake rotors every few weeks. Use a soft cloth and brake cleaner spray. Wipe off dirt, dust, and grease. Regular cleaning stops buildup that wears rotors out. Check rotors for damage during cleaning. Replace if you see cracks or deep grooves.
Avoiding Contamination
Keep oil, grease, and brake fluid away from rotors. These substances make brakes slippery and unsafe. Use clean tools and hands when working on brakes. Store brake parts in a clean, dry place. Avoid touching rotor surfaces with bare hands. This prevents oil from your skin from sticking.

Credit: www.youtube.com
Frequently Asked Questions
How Often Should I Clean A Disc Brake Rotor?
Clean your disc brake rotors every few months or after riding in wet or muddy conditions. Regular cleaning ensures optimal braking performance and prevents noise caused by dirt buildup.
What Materials Do I Need To Clean Disc Brake Rotors?
Use isopropyl alcohol, a clean cloth, and a soft brush. Avoid oily or greasy cleaners to prevent rotor contamination and maintain brake efficiency.
Can I Use Wd-40 To Clean Disc Brake Rotors?
No, WD-40 leaves a residue that reduces brake friction. Always use brake-specific cleaners or isopropyl alcohol for safe and effective rotor cleaning.
How Do I Remove Oil From A Disc Brake Rotor?
Spray isopropyl alcohol on the rotor and wipe with a clean cloth. Repeat until all oil residues are removed to restore proper brake function.
Conclusion
Cleaning your disc brake rotor keeps your bike safe and smooth. Dirt and oil reduce braking power and cause noise. Use proper cleaners and tools to avoid damage. Regular cleaning helps your brakes last longer and work better. Take your time and follow the steps carefully.
A clean rotor means better control and safer rides. Small efforts make a big difference in bike performance. Keep your brakes in top shape for every ride.


