
Is your bike making that annoying squeaking sound every time you brake? Or do you feel a slight wobble when you squeeze the brake lever?
If so, your disc brake rotor might be out of true. A warped rotor can ruin your ride, making braking less smooth and less safe. But don’t worry—you don’t need to be a bike mechanic to fix it. You’ll learn how to true a bicycle disc brake rotor quickly and easily.
By the end, you’ll have a smoother, quieter ride and more confidence on every trail or road. Ready to get your brakes back in perfect shape? Let’s dive in!
Signs Of A Warped Rotor
Warped disc brake rotors cause problems while riding. They affect safety and bike control. Knowing the signs helps fix issues early. You avoid bigger damage and costly repairs. Below are common signs of a warped rotor.
Noise And Vibration
A warped rotor often makes noise during braking. You hear a rubbing or clicking sound. The noise appears as the rotor hits the brake pads unevenly. Vibration in the brake lever or handlebar is common. This shakes your hands and reduces comfort. Noise and vibration often increase with speed.
Brake Performance Issues
Braking feels weak or inconsistent with a warped rotor. Sometimes brakes grab suddenly or feel spongy. The bike may pull to one side while stopping. This makes it hard to control the bike. Warped rotors cause uneven brake pad wear. This reduces the overall braking power and safety.
Credit: www.parktool.com
Tools Needed
To true a bicycle disc brake rotor, you need the right tools. Using proper tools helps fix the rotor safely and precisely. Some tools are made just for rotor truing. Others can work as good alternatives. Knowing what you need saves time and avoids damage to your bike.
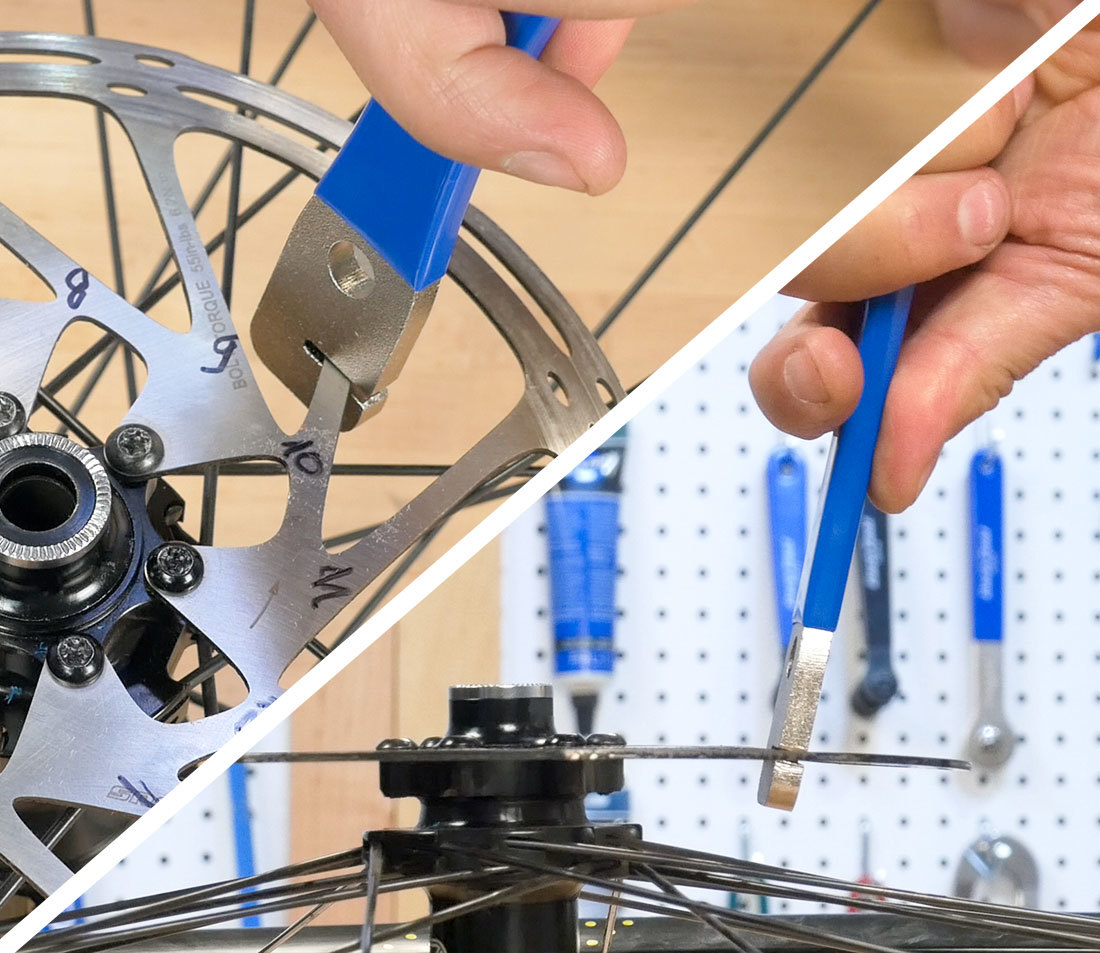
Rotor Truing Tool
A rotor truing tool is the best choice. It looks like a small adjustable wrench. You use it to bend the rotor gently. The tool fits between the rotor’s fins. It lets you push or pull bent parts back straight. This tool gives control and prevents over-bending. It is made to handle the thin metal of the rotor without breaking it.
Alternative Tools
You can use other tools if you don’t have a truing tool. A small adjustable wrench or a pair of needle-nose pliers works well. Use a cloth to protect the rotor from scratches. Be careful to apply light pressure only. Another option is a flathead screwdriver with a cloth wrapped around the tip. These tools help bend the rotor slightly to fix warps. Always work slowly and check your progress often.
Preparing Your Bike
Preparing your bike is the first step to true a bicycle disc brake rotor. This process helps you work safely and effectively. Proper preparation makes the task easier and prevents damage to your bike parts.
Start by setting your bike in a stable position. Use a bike stand or flip it upside down. This gives you easy access to the wheels and brakes.
Remove The Wheel
Take off the wheel with the rotor that needs truing. Loosen the quick-release lever or axle nuts. Pull the wheel out carefully to avoid bending the rotor further. Place the wheel on a flat surface for better control.
Clean The Rotor
Use a clean rag and rubbing alcohol to wipe the rotor. Remove dirt, grease, and brake dust completely. A clean rotor shows bends and damage clearly. Avoid touching the rotor surface with bare hands to keep it clean.
Inspecting The Rotor
Inspecting the rotor is the first step to true a bicycle disc brake rotor. This step helps you find any bends or warps. A clear view of the rotor shows where it needs fixing. Careful inspection saves time and effort later.
Take your time. A small warp can cause brake noise and reduce stopping power. Spotting the problem early keeps your bike safe and smooth.
Locating Warped Areas
Spin the wheel slowly. Watch the rotor edge near the brake pads. Look for any side-to-side movement. This movement shows the rotor is not straight. Use a flashlight for better visibility. Check both sides of the rotor. Warped areas often cause rubbing sounds.
Marking Problem Spots
Use a marker or tape to mark the warped spots. Marking helps you track the problem areas clearly. It guides you during the truing process. Mark every bump or wobble you see. This step makes the repair easier and more precise.
Truing The Rotor
Truing the rotor is a crucial step to keep your bike’s disc brakes working smoothly. A bent rotor can cause noise and reduce braking power. Fixing it early helps avoid costly repairs and unsafe rides.
This process involves carefully bending the rotor back to its correct shape. You need patience and a gentle touch. The goal is to stop the rotor from rubbing against the brake pads.
Gentle Bending Techniques
Use your fingers or a small tool like pliers with a cloth. Apply light pressure to the bent area. Bend the rotor slowly and carefully.
Work in small steps. Check the rotor’s alignment often. Avoid strong, quick bends that can cause more damage.
Avoiding Overcorrection
Stop bending as soon as the rotor stops rubbing. Overcorrecting can bend the rotor in the opposite direction. This makes the problem worse.
Test the rotor by spinning the wheel slowly. Listen for any rubbing sounds. Make small adjustments only when needed.

Credit: www.youtube.com
Reassembling And Testing
After you finish adjusting your bicycle disc brake rotor, the next step is to put everything back together and test it. This part is important to make sure your rotor spins smoothly without rubbing. Proper reassembly and testing help you find any small issues before you ride again.
Reinstalling The Wheel
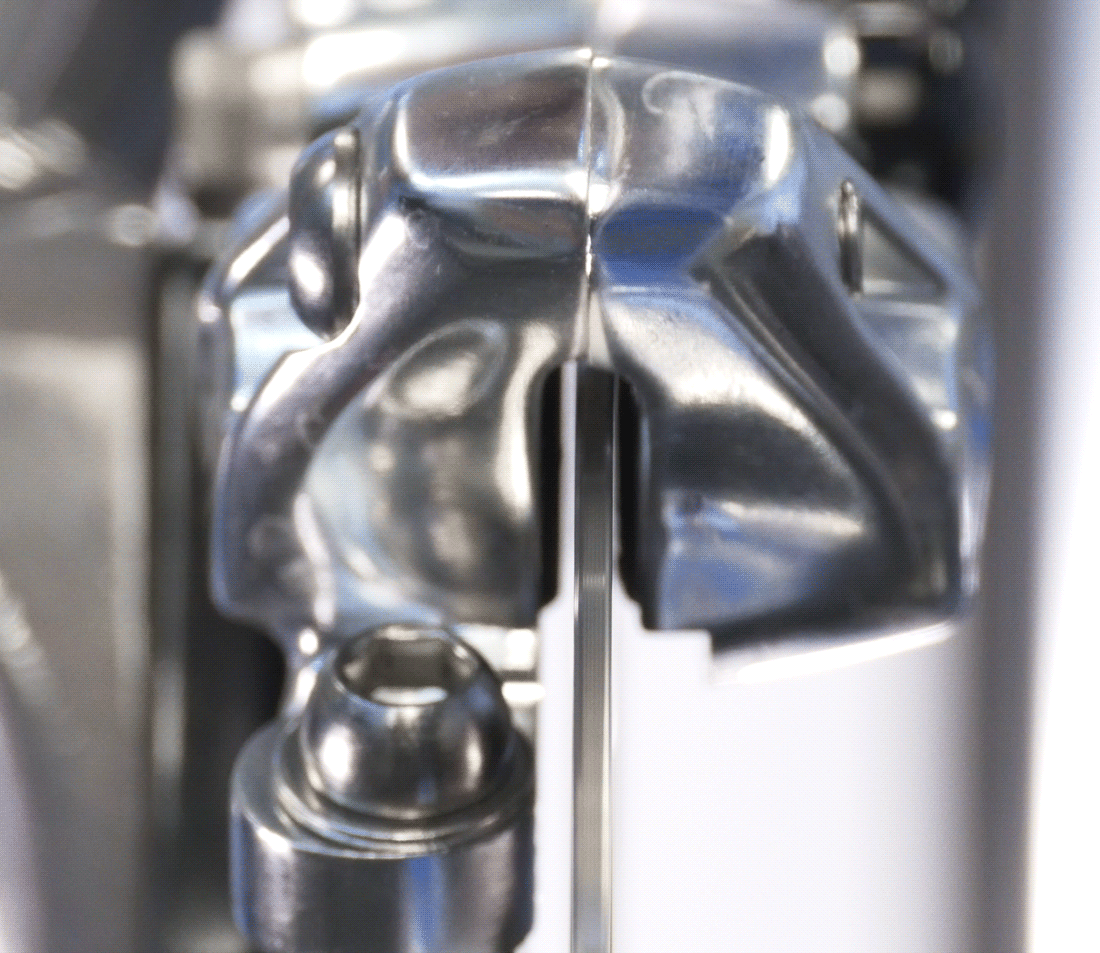
Put the wheel back onto the bike frame carefully. Make sure the rotor fits inside the brake caliper without touching. Tighten the axle or quick-release lever firmly to keep the wheel secure. Spin the wheel by hand to check if the rotor moves freely. If you hear rubbing, adjust the wheel position slightly until the noise stops.
Test Ride Adjustments
Take your bike for a short ride on a flat surface. Apply the brakes gently to feel how they respond. Listen for any rubbing or unusual sounds from the rotor. If you feel vibration or hear noise, stop and check the rotor alignment again. Small tweaks on the brake caliper or wheel position can fix most problems. Repeat this process until your brakes work smoothly and quietly.
Maintenance Tips
Maintaining your bicycle disc brake rotor keeps your bike safe and smooth. Small checks and care can stop big problems. Regular attention helps your brakes work well and last longer.
Regular Rotor Checks
Look at your rotor often. Check for bends, cracks, or dirt. Spin the wheel and listen for rubbing sounds. Clean the rotor with a soft cloth and brake cleaner. Avoid touching the rotor with greasy hands. Tighten the rotor bolts if they feel loose. These small steps keep your brakes sharp and ready.
Preventing Future Warps
Avoid overheating the rotor by not braking hard for a long time. Let the rotor cool down after long rides. Store your bike in a dry place to stop rust. Use high-quality brake pads that fit your rotor. Replace worn-out pads quickly to avoid damage. These habits protect your rotor and keep your brakes steady.
Credit: www.parktool.com
Frequently Asked Questions
How Do I Know If My Disc Brake Rotor Needs Truing?
A rotor needs truing if you hear rubbing sounds or feel brake pulsation. Visual bends or wobbles on the rotor also indicate it requires truing.
What Tools Are Required To True A Bicycle Disc Brake Rotor?
You need a rotor truing fork or an adjustable wrench, plus a clean rag. These tools help gently bend the rotor back into shape without damage.
Can I True My Disc Brake Rotor At Home?
Yes, you can true your rotor at home with basic tools and care. Follow safety steps and make small adjustments to avoid further damage.
How Often Should I True My Bicycle Disc Brake Rotor?
True your rotor when you notice noise, vibration, or uneven braking. Frequency depends on riding conditions but generally check every few months.
Conclusion
Truing a bicycle disc brake rotor keeps your bike safe and smooth. It stops rubbing and improves braking power. Small bends fix easily with simple tools. Regular checks help catch problems early. Taking time to true saves money on repairs later.
Your rides feel better and more controlled. Practice these steps often for best results. A true rotor means a happier, safer ride every time.


