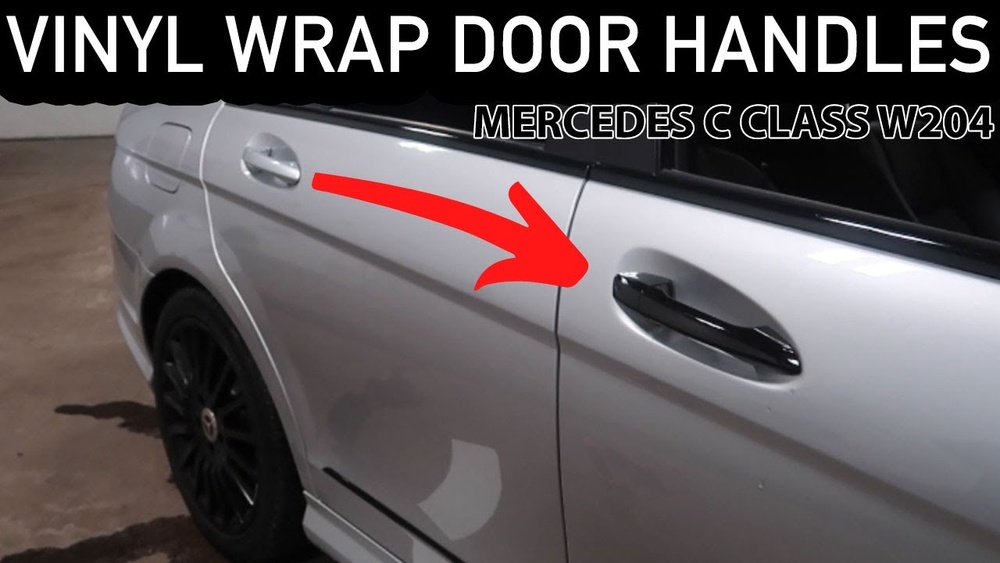
Are your door handles looking dull or scratched? You don’t have to replace them to give your car or home a fresh, stylish look.
Vinyl wrapping your door handles is an easy and affordable way to transform their appearance instantly. In this guide, you’ll discover simple steps to achieve a smooth, professional finish that lasts. Whether you want a sleek matte black look or a vibrant color to match your style, you’ll learn how to make your door handles stand out.
Keep reading to unlock the secrets of vinyl wrapping and give your handles a makeover you’ll love.
Credit: slickmod.com
Choosing The Right Vinyl Wrap
Choosing the right vinyl wrap is key to a successful door handle makeover. The right wrap improves look and lasts longer. It must fit well and handle wear and tear.
Different vinyl types suit different needs. Some are easier to apply, while others offer better durability. Selecting the right one helps avoid bubbling and peeling.
Types Of Vinyl Wraps
There are cast and calendared vinyl wraps. Cast vinyl is thin, flexible, and lasts longer. It molds well around curves like door handles.
Calendared vinyl is thicker and less flexible. It works better on flat surfaces. For door handles, cast vinyl is usually best.
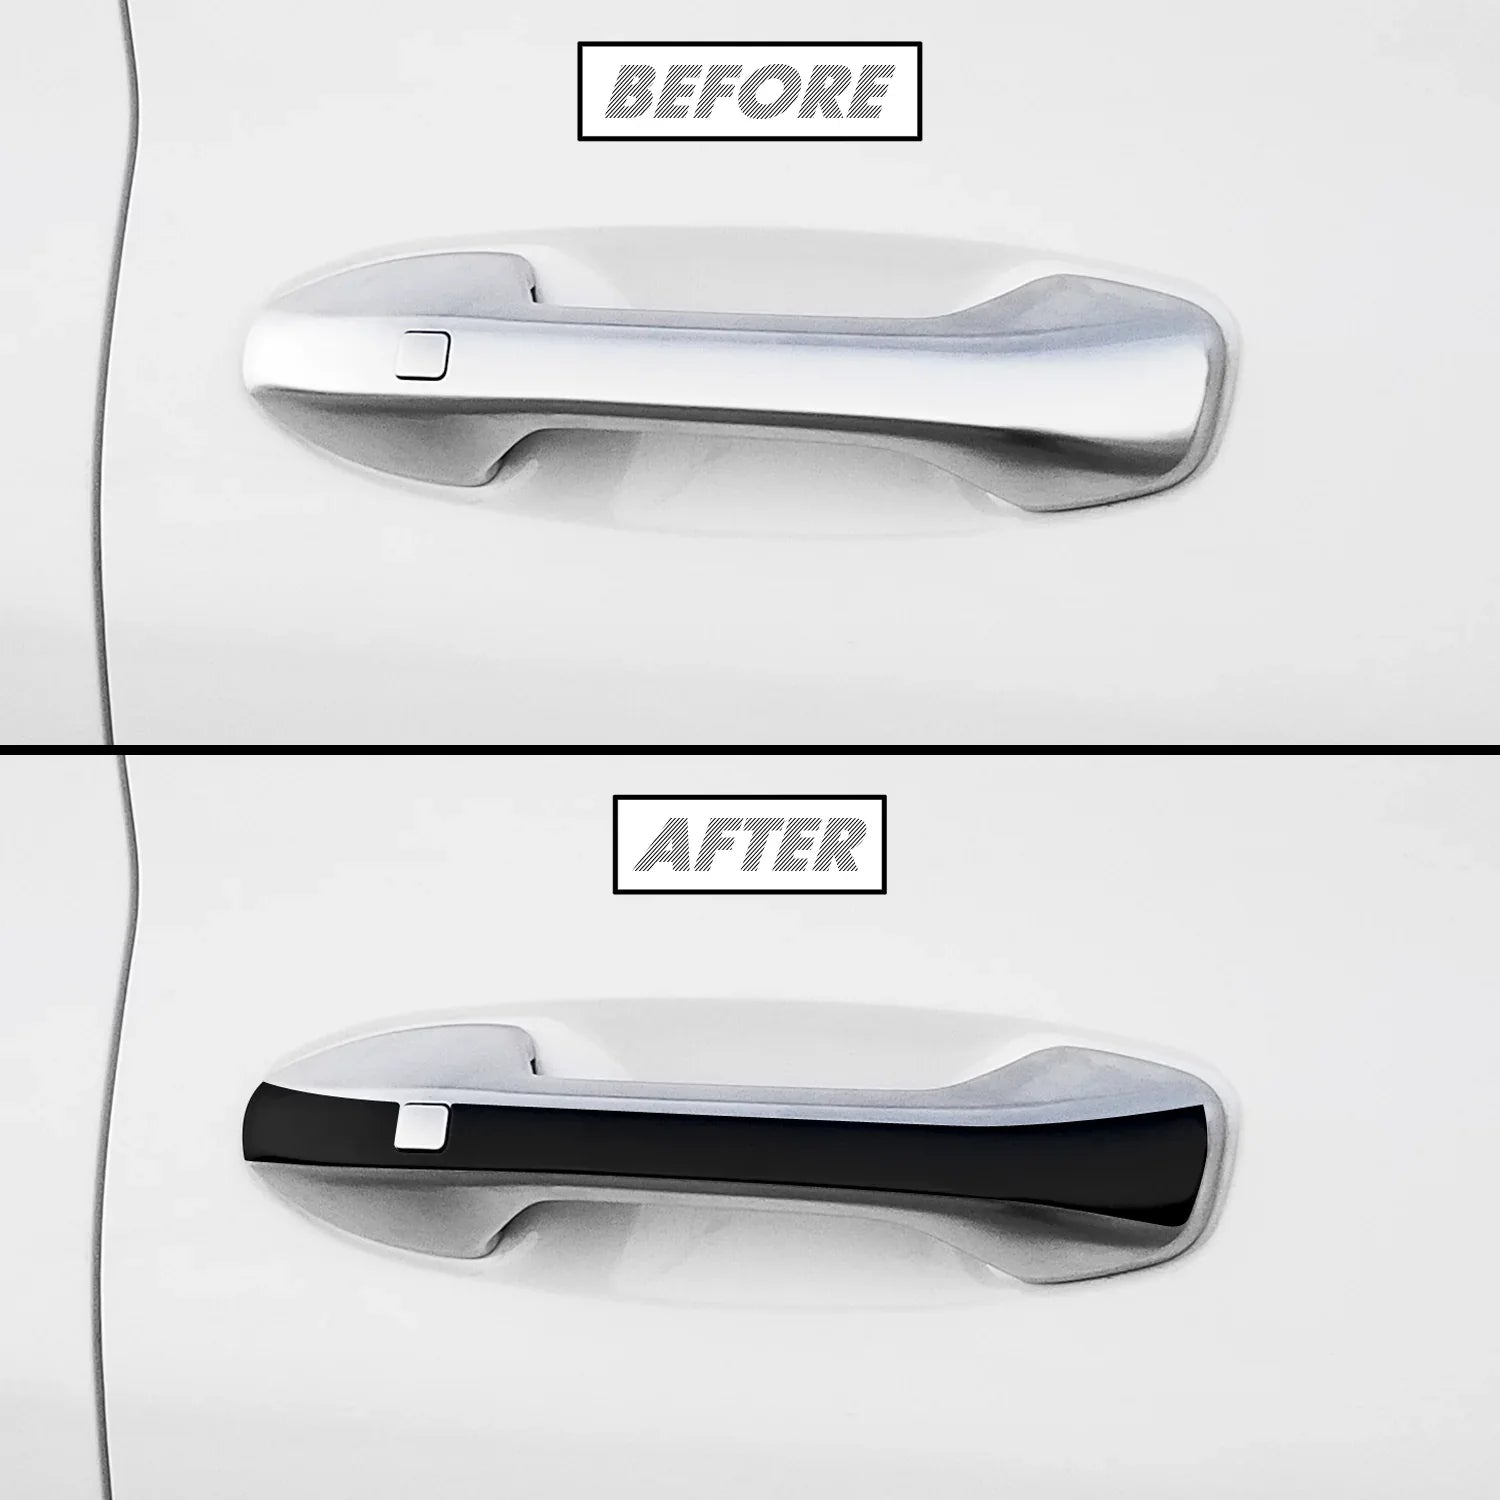
Color And Finish Options
Vinyl wraps come in many colors and finishes. Glossy wraps shine and look new. Matte wraps give a smooth, subtle look.
Metallic and carbon fiber finishes add style and texture. Pick a finish that matches your door and room style.
Tools And Materials Needed
Gather these before starting: vinyl wrap, a squeegee, a heat gun, and a sharp knife. Clean cloth and rubbing alcohol help prepare the surface.
Good tools make the wrapping process easier and cleaner. They help avoid bubbles and wrinkles.
Preparing The Door Handles
Preparing the door handles is a key step before applying vinyl wrap. Proper preparation helps the vinyl stick better. It also makes the finish smooth and long-lasting.
Take your time with each step to avoid problems later. Clean, smooth surfaces ensure the wrap looks neat and stays on.
Cleaning And Drying
Start by cleaning the door handles thoroughly. Use a mild soap and water solution. Remove all dirt, oil, and grease. Dirt can stop the vinyl from sticking well.
Rinse with clean water. Dry the handles completely with a soft cloth. Moisture under the vinyl can cause bubbles and peeling.
Removing Old Wrap Or Residue
Check for any old vinyl or sticky residue on the handles. Use a plastic scraper or your fingernail to peel off old wrap gently.
Apply a small amount of adhesive remover or rubbing alcohol. Wipe the residue away with a clean cloth. Avoid harsh chemicals that may damage the handle’s surface.
Sanding And Smoothing Surface
Lightly sand the handles to create a smooth surface. Use fine-grit sandpaper, around 600 grit. Sand just enough to remove rough patches or shine.
Wipe off the sanding dust with a damp cloth. Let the handles dry fully before wrapping. A smooth surface helps the vinyl wrap to stay firmly attached.
Measuring And Cutting Vinyl
Measuring and cutting vinyl correctly is key for a neat door handle wrap. It saves time and avoids waste. Taking careful measurements helps the vinyl fit perfectly. Cutting the vinyl precisely ensures smooth edges and no gaps. For tricky shapes, creating templates guides your cuts. This section shows simple steps for each task.
Taking Accurate Measurements
Use a ruler or tape measure for exact sizes. Measure the length and width of the door handle. Include curves and edges for full coverage. Write down the numbers to avoid mistakes. Double-check measurements before cutting the vinyl sheet.
Cutting Vinyl To Size
Lay the vinyl flat on a clean surface. Use sharp scissors or a craft knife for clean cuts. Cut slightly larger than your measurements. This extra margin helps during wrapping. Trim any excess after applying the vinyl to the handle.
Creating Templates For Complex Shapes
Trace the door handle shape on paper first. Cut out this paper template carefully. Place it on the vinyl and trace around it. This method fits vinyl to handles with curves or buttons. Templates reduce errors and help you work faster.

Credit: www.youtube.com
Applying The Vinyl Wrap
Applying the vinyl wrap to door handles is a careful process. It takes patience and attention to detail. This step is key to getting a smooth and long-lasting finish. Follow these tips to apply the vinyl wrap correctly and avoid common mistakes.
Positioning The Vinyl
Start by cutting the vinyl wrap slightly larger than the handle. Place it gently over the handle’s surface. Align the wrap so it covers all curves and edges. Take your time to make sure it fits well. Avoid stretching the vinyl too much at this stage.
Using Heat For Flexibility
Use a heat gun or hairdryer to warm the vinyl. Heat makes the vinyl soft and easier to shape. Hold the heat source a few inches away from the vinyl. Move it around evenly to avoid burning. Warm vinyl molds better to curves and tight spots.
Smoothing Out Bubbles And Wrinkles
Use a squeegee or soft cloth to press the vinyl down. Start from the center and move outward. Push out air bubbles and smooth wrinkles carefully. If bubbles remain, lift the vinyl slightly and reapply heat. Keep smoothing until the wrap looks flat and neat.
Finishing Touches
Finishing touches are key to making vinyl-wrapped door handles look smooth and clean. Proper finishing helps the wrap last longer and keeps it from peeling. Small steps now save trouble later.
Take your time with each step. These details create a professional look anyone will notice. Follow these simple tips to complete your vinyl wrap perfectly.
Trimming Excess Vinyl
Use a sharp blade to cut away extra vinyl carefully. Cut close to the handle edges but avoid scratching the surface. Small cuts make the wrap fit better and look neat. Trim slowly to keep control.
Sealing Edges
Press the edges firmly to seal the vinyl down. Use a soft tool to smooth out bubbles and wrinkles. Sealed edges stop dirt and water from getting under the wrap. Check all sides to ensure full contact.
Curing And Setting Time
Let the vinyl rest for at least 24 hours. Avoid touching or moving the handles during this time. This waiting period helps the adhesive bond strongly to the surface. Proper curing means the wrap stays put longer.
Maintenance Tips
Proper care keeps your vinyl wrapped door handles looking fresh and new. Small efforts extend the life of the wrap and keep it clean. Follow these simple tips to maintain your wrapped handles easily.
Cleaning Wrapped Handles
Use a soft cloth and mild soap to clean the handles. Avoid harsh chemicals or abrasive materials that can scratch the vinyl. Wipe gently to remove dirt and fingerprints. Dry the handles with a clean, soft towel after cleaning. Regular cleaning prevents buildup and keeps the wrap shiny.
Avoiding Damage
Do not use sharp objects near wrapped handles. Avoid excessive pulling or twisting that may loosen the wrap. Keep the handles away from direct heat sources like sun or heaters. Protect the vinyl from strong chemicals such as solvents or gasoline. Handle your wrapped doors with care to prevent peeling.
When To Rewrap
Look for cracks, tears, or color fading as signs to rewrap. If the wrap lifts or bubbles, it is time for a new layer. Rewrapping restores the fresh look and protects the door handle better. Regularly inspect your wrapped handles for any damage. Early action keeps your door handles looking perfect.

Credit: teckwrap.com
Frequently Asked Questions
How Do You Prepare Door Handles For Vinyl Wrapping?
Clean the door handles thoroughly with soap and water. Remove dirt, oils, and residues. Dry completely before applying vinyl wrap for better adhesion.
What Tools Are Needed To Vinyl Wrap Door Handles?
You need vinyl wrap film, a heat gun or hairdryer, a squeegee, scissors, and a microfiber cloth for smooth application.
Can Vinyl Wrap Handle Curves And Edges Effectively?
Yes, vinyl wrap is flexible and can conform to curves and edges. Use heat to soften the film and smooth out wrinkles.
How Long Does Vinyl Wrap Last On Door Handles?
Typically, vinyl wrap on door handles lasts 3 to 5 years. Longevity depends on quality, application, and daily use conditions.
Conclusion
Vinyl wrapping door handles is a simple way to refresh their look. It protects handles from scratches and dirt too. Take your time to clean and measure carefully. Smooth out air bubbles for the best finish. The right tools make the process easier and faster.
With some patience, anyone can do this at home. Enjoy the new style and protection on your door handles. Try this small project to change your space today.