
Wrapping corners with vinyl can seem tricky at first, but with the right tips, you can achieve a smooth, professional look every time. If you want your vinyl wrap to look flawless without bubbles or wrinkles, knowing how to handle those tricky edges is key.
In this guide, you’ll learn simple steps to master corners like a pro, saving you time and frustration. Ready to make your project stand out? Keep reading, and you’ll discover the secrets to perfect vinyl wrap corners that last.
Preparing The Surface
Preparing the surface is a vital step before applying a vinyl wrap on corners. A clean, smooth surface ensures the wrap sticks well and lasts longer. It helps avoid bubbles, wrinkles, and peeling later. Take time to prepare carefully for the best results.
Cleaning And Degreasing
Start by cleaning the surface thoroughly. Use soap and water to remove dust and dirt. Next, apply a degreaser to clear oils and grease. Wipe the area with a clean cloth. A clean surface helps the vinyl wrap stick better and stay smooth.
Removing Old Wraps And Residue
Check for any old vinyl wraps or adhesive residue. Peel off old wraps slowly to avoid damage. Use adhesive remover to get rid of sticky residue. Clean again after removing residue. A fresh surface is crucial for new vinyl to hold tightly.
Smoothing Out Imperfections
Inspect the surface for bumps, scratches, or dents. Use sandpaper to smooth small rough spots gently. Fill deeper dents with a suitable filler and let it dry. Sand again to make the surface even. A smooth surface prevents bubbles under the vinyl wrap.
Credit: www.vinylfrog.com
Choosing The Right Vinyl
Choosing the right vinyl is key to a smooth corner wrap. Vinyl that fits your project makes application easier and results better. It helps the vinyl bend without tearing or bubbling. Good vinyl also sticks well and lasts long. This section covers important points for selecting vinyl for corners.
Types Of Vinyl Films
There are many types of vinyl films. Cast vinyl is thin and flexible, ideal for curves and corners. Calendered vinyl is thicker and less flexible, better for flat surfaces. For corners, cast vinyl works best because it stretches and bends easily. Choose vinyl designed for vehicle wraps or similar uses.
Thickness And Flexibility
Thickness affects how well vinyl wraps around corners. Thin vinyl wraps more smoothly around tight edges. Thicker vinyl can be stiff and harder to shape. Flexibility is just as important. Flexible vinyl bends without creasing or tearing. Choose vinyl with good flexibility to avoid problems on corners.
Adhesive Quality
Adhesive quality is crucial for vinyl on corners. Strong adhesive keeps vinyl in place on edges and curves. Some adhesives allow repositioning during application. This helps adjust the vinyl before it sticks fully. Use vinyl with reliable adhesive that holds well on different surfaces.
Tools You’ll Need
Wrapping corners with vinyl requires specific tools for a smooth finish. Each tool has a clear role. Using the right equipment makes the job easier and the results better. Below are the main tools you need for corner vinyl wrap.
Squeegees And Knives
Squeegees help press vinyl onto surfaces. They remove bubbles and wrinkles. Choose soft-edged squeegees to avoid scratches. Sharp knives cut vinyl cleanly. Use a fresh blade for precise edges. Small detail knives help with tricky corners.
Heat Guns And Ir Lamps
Heat guns soften vinyl for bending around corners. Controlled heat prevents damage to the film. Infrared (IR) lamps heat evenly without blowing air. This keeps vinyl from shifting. Heat tools make vinyl more flexible and easier to shape.
Measuring And Marking Tools
Accurate measurements ensure vinyl fits perfectly. Use a tape measure or ruler for straight edges. Mark vinyl lightly with a pencil or chalk. This guides your cuts and folds. Good measuring tools reduce mistakes and waste.
Measuring And Cutting
Measuring and cutting are key steps in wrapping corners with vinyl. These steps ensure the vinyl fits perfectly, preventing bubbles and wrinkles. Taking your time here saves effort later. A good measurement guides the cutting, and precise cutting makes the wrap look smooth and clean.
Accurate Measurements For Corners
Measure the corner carefully. Use a tape measure that is easy to read. Measure both the height and width of the corner. Write down the numbers. Double-check your measurements to avoid mistakes. Remember, even a small error can affect the fit of the wrap.
Pre-cutting Vs. On-the-spot Cutting
Pre-cutting vinyl means cutting the pieces before applying. This saves time but needs very exact measurements. On-the-spot cutting lets you adjust the vinyl as you go. It can be better for tricky corners or uneven surfaces. Choose the method that suits your skill and the project.
Allowing For Overlaps
Leave extra vinyl around the edges. This overlap helps cover the corner completely. It also gives room to stretch the vinyl slightly. Overlapping prevents gaps and peeling later. Cut the excess after the vinyl is firmly in place. This step ensures a neat and secure finish.
Applying Vinyl On Corners
Applying vinyl on corners can be tricky. Corners need careful handling to look smooth and neat. The vinyl must bend without tearing or wrinkling. Using the right methods helps the vinyl fit tightly on sharp or rounded edges.
This section covers key tips for working with corners. You will learn how to stretch the vinyl, use heat for flexibility, and avoid common problems like bubbles and wrinkles.
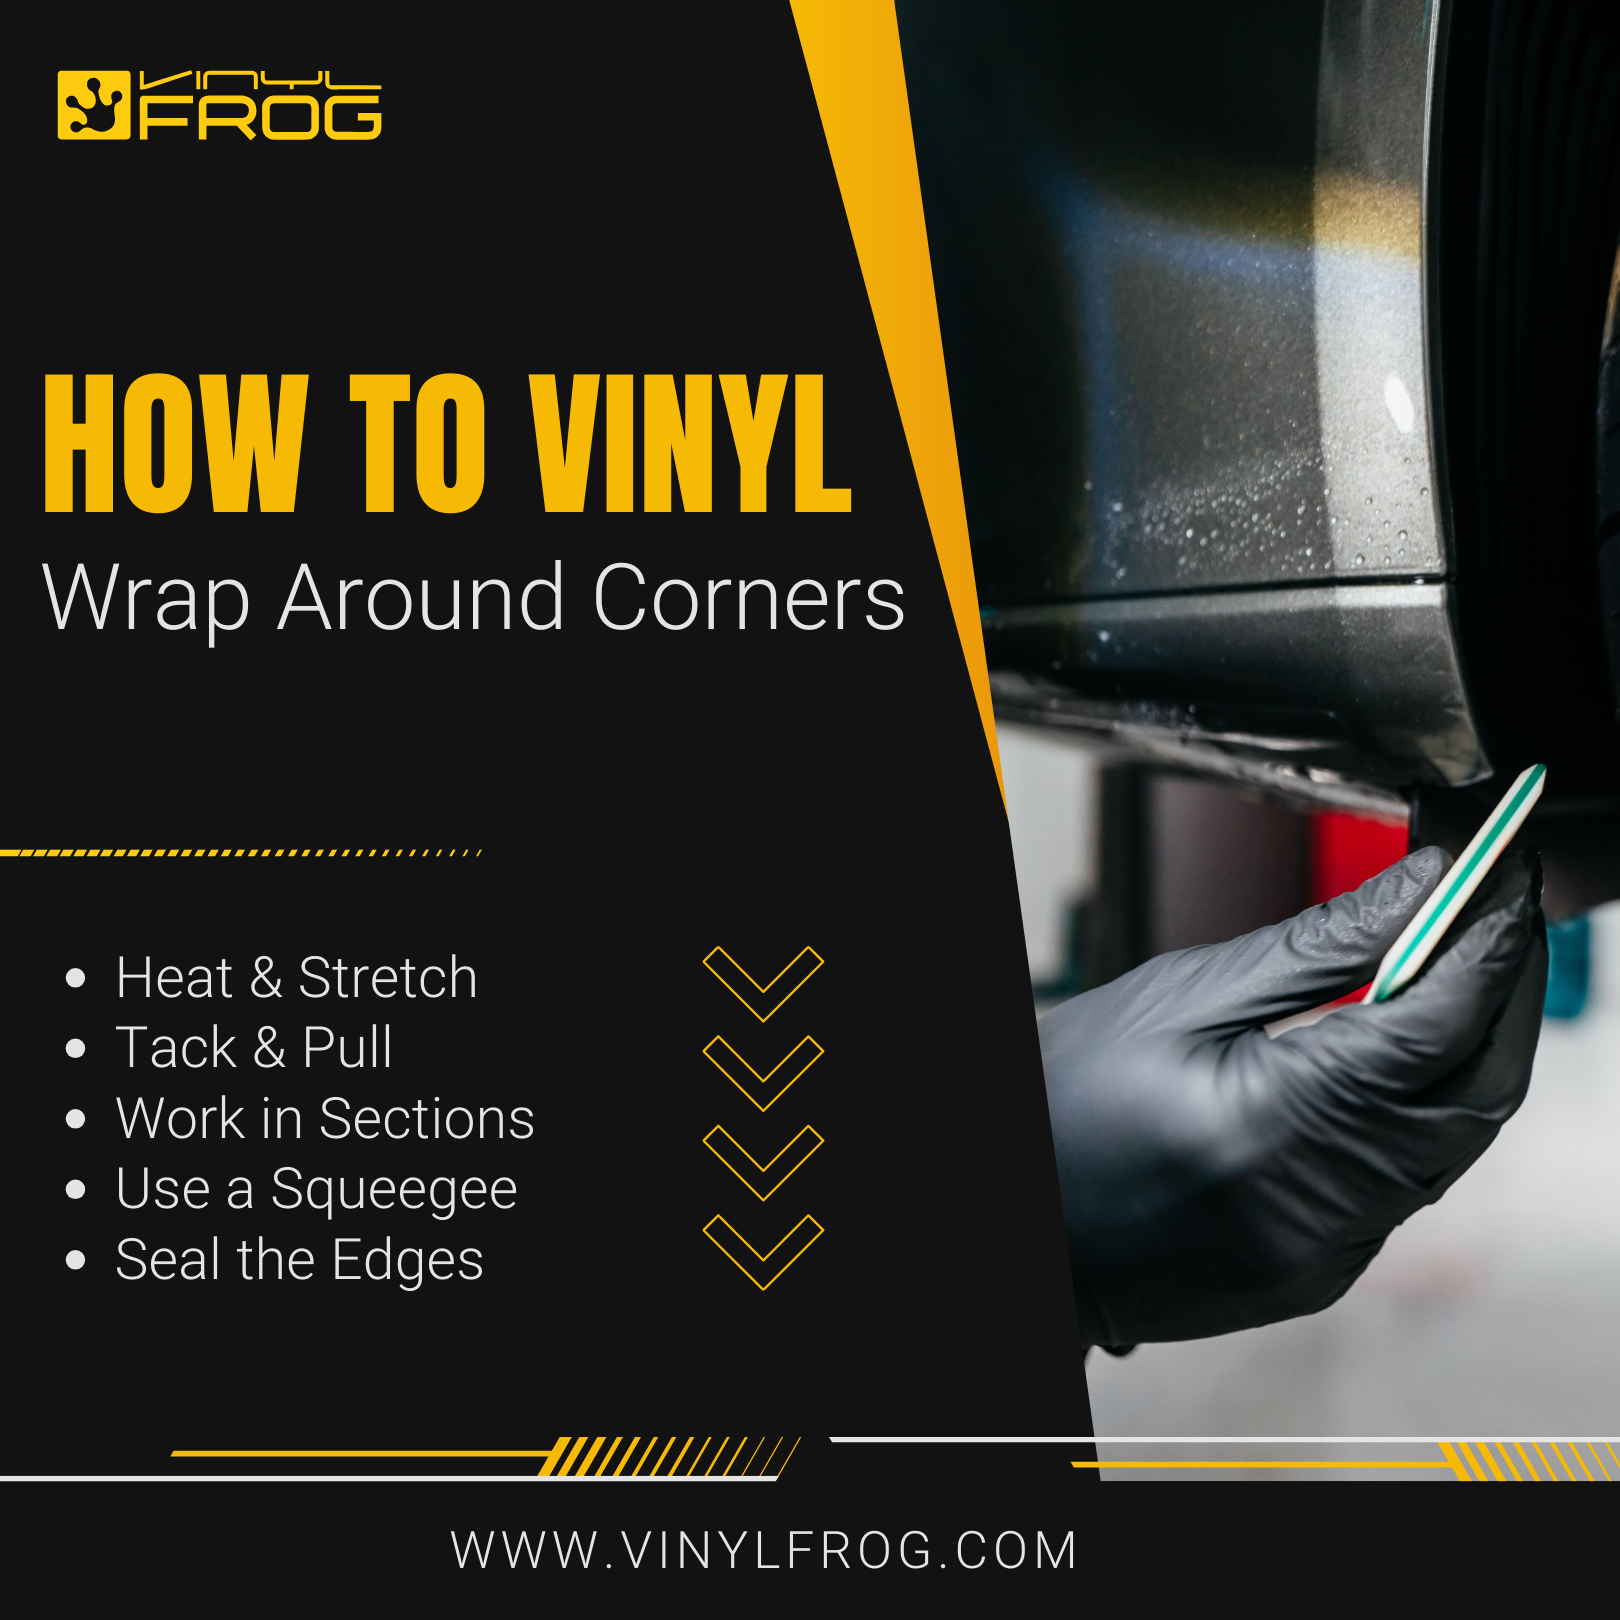
Stretching Techniques
Stretch the vinyl gently over the corner. Pull the vinyl evenly from the center outwards. Avoid pulling too hard to prevent tearing. Use your fingers to smooth the vinyl as you stretch it. Small, controlled pulls help the vinyl fit snugly.
Using Heat For Flexibility
Heat makes vinyl softer and easier to shape. Use a heat gun or hairdryer at low heat. Warm the vinyl evenly, not too hot to avoid damage. Heat the area a little before stretching. This helps the vinyl mold around sharp corners.
Avoiding Wrinkles And Bubbles
Work slowly to prevent wrinkles and bubbles. Use a squeegee to press the vinyl down smoothly. Start from the center and push air outwards. Check the surface often for air pockets. If bubbles appear, lift gently and press again.

Credit: www.reddit.com
Handling Complex Corner Shapes
Handling complex corner shapes is one of the toughest parts of vinyl wrapping. Corners come in many forms, and each type needs a different approach. Understanding how to work with these shapes will help you get smooth, clean results.
Practice and patience are key. Take your time to prepare the vinyl and apply it carefully. This section explains how to handle inside corners, outside corners, rounded edges, and sharp angles.
Inside Vs Outside Corners
Inside corners point inward, creating a tight angle. Outside corners stick out and have a wider bend. For inside corners, cut the vinyl slightly bigger than needed. Stretch the vinyl gently into the corner without tearing.
Outside corners require careful folding. Use a heat gun to warm the vinyl, making it more flexible. Fold the vinyl over the corner edge slowly and smooth it down to avoid bubbles.
Dealing With Rounded Edges
Rounded edges need gentle stretching. Warm the vinyl with a heat gun to make it soft. Pull the vinyl evenly around the curve to avoid wrinkles.
Use a squeegee to press the vinyl firmly. Move from the center outwards. This helps the vinyl stick well and keeps the surface smooth.
Managing Sharp Angles
Sharp angles can cause the vinyl to crease or tear. Score the vinyl lightly with a blade before folding. This step helps the vinyl bend cleanly along the angle.
Heat the vinyl slightly to improve flexibility. Fold carefully and press firmly with a squeegee. Check for air bubbles and smooth them out for a flawless finish.
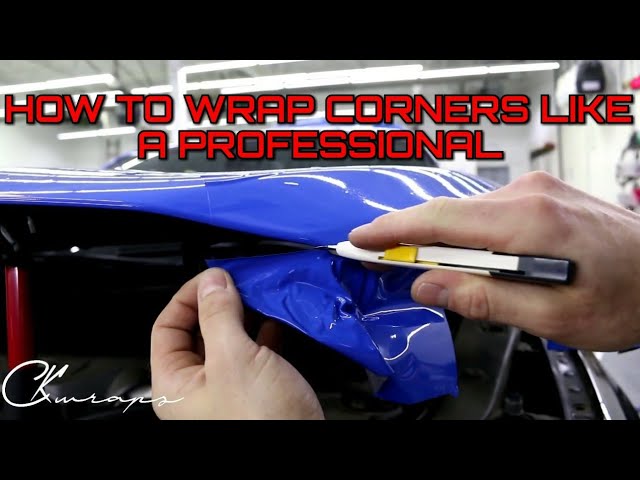
Trimming And Finishing Edges
Trimming and finishing edges are key steps in a vinyl wrap project. Clean edges create a neat look and help the wrap last longer. Poor trimming can cause peeling or rough edges. Take time to trim with care and finish edges properly for the best results.
Precision Cutting Tips
Use a sharp blade for clean cuts. Dull blades can tear the vinyl. Cut slowly and follow the edge closely. Work in small sections to avoid mistakes. Always measure twice and cut once. Keep your hands steady to ensure straight lines.
Tucking Techniques
Tuck excess vinyl around corners for a smooth fit. Use a soft tool like a plastic squeegee to press the vinyl gently. Avoid stretching too much to prevent wrinkles. Tuck carefully into seams and grooves. This step makes edges look seamless and professional.
Sealing Edges For Durability
Seal edges with heat to bond the vinyl better. Use a heat gun on low heat to avoid damage. Press edges firmly after heating to lock the wrap in place. Sealing stops water and dirt from getting under the vinyl. This extends the life of your wrap.
Credit: www.youtube.com
Common Mistakes To Avoid
Applying vinyl wrap on corners can be tricky. Many beginners make mistakes that cause bubbles, wrinkles, or peeling. Avoiding these errors saves time and improves results. Focus on careful steps and patience. Here are common mistakes to avoid during corner vinyl wrapping.
Overstretching The Vinyl
Stretching vinyl too much damages its texture. It loses color and can tear easily. Stretch only slightly and let heat help shape it. Overstretching leads to shrinking after cooling. This causes bubbles and gaps on corners.
Ignoring Surface Preparation
Vinyl sticks best to clean surfaces. Dirt, dust, or grease prevent proper adhesion. Clean corners thoroughly before wrapping. Use soap and water or a special cleaner. Dry the surface completely to avoid trapping moisture.
Rushing The Heating Process
Heat softens vinyl for bending around corners. Applying too much heat or too fast causes damage. Heat evenly and slowly. Move the heat gun constantly to avoid burning. Proper heating helps vinyl fit smoothly without wrinkles.
Maintenance For Long-lasting Wraps
Maintaining vinyl wraps on corners is key to keep their fresh look. Proper care helps avoid peeling, fading, and damage. Simple steps can extend the life of your vinyl wrap. Regular attention keeps corners sharp and colors bright. Follow easy tips to protect your investment and enjoy the wrap longer.
Cleaning Wrapped Corners
Use a soft cloth or sponge for cleaning. Avoid harsh brushes or abrasive materials. Clean with mild soap and water only. Rinse well to remove soap residue. Dry the surface with a soft towel. Clean corners gently to avoid lifting edges. Regular cleaning stops dirt buildup and damage.
Repairing Minor Damage
Inspect corners often for small tears or bubbles. Use vinyl repair kits for minor fixes. Smooth out bubbles with a plastic squeegee. Trim loose edges carefully with a sharp blade. Act fast to stop damage from spreading. Small repairs keep the wrap looking neat and tight.
Protective Coatings
Apply a clear protective coating for extra defense. Coatings guard against UV rays and scratches. Choose products made for vinyl wrap surfaces. Follow instructions for proper application. Protective layers help maintain color and texture. They boost the wrap’s durability and shine.
Frequently Asked Questions
How Do You Prepare Vinyl Wrap For Corners?
Clean the surface thoroughly and measure the corner area. Cut the vinyl slightly larger than the corner. Heat the vinyl to make it flexible before applying, ensuring a smooth and wrinkle-free finish.
What Tools Are Needed For Wrapping Corners?
You need a heat gun, squeegee, sharp utility knife, and microfiber cloth. These tools help in heating, smoothing, trimming, and cleaning the vinyl for a perfect corner wrap.
How To Avoid Bubbles On Vinyl Wrap Corners?
Apply vinyl slowly and use a heat gun to soften it. Use a squeegee to push air bubbles out from the center to the edges gently.
Can Vinyl Wrap Be Removed From Corners Easily?
Yes, vinyl wrap can be removed using heat and gentle peeling. Heat softens the adhesive, making removal easier without damaging the surface underneath.
Conclusion
Wrapping corners with vinyl takes patience and careful steps. Start with clean, dry surfaces for best results. Stretch the vinyl gently to avoid wrinkles or bubbles. Use a heat gun to soften the material around edges. Trim excess vinyl carefully to keep lines neat.
Practice helps improve your skill and speed. Soon, you will achieve smooth, professional-looking corners. This simple method makes any project look polished and sharp. Try it yourself and enjoy the satisfying finish.

