Have you ever wondered how body side moldings stay firmly attached to your car, even after countless bumps and washes? Understanding how these moldings connect can help you take better care of your vehicle and even spot issues before they become costly repairs.
You’ll discover the simple yet effective ways manufacturers secure these essential parts to your car’s body. By the end, you’ll see your car in a whole new light—and know exactly what to look for when it comes to your moldings.
Keep reading to unlock the secrets behind these small but mighty protectors.

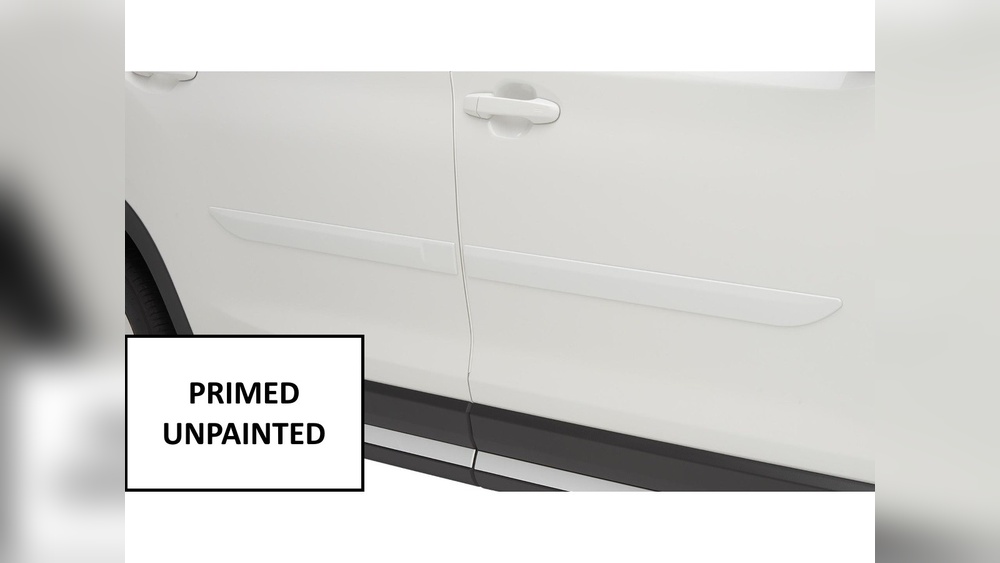
Credit: www.ebay.com
Types Of Body Side Moldings
Body side moldings come in different materials. Each type offers unique benefits and fits various car styles. Choosing the right molding depends on durability, look, and cost.
Plastic Moldings
Plastic moldings are lightweight and flexible. They resist dents and scratches well. These moldings often have a smooth finish. They are easy to install and replace. Plastic moldings suit many car models. They provide good protection without adding weight.
Metal Moldings
Metal moldings are strong and long-lasting. They add a classic, polished look to cars. Metals like aluminum or stainless steel are common. These moldings resist corrosion and impact. Metal moldings require careful installation. They usually cost more than plastic ones.
Rubber Moldings
Rubber moldings offer excellent shock absorption. They protect car sides from minor bumps and scratches. Rubber is flexible and weather-resistant. These moldings are often used on trucks and SUVs. They provide a rugged appearance. Rubber moldings are easy to maintain and replace.
Materials Used In Moldings
Body side moldings protect car doors from dents and scratches. The material used affects durability and look. Different materials offer unique benefits and challenges. Understanding these helps in choosing the right molding.
Common Plastics
Plastics are popular in body side moldings. They are lightweight and cost-effective. ABS (Acrylonitrile Butadiene Styrene) is one common plastic used. It offers good impact resistance and easy shaping. Polypropylene is another plastic type, known for flexibility and toughness. Plastics also resist rust and corrosion well.
Metal Alloys
Metal alloys provide strong and durable moldings. Aluminum is widely used for its light weight and rust resistance. Steel alloys offer high strength but need coatings to prevent rust. Metal moldings give a premium look and better impact protection. They can be bent or shaped to fit car contours precisely.
Composite Materials
Composite materials combine plastic and fiber for added strength. Fiberglass is a common composite, offering stiffness and light weight. Carbon fiber composites are strong but expensive, used in high-end cars. These moldings resist dents and maintain shape better than pure plastic. Composites also allow more design flexibility.
Connection Methods
Body side moldings attach to a vehicle in several ways. These connection methods keep the moldings secure and aligned. Each method suits different car designs and materials. Understanding them helps in repairs and replacements.
Adhesive Bonding
Adhesive bonding uses strong glue to attach moldings. The glue sticks the molding directly to the car body. It creates a smooth, clean look without visible hardware. This method is common for plastic or lightweight moldings. Proper surface cleaning is key for strong bonding.
Clips And Fasteners
Clips snap moldings onto the car’s side panels. They hold the molding firmly in place. Fasteners may include small plastic or metal parts. These allow easy removal and replacement of moldings. Clips are popular for flexible or curved moldings.
Screws And Bolts
Screws and bolts provide a very secure connection. They go through the molding into the car frame. This method is strong and long-lasting. Visible screws can be covered with caps for a neat look. It is often used on metal moldings or heavy-duty parts.
Double-sided Tape
Double-sided tape offers a quick and simple way to attach moldings. It sticks on both the molding and the car surface. This tape is thick and weather-resistant. It works best on smooth, clean surfaces. Tape connections are usually less permanent than screws or clips.
Step-by-step Installation Process
Installing body side moldings involves several clear steps. Each step ensures the molding fits well and stays secure. Follow this process carefully to get the best results.
Surface Preparation
Clean the car surface where the molding will go. Use soap and water to remove dirt. Dry the area fully to avoid moisture. Wipe with rubbing alcohol to remove oils. This helps the adhesive stick properly.
Aligning The Molding
Hold the molding next to the car. Check its shape and length against the door or panel. Mark the position with a light pencil line. Make sure it is straight and even. Proper alignment prevents gaps and uneven edges.
Securing The Molding
Peel off the backing from the adhesive tape. Press the molding firmly onto the marked area. Start from one end and move to the other. Apply even pressure to avoid air bubbles. Some moldings may use clips or screws; install them as needed.
Final Inspection
Look closely at the installed molding. Check for loose edges or gaps. Press any weak spots firmly again. Clean any marks or fingerprints from the surface. Ensure the molding is secure and looks smooth.
Tools Required For Installation
Installing body side moldings requires the right tools. Using proper tools makes the job easier and ensures a secure fit. Gather all necessary items before you begin. This preparation saves time and prevents mistakes.
Basic Hand Tools
You need simple hand tools for the job. A screwdriver set helps remove old moldings and tighten new ones. A plastic trim remover protects your car’s paint while prying off old parts. Measuring tape ensures moldings align perfectly. Clean cloths help wipe surfaces before installation.
Specialized Equipment
Some tasks need special tools. A heat gun softens moldings for easier bending and fitting. Double-sided automotive tape applies moldings securely without damage. Panel clip pliers remove clips without breaking them. These tools improve precision and protect your car’s finish.
Safety Gear
Safety is important during installation. Wear gloves to protect your hands from sharp edges. Safety glasses shield your eyes from dust or debris. A dust mask keeps you safe from particles if sanding or cleaning surfaces. Staying safe means a smoother, worry-free installation.
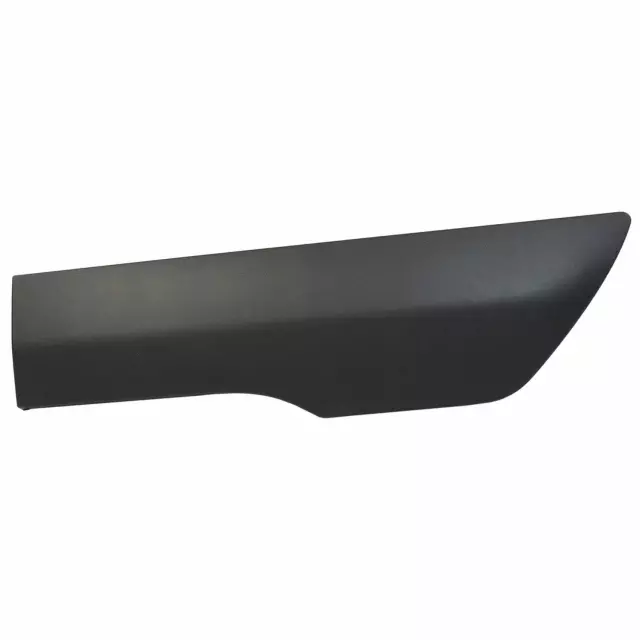
Credit: parts.levittownfordparts.com
Common Issues And Fixes
Body side moldings protect your car and give it a nice look. Over time, these moldings can face issues. Fixing these problems early keeps your car safe and looking good. Below are common problems and easy fixes to help maintain your moldings.
Loose Moldings
Loose moldings often happen from bumps or poor installation. They can fall off while driving, which is dangerous. To fix this, clean the area well and use strong double-sided tape. Press the molding firmly for a few minutes. In some cases, screws or clips may need tightening or replacing.
Peeling Adhesive
Peeling adhesive happens due to heat, moisture, or old age. This makes the molding start to lift or fall off. Remove the molding carefully and clean off old glue. Apply new automotive adhesive or double-sided tape. Let it dry before driving to ensure a strong bond.
Alignment Problems
Misaligned moldings look bad and may not protect well. This happens if moldings are put on incorrectly or get knocked out of place. To fix alignment, gently remove the molding. Realign it with the car’s body lines. Reattach with tape or clips, making sure it sits evenly and straight.
Maintenance Tips
Body side moldings protect your car’s doors from scratches and dents. Proper care keeps them looking good and lasting longer. Follow simple maintenance steps to avoid damage and keep moldings secure.
Cleaning Moldings
Use mild soap and water to clean moldings. Avoid harsh chemicals that can cause fading. Soft cloths work best to prevent scratches. Clean moldings regularly to remove dirt and grime.
Protecting Against Damage
Park in safe spots to avoid door dings. Avoid hitting moldings with shopping carts or bike handles. Consider applying a clear protective film to shield moldings. Small dents can be repaired quickly if noticed early.
Regular Inspections
Check moldings often for loose parts or cracks. Tighten any loose screws or clips carefully. Replace damaged moldings to maintain protection. Regular checks help catch problems before they worsen.
Replacing Body Side Moldings
Replacing body side moldings keeps your vehicle looking neat and protects its sides. Moldings can wear out, crack, or fall off over time. Changing them is not hard and helps maintain your car’s value and appearance. This guide explains when to replace moldings, how to remove old ones, and how to install new ones.
When To Replace
Replace moldings if they are cracked, faded, or missing. Damaged moldings do not protect the car well. Look for peeling paint or rust near moldings. These signs mean the moldings no longer fit tightly. New moldings also improve the car’s look and protect the paint.
Removal Techniques
Start by cleaning the area around the molding. Use a heat gun or hair dryer to soften the adhesive. Gently pull the molding away from the body. Use a plastic tool to avoid scratching the paint. Remove all old glue or residue with adhesive remover. Take care not to damage the car’s surface.
Installing New Moldings
Clean the surface before installing new moldings. Align the new molding carefully with the car’s side. Peel off the backing of the adhesive tape. Press the molding firmly in place for a strong bond. Let the adhesive set for several hours before driving. Proper installation ensures lasting protection and a neat look.

Credit: www.ebay.com
Frequently Asked Questions
How Are Body Side Moldings Attached To Cars?
Body side moldings are attached using clips, adhesive tapes, or screws. Clips snap into pre-drilled holes on the car’s body. Adhesive tapes provide a strong bond without damage. Screws offer extra security for heavier moldings. The method depends on the vehicle model and molding type.
What Materials Connect Body Side Moldings?
Body side moldings connect with plastic clips, double-sided tape, or metal screws. Plastic clips offer easy installation and removal. Adhesive tapes ensure a clean look without holes. Screws provide a permanent and sturdy connection. Each material suits different car designs and molding styles.
Can I Replace Body Side Moldings Myself?
Yes, replacing body side moldings is often a DIY task. Remove clips or screws carefully to avoid damage. Clean the surface before applying new adhesive tape. Align the new molding precisely for a perfect fit. Always check your vehicle’s manual for specific instructions.
Why Do Body Side Moldings Sometimes Loosen?
Moldings loosen due to weather, aging, or improper installation. Heat and cold cause expansion and contraction, weakening bonds. Poor adhesive or damaged clips also lead to loosening. Regular inspection and timely replacement prevent damage and maintain appearance.
Conclusion
Body side moldings attach firmly to protect car doors from dents. They use clips or adhesive strips for secure fixing. Proper installation keeps moldings aligned and strong. Knowing this helps in fixing or replacing them easily. This small part plays a big role in car care.
Understanding connection methods saves time and effort. Keep your car looking neat and safe on the road. Simple steps make a lasting difference.