
If your vehicle is acting up or losing power, the fuel filter might be the hidden culprit. Knowing how to replace a fuel filter can save you time, money, and the frustration of unexpected breakdowns.
You don’t need to be a mechanic to do this yourself. You’ll discover simple, step-by-step instructions that anyone can follow. By the end, you’ll have the confidence to keep your engine running smoothly and avoid costly repairs. Ready to take control of your car’s health?
Let’s get started.
Signs Of A Bad Fuel Filter
A fuel filter keeps dirt and rust from reaching your engine. Over time, it can get clogged and cause problems. Knowing the signs of a bad fuel filter helps you fix issues early. This keeps your car running smoothly and avoids bigger repairs.
Engine Performance Issues
A clogged fuel filter limits fuel flow to the engine. The engine may run rough or stall often. You might notice a loss of power during acceleration. The car can hesitate or jerk while driving. These are clear signs your fuel filter needs attention.
Fuel Efficiency Drop
A dirty fuel filter forces the engine to work harder. This uses more fuel than usual. You will see a drop in miles per gallon. Filling the tank feels like it empties faster. Lower fuel efficiency signals a possible fuel filter problem.
Starting Problems
A bad fuel filter can block fuel supply at startup. The engine may crank but not start. It may take several attempts to get the car running. Sometimes the engine starts and then dies quickly. These issues show your fuel filter might be clogged.
Credit: www.youtube.com
Tools And Materials Needed
Replacing a fuel filter requires some basic tools and the right replacement parts. Having everything ready makes the job faster and safer. This section lists the key tools and types of fuel filters you may need.
Essential Tools
Start with a set of wrenches or socket tools to loosen bolts. A screwdriver helps remove clamps or covers. Fuel line disconnect tools are useful for quick release fittings. Have a catch pan ready to collect spilled fuel. Gloves protect your hands from fuel and dirt. Safety glasses shield your eyes from splashes. Clean rags help wipe up any mess. Make sure your tools are in good condition.
Replacement Fuel Filter Types
Fuel filters come in different styles and sizes. Inline filters fit on the fuel line outside the tank. Cartridge filters sit inside a housing and are easy to replace. Some cars use a canister-style filter that screws on. Check your vehicle’s manual for the exact type. Choose a filter that matches your car’s make and model. Using the right filter ensures proper fuel flow and engine health.
Preparing Your Vehicle
Preparing your vehicle properly is the first step to replacing a fuel filter. This ensures safety and makes the process smoother. Taking time to prepare can save effort and avoid mistakes.
Preparation involves understanding where the fuel filter is and following safety measures. These steps protect you and your vehicle during the replacement.
Safety Precautions
Work in a well-ventilated area. Gas fumes can be harmful and flammable. Wear safety glasses and gloves to protect your eyes and hands. Keep a fire extinguisher nearby for emergencies. Avoid open flames or sparks. Disconnect the vehicle’s battery to prevent electric shocks. Relieve fuel pressure before starting to avoid fuel spray. Proper safety protects you throughout the task.
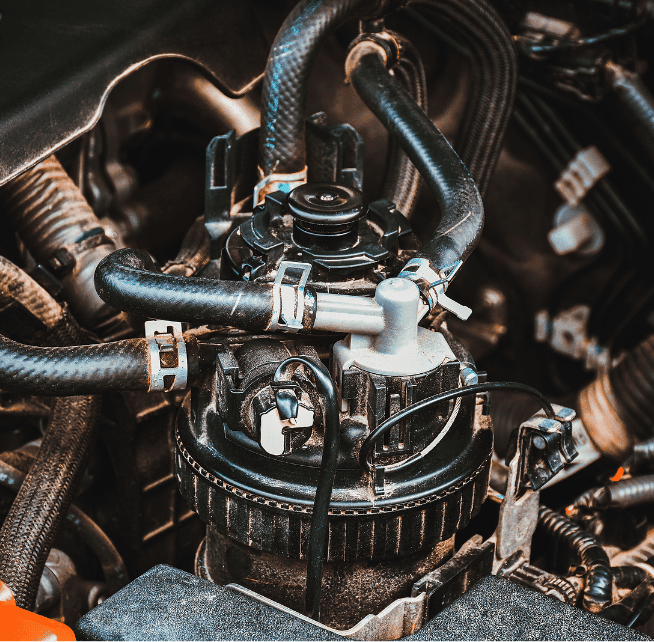
Locating The Fuel Filter
Check your vehicle’s manual for the exact fuel filter location. Most fuel filters are under the car along the fuel line or near the fuel tank. Some cars have the filter inside the engine bay. Use a jack and stands to lift the car safely if needed. Look for a small, cylindrical part connected to fuel lines. Identifying the filter helps you plan the replacement steps.

Credit: www.goldeagle.com
Removing The Old Fuel Filter
Removing the old fuel filter is the first step in replacing it. This process requires care and attention to avoid fuel spills and damage. Follow each step carefully to remove the filter safely and prepare for the new one.
Relieving Fuel System Pressure
The fuel system holds pressure even when the engine is off. This pressure must be released before removing the filter. Locate the fuel pump fuse or relay and remove it. Start the engine and let it run until it stops. This empties fuel from the lines and relieves pressure safely.
Detaching Fuel Lines
Wear gloves to protect your hands from fuel. Use a wrench or quick-connect tool to detach the fuel lines from the filter. Be ready with a rag or container to catch any fuel that leaks. Press the release tabs or bolts carefully to avoid breaking the lines.
Removing Mounting Bracket
The fuel filter is held by a mounting bracket or clamp. Use a wrench or screwdriver to loosen the bolts or screws. Remove the bracket carefully and take out the old fuel filter. Check the area for dirt or damage before installing the new filter.
Installing The New Fuel Filter
Installing the new fuel filter is a key step in keeping your vehicle running smoothly. A proper installation ensures fuel flows cleanly to the engine. Pay close attention to the details during this process. This helps avoid leaks and engine problems later on.
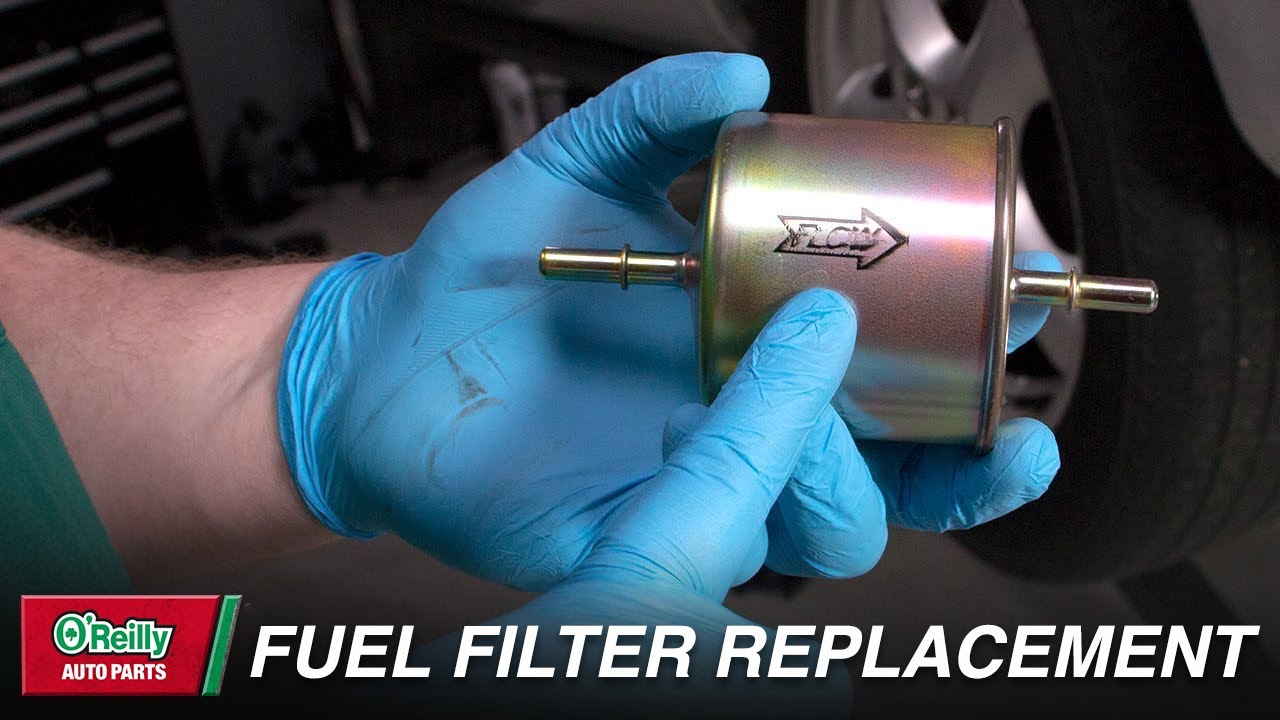
Positioning The Filter Correctly
Look for the arrow on the filter body. This arrow shows the fuel flow direction. Install the filter so the arrow points toward the engine. The filter must sit upright and fit snugly in the bracket. Incorrect positioning can block fuel flow or cause leaks.
Reattaching Fuel Lines
Slide the fuel lines back onto the filter ends carefully. Push them firmly to avoid gaps. Use new clamps if the old ones are worn out. Tight clamps stop fuel from leaking. Double-check both ends are secure before moving on.
Securing The Filter
Use the mounting bracket or strap to hold the filter in place. Tighten bolts or screws firmly but avoid overtightening. The filter should not move or rattle. A loose filter can cause damage or fuel leaks. Make sure it is stable and safe.
Post-installation Checks
After replacing the fuel filter, checking your work is very important. Post-installation checks help ensure the fuel system works properly. These steps catch leaks, engine issues, or other problems early. Follow each carefully for a smooth running engine and safe drive.
Checking For Leaks
Look closely at the fuel filter and connections. Watch for wet spots or fuel smells. Check under the vehicle too. Tighten clamps or fittings if you see leaks. No leaks mean the filter is sealed well.
Starting The Engine
Turn the key to start the engine. Listen for unusual sounds or sputtering. The engine should start quickly and run smoothly. If it struggles, check the fuel filter installation again. Proper flow is key for good engine start.
Test Drive
Take a short drive on different roads. Notice engine power and response. The car should run steady with no stalling. Pay attention to fuel smell or leaks after driving. A successful test drive confirms the fuel filter replacement is done right.
Maintenance Tips For Fuel Filter
Keeping the fuel filter clean is key for smooth engine performance. A clogged filter blocks fuel flow and reduces engine power. Regular maintenance prevents costly repairs and keeps your vehicle running well. Here are important tips to maintain your fuel filter properly.
Replacement Frequency
Check the owner’s manual for the recommended replacement schedule. Most cars need a new fuel filter every 20,000 to 40,000 miles. If you drive in dusty or harsh conditions, replace it more often. Timely changes stop dirt and debris from reaching the engine.
Signs To Watch For
Notice any engine trouble? A rough idle, stalling, or slow acceleration can signal a bad fuel filter. Poor fuel efficiency also hints at blockage. Strange noises from the fuel pump may appear. These signs mean it’s time to inspect and replace the filter.
Credit: branchautomotive.com
Frequently Asked Questions
How Often Should I Replace My Fuel Filter?
Replace your fuel filter every 20,000 to 40,000 miles. Check your vehicle’s manual for exact intervals. Regular replacement ensures clean fuel flow and prevents engine issues.
What Tools Do I Need To Replace A Fuel Filter?
You need a wrench, screwdriver, fuel line disconnect tool, and a new fuel filter. Safety gloves and eye protection are recommended. These tools help safely and efficiently replace the filter.
Can I Replace The Fuel Filter Myself Safely?
Yes, if you follow safety steps and instructions carefully. Work in a well-ventilated area, relieve fuel system pressure, and avoid sparks. Proper tools and caution make DIY replacement safe and effective.
What Are The Signs Of A Clogged Fuel Filter?
Signs include engine misfires, poor acceleration, stalling, and difficulty starting. A clogged filter restricts fuel flow, causing these issues. Timely replacement restores smooth engine performance.
Conclusion
Replacing a fuel filter helps keep your engine clean and running well. Clean filters stop dirt from reaching the engine. This simple step can improve fuel efficiency and save money. Always check your vehicle’s manual for the right filter type.
Take your time and work safely during the process. Regular filter changes help avoid bigger car problems later. A little effort now can lead to smoother drives ahead.


