
Your car deserves the best care, and knowing how to properly clean and wax it can make all the difference. Imagine driving a car that shines like new, turning heads wherever you go.
Not only does a clean, well-waxed car look amazing, but it also protects your paint and keeps your vehicle in great shape for years. In this guide, you’ll discover simple steps that anyone can follow to achieve a showroom finish.
Ready to make your car sparkle and boost its value? Keep reading, and let’s get started!
Credit: ethoscarcare.com
Preparing Your Car
Preparing your car is the first step to achieve a clean and shiny finish. Proper preparation makes cleaning and waxing easier and more effective. It helps avoid damage and ensures the best results.
Gathering Supplies
Start by collecting all necessary supplies. You will need car shampoo, microfiber cloths, a bucket, a hose, wax, and applicator pads. Having everything ready saves time and keeps the process smooth.
Choosing The Right Location
Pick a shaded, flat area to work on your car. Direct sunlight can dry soap too fast and leave spots. A clean driveway or garage is perfect. Good lighting helps you see dirt and scratches clearly.
Inspecting The Car Surface
Look closely at your car’s paint for dirt, scratches, or damage. Check for bird droppings, tree sap, or stains. This step helps you know where to focus during cleaning and waxing. It also prevents rubbing dirt into the paint.

Credit: www.edmunds.com
Washing Techniques
Washing your car properly protects its paint and keeps it looking new. Good washing techniques remove dirt without causing scratches. Follow simple steps for a clean, shiny car.
Pre-rinse And Soak
Start by rinsing your car with water. This removes loose dirt and dust. Use a hose or a pressure washer. Let the water soak the dirt for a few minutes. This softens stubborn grime. Avoid scrubbing dry dirt. It can scratch the paint.
Using The Two-bucket Method
Use two buckets: one for soapy water, one for clean water. Dip your wash mitt in the soapy bucket. Wash one section at a time. Rinse the mitt in clean water before dipping again. This stops dirt from going back on the car. Work from top to bottom. The lower parts are dirtier and need more cleaning.
Cleaning Wheels And Tires
Wheels and tires hold brake dust and grime. Use a separate brush and cleaner for them. Spray wheel cleaner and scrub gently. Rinse well to avoid damage. Tires can be cleaned with a stiff brush. This removes dirt and old dressing. Clean wheels and tires last for a complete shine.
Drying Methods
Drying your car properly is a key step after washing. It stops water spots and prepares the surface for waxing. Using the right drying methods keeps your car’s paint smooth and shiny. It also helps avoid scratches and streaks.
Using Microfiber Towels
Microfiber towels are soft and absorbent. They soak up water without scratching the paint. Use clean, dry towels for the best results. Gently pat or wipe the surface. Avoid rubbing hard to prevent swirl marks.
Avoiding Water Spots
Water spots happen when water dries on the paint. Minerals in water leave marks that are hard to remove. Dry your car as soon as washing finishes. Use a drying towel or a car dryer to remove all water quickly.
Detailing The Crevices
Water often hides in small crevices and seams. Use a soft brush or a leaf blower to clear these spots. Dry these areas carefully to prevent rust and buildup. Clean crevices improve the overall look of your car.
Surface Preparation
Surface preparation is the key step before cleaning and waxing your car. It removes dirt and grime that hide on the paint. This step helps wax stick better and last longer. A clean surface also shows the true condition of your car’s paint. Proper preparation saves time and effort later.
Removing Contaminants
Start by washing your car thoroughly. Use a gentle car shampoo and water. Rinse off all dirt, dust, and road grime. Pay special attention to wheels and lower panels. Dry the car with a soft microfiber towel. This stops water spots and streaks.
Check for any stuck contaminants like tar, tree sap, or bug residue. Use a specific cleaner or bug remover for these spots. Avoid scrubbing hard to protect the paint.
Using Clay Bar Treatment
A clay bar removes invisible particles that washing misses. It glides over the paint and picks up impurities. Spray a clay lubricant on a small area first. Rub the clay gently in straight motions.
Wipe the area clean with a microfiber cloth. Repeat on the entire car surface. This step makes the paint feel smooth and clean. It also improves wax adhesion and shine.
Inspecting For Scratches And Swirls
Look closely at the paint under good light. Scratches and swirl marks are easy to see now. Use your hand to feel for rough spots or tiny dents. These imperfections affect the final look.
Minor scratches can be fixed with a polishing compound later. Knowing these details helps you choose the right product. It also ensures a flawless finish after waxing.
Wax Selection
Choosing the right wax is key to protecting and shining your car’s paint. Wax forms a barrier against dirt, water, and sun damage. It also makes your car look smooth and glossy. Different waxes suit different needs and paint types. Knowing about wax options helps you pick the best one for your car.
Types Of Wax
There are three main types of car wax: natural, synthetic, and hybrid. Natural wax usually comes from carnauba palm leaves. It gives a deep shine but wears off faster. Synthetic wax lasts longer and offers strong protection. Hybrid wax blends natural and synthetic ingredients. It balances shine and durability.
Choosing The Right Wax For Your Car
Match the wax type with your car’s paint and your climate. Use natural wax for darker colors and show cars. Synthetic wax suits lighter colors and daily drivers. Consider wax that resists rain and sun if you live in a hot or wet place. Check if the wax is easy to apply and remove.
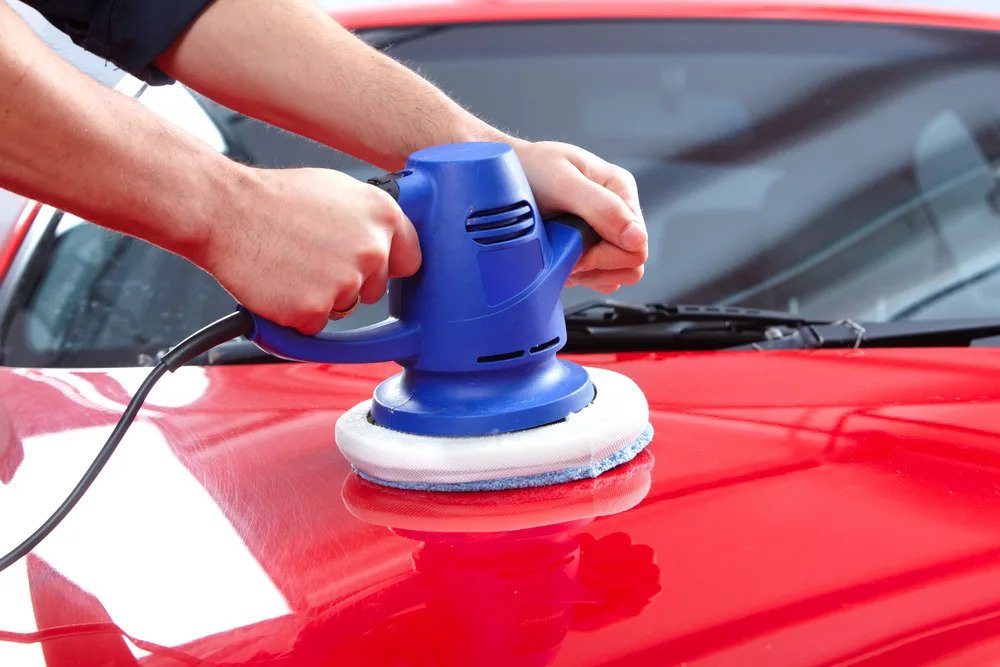
Tools For Wax Application
Use soft foam or microfiber applicator pads to apply wax evenly. Avoid rough cloths that can scratch paint. Apply wax in small sections using circular motions. Let the wax dry to a haze before buffing. Use a clean microfiber towel to buff the wax off and reveal shine.
Wax Application
Applying wax to your car protects the paint and gives it a shiny finish. It also helps repel dirt and water. Proper wax application is key to getting the best results. Follow these simple steps to apply wax like a pro.
Applying Wax Evenly
Use a clean, soft applicator pad for even wax application. Dab a small amount of wax onto the pad. Spread the wax in thin, circular motions. Cover the surface without missing spots. Avoid thick layers, which take longer to dry.
Working In Small Sections
Divide your car into small sections before waxing. Work on one section at a time. This keeps the wax from drying too fast. It also helps you focus on detailed coverage. Small areas make the job easier and neater.
Allowing Wax To Haze
Wait a few minutes for the wax to dry and haze. The hazing means the wax is ready to buff. Avoid leaving wax too long on the paint. Use a clean microfiber cloth to buff the surface gently. This reveals a smooth, shiny finish.
Buffing And Polishing
Buffing and polishing are key steps in car care. They help remove small scratches and enhance the paint’s gloss. These steps bring out the true shine of your vehicle. Proper technique ensures a smooth, clear finish that protects the paint.
Using Clean Microfiber Cloths
Use clean microfiber cloths for buffing and polishing. These cloths prevent scratches and swirl marks. Choose soft, lint-free cloths to avoid damaging the paint. Change cloths often to keep the surface clean. Avoid using old or dirty towels.
Achieving A Deep Shine
Apply polish in small sections for best results. Use gentle, circular motions to spread the product evenly. Let the polish dry to a haze before buffing it off. Buff with a clean cloth to reveal a deep shine. Repeat if needed for extra gloss.
Final Inspection
Check the car’s surface under good light. Look for missed spots, streaks, or haze. Buff any dull areas again using a clean cloth. Ensure the finish feels smooth and looks even. Proper inspection keeps your car shining longer.

Credit: www.turtlewax.com
Maintaining The Shine
Maintaining the shine of your car takes more than just a good wax job. It needs regular care and simple habits. Keeping your car clean and glossy makes it look newer and protects its surface.
Regular Washing Tips
Wash your car often to remove dirt and dust. Use a gentle car shampoo, not dish soap. Avoid washing in direct sunlight to stop water spots. Use a soft sponge or microfiber cloth to protect the paint. Rinse well and dry with a clean towel.
Quick Detailers Between Waxes
Quick detailers help keep the shine between waxes. Spray a small amount and wipe with a soft cloth. They remove light dust and fingerprints. They also add a thin protective layer. Use quick detailers after washing and drying your car.
Storing Your Car Properly
Park your car in a shaded or covered place. Sunlight can fade the paint and wax. Avoid parking under trees to prevent sap and bird droppings. Use a car cover if you have no garage. Proper storage keeps your car’s shine longer.
Frequently Asked Questions
How Often Should I Clean And Wax My Car?
Clean your car every two weeks and wax it every three months. Regular cleaning removes dirt and grime. Waxing protects paint and keeps your car shiny longer.
What Tools Do I Need To Clean And Wax A Car?
You need car shampoo, microfiber towels, a bucket, wax, and applicator pads. Use a hose and soft brushes for detailed cleaning. Proper tools ensure an effective and scratch-free job.
Can I Wax My Car Without Washing It First?
No, always wash your car before waxing. Dirt and debris can scratch the paint during waxing. Cleaning ensures wax adheres properly and provides the best protection.
How Long Does Car Wax Protection Last?
Car wax protection typically lasts 6 to 12 weeks. Factors like weather and washing frequency affect durability. Regular waxing maintains a strong protective layer on your car’s surface.
Conclusion
Properly cleaning and waxing your car keeps it looking fresh and shiny. It also protects the paint from dirt and damage. Regular care saves money on repairs later. Use the right tools and gentle products for best results. Taking time to clean and wax helps your car last longer.
A clean car feels great to drive and shows pride in ownership. Keep up this simple routine for a better-looking vehicle every day. Easy steps, big benefits.


