

Are you ready to transform your vehicle or project with a sleek, professional look? Applying 3M 1080 vinyl wrap might sound tricky, but with the right steps, you can do it yourself and save money.
Imagine giving your car a fresh new style or protecting its surface from scratches—all without expensive paint jobs. In this guide, you’ll discover simple, clear instructions to help you apply 3M 1080 vinyl wrap smoothly and confidently. By the end, you’ll have the skills to make your ride stand out and turn heads wherever you go.
Let’s get started!
Credit: comunisostenibili.eu
Choosing The Right Vinyl
Choosing the right vinyl is the first step to a successful 3M 1080 vinyl wrap. The vinyl you select affects how your wrap looks and lasts. It also impacts how easy the application will be. Knowing the types, colors, and tools needed helps you make the best choice for your project.
Start by understanding the different kinds of 3M 1080 vinyl. Then, explore colors and finishes that suit your style. Finally, gather the right tools to make the process smooth and neat.
Types Of 3m 1080 Vinyl
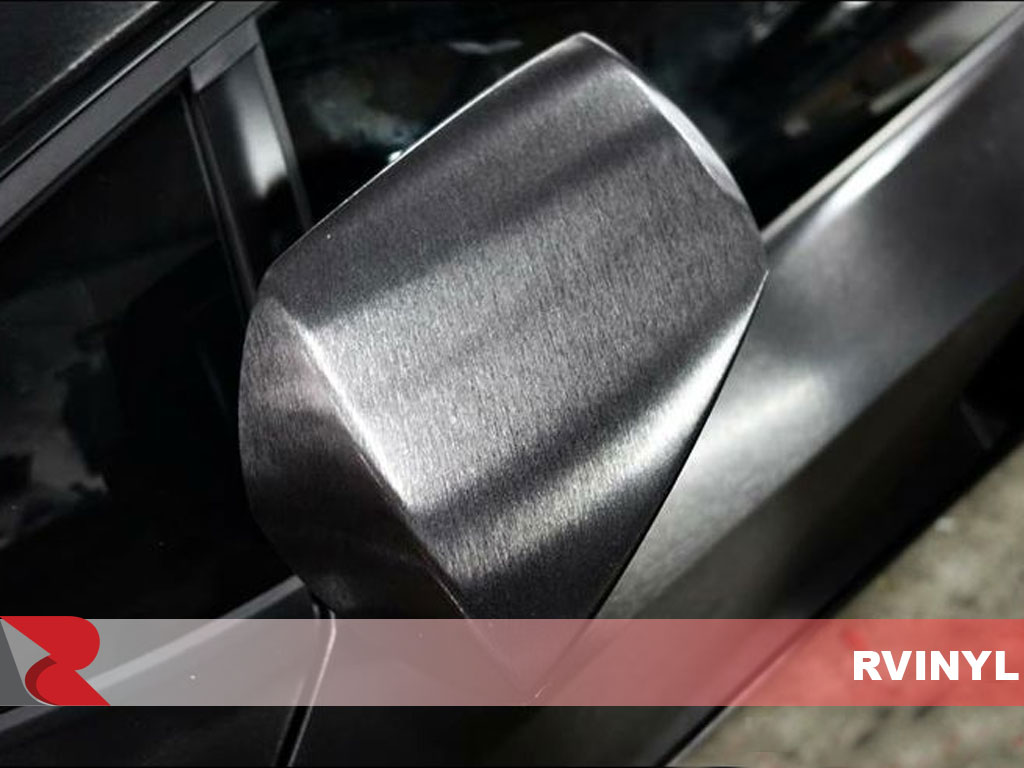
3M 1080 vinyl comes in many types. Each type has a unique texture and purpose. Glossy vinyl offers a shiny, smooth look. Matte vinyl gives a flat, non-reflective finish. Satin vinyl blends shine and dullness for a soft look. There is also brushed vinyl with a textured, metallic feel. Choose the type that fits your design and vehicle shape.
Selecting Colors And Finishes
Colors play a big role in the wrap’s final look. 3M 1080 vinyl offers many colors, from bold to subtle. Pick a color that matches your taste and vehicle style. Finishes affect how light interacts with the wrap. Glossy finishes reflect light and look bright. Matte finishes reduce glare and add a modern touch. Satin finishes give a smooth, soft shine. Choose finishes based on the look you want.
Tools And Materials Needed
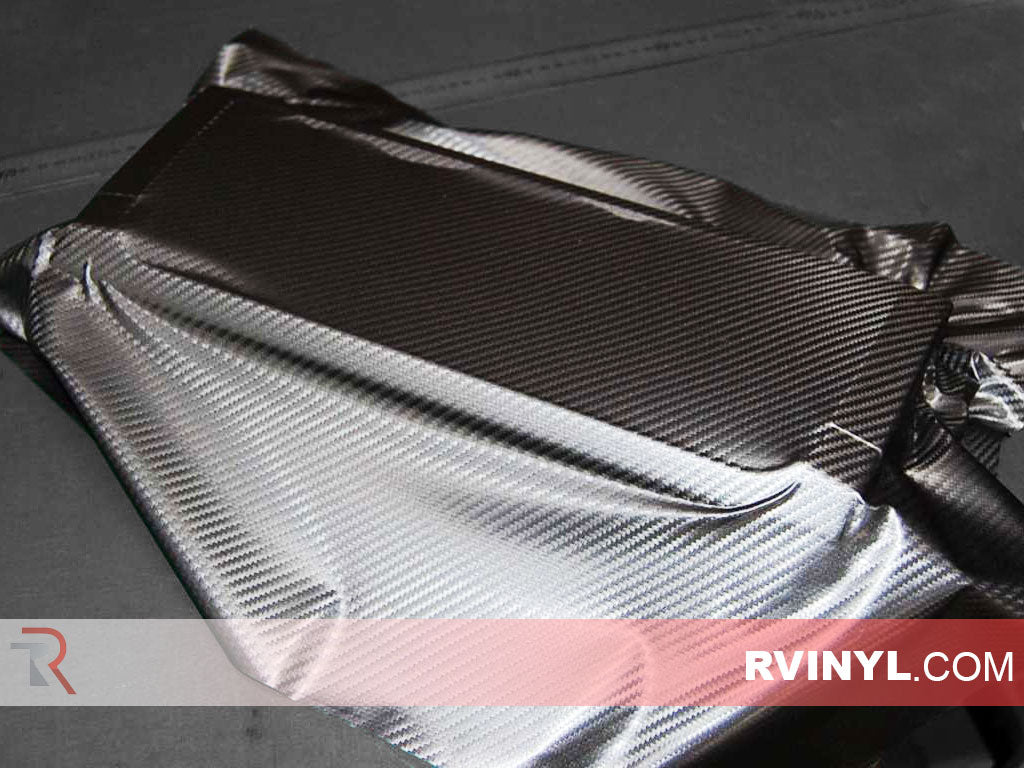
Good tools make vinyl wrapping easier. You need a squeegee to smooth the vinyl. A heat gun helps stretch and shape the wrap. A sharp knife trims edges cleanly. Use a surface cleaner to remove dirt before wrapping. Also, have gloves to keep the vinyl clean. These tools help apply the vinyl without bubbles or wrinkles.
Credit: www.rvinyl.com
Preparing The Surface
Preparing the surface is the first step to a great 3M 1080 vinyl wrap. A clean and smooth surface helps the vinyl stick better and last longer. Take your time to prepare well. This saves work later and keeps the wrap looking fresh.
Cleaning And Degreasing
Start by washing the surface with soap and water. Remove dirt, dust, and grease completely. Use a degreaser or isopropyl alcohol to clean leftover oils. Avoid oily or dusty areas. Clean surfaces help the vinyl stick without bubbles or peeling.
Removing Old Wraps Or Decals
Peel off any old wraps or decals carefully. Use a heat gun or hair dryer to soften the adhesive. Remove all sticky residue with an adhesive remover. Old glue or pieces under the new wrap cause bumps and weak spots. A smooth base ensures a neat finish.
Ensuring A Smooth Base
Check for scratches, dents, or rough spots on the surface. Sand down rough areas lightly with fine sandpaper. Wipe the surface again after sanding to clear dust. A flat, smooth surface prevents air bubbles and wrinkles under the vinyl. Smoothness means the wrap looks clean and professional.
Cutting And Measuring
Cutting and measuring are key steps in applying 3M 1080 vinyl wrap. They ensure the wrap fits perfectly on your surface. Careful work here saves time and prevents mistakes later.
Accurate Measurements
Measure the surface carefully with a tape measure. Write down the length and width exactly. Double-check the numbers before cutting. Small errors can cause big problems.
Measure twice, cut once. This simple rule helps avoid waste. Use a flat ruler for straight edges. Keep your measurements neat and clear.
Pre-cutting For Complex Shapes
Complex shapes need extra care. Cut the vinyl slightly larger than the shape. This allows you to trim it after application. Use sharp scissors or a craft knife.
Cut slowly and follow the shape outline. Avoid jagged cuts to keep the wrap smooth. Pre-cutting saves time and reduces stress during application.
Allowing For Overlaps
Leave extra vinyl around edges for overlap. This gives room to adjust and align the wrap. Overlaps help hide imperfections and seams.
Add about 2 to 3 inches on each side. This margin makes the installation easier. Trim the excess carefully after the wrap sticks well.

Credit: italmotobaltic.ee
Applying The Vinyl
Applying 3M 1080 vinyl wrap requires care and patience. The right steps help the vinyl stick well and look smooth. This section guides you through applying the vinyl properly.
Follow each step carefully for the best results. Avoid rushing to prevent wrinkles or bubbles. Proper application makes the wrap last longer and look great.
Aligning The Vinyl Correctly
Start by placing the vinyl on the surface. Check the edges and curves for proper fit. Make small adjustments before sticking it down. Use light pressure to hold it in place. This helps avoid mistakes and keeps the vinyl neat.
Using The Wet Application Method
Spray a mixture of water and soap on the surface. This allows you to slide the vinyl into position. It also helps remove air pockets under the vinyl. After alignment, press the vinyl gently to remove excess water. Let the vinyl dry slowly for a strong bond.
Squeegee Techniques To Avoid Bubbles
Use a soft squeegee to press the vinyl onto the surface. Start from the center and push outwards. Work slowly to push out air and water. Use firm but gentle pressure to avoid damage. Check for bubbles and smooth them immediately. This keeps the wrap smooth and wrinkle-free.
Dealing With Curves And Edges
Dealing with curves and edges is one of the hardest parts of applying 3M 1080 vinyl wrap. These areas need extra care to avoid wrinkles or bubbles. Proper technique helps the vinyl fit smoothly over tricky shapes. Patience and the right tools make this job easier.
Stretching And Heating Techniques
Heat softens the vinyl, making it easier to stretch over curves. Use a heat gun on a low setting to warm the wrap gently. Stretch the vinyl slowly and evenly to prevent tearing. Keep the heat moving to avoid burning the material. This method helps the wrap conform perfectly to rounded surfaces.
Handling Tight Corners
Tight corners need careful attention. Start by cutting small relief slits in the vinyl near the corner. This allows the vinyl to fold neatly without bunching. Press the vinyl down firmly with a squeegee to hold it in place. Work slowly and adjust the wrap as needed for a clean finish.
Trimming Excess Material
Trim extra vinyl carefully along edges for a sharp look. Use a sharp blade or knife for precise cuts. Cut just enough to avoid gaps or overlaps. Make smooth, steady cuts to keep the vinyl intact. Proper trimming gives your wrap a professional, polished appearance.
Finishing Touches
Finishing touches make your 3M 1080 vinyl wrap look smooth and last longer. This step is crucial for a clean, professional appearance. It also helps the wrap stick better to the surface.
Post-application Heating
After applying the vinyl wrap, use a heat gun to warm the surface. This process helps the adhesive bond tightly to the car’s curves and edges. Heat softens the vinyl, allowing it to stretch and settle into hard-to-reach spots. Move the heat gun slowly to avoid damage or bubbling. Let the wrap cool naturally before touching it.
Inspecting For Imperfections
Check the wrap carefully for air bubbles, wrinkles, or dust. Small bubbles can be popped with a pin and smoothed out. Use a soft cloth to press out any wrinkles. Remove any dust particles with a lint-free cloth. Take your time to ensure the surface is flawless. A well-inspected wrap looks neat and lasts longer.
Maintaining The Wrap
Clean the vinyl wrap regularly with mild soap and water. Avoid harsh chemicals or abrasive tools that can damage the vinyl. Park your vehicle away from direct sunlight to reduce fading. Touch up any damaged areas quickly to prevent peeling. Proper care keeps your wrap bright and fresh for years.
Common Mistakes To Avoid
Applying 3M 1080 vinyl wrap can be tricky. Many people make simple mistakes that cause problems. Avoiding these mistakes will help you get a smooth, long-lasting finish. Here are some common errors to watch out for.
Skipping Surface Prep
Clean the surface well before applying the vinyl. Dirt, dust, or grease can stop the vinyl from sticking properly. Use soap and water, then dry the surface fully. Avoid using oily cleaners that leave residue. A clean surface ensures better adhesion and fewer bubbles.
Applying In Extreme Temperatures
Temperature affects how the vinyl sticks and stretches. Do not apply vinyl in very hot or cold weather. Heat can make the vinyl too soft, while cold makes it stiff. Aim for a temperature between 60°F and 80°F for best results. This range helps the vinyl lay flat and stay in place.
Rushing The Application Process
Take your time during installation. Rushing causes wrinkles, bubbles, and misalignment. Use a squeegee slowly to push out air pockets. Check your work often and adjust as needed. Patience leads to a clean, professional look that lasts longer.
Advanced Tips For Professionals
Advanced professionals need extra care to get the best results with 3M 1080 vinyl wrap. Small details make big differences. Using the right tools and techniques helps avoid mistakes. It also saves time and makes the wrap last longer.
These tips focus on key areas that improve your wrapping skills. Each step adds value to your work and helps achieve a smooth finish.
Using 3m Primer 94
3M Primer 94 boosts adhesion on hard-to-stick surfaces. Apply it on edges and curves for better hold. Use a small brush or cloth for even coverage. Let it dry for a few minutes before placing the vinyl. This step prevents peeling and lifts, especially in tough spots.
Working With Large Panels
Large panels can wrinkle or trap air easily. Start by cleaning the surface thoroughly. Use a soft squeegee to smooth the vinyl from the center outwards. Stretch the vinyl gently but avoid over-stretching. Work slowly to keep the wrap flat and tight. Heat helps soften the vinyl around curves and edges.
Customizing With Graphics
Add graphics to make your wrap unique. Use a sharp knife for clean cuts around designs. Align graphics carefully before pressing them down. Apply pressure with a squeegee to avoid bubbles. Heat the edges to seal and protect the print. This step improves durability and appearance.
Frequently Asked Questions
What Tools Do I Need For 3m 1080 Vinyl Wrap Application?
You need a squeegee, heat gun, cutting blade, and cleaning solution. These tools help smooth out bubbles and achieve a clean finish. Proper tools ensure a professional-looking vinyl wrap application.
How To Prepare The Surface Before Applying 3m 1080 Vinyl?
Clean the surface thoroughly to remove dirt, grease, and wax. Use isopropyl alcohol for best results. A clean surface ensures better vinyl adhesion and durability.
Can I Apply 3m 1080 Vinyl Wrap Without Heat?
Applying heat helps the vinyl conform to curves and edges. While small flat areas may not need heat, using a heat gun improves flexibility and adhesion.
How Long Does 3m 1080 Vinyl Wrap Last After Application?
With proper application, 3M 1080 vinyl wrap lasts 5 to 7 years. Longevity depends on surface prep, maintenance, and environmental exposure. Regular care extends the wrap’s lifespan.
Conclusion
Applying 3M 1080 vinyl wrap can change your vehicle’s look quickly. Follow each step carefully for best results. Clean the surface well and work slowly to avoid bubbles. Use a heat gun to smooth the wrap around curves. Take your time to trim edges neatly.
Practice makes perfect, so don’t rush. Enjoy the fresh, new style your wrap brings. This simple process keeps your vehicle protected and stylish. Try it yourself and see the difference.

