
Are you ready to give your car a fresh, eye-catching look without spending a fortune? Applying 3M 2080 vinyl wrap is the perfect way to transform your vehicle quickly and protect its original paint.
But you might be wondering, where do you start? How do you avoid bubbles, wrinkles, or mistakes that can ruin the finish? This guide will walk you through every step, making the process simple and stress-free. By the end, you’ll have the confidence to wrap your car like a pro and enjoy a stunning, long-lasting result.
Keep reading to discover how easy it can be to upgrade your ride with 3M 2080 vinyl wrap.
Choosing The Right 3m 2080 Vinyl
Choosing the right 3M 2080 vinyl is a key step before applying a vinyl wrap. The correct vinyl type and finish affect the look and durability of the wrap. Picking the best color and ensuring it fits the surface also matter a lot. This section helps you make smart choices for a smooth wrapping process and a great final look.
Types And Finishes Available
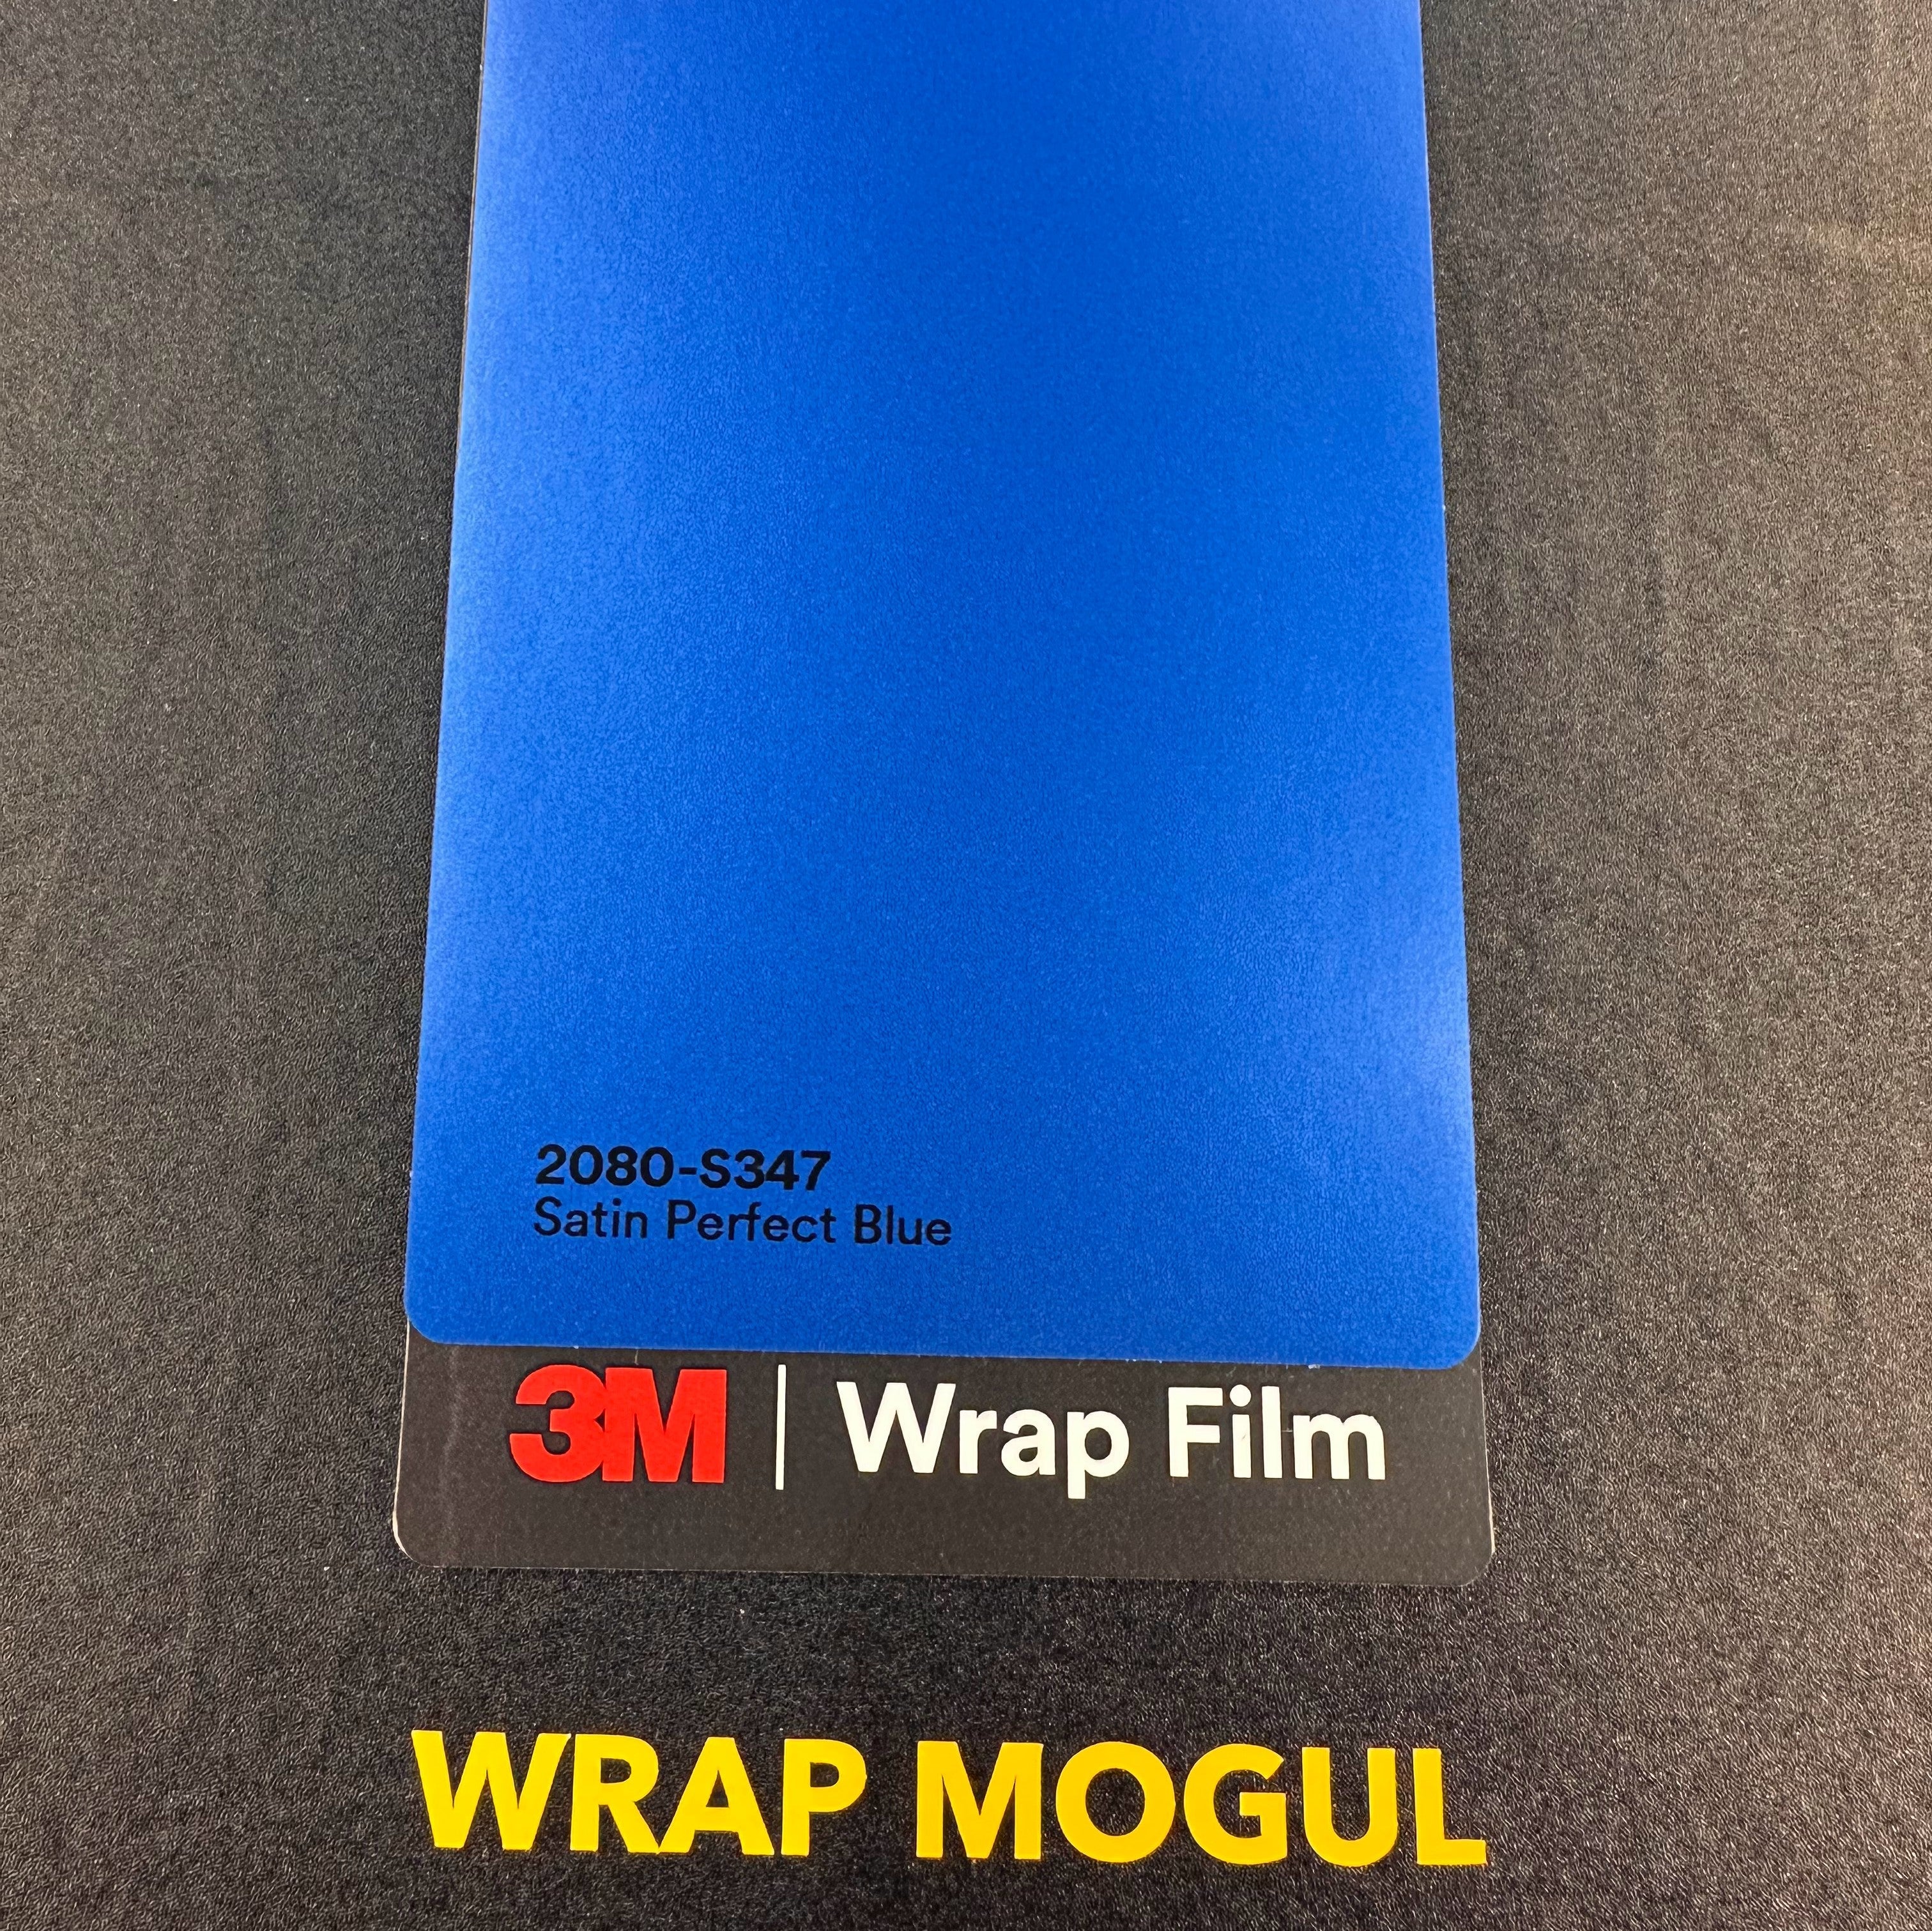
3M 2080 vinyl comes in several types. Glossy finishes give a shiny and bright look. Matte finishes offer a flat, non-reflective surface. Satin finishes create a soft shine, between gloss and matte. There are also textured options, like carbon fiber or brushed metal effects. Each finish suits different styles and needs.
Color Selection Tips
Choose a color that matches your style and purpose. Dark colors hide dirt better but show scratches more. Light colors reflect heat and keep surfaces cooler. Consider how the color looks under different lighting. Test small vinyl pieces on the surface to see the real color. Avoid very bright colors if you want a subtle look.
Surface Compatibility
Check if the vinyl suits your surface type. 3M 2080 works well on smooth, clean surfaces. Avoid rough or damaged areas for better adhesion. Clean the surface fully before applying the wrap. Some vinyl types stretch better on curves and corners. Match the vinyl type with the surface shape to avoid bubbles and wrinkles.
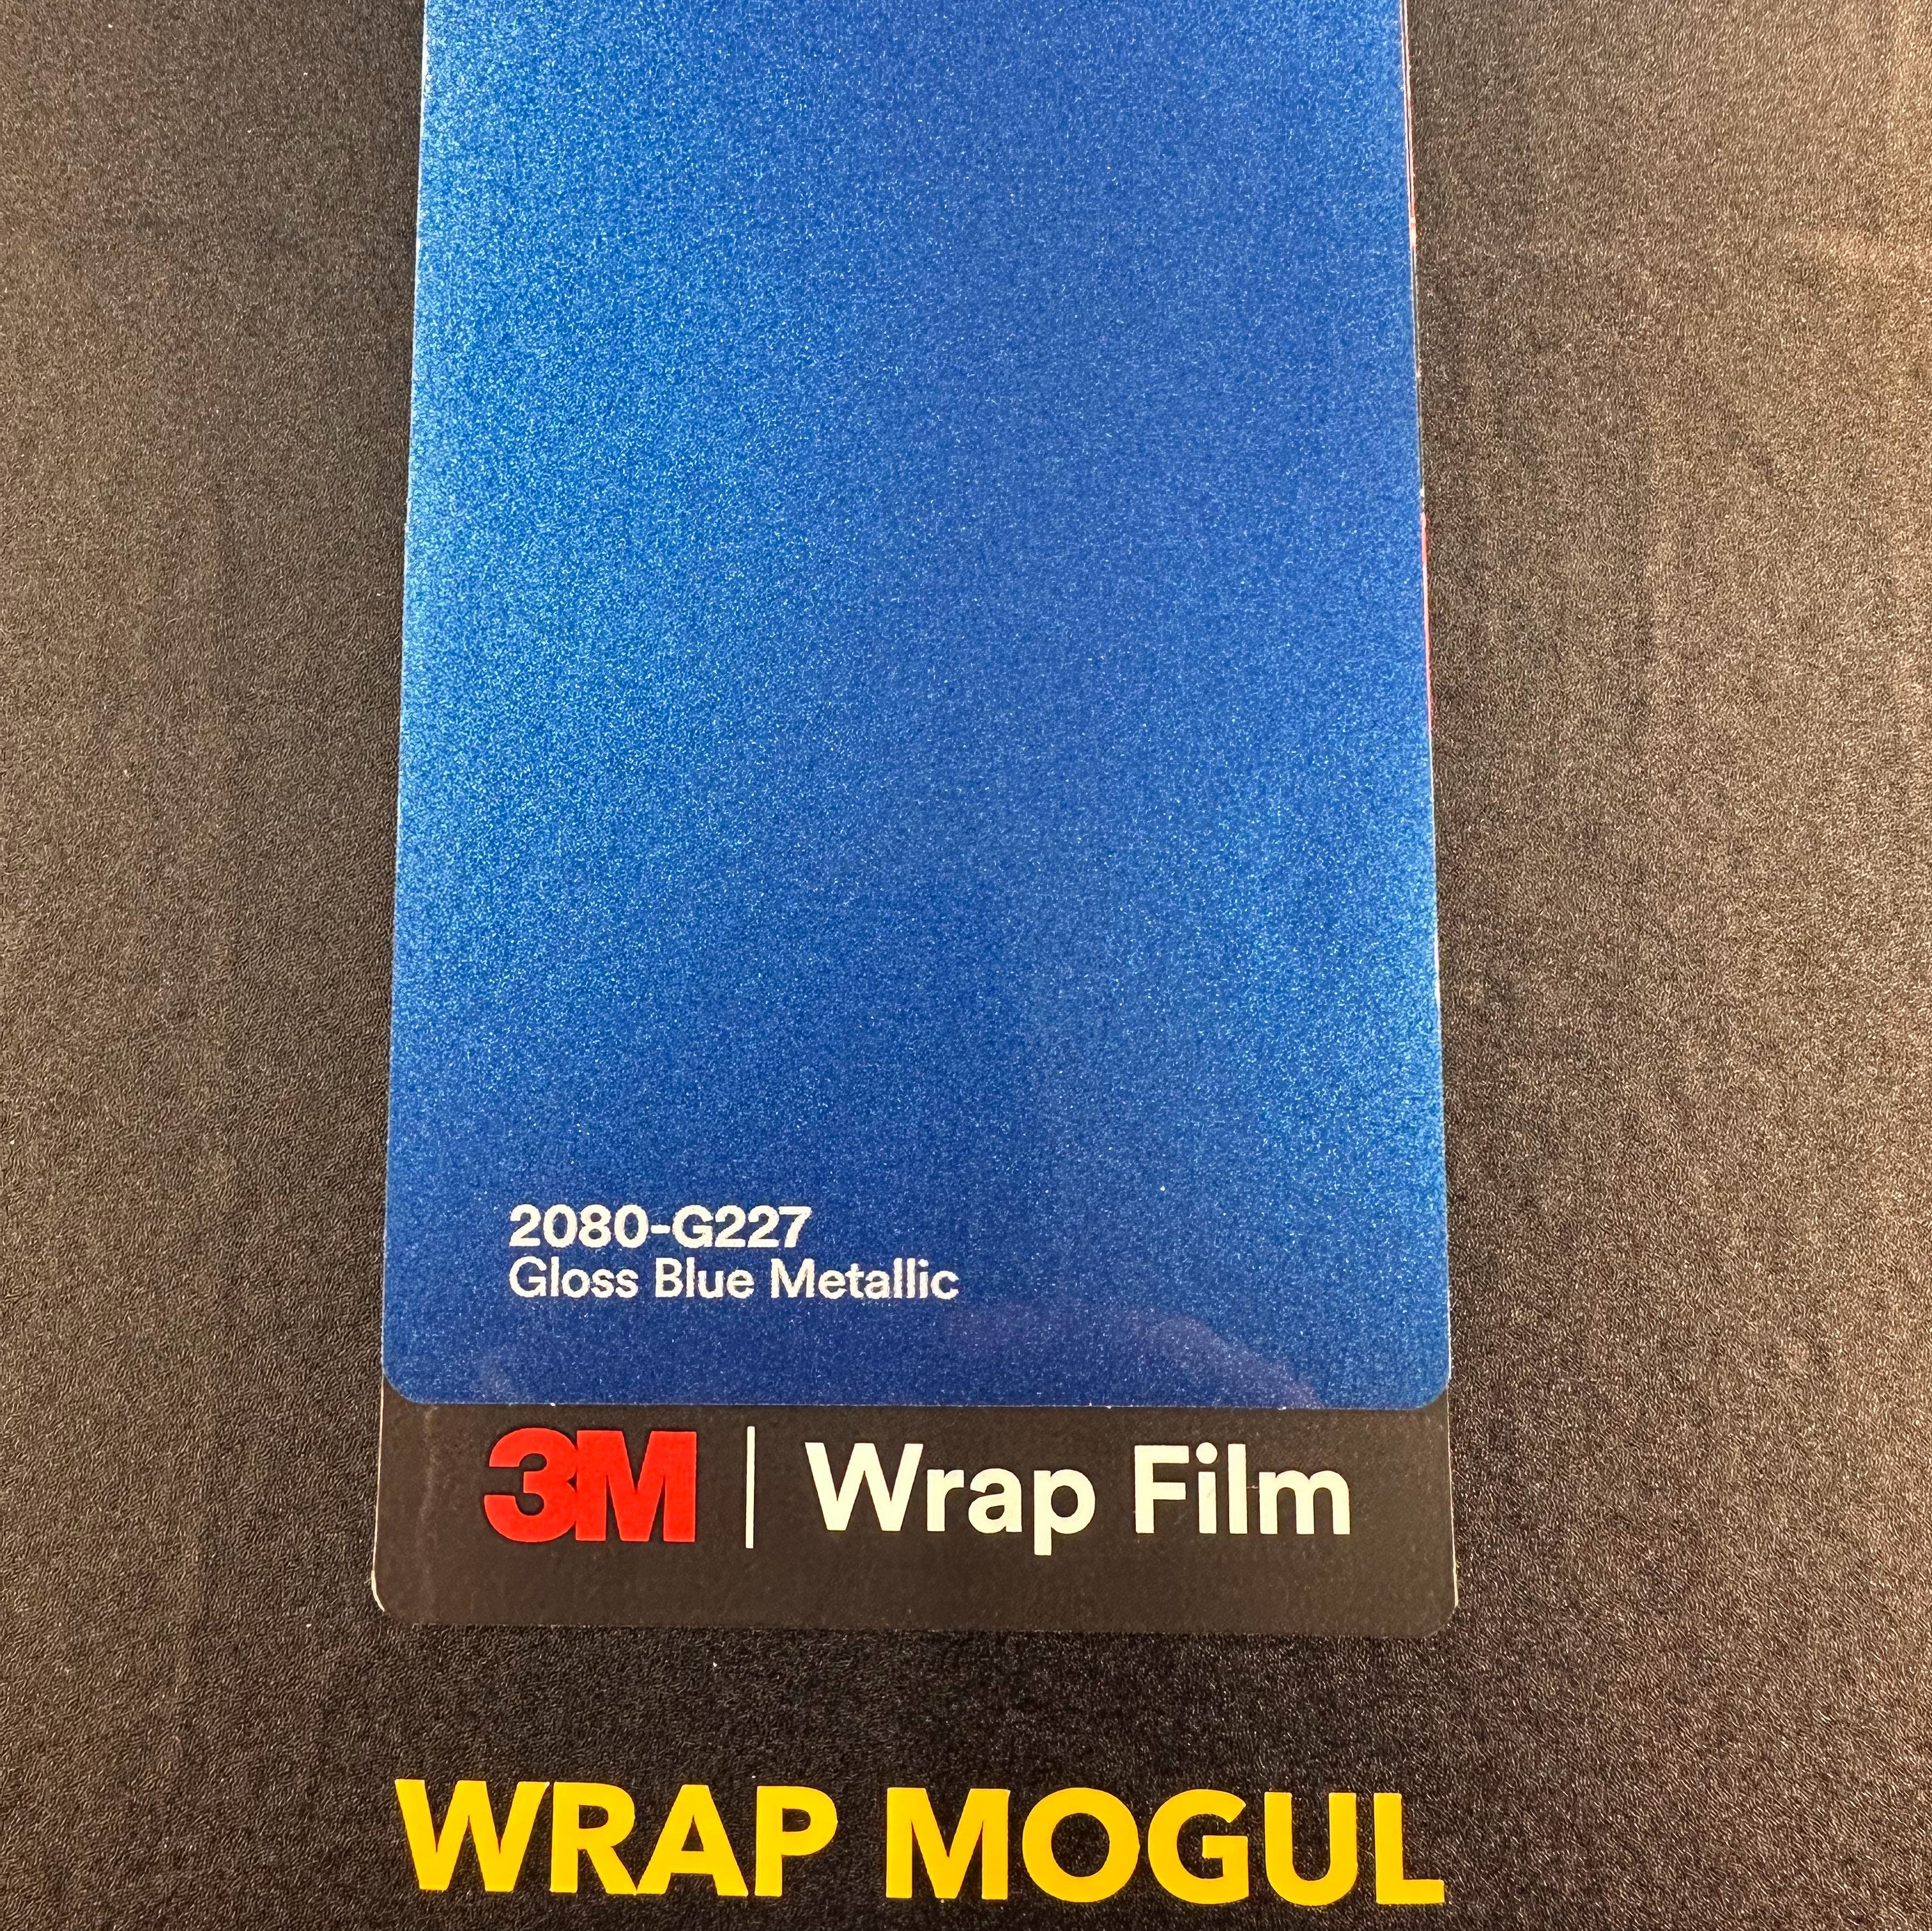
Credit: wrapmogul.com
Preparing Your Vehicle
Preparing your vehicle is the first and most important step before applying the 3M 2080 vinyl wrap. A clean, smooth surface helps the wrap stick better and last longer. Taking time to prepare your car can prevent bubbles, wrinkles, or peeling later on.
Follow these steps carefully to make sure your vehicle is ready for the wrap application.
Cleaning And Degreasing
Start by washing your vehicle thoroughly with soap and water. Remove all dirt, dust, and grime. Use a clean cloth to dry the surface completely. Next, apply a degreaser or isopropyl alcohol. This step removes oils and residues that block the wrap from sticking. Wipe the surface with a clean, lint-free cloth. Do this slowly and carefully to avoid missing spots.
Removing Old Wrap Or Stickers
Check your vehicle for any old wraps or stickers. These can cause bumps under the new wrap. Peel off any loose or damaged vinyl carefully. Use a heat gun or hairdryer to soften stubborn glue. Then, scrape gently with a plastic scraper. Clean the area again after removal to remove leftover adhesive. Make sure the surface is flat and smooth before moving on.
Temperature And Environment Setup
Apply the vinyl wrap in a controlled environment. Ideal temperature is between 60°F and 80°F (15°C to 27°C). Avoid direct sunlight or windy conditions. A garage or shaded area works best. Make sure the surface is dry and free from dust. Proper temperature and environment help the vinyl stick evenly and prevent bubbles.
Tools And Materials Needed
Applying 3M 2080 vinyl wrap needs the right tools and materials. Using proper tools helps the wrap stick well and look smooth. It also saves time and avoids mistakes. Prepare all your items before starting the project. This way, the process goes faster and easier.
Essential Tools List
- 3M 2080 vinyl wrap film
- Heat gun or hair dryer
- Plastic squeegee with felt edge
- Utility knife or precision blade
- Measuring tape or ruler
- Cleaning solution (isopropyl alcohol)
- Lint-free microfiber cloth
- Gloves to avoid fingerprints
Additional Helpful Accessories
- Magnets or tape to hold wrap in place
- Surface primer for better adhesion
- Soft silicone roller for curves
- Spray bottle with water and soap mix
- Masking tape for marking edges
- Work gloves for hand protection
- Heat-resistant gloves for safety
- Plastic scraper for tough areas
Cutting And Measuring The Vinyl
Cutting and measuring the 3M 2080 vinyl wrap is an essential step. It ensures the wrap fits perfectly on your vehicle or surface. Precise cutting prevents waste and saves time during application.
Careful measurement helps avoid mistakes. It also makes the wrap look smooth and professional. Follow the right techniques for the best results.
Accurate Measurement Techniques
Start by cleaning the surface before measuring. Use a soft tape measure for better control. Measure twice to confirm accuracy. Mark the vinyl lightly with a pencil or masking tape. Account for curves and edges by adding extra length. This prevents gaps or peeling after installation. Keep your measurements clear and simple.
Cutting Methods For Precision
Use a sharp utility knife or vinyl cutter. Cut on a flat, stable surface to avoid slips. Score gently first, then cut through cleanly. Use a straight edge or ruler as a guide. Avoid pulling or stretching the vinyl while cutting. Trim excess material carefully for a neat finish. Clean cuts reduce wrinkles and bubbles during application.
Applying The Vinyl Wrap
Applying 3M 2080 vinyl wrap requires care and patience. Proper application ensures the wrap looks smooth and lasts long. Follow simple steps to avoid wrinkles and bubbles.
Positioning And Alignment
Start by cleaning the surface thoroughly. Dirt or dust can cause bumps under the wrap. Lay the vinyl gently over the area. Check the alignment carefully. Make sure the edges match perfectly. Use masking tape to hold the wrap in place. This helps keep it steady while you work.
Using Heat For Flexibility
Heat softens the vinyl, making it easier to shape. Use a heat gun or a hairdryer on low heat. Warm the vinyl slowly, especially around curves. Avoid overheating to prevent damage. Heat allows the vinyl to stretch and fit tight spots. Always test heat on a small area first.
Squeegee Techniques To Avoid Bubbles
Use a soft squeegee to press the vinyl down. Start from the center and move outwards. Work slowly to push air bubbles towards the edges. Do not rush this step. Small bubbles can be removed by lifting and reapplying. For stubborn bubbles, use a pin to release trapped air gently.
Handling Curves And Edges
Handling curves and edges during a 3M 2080 vinyl wrap can be tricky. These areas need careful attention to avoid wrinkles and bubbles. Proper technique ensures a smooth and professional finish. Patience and the right tools make the process easier.
Stretching Vinyl Safely
Stretch vinyl slowly and evenly over curves. Use a heat gun to warm the material gently. Warm vinyl stretches more without tearing or losing color. Pull the vinyl just enough to cover the surface. Avoid overstretching, which can cause damage or shrinkage later.
Work from the center outwards to prevent wrinkles. Check the vinyl often for bubbles or folds. Use a squeegee to press the vinyl down firmly. This helps it stick and follow the curve smoothly.
Tucking And Wrapping Corners
Cut small relief slits in the vinyl near sharp corners. This helps the vinyl bend without puckering. Fold the vinyl carefully around edges and tuck it under. Use a squeegee to press the vinyl into tight spaces.
Heat the vinyl slightly at the edges for better flexibility. Press firmly to secure the vinyl on all sides. Take your time to ensure a clean, crisp corner finish.
Finishing Touches
Finishing touches are key to a perfect 3M 2080 vinyl wrap. They help the wrap look smooth and last longer. Careful work at this stage shows in the final look.
Trimming Excess Material
Cut the extra vinyl carefully. Use a sharp blade for clean cuts. Trim close to the edges but do not cut the car’s paint. Take small, steady strokes to avoid mistakes. Clean edges help the wrap look neat and professional.
Post-application Heating
Heat the wrap with a heat gun after applying. Warm the vinyl slowly and evenly. Heat softens the material, helping it stick better. Focus on curves and edges to avoid lifting. Avoid overheating to protect the vinyl and paint.
Edge Sealing Tips
Seal edges to stop dirt and water from getting under. Use a roller or soft cloth to press edges firmly. Press all around the edges for a tight seal. Check edges after a few days and press again if needed. Good sealing keeps the wrap looking fresh longer.
Common Issues And Fixes
Applying 3M 2080 vinyl wrap can be tricky. Small problems often appear during installation. Knowing common issues and how to fix them saves time and frustration. Below are simple tips to solve typical problems.
Removing Air Bubbles
Air bubbles are common when wrapping surfaces. Use a squeegee to push bubbles toward the edges. For small bubbles, gently lift the wrap near the bubble. Then, press the air out slowly. A pin can help release trapped air in stubborn bubbles. Work carefully to avoid tearing the vinyl.
Dealing With Wrinkles
Wrinkles happen when the vinyl is stretched unevenly. Warm the vinyl slightly with a heat gun or hair dryer. Heat makes the material more flexible. Smooth wrinkles by pressing the vinyl with a squeegee. Work from the center outwards. Avoid overheating, which can damage the wrap.
Repairing Small Tears
Small tears can occur during installation or handling. Use a vinyl adhesive or glue designed for wraps to fix tears. Apply a thin layer under the torn edge. Press the tear down firmly. For larger tears, consider patching with a small vinyl piece. Match the color and texture closely for best results.
Maintenance And Care
Proper maintenance and care help your 3M 2080 vinyl wrap stay fresh and new. Clean surfaces regularly to avoid dirt buildup. Protect the wrap from damage to keep its look and texture. Follow simple tips to extend the life of your vinyl wrap.
Cleaning Wrapped Surfaces
Use a soft cloth or sponge with mild soap and water. Avoid harsh chemicals or abrasive cleaners that may harm the vinyl. Rinse with clean water and dry with a soft towel. Clean your wrap every two weeks or more often if dirty.
Avoiding Damage
Do not use high-pressure washers directly on the wrap. Keep sharp objects and rough tools away from wrapped areas. Avoid parking under trees to prevent sap and bird droppings. Always wash off contaminants quickly to prevent stains and damage.
Longevity Tips
Park in shaded areas to reduce sun exposure. Use a quality wax or sealant made for vinyl wraps. Inspect the wrap regularly for lifting edges or bubbles. Fix minor issues early to avoid costly repairs. Proper care helps your wrap look great for years.
Credit: wrapmogul.com

Credit: epdwindowfilm.com
Frequently Asked Questions
What Tools Are Needed For 3m 2080 Vinyl Wrap Application?
You need a squeegee, heat gun, utility knife, and cleaning supplies. These tools ensure smooth installation and proper adhesion of the vinyl wrap.
How To Prepare The Car Surface Before Applying 3m 2080 Wrap?
Clean the surface thoroughly with soap and water, then use isopropyl alcohol. This removes dirt, grease, and wax for better vinyl adhesion.
Can Beginners Apply 3m 2080 Vinyl Wrap At Home?
Yes, beginners can apply it with patience and practice. Follow step-by-step instructions and work in a dust-free environment for best results.
How To Handle Air Bubbles During Vinyl Wrap Installation?
Use a squeegee to push bubbles toward edges. For stubborn bubbles, gently lift and reapply the vinyl with heat.
Conclusion
Applying 3M 2080 vinyl wrap takes patience and care. Clean the surface well before you start. Use a squeegee to smooth the vinyl as you go. Heat helps the wrap fit curves and edges better. Take your time to avoid bubbles and wrinkles.
Small cuts make trimming easier and neater. Enjoy the fresh look your wrap gives to any vehicle. With practice, your skills will improve quickly. Stick to these simple steps for a great finish every time.


