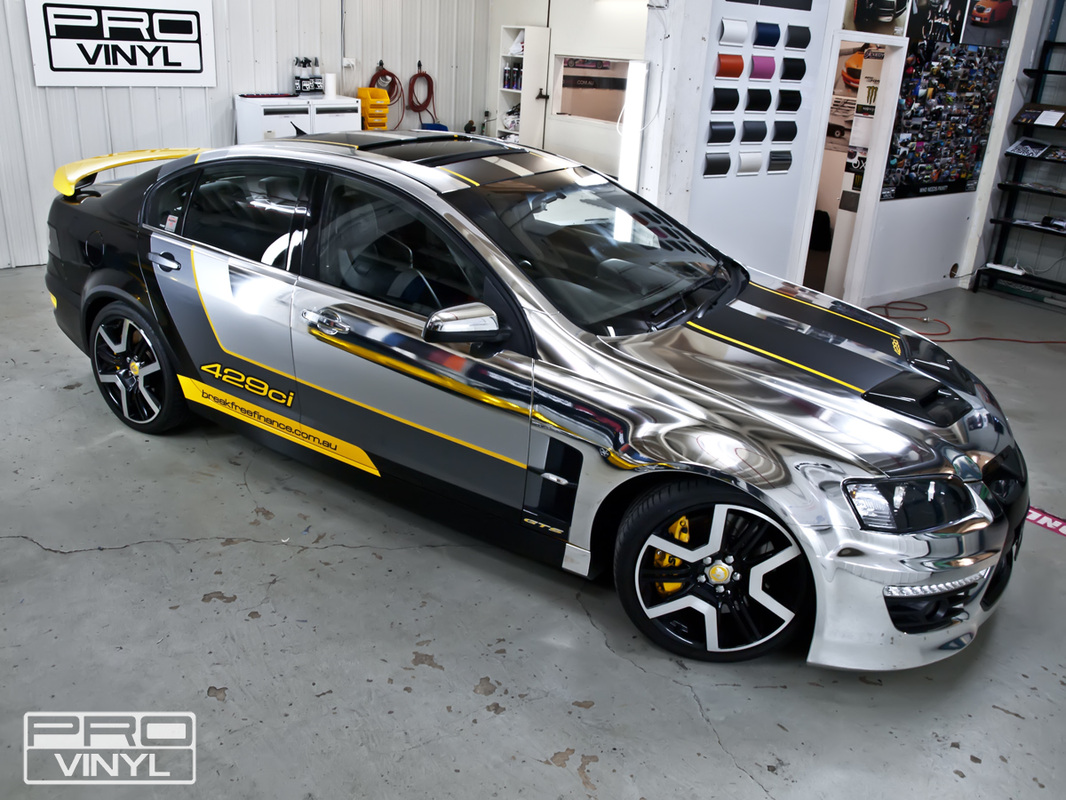
Are you ready to give your car or any smooth surface a stunning new look without spending a fortune? Applying a chrome vinyl wrap is a smart way to turn heads and make your ride truly unique.
But if you’ve never done it before, the process might seem tricky. Don’t worry—this guide will walk you through every step, making it simple and stress-free. By the end, you’ll have the skills to transform your vehicle with a sleek, shiny finish that lasts.
Keep reading, and discover how easy it is to apply chrome vinyl wrap like a pro!
Credit: metrorestyling.com
Preparing The Surface
Preparing the surface is the first and most important step in applying a chrome vinyl wrap. A clean, smooth surface helps the vinyl stick better and last longer. It also prevents bubbles and wrinkles during application. Take your time with this step to get the best results.
Cleaning And Degreasing
Start by washing the surface with soap and water. This removes dirt and dust. Next, use a degreaser or rubbing alcohol to wipe the area. This removes oils and grease that block the vinyl’s adhesive. Make sure the surface is dry before moving on.
Removing Old Wraps And Adhesives
Check for any old vinyl wrap or stickers. Peel them off carefully to avoid damage. Use an adhesive remover to clean leftover glue. Do not leave any sticky residue. This helps the new wrap stick evenly and smoothly.
Smoothing The Surface
Look for scratches, dents, or bumps. Use fine sandpaper to smooth rough spots gently. Wipe the area again after sanding. A smooth surface makes the chrome vinyl wrap look shiny and neat. It also prevents air bubbles under the wrap.

Credit: www.amazon.com
Tools And Materials Needed
Applying a chrome vinyl wrap needs specific tools and materials. Using the right items makes the process easier and improves the final look. Prepare all tools before you start to avoid interruptions. This section covers the essential tools, choosing the right vinyl, and extra supplies you might need.
Essential Tools
Start with a good squeegee. It helps smooth the vinyl and remove air bubbles. A sharp utility knife is crucial for trimming excess vinyl. Use a heat gun to warm the vinyl, making it flexible. A microfiber cloth cleans the surface without scratching it. Gloves protect your hands and prevent fingerprints on the vinyl.
Choosing The Right Vinyl
Select vinyl made specifically for vehicles or chrome wrapping. Check the thickness; thicker vinyl lasts longer. Look for vinyl with air-release channels to avoid bubbles. Choose a finish that matches your style—glossy or matte chrome. Make sure the vinyl is easy to stretch and conform to curves.
Additional Supplies
Use a surface cleaner to remove dirt and grease before wrapping. Masking tape helps hold the vinyl in place during application. A ruler or measuring tape ensures precise cuts. Prepare a soft cloth to press down edges gently. Keep a spray bottle with soapy water to adjust vinyl position easily.
Measuring And Cutting Vinyl
Measuring and cutting vinyl is a key step in applying a chrome vinyl wrap. Getting the size right helps avoid waste and ensures a smooth finish. Careful measuring and precise cutting make the installation easier and cleaner.
Take your time during this process. A small mistake can affect the final look. Use proper tools and follow the steps below to prepare your vinyl for wrapping.
Accurate Measurements
Use a soft measuring tape for flexible surfaces. Measure the area twice to confirm the size. Write down the exact dimensions to avoid errors. Add a little extra length to cover edges and curves. Mark the measurements clearly on the backing paper.
Cutting Techniques
Use a sharp utility knife or vinyl cutter for clean edges. Cut on a flat, sturdy surface to avoid jagged lines. Follow the marked lines carefully and avoid rushing. Keep the blade angle steady for smooth cuts. Change the blade if it becomes dull.
Allowing For Overlaps
Leave extra vinyl around the edges for overlaps. Overlaps help secure the vinyl and hide seams. Add about one to two inches beyond the measured area. Overlap sections slightly when wrapping complex shapes. Trim excess vinyl after application for a neat finish.
Applying The Vinyl
Applying chrome vinyl wrap needs care and patience. The right steps help the vinyl fit smoothly. Avoid wrinkles and bubbles for a clean look. Follow each step to get the best result.
Positioning The Wrap
Start by cleaning the surface well. Dirt or dust can cause bumps. Place the vinyl on the area gently. Check the edges and corners. Adjust the wrap until it fits perfectly. Use masking tape to hold it in place.
Using Heat For Flexibility
Heat softens the vinyl and makes it easier to shape. Use a heat gun or hair dryer. Warm the vinyl evenly, not too hot. Heat helps to stretch the wrap over curves and edges. Keep moving the heat source to avoid damage.
Squeegee Techniques
Use a soft squeegee to press the vinyl. Start from the center and push outward. This removes air bubbles under the wrap. Apply firm but gentle pressure. Work slowly to avoid tearing the vinyl. Check for any bubbles and smooth them out.
Handling Edges And Corners
Handling edges and corners is a key step in applying chrome vinyl wrap. These areas are tricky because the vinyl must fit tightly without lifting or wrinkling. Proper technique helps the wrap look smooth and professional. Pay careful attention to these parts during installation.
Edges and corners need extra care to avoid damage or peeling. Stretching the vinyl carefully and using the right tools makes a big difference. Taking your time here ensures a clean finish that lasts.
Tucking And Wrapping Tips
Start by gently heating the vinyl near edges and corners. Heat makes the material softer and easier to shape. Use a squeegee to push the vinyl into tight corners. Tuck the vinyl slowly, avoiding sharp folds. Work in small sections to keep control.
Avoiding Wrinkles And Bubbles
Press the vinyl firmly with a squeegee as you apply it. Move from the center outward to push air out. If bubbles appear, lift the vinyl slightly and reapply. Use a pin to release trapped air in stubborn spots. Wrinkles happen when the vinyl stretches too fast. Heat and slow stretching help prevent this.
Trimming Excess Material
After wrapping, trim extra vinyl with a sharp blade. Cut close to the edge but avoid cutting the surface underneath. Use a straight edge or ruler for clean lines. Trim slowly to prevent tearing the vinyl. Proper trimming improves the overall look and fit.
Finishing Touches
Finishing touches are key to a perfect chrome vinyl wrap. This step ensures the wrap looks smooth and lasts longer. Small efforts here save big problems later.
Post-application Heating
Use a heat gun to warm the vinyl gently. Heat makes the vinyl more flexible and helps it stick better. Move the heat gun evenly over the surface. Avoid staying too long in one spot to prevent damage.
Inspecting For Imperfections
Check the wrap closely for bubbles or wrinkles. Use a pin to pop small bubbles carefully. Smooth out wrinkles with your fingers or a squeegee. Make sure edges are sealed well to stop peeling.
Maintaining The Vinyl Wrap
Clean the wrap regularly with a soft cloth and mild soap. Avoid harsh chemicals or abrasive tools. Park your vehicle in shade to protect the wrap from sun damage. Quick care keeps the chrome wrap shiny and fresh.
Common Mistakes To Avoid
Applying chrome vinyl wrap can be tricky. Avoiding common mistakes helps achieve a smooth, shiny finish. Many beginners rush or skip steps, leading to poor results. Learn what to watch out for.
Rushing The Process
Take your time to apply the vinyl wrap. Moving too fast causes bubbles and wrinkles. Stretching the vinyl too much can tear it. Patience ensures a clean, smooth surface.
Ignoring Surface Prep
Clean the surface thoroughly before wrapping. Dirt and dust prevent the vinyl from sticking well. Use alcohol or a cleaner to remove grease. A clean surface helps the vinyl last longer.
Incorrect Heating Methods
Heat the vinyl carefully to make it flexible. Too much heat can damage or melt the wrap. Too little heat makes it hard to stretch. Use a heat gun at the right distance and temperature.
Credit: maiamidwifery.com
Frequently Asked Questions
What Tools Do I Need To Apply Chrome Vinyl Wrap?
You need a heat gun, squeegee, utility knife, cleaning solution, and microfiber cloth. These tools ensure smooth application and proper adhesion.
How Do I Prepare The Surface For Chrome Vinyl Wrap?
Clean the surface thoroughly using a mild cleaner and microfiber cloth. Remove dirt, grease, and wax for better vinyl adhesion and durability.
Can I Apply Chrome Vinyl Wrap On Curved Surfaces?
Yes, chrome vinyl wrap is flexible and stretchable. Use a heat gun to soften it, allowing smooth application on curves and contours.
How Long Does It Take To Apply Chrome Vinyl Wrap?
Application time varies by surface size and complexity. Typically, it takes 2 to 6 hours for a full vehicle wrap.
Conclusion
Applying chrome vinyl wrap can change your vehicle’s look quickly. Start with a clean, dry surface for best results. Take your time to avoid bubbles and wrinkles. Use a heat gun carefully to shape the wrap around curves. Patience and attention help achieve a smooth finish.
Practice makes the process easier and more fun. Enjoy your shiny, new style without spending too much. Try small projects first to build confidence. Vinyl wrapping can be simple and rewarding with the right steps.