Your steering wheel is the part of your car you touch the most, so why not make it look and feel amazing? Vinyl wrapping your steering wheel can give it a fresh, custom look without spending a fortune on a new one.
If you’ve ever thought about upgrading your car’s interior or just want to add a personal touch, this guide will walk you through every step. By the end, you’ll know exactly how to vinyl wrap your steering wheel like a pro, making your driving experience more stylish and enjoyable.
Ready to transform your steering wheel? Let’s get started!
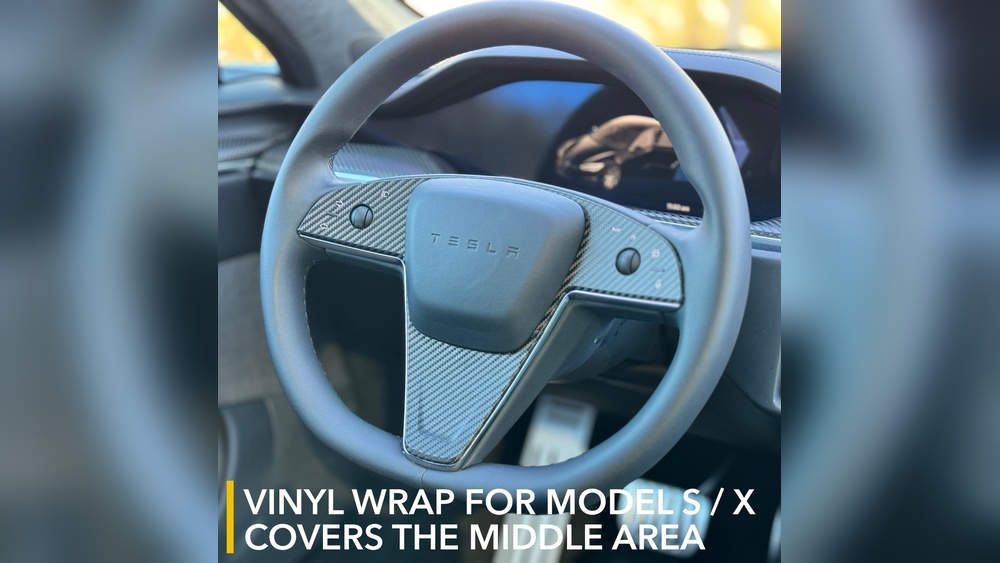
Credit: www.youtube.com
Tools And Materials Needed
Wrapping a steering wheel with vinyl requires the right tools and materials. Using quality items makes the job easier and the result better. Preparing well helps avoid mistakes and saves time. Below, learn about the key tools and materials you need to get started.
Choosing The Right Vinyl Wrap
Select vinyl that is soft and flexible. Look for automotive-grade vinyl for durability. Matte, gloss, or textured finishes change the look of your wheel. Pick a color that matches your car’s interior. Make sure the vinyl is thin enough to wrap tightly.
Essential Tools For Wrapping
You need a heat gun or hair dryer to soften the vinyl. A sharp utility knife helps cut the vinyl precisely. Use a squeegee or plastic card to smooth out air bubbles. Gloves protect your hands from heat and cuts. Clean cloths and rubbing alcohol prepare the wheel surface.
Preparing Your Workspace
Work in a clean, dry area with good lighting. Clear space to move around the steering wheel easily. Keep all tools and materials within reach. Avoid dusty or humid places to prevent vinyl damage. A stable surface helps keep the wheel steady during wrapping.

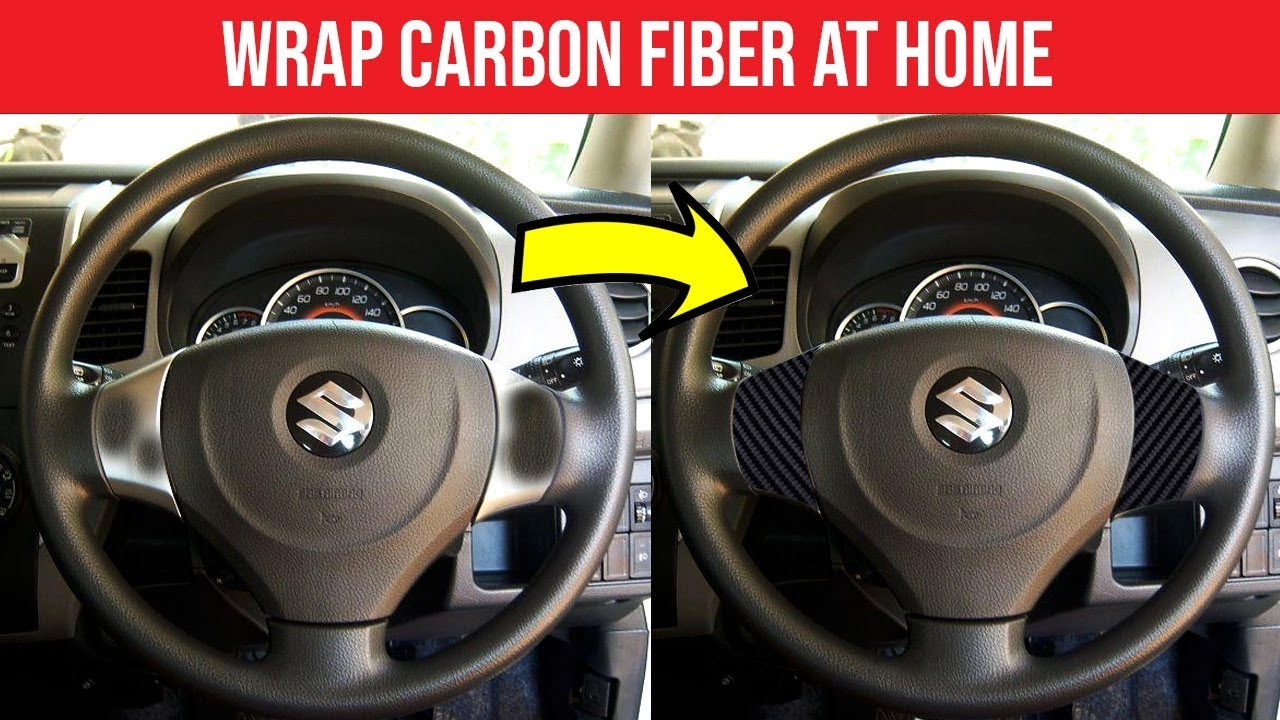
Credit: www.reddit.com
Removing The Steering Wheel Cover
Removing the steering wheel cover is the first step in vinyl wrapping your steering wheel. This step ensures a smooth, clean surface for the new wrap. It takes care and patience to avoid damage to the wheel or airbag.
Follow each step carefully to remove the old cover safely. Proper removal helps the vinyl stick better and last longer.
Safety Precautions
Disconnect the car battery before starting. This stops the airbag from deploying by accident. Wait at least 10 minutes after disconnecting the battery. This allows any stored power to drain.
Wear gloves to protect your hands from sharp edges. Work in a well-lit area to see every detail clearly. Keep tools organized to avoid losing small parts.
Detaching The Old Cover
Look for screws or clips holding the cover in place. Use a screwdriver or trim tool to remove them gently. Pull the cover away slowly to avoid tearing or breaking it.
If the cover is glued, use a plastic scraper to loosen it. Avoid metal tools as they can damage the wheel. Clean off any leftover glue or dirt before applying vinyl.
Cleaning And Preparing The Surface
Cleaning and preparing the steering wheel surface is the first step in vinyl wrapping. A clean surface helps the vinyl stick better and last longer. Dirt, oils, and rough spots can cause bubbles and peeling. Take your time to get the surface smooth and clean.
Removing Dirt And Oils
Use a mild cleaner or rubbing alcohol to remove dirt and oils. Apply the cleaner with a soft cloth. Wipe the entire steering wheel surface carefully. Avoid soaking the wheel with too much liquid. Let the surface dry completely before moving on.
Smoothing The Steering Wheel
Check the surface for bumps or rough spots. Use fine-grit sandpaper to smooth out any imperfections. Sand gently to avoid damaging the material. Clean off the dust with a dry cloth. A smooth surface ensures the vinyl wraps evenly and looks neat.
Cutting And Fitting The Vinyl
Cutting and fitting the vinyl is a key step in wrapping a steering wheel. This part needs patience and accuracy to get the best results. Proper measurement and cutting ensure the vinyl fits perfectly without wrinkles or gaps.
Start by knowing the exact size of the steering wheel. Then, cut the vinyl carefully. A good fit makes the wheel look smooth and neat. Take your time during this process.
Measuring The Steering Wheel
Use a soft measuring tape to find the wheel’s circumference. Wrap the tape around the wheel’s outer edge. Write down the length in inches or centimeters.
Measure the width of the wheel too. This helps to know how much vinyl to cut. Double-check your measurements for accuracy. Precise numbers prevent mistakes later.
Cutting Vinyl To Size
Place the vinyl on a flat surface. Use your measurements to mark the vinyl edges. Add an extra inch to each side. This extra space helps during fitting and stretching.
Cut the vinyl using sharp scissors or a craft knife. Cut slowly to keep straight edges. Avoid jagged cuts that make fitting hard. After cutting, check the piece against the wheel size.
Applying The Vinyl Wrap
Applying the vinyl wrap to your steering wheel requires care and attention. This step shapes the final look and feel of the wrap. Follow each part carefully for the best results.
Aligning The Vinyl
Start by placing the vinyl on the steering wheel. Make sure the design or texture faces outward. Align the edges with the wheel’s shape. Proper alignment avoids uneven spots later. Take your time to check from all sides.
Stretching And Smoothing
Use your hands to stretch the vinyl gently. Stretching helps the material fit curves and corners. Smooth the vinyl from the center outwards. This pushes air out and keeps it tight. Work slowly and steadily for an even finish.
Avoiding Wrinkles And Bubbles
Wrinkles and bubbles spoil the wrap’s look. To stop them, press the vinyl firmly with a soft cloth. Move the cloth in small circles. If bubbles appear, lift the vinyl slightly and reapply. Keep the surface smooth and clean as you work.
Trimming And Finishing Touches
After carefully wrapping your steering wheel with vinyl, the next step is trimming and finishing touches. This stage ensures your wrap looks clean and lasts longer. Neat edges prevent peeling and give a professional look. Take your time to make precise cuts and secure the vinyl firmly. The final look depends on these small but important steps.
Trimming Excess Vinyl
Use a sharp utility knife or precision blade for trimming. Cut slowly along the edges of the steering wheel. Avoid cutting too close to avoid damaging the wheel. Leave a small margin for folding and sealing. Remove any loose pieces carefully to keep the surface smooth. Take breaks to check your progress and avoid mistakes.
Sealing The Edges
Seal the vinyl edges to stop peeling over time. Use a heat gun or hairdryer to warm the vinyl slightly. Press the edges firmly with a soft cloth or your fingers. Heat helps the vinyl stick better and form tight corners. If needed, apply a vinyl adhesive on the edges for extra hold. Proper sealing makes the wrap last longer and look flawless.
Final Inspection
Look closely at the entire wrapped steering wheel. Check for bubbles, wrinkles, or loose edges. Smooth out any imperfections using heat and gentle pressure. Make sure the vinyl fits snugly around buttons and contours. Clean the surface with a soft cloth to remove fingerprints. A careful final check ensures your steering wheel looks perfect and feels great.
Maintenance Tips For Longevity
Maintaining a vinyl-wrapped steering wheel helps keep it looking fresh and new for years. Proper care stops wear and tear from damaging the wrap. Simple steps can protect your investment and keep your steering wheel stylish.
Cleaning Wrapped Steering Wheels
Use a soft cloth to clean the wrapped surface. Mild soap and water work best for removing dirt. Avoid harsh chemicals that can ruin the vinyl finish. Gently wipe the steering wheel without scrubbing too hard. Dry the surface with a clean, dry cloth to prevent water spots.
Avoiding Damage
Keep sharp objects away from the wrapped wheel. Rings or keys can scratch or tear the vinyl. Avoid exposing the wheel to direct sunlight for long periods. Heat and UV rays may cause fading or peeling. Store your car in shaded areas or use a sunshade to protect the wrap. Handle the steering wheel with clean hands to reduce oil and dirt buildup.

Credit: www.youtube.com
Frequently Asked Questions
What Tools Do I Need To Vinyl Wrap A Steering Wheel?
You need vinyl wrap film, a heat gun, a utility knife, and cleaning supplies. These tools ensure a smooth, clean wrap. Proper tools help avoid damage and achieve a professional finish on your steering wheel.
How Long Does Vinyl Wrapping A Steering Wheel Take?
Wrapping a steering wheel typically takes 1 to 2 hours. This depends on your experience and preparation. Taking time to clean and heat the vinyl properly ensures better adhesion and durability.
Can I Vinyl Wrap A Steering Wheel Myself?
Yes, vinyl wrapping a steering wheel is doable for beginners. Follow step-by-step instructions and work patiently. Using the right tools and techniques leads to a neat, lasting wrap without professional help.
How Do I Prepare My Steering Wheel For Vinyl Wrapping?
Clean the steering wheel thoroughly with alcohol to remove dirt and oils. Dry it completely before applying vinyl. Proper preparation ensures the vinyl sticks well and prevents bubbles or peeling later.
Conclusion
Vinyl wrapping your steering wheel can refresh your car’s look easily. The process takes patience but is simple with the right steps. Use good quality vinyl and tools for the best results. Take your time to avoid wrinkles and bubbles.
A well-wrapped steering wheel feels smooth and looks great. You can change colors or textures anytime you want. Enjoy the new style and comfort while driving. Try it yourself and see how fun and rewarding it can be.

