
Are you looking to give your car a fresh, new look without spending a fortune on paint? Applying a vinyl wrap is a smart and affordable way to transform your vehicle’s appearance.
But if you’ve never done it before, the idea can feel overwhelming. Don’t worry—this guide will walk you through every step, making the process simple and manageable. By the end, you’ll have the confidence to wrap your car like a pro and enjoy a stunning finish that turns heads wherever you go.
Ready to start? Let’s dive in!
Preparing Your Car
Preparing your car is the first step for a smooth vinyl wrap application. Proper preparation helps the vinyl stick better and last longer. It also prevents bubbles and wrinkles. Taking time to prepare saves effort later.
Cleaning The Surface
Clean the car surface thoroughly. Use soap and water to remove dirt. Then, wipe with rubbing alcohol. This removes oils and residues. A clean surface helps the vinyl stick firmly. Avoid using wax or polish before wrapping.
Removing Obstacles
Remove parts that block the vinyl wrap. Take off mirrors, trim, and badges. This makes applying vinyl easier. It also prevents wrinkles around edges. Keep screws and parts safe for reassembly.
Choosing The Right Environment
Work in a clean, dust-free place. Avoid windy or humid areas. A garage or indoor space works best. Good lighting helps you see details clearly. This ensures smooth, bubble-free vinyl application.

Credit: www.turtlewax.com
Gathering Materials
Before starting a vinyl wrap on your car, gathering the right materials is crucial. Having the correct supplies makes the process smoother and prevents mistakes. Preparation saves time and effort during application.
Gathering materials ensures you have everything needed to achieve a clean, professional look. It also protects your car and yourself during the wrap process.
Selecting Vinyl Wrap
Choose high-quality vinyl wrap made for cars. Look for durable, weather-resistant material. Matte, gloss, or satin finishes offer different styles. Pick a color or pattern that matches your taste. Measure your car’s surface to buy enough vinyl. Buying extra vinyl helps cover mistakes or tricky spots.
Essential Tools
Gather tools before starting to avoid delays. A squeegee helps smooth the vinyl and remove air bubbles. A heat gun softens the vinyl for easy shaping. Use a sharp utility knife to trim excess wrap. Measuring tape and microfiber cloths are also important. Clean cloths help prepare your car’s surface.
Safety Gear
Wear gloves to protect your hands from cuts. Safety glasses shield your eyes during cutting. Work in a well-ventilated area to avoid breathing fumes. Dress in comfortable clothes that you don’t mind getting dirty. Keep a first-aid kit nearby for minor injuries.
Measuring And Cutting
Measuring and cutting vinyl wrap is a key step in car wrapping. It ensures the vinyl fits perfectly on the car’s surface. Taking precise measurements and cutting carefully saves time and avoids waste. This step needs patience and attention to detail.
Taking Accurate Measurements
Start by cleaning the car surface. Use a tape measure to get exact lengths and widths. Measure each panel separately. Note down measurements clearly on paper. Measure twice to avoid mistakes. Small errors can cause big problems later.
Cutting The Vinyl
Place the vinyl on a flat, clean surface. Use a sharp utility knife or vinyl cutter. Cut slightly larger than the measured size. Leave extra vinyl for stretching and adjustments. Cut slowly to make straight lines. Avoid jagged or uneven edges.
Planning The Layout
Lay out the vinyl pieces in order before application. Match each piece with the car panels. Plan how the seams will appear. Avoid overlapping too much vinyl. Think about curves and edges. A good layout ensures a smooth finish.
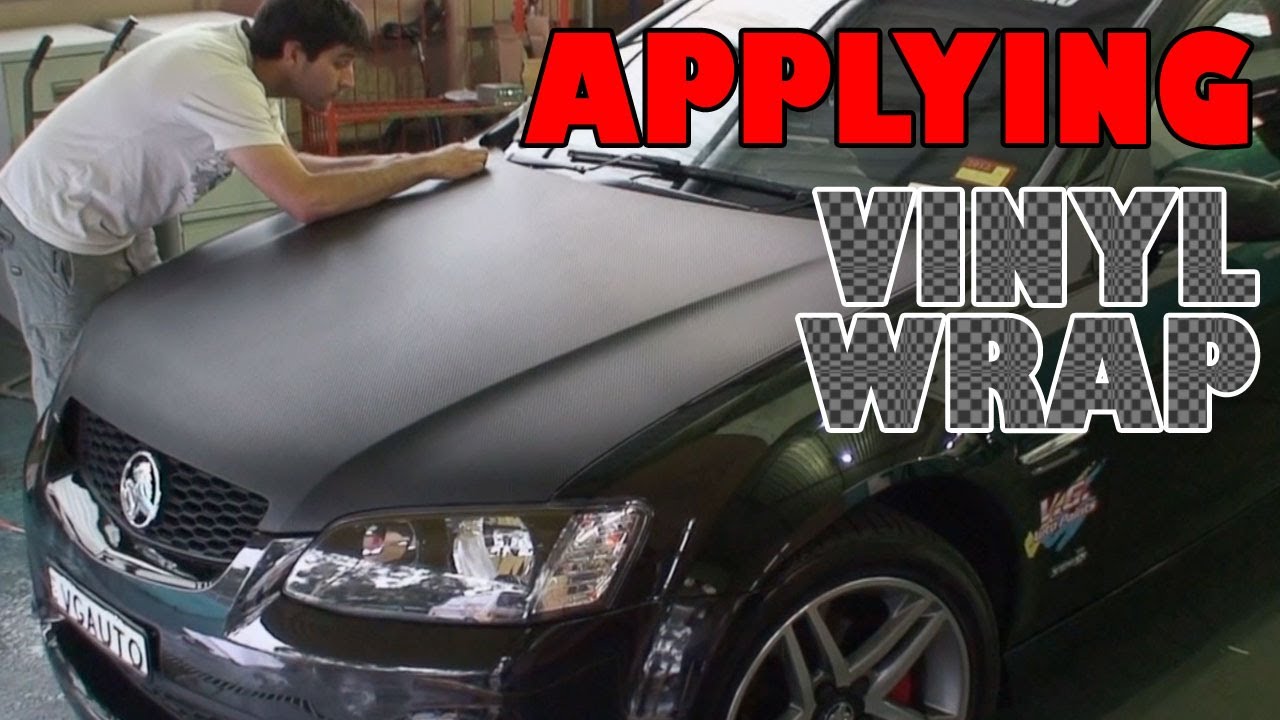
Applying The Vinyl Wrap
Applying vinyl wrap on your car needs patience and care. This step shapes how your car will look. A smooth, bubble-free finish depends on proper handling. Follow each part closely for the best results.
Positioning The Vinyl
Start by placing the vinyl carefully on the car surface. Align it so the design fits perfectly. Avoid stretching the vinyl too much. Keep it loose at first. Secure the top edge with tape to hold it steady. Check the placement from different angles before moving on.
Using Heat And Squeegee
Use a heat gun to warm the vinyl slightly. Warm vinyl becomes soft and easier to work with. Use a squeegee to press the vinyl flat. Start from the center and move outwards. This method pushes out air bubbles and wrinkles. Work slowly and steadily for a smooth finish.
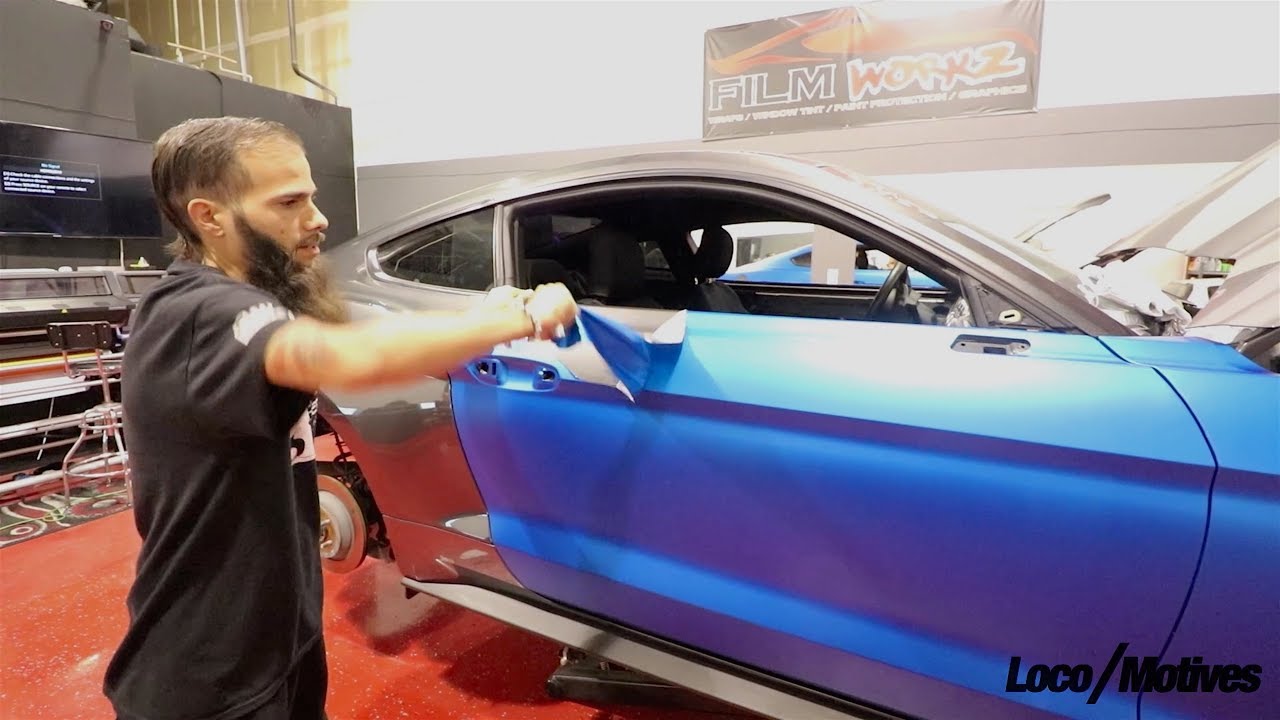
Handling Curves And Edges
Vinyl wrap can be tricky on curves and edges. Heat the vinyl more in these areas to make it stretchable. Pull gently to avoid tears. Use the squeegee to press the vinyl into all crevices. Trim extra vinyl with a sharp blade for a clean edge. Take your time to get a neat look.
Finishing Touches
Finishing touches give your vinyl wrap a neat and professional look. These steps help the wrap last longer and stay smooth. Take your time to do them carefully.
Trimming Excess Vinyl
Use a sharp blade to cut away extra vinyl. Trim close to the edges but do not cut the car’s paint. Cut slowly and steadily for clean lines. Avoid rushing to prevent mistakes.
Securing The Edges
Press down the edges firmly with a squeegee or your fingers. This stops the vinyl from peeling up later. Heat the edges slightly with a heat gun for better grip. Be gentle to avoid damage.
Curing Time
Let the vinyl rest for at least 24 hours. This helps the adhesive stick firmly to the car. Keep the car in a warm, dry place during this time. Avoid washing the car until the vinyl fully cures.
Common Mistakes To Avoid
Applying vinyl wrap on a car can be tricky. Avoiding common mistakes ensures a smooth and clean finish. These errors can ruin the look and waste your time and money.
Below are some common mistakes to watch out for during the vinyl wrap process.
Air Bubbles
Air bubbles form when air gets trapped under the vinyl. They create bumps and make the wrap look uneven. To avoid this, use a squeegee to push air out while applying the vinyl. Work slowly and carefully to prevent bubbles from forming.
Wrinkles And Creases
Wrinkles happen when the vinyl folds or stretches incorrectly. They make the surface look messy and can damage the wrap. Always pull the vinyl gently and keep it flat. Use heat to soften the vinyl before stretching it over curves or edges.
Poor Surface Preparation
Dirt, dust, and grease stop the vinyl from sticking properly. This causes peeling and bubbles later. Clean the car surface thoroughly with soap and alcohol. Make sure it is dry and smooth before starting the wrap.
Maintaining Your Vinyl Wrap
Maintaining your vinyl wrap is key to keeping your car looking fresh and new. Proper care helps avoid damage and extends the life of the wrap. Regular attention preserves the color and texture, making your wrap last longer.
Cleaning Tips
Use a soft cloth or sponge to clean the wrap. Wash the car with mild soap and water. Avoid harsh chemicals or abrasive cleaners. Rinse thoroughly to remove all soap. Dry the wrap gently with a microfiber towel. Clean the wrap every two weeks for best results.
Avoiding Damage
Park your car in the shade to reduce sun damage. Avoid car washes with brushes that can scratch the wrap. Do not use pressure washers too close to the wrap. Be careful when opening doors to prevent peeling. Fix any small tears quickly to stop spreading.
Longevity Advice
Keep the wrap dry after washing. Avoid parking under trees to prevent sap and bird droppings. Use a wrap-specific sealant to protect the surface. Inspect the wrap regularly for signs of wear. Follow these steps to enjoy your wrap longer.
Credit: www.youtube.com
Credit: www.youtube.com
Frequently Asked Questions
What Tools Do I Need To Apply Vinyl Wrap On A Car?
You need a squeegee, heat gun, utility knife, gloves, and cleaning supplies. These tools help smooth, cut, and adhere the vinyl wrap properly.
How Do I Prepare My Car Before Applying Vinyl Wrap?
Clean the car thoroughly to remove dirt, wax, and grease. Use isopropyl alcohol for best results. Ensure the surface is dry and smooth.
Can I Apply Vinyl Wrap On Curved Car Surfaces?
Yes, vinyl wraps are flexible and can conform to curves. Use a heat gun to soften the vinyl and stretch it carefully around bends.
How Long Does Vinyl Wrap Last On A Car?
High-quality vinyl wraps last between 5 to 7 years with proper care. Avoid harsh chemicals and excessive sun exposure to prolong its life.
Conclusion
Applying vinyl wrap on your car can change its look easily. Take your time and prepare the surface well. Use the right tools and work carefully to avoid bubbles. Patience helps you get a smooth, clean finish. Practice makes the process easier and more fun.
Your car will stand out with a fresh new style. Try it yourself and enjoy the results!


