Are you looking to give your vehicle a fresh, new look without the high cost of a paint job? Installing vinyl vehicle wraps is a smart and affordable way to transform your car’s appearance.
But you might be wondering—how hard is it to do it yourself? Don’t worry. In this guide, you’ll discover simple, step-by-step instructions that make the process clear and doable. By the end, you’ll have the confidence to wrap your vehicle like a pro and turn heads wherever you go.
Ready to learn how to install vinyl vehicle wraps that last and look amazing? Let’s get started!
Credit: secondskinwraps.com
Preparing Your Vehicle
Preparing your vehicle is the first step to a smooth vinyl wrap installation. A clean and clear surface helps the vinyl stick better. It also avoids bubbles and wrinkles that spoil the look. Taking time to prepare saves effort later.
Cleaning The Surface
Start by washing your vehicle thoroughly. Use soap and water to remove dirt and grime. Dry the surface with a soft cloth. Next, wipe the area with rubbing alcohol. This removes grease and oils. A clean surface ensures strong vinyl adhesion.
Removing Obstacles
Remove all parts that block the wrap. Take off mirrors, antennae, and trim pieces if possible. This makes the wrap fit smoothly around curves. Obstacles cause wrinkles or gaps in the vinyl. Removing them gives a neat finish.
Choosing The Right Environment
Work in a clean, dust-free place. Avoid windy or humid conditions. A garage or covered area works best. Temperature should be between 60°F and 80°F. This helps the vinyl stretch and stick properly. Good conditions prevent bubbles and tears.
Gathering Materials And Tools
Before installing a vinyl vehicle wrap, gather all materials and tools. Proper preparation saves time and avoids mistakes. Having everything ready helps the process go smoothly.
Selecting Vinyl Wrap
Choose vinyl wrap that fits your vehicle’s size and shape. Pick a high-quality vinyl for durability and easy application. Matte, gloss, or satin finishes offer different looks. Select color or design based on your style or brand. Check the vinyl thickness for lasting results.
Essential Tools List
Prepare a squeegee to smooth out bubbles and wrinkles. Use a heat gun to stretch and mold vinyl over curves. A sharp utility knife helps trim excess material precisely. Clean the vehicle surface with isopropyl alcohol and microfiber cloths. Tape measure and ruler ensure correct vinyl placement. Gloves protect your hands and keep vinyl clean.
Optional Accessories
Consider using a surface primer to improve vinyl adhesion. A plastic scraper helps remove dirt or residue before wrapping. Magnetic trays keep small tools and clips organized. A spray bottle with soapy water allows repositioning of the vinyl. Edge sealant protects wrap edges from peeling. These extras enhance installation quality but are not required.
Measuring And Cutting Vinyl
Measuring and cutting vinyl is a key step in installing vehicle wraps. It ensures the vinyl fits your vehicle perfectly. Precise measurements stop waste and save time. Cutting vinyl right helps avoid wrinkles and bubbles during installation.
Taking Accurate Measurements
Start by cleaning the surface of your vehicle. Use a soft cloth and mild cleaner. Measure each section you want to wrap. Use a tape measure and note the length and width. Measure twice to avoid mistakes. Write down all measurements clearly. Check curves and edges carefully.
Marking Cut Lines
Lay the vinyl flat on a clean surface. Use your measurements to mark cut lines. A pencil or chalk works well on vinyl. Draw straight lines for easier cutting. Mark extra space around edges for adjustments. This extra margin helps during wrapping. Keep marks light to avoid visible lines.
Pre-cutting Vinyl Panels
Cut vinyl panels just outside the marked lines. Use a sharp utility knife or scissors. Cut slowly for clean edges. Separate panels for each vehicle part. Pre-cutting helps organize the wrap job. It also makes the installation faster. Keep panels flat and dust-free until use.
Credit: floridacarwrap.com
Applying The Vinyl Wrap
Applying the vinyl wrap is a key step in vehicle wrapping. It requires care and precision. This process ensures the wrap sticks well and looks smooth. Follow each step carefully to avoid wrinkles or bubbles.
Positioning The Vinyl
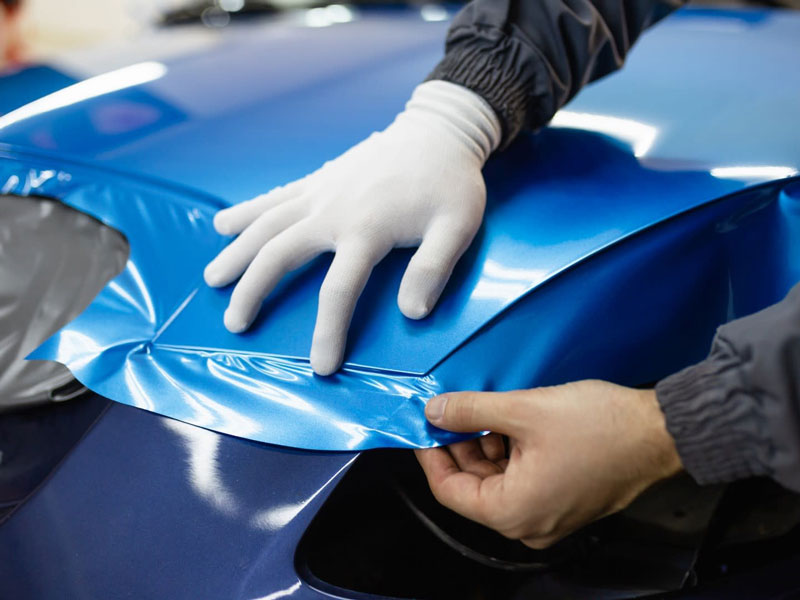
Place the vinyl carefully on the vehicle surface. Align it to cover the desired area fully. Use magnets or tape to hold it in place. Check the fit from different angles before applying pressure.
Peeling Backing Paper
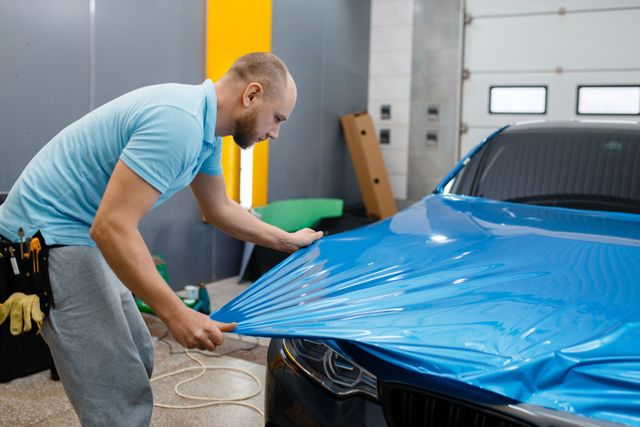
Start by peeling a small section of the backing paper. Do not remove it all at once. Slowly pull the paper back while pressing the vinyl down. This helps avoid folding or creases in the wrap.
Smoothing Out Air Bubbles
Use a squeegee to push out air bubbles. Start from the center and move toward the edges. Work gently to prevent tearing the vinyl. Small bubbles can be pricked with a pin carefully.
Using Heat For Flexibility
Apply heat with a heat gun or hairdryer to soften the vinyl. Heat makes the material easier to stretch and shape. Be careful not to overheat and damage the wrap. Heat helps the vinyl stick tightly around curves and edges.
Trimming And Finishing Touches
Trimming and finishing touches are crucial steps in installing vinyl vehicle wraps. These steps ensure the wrap looks clean and lasts longer. Proper trimming removes extra vinyl that can peel off or cause wrinkles. Finishing touches make the wrap fit perfectly along edges and curves.
Cutting Excess Vinyl
Use a sharp blade to cut away extra vinyl carefully. Cut close to the edges without damaging the vehicle’s paint. Work slowly to avoid mistakes. Trim around door handles, mirrors, and other details precisely. Remove all loose vinyl to prevent lifting later.
Sealing Edges
Seal the edges with a heat gun or a roller tool. Heat softens the vinyl, helping it stick tightly to the surface. Press edges firmly to avoid air bubbles and peeling. Check corners and seams for any gaps. Sealing protects the wrap from water and dirt.
Final Inspection
Look over the entire vehicle for any wrinkles or bubbles. Smooth out any imperfections with a squeegee or heat gun. Check that all edges are securely sealed. Make sure the wrap fits well around curves and details. A clean finish means your wrap will last longer and look great.
Maintenance Tips For Longevity
Keeping your vinyl vehicle wrap in great shape extends its life and keeps it looking fresh. Regular care helps avoid fading, peeling, and dirt buildup. Small efforts go a long way.
Cleaning Wrapped Surfaces
Use gentle soap and water to clean the wrap. Avoid harsh chemicals or abrasive tools. Soft cloths or sponges work best. Rinse thoroughly with clean water to remove soap. Dry the surface with a microfiber towel to prevent water spots.
Avoiding Damage
Park your vehicle in shaded areas to reduce sun damage. Avoid high-pressure car washes or brushes that can lift edges. Stay clear of sharp objects near the wrap. Drive carefully to prevent scratches and dents.
Repairing Small Imperfections
Fix small bubbles or wrinkles quickly to stop them from growing. Use a heat gun on low to smooth out edges gently. For tiny tears, use vinyl repair kits designed for vehicle wraps. Prompt repairs keep the wrap strong and neat.
Credit: www.toplinetints.com
Frequently Asked Questions
What Tools Do I Need To Install Vinyl Vehicle Wraps?
You need a squeegee, heat gun, utility knife, and cleaning solution. These tools help apply the wrap smoothly and securely.
How Long Does Vinyl Vehicle Wrap Installation Take?
Installation typically takes 1 to 3 days, depending on vehicle size and complexity. Proper time ensures a flawless finish.
Can I Install A Vinyl Wrap Myself?
Yes, with patience and practice, you can DIY. However, professional installation guarantees the best results and durability.
How To Prepare A Vehicle Before Vinyl Wrap Installation?
Clean the surface thoroughly, remove dirt, grease, and wax. A smooth, dry surface improves wrap adhesion and longevity.
Conclusion
Installing vinyl vehicle wraps takes patience and care. Clean the surface well before starting. Use a squeegee to smooth out bubbles. Work slowly to avoid mistakes. Check edges to ensure they stick properly. Trim excess vinyl neatly for a clean look.
Practice helps improve your wrapping skills. A good wrap can protect your vehicle’s paint. Enjoy your vehicle’s fresh new style. Keep it clean to make the wrap last longer. You can achieve great results with simple steps.