
If you want to give your Nissan Armada a sleek, finished look, attaching body side molding is a simple upgrade that makes a big difference. You might think this job requires a professional, but with the right steps, you can do it yourself and save time and money.
In this guide, you’ll discover exactly how to attach body side molding to your Nissan Armada quickly and securely. By the end, you’ll have the confidence to enhance your vehicle’s style and protect its sides from scratches and dings. Keep reading to find out how easy it can be!
Credit: www.sportwing.com
Tools And Materials Needed
Preparing the vehicle surface is a key step before attaching body side molding to your Nissan Armada. A clean, smooth surface helps the molding stick well and last longer. This process includes cleaning, removing old molding, and carefully checking the area.
Cleaning The Area
Start by washing the area where the molding will go. Use mild soap and water to remove dirt and grime. Dirt can stop the adhesive from sticking properly. Rinse the surface with clean water. Dry the area with a soft cloth to avoid water spots.
Removing Old Molding
Remove any old or damaged molding carefully. Use a plastic scraper or a trim removal tool. Avoid metal tools to prevent scratches. Pull the molding slowly to avoid tearing it. Remove all adhesive residue with an adhesive remover or rubbing alcohol.
Drying And Inspection
Make sure the surface is completely dry before applying new molding. Check for any rust, dents, or damage. Fix these issues to ensure a smooth fit. A clean, dry, and even surface gives the best results for molding attachment.

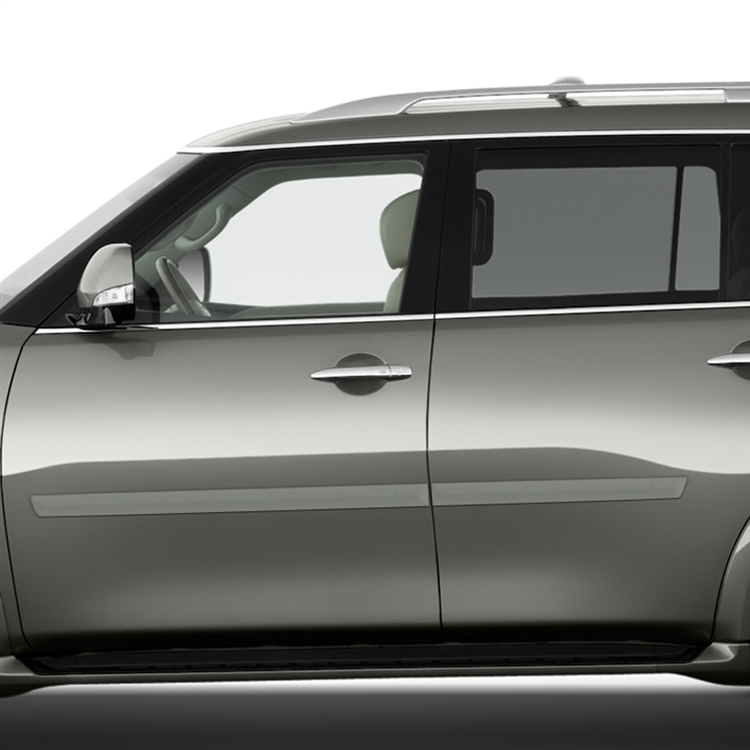
Credit: www.ebay.com
Preparing The Vehicle Surface
Aligning the side molding on your Nissan Armada is a key step. Proper alignment ensures a smooth fit and a neat look. It also helps the molding stay secure over time. Take your time with this part. Careful alignment prevents mistakes and saves effort later.
Measuring Placement
Start by measuring the area where the molding will go. Use a tape measure to find the exact spots. Measure from fixed points like door edges or wheel wells. Keep measurements even on both sides of the vehicle. Accurate measuring helps avoid crooked or uneven molding.
Marking The Position
After measuring, mark the spots clearly. Use masking tape or a pencil that won’t damage the paint. Mark both ends and a few points in the middle. These marks guide you during installation. Double-check the marks before attaching the molding. This step ensures the molding fits perfectly.
Aligning The Side Molding
Attaching the side molding on your Nissan Armada is a straightforward task. The key is to prepare the surface and apply the molding carefully. This ensures a strong hold and a clean look. Follow these simple steps to secure the molding properly.
Peeling The Adhesive Backing
Start by holding the molding in place. Carefully peel off the adhesive backing. Avoid touching the sticky side with your fingers. This keeps the adhesive clean and ready to stick well. Peel slowly to prevent the adhesive from folding or tearing.
Applying The Molding
Align the molding along the side of your Nissan Armada. Check that it fits the shape and curves perfectly. Press the molding gently against the surface. Make sure it stays straight and even. Move along the length of the molding, pressing as you go.
Pressing And Securing
After placing the molding, press firmly with your palm. Apply steady pressure for about 30 seconds. This helps the adhesive stick tightly to the vehicle. For extra hold, use a soft cloth to press along the entire molding. Avoid pulling or repositioning once applied.
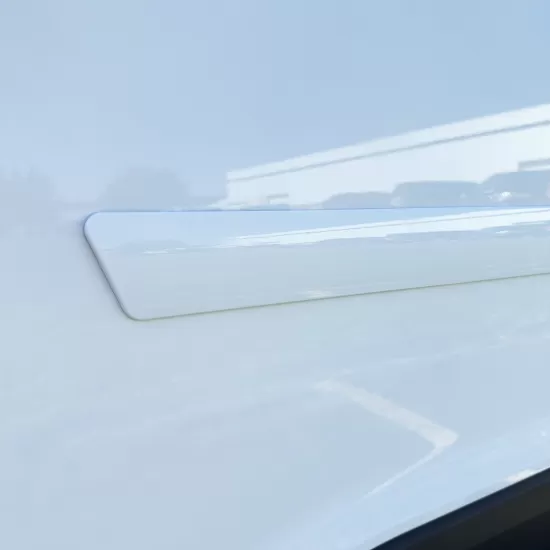
Credit: www.shopsar.com
Attaching The Side Molding
Keeping your Nissan Armada’s body side molding in good shape helps protect your vehicle. Regular care avoids damage and keeps the molding tight and clean. Follow these simple maintenance tips to extend the life of your molding and keep your Armada looking great.
Clean The Molding Regularly
Use mild soap and water to clean the molding. Avoid harsh chemicals that can damage the surface. Gently scrub with a soft cloth to remove dirt and grime. Dry with a clean towel to prevent water spots.
Check For Loose Sections
Inspect the molding for any parts that may come loose. Press gently along the edges to test adhesion. Reattach or replace loose sections quickly to avoid further damage. Use automotive adhesive designed for moldings if needed.
Protect From Sun Damage
Park your Armada in shaded areas when possible. Use a car cover to block harmful UV rays. Apply a UV protectant spray to the molding to prevent fading and cracking. This helps keep the molding flexible and strong.
Avoid Impact And Scratches
Be careful when parking near curbs or other vehicles. Avoid hitting the molding with tools or heavy objects. Fix scratches promptly using touch-up paint or repair kits. This prevents rust and further damage.
Frequently Asked Questions
How Do I Prepare The Nissan Armada For Molding Attachment?
Clean the surface thoroughly with soap and water. Dry it completely to ensure strong adhesion. Remove any old adhesive or dirt before starting.
What Tools Are Needed To Attach Body Side Molding?
You’ll need adhesive promoter, masking tape, and a heat gun or hairdryer. A plastic trim tool helps press molding evenly onto the surface.
Can I Attach Side Molding Without Adhesive Promoter?
Using adhesive promoter improves bonding strength significantly. Skipping it may cause molding to peel off sooner. It’s highly recommended for lasting results.
How Long Does The Adhesive Take To Set On The Armada?
Adhesive sets within 24 hours. Avoid washing or exposure to heavy rain during this time. Full curing ensures molding stays firmly attached.
Conclusion
Attaching body side molding to your Nissan Armada is simple and effective. Follow each step carefully for the best fit. Using the right tools makes the job easier and faster. Clean the surface well before starting to ensure strong adhesion.
Take your time to align the molding correctly. The result protects your vehicle and improves its look. Enjoy your work and the added style on your Armada. Small efforts bring good results. Keep these tips in mind for a smooth installation.


