
Are you ready to bring your creative ideas to life with vinyl wraps? Whether you want to customize your car, laptop, or any smooth surface, knowing how to print vinyl wraps correctly is key.
This guide will walk you through every step, making the process simple and fun. By the end, you’ll have the confidence to print vibrant, long-lasting wraps that turn heads and express your style. Keep reading to discover the secrets that will make your vinyl wrap projects stand out!
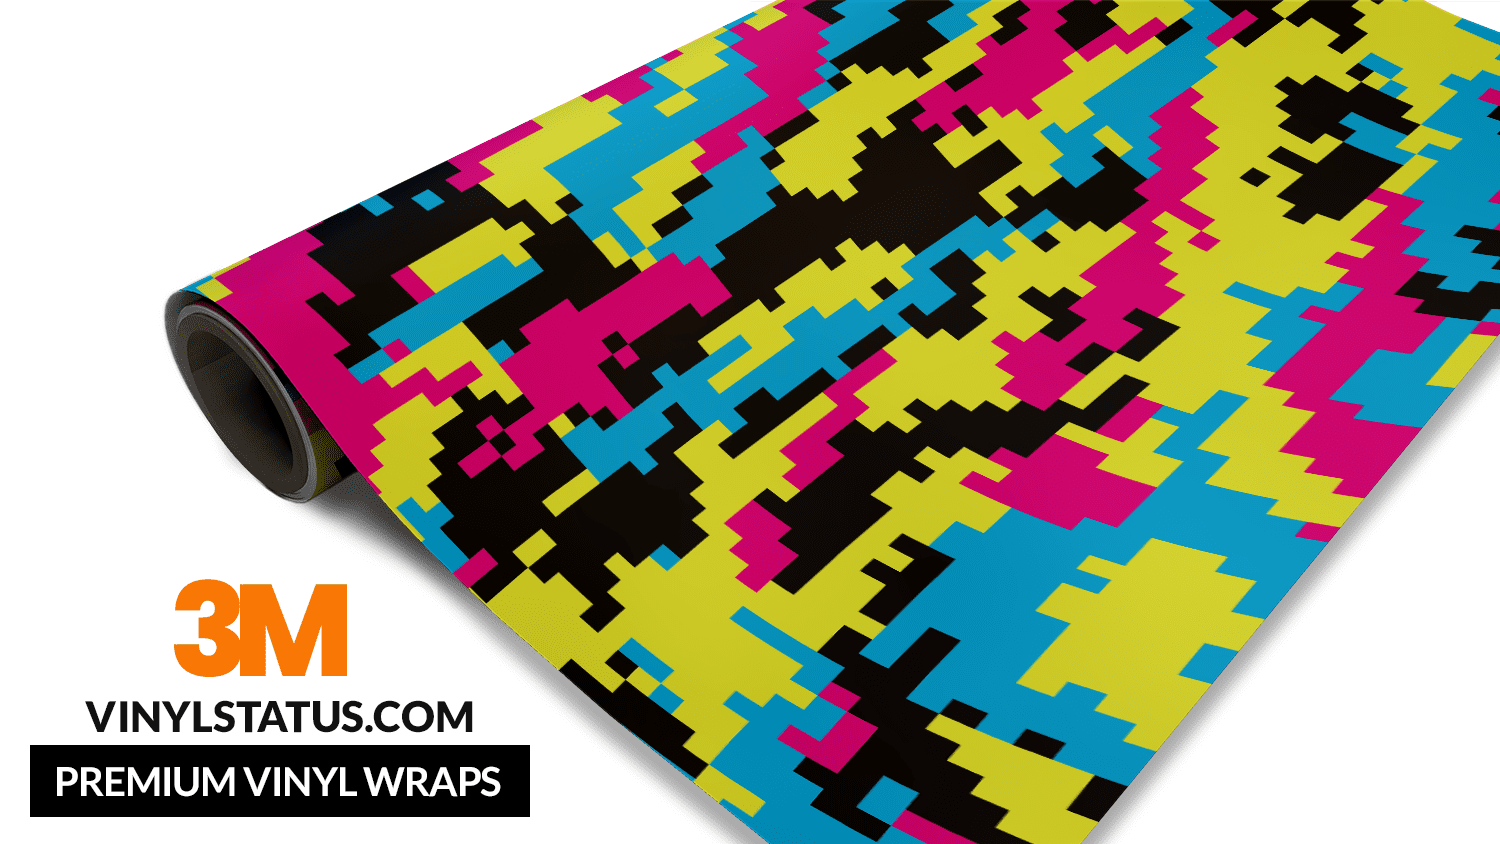
Credit: vinylstatus.com
Choosing The Right Vinyl
Choosing the right vinyl is a key step in printing vinyl wraps. The type of vinyl affects the look, feel, and durability of your wrap. It also impacts how easy the wrap is to apply and how long it lasts. Understanding the different options helps you pick the best vinyl for your project.
Types Of Vinyl Wraps
There are several types of vinyl wraps. Cast vinyl is thin and flexible. It molds well around curves and corners. It lasts longer and resists cracking. Calendered vinyl is thicker and less flexible. It suits flat surfaces better. It costs less but has a shorter lifespan. Choose cast vinyl for vehicles. Use calendered vinyl for signs or flat surfaces.
Matte Vs Glossy Finishes
Vinyl wraps come in matte and glossy finishes. Matte vinyl has a flat, non-shiny look. It hides fingerprints and small scratches. Glossy vinyl shines and reflects light. It looks bright and clean. Glossy finishes often attract more attention. Matte finishes provide a subtle, modern look. Pick the finish that matches your style and purpose.
Durability And Weather Resistance
Durability matters for long-lasting wraps. Quality vinyl resists fading from sunlight. It also stands up to rain, snow, and wind. Some vinyls have UV protection to keep colors bright. Weather-resistant vinyl prevents peeling and cracking. For outdoor use, choose vinyl designed for tough conditions. It keeps your wrap looking good for years.
Preparing Your Design
Preparing your design is an important step before printing vinyl wraps. It helps ensure your final product looks clear and vibrant. Taking time to set up your design correctly saves you from costly mistakes. Follow these tips to get your design ready for printing.
Color Profiles And Resolution
Choose the right color profile for your printer. Most printers use CMYK, which shows colors better on vinyl. Avoid RGB because it can change colors when printed. Set your design resolution to at least 300 dpi. This keeps images sharp and clear, even when enlarged.
File Formats To Use
Save your design in formats that keep quality high. PDF and TIFF files are best for printing. They preserve colors and details well. Avoid using JPEG, as it can lower image quality. Use vector files like AI or EPS for logos and text. These files scale without losing sharpness.
Design Size And Scaling
Create your design at the exact size of the vinyl wrap. This prevents unwanted stretching or shrinking. If you must scale, do it carefully to keep proportions. Check your design at full size before printing. This helps spot any issues early and fix them fast.
Printer And Ink Selection
Selecting the right printer and ink is key for printing vinyl wraps. The printer must handle large, flexible materials smoothly. The ink should stick well and resist fading. Poor choices can lead to weak colors and peeling. This section helps you pick the best tools for crisp, lasting prints.
Best Printers For Vinyl Wraps
Wide-format inkjet printers are ideal for vinyl wraps. Brands like Epson, Roland, and Mimaki offer reliable models. These printers support large roll sizes and high resolutions. They print vibrant colors and fine details. Choose a printer with a strong build for heavy use. Look for models with adjustable print heads to avoid damage to vinyl.
Compatible Ink Types
Solvent, eco-solvent, and UV inks work best on vinyl. Solvent inks penetrate vinyl well and resist water. Eco-solvent inks are less toxic and still durable. UV inks cure instantly and create sharp images. Avoid dye-based inks; they fade quickly outdoors. Choose inks designed for outdoor durability and flexibility.
Maintenance Tips For Quality Printing
Keep your printer clean to avoid clogging nozzles. Regularly check and replace ink cartridges on time. Store vinyl rolls in a dry, cool place before printing. Run test prints to check color and alignment. Clean print heads weekly for consistent output. Proper care extends printer life and print quality.
Setting Up The Printer
Setting up the printer correctly is the first step to print vinyl wraps successfully. This process ensures your prints come out clear and last long. Paying attention to details here saves time and material later. Follow each step carefully for the best results.
Loading Vinyl Material
Start by choosing the right vinyl for your printer. Check the vinyl’s thickness and type. Place the vinyl roll on the printer’s feed system. Align it so it feeds straight and smooth. Make sure the vinyl sits tight but not too tight. This avoids wrinkles and jams during printing.
Adjusting Printer Settings
Open the printer’s control panel or software. Select the vinyl material type from the options. Set the print quality to high for sharp images. Adjust the ink settings for durability and color accuracy. Choose the correct print speed to match the vinyl. Save these settings before printing starts.
Test Printing And Calibration
Print a small test image on the vinyl. Check for color accuracy and alignment. If colors look off, adjust the printer’s color profile. Use calibration tools if your printer has them. Repeat test prints until the output matches your expectations. This step prevents costly errors on large prints.
Printing Process
The printing process is a key step in creating vinyl wraps. It affects the final look and durability of the wrap. Understanding how to control the printer and handle the material leads to better results. This section explains how to manage print speeds, avoid errors, and handle large prints.
Managing Print Speeds
Print speed affects the quality of the vinyl wrap. Slower speeds give sharper images and better color accuracy. Fast speeds can cause smudges or misaligned prints. Adjust the speed based on the material and printer type. Test small sections before printing the full wrap. This saves time and material.
Avoiding Common Printing Errors
Errors during printing can ruin the wrap and waste materials. Common mistakes include ink smears, color mismatches, and banding lines. Clean the printer heads regularly to prevent clogs. Use the correct ink and vinyl type for your printer. Check the design file for any low-resolution images or incorrect color profiles.
Handling Large Format Prints
Large vinyl wraps need careful handling to avoid damage. Use a flat, clean surface to feed the vinyl into the printer. Avoid touching the printable side to prevent fingerprints or dirt. Roll the printed vinyl gently to prevent creases. Store large prints in a cool, dry place before installation.
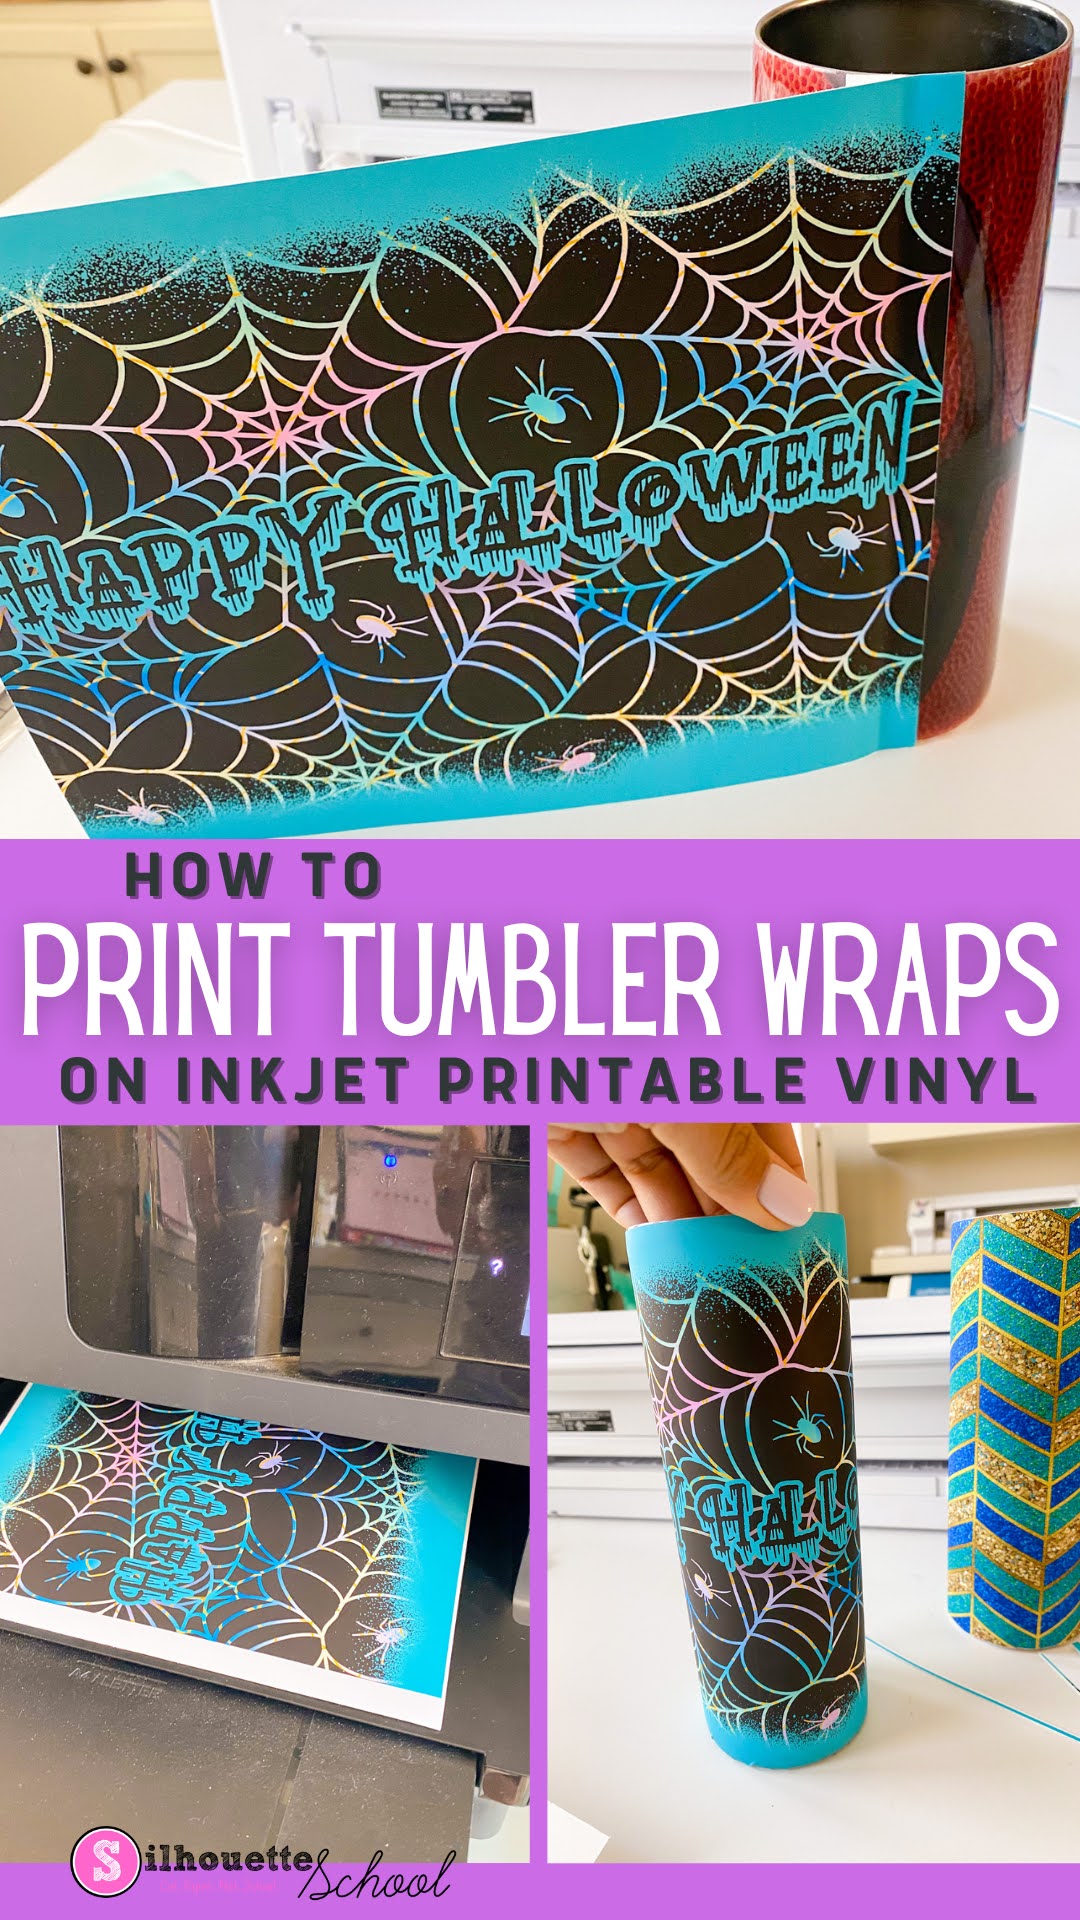
Credit: www.silhouetteschoolblog.com
Post-printing Care
After printing vinyl wraps, taking good care of them is very important. Proper post-printing care ensures the wrap lasts longer and looks great. Follow these steps to keep your vinyl wraps in top condition.
Drying And Curing Vinyl
After printing, the vinyl needs time to dry. This step helps the ink stick well to the material. Leave the vinyl in a dry, dust-free place for a few hours. Avoid touching the surface during this time. Some inks may need extra curing with heat. Use a heat press or a warm air blower carefully. This process strengthens the print and prevents smudging.
Laminating For Protection
Laminating adds a clear layer over the printed vinyl. It protects the design from scratches, sun damage, and water. Choose a laminate that fits your vinyl type. Apply the laminate smoothly to avoid bubbles or wrinkles. Use a roller or squeegee for best results. This step increases the vinyl’s lifespan and keeps colors bright.
Cutting And Trimming Techniques
Cutting the vinyl wrap needs precision. Use a sharp blade or vinyl cutter for clean edges. Cut slowly to avoid tearing the material. Trim excess vinyl carefully around curves and corners. Leave a small margin for adjustments during installation. Proper cutting helps the wrap fit perfectly on the surface.
Applying Vinyl Wraps
Applying vinyl wraps needs care and patience. A good application makes the wrap look smooth and last longer. Follow the right steps for the best results.
Surface Preparation
Clean the surface well. Remove dirt, grease, and dust. Use soap and water first. Then wipe with rubbing alcohol. Make sure the surface is dry before starting. Any dirt can cause bubbles under the wrap.
Tools For Application
Gather the right tools. Use a squeegee to press the wrap down. A heat gun helps to stretch the vinyl. A sharp knife or blade cuts excess vinyl. Have a microfiber cloth ready to smooth edges and clean the surface again.
Techniques For Smooth Application
Start applying the wrap from one edge. Slowly press the vinyl down with a squeegee. Push air bubbles out toward the edges. Use a heat gun to soften the vinyl on curves. Stretch the vinyl gently to fit shapes. Take your time. Avoid rushing to prevent wrinkles and bubbles.
Troubleshooting Common Issues
Troubleshooting common issues in vinyl wrap printing helps keep your work smooth and professional. Small problems can appear during or after printing. Knowing how to solve these issues saves time and money. Here are easy ways to fix some frequent problems.
Fixing Bubbles And Wrinkles
Bubbles and wrinkles often form during application. Use a heat gun or hairdryer to warm the vinyl. This softens the material and makes it easier to smooth out. Gently push bubbles toward the edges with a squeegee or credit card. For stubborn wrinkles, lift the vinyl carefully and reapply it slowly. Avoid stretching the vinyl too much. Work in small sections for best results.
Dealing With Color Fading
Color fading reduces the vinyl’s bright look. It happens from sun or poor print quality. Use high-quality inks designed for vinyl printing. Laminating the vinyl protects colors from UV rays and scratches. Store printed vinyl in a cool, dark place to keep colors fresh. Avoid direct sunlight on wrapped surfaces for long periods. Regularly clean the vinyl with mild soap and water to preserve colors.
Removing And Reapplying Vinyl
Sometimes, you must remove and reapply vinyl. Heat the vinyl gently to loosen the adhesive. Pull the vinyl slowly at a low angle to prevent tears. Clean the surface of any sticky residue with rubbing alcohol. Make sure the surface is dry before reapplying vinyl. Align the vinyl carefully and use a squeegee to remove air pockets. Take your time for a smooth finish.

Credit: www.rolanddga.com
Frequently Asked Questions
What Materials Are Needed To Print Vinyl Wraps?
To print vinyl wraps, you need printable vinyl sheets, a compatible printer, ink suited for vinyl, and laminating film for protection. Proper tools like a cutting plotter and squeegee are also essential for application. Quality materials ensure durable, vibrant, and professional results.
How Do I Prepare The Design For Vinyl Wraps?
Design preparation involves using high-resolution images and vector graphics for clarity. Set the correct print dimensions and color profiles. Use design software like Adobe Illustrator or CorelDRAW to create or edit artwork. Proper preparation prevents pixelation and color issues during printing.
What Printer Type Is Best For Vinyl Wraps?
Eco-solvent, solvent, and UV printers are best for vinyl wraps. They produce durable, waterproof prints with vibrant colors. Eco-solvent printers are popular for indoor and outdoor applications due to their low odor and environmental impact. Choose based on budget and usage needs.
How To Maintain Printed Vinyl Wraps For Longevity?
Maintain vinyl wraps by cleaning with mild soap and water regularly. Avoid abrasive materials and harsh chemicals. Park vehicles away from direct sunlight when possible. Proper care extends the wrap’s life, preserving color and adhesion for years.
Conclusion
Printing vinyl wraps takes careful steps and patience. Choose the right printer and vinyl material first. Prepare your design with clear colors and high resolution. Keep the printer settings correct to avoid mistakes. After printing, let the vinyl dry well before use.
Cut and apply the wrap smoothly to prevent bubbles. Practice helps improve your skills over time. Follow these tips to get good results every time. Printing vinyl wraps can be simple with the right approach. Give it a try and see your designs come alive.


