
Is your car vacuum cleaner not working like it used to? Maybe it’s time to change it yourself at home.
You don’t need to spend extra money at a repair shop or wait days to get it fixed. With a few simple steps, you can have your vacuum cleaner running like new again. Keep reading, and you’ll discover an easy, quick way to do it yourself—saving you time, money, and hassle.
Ready to get started? Let’s dive in!

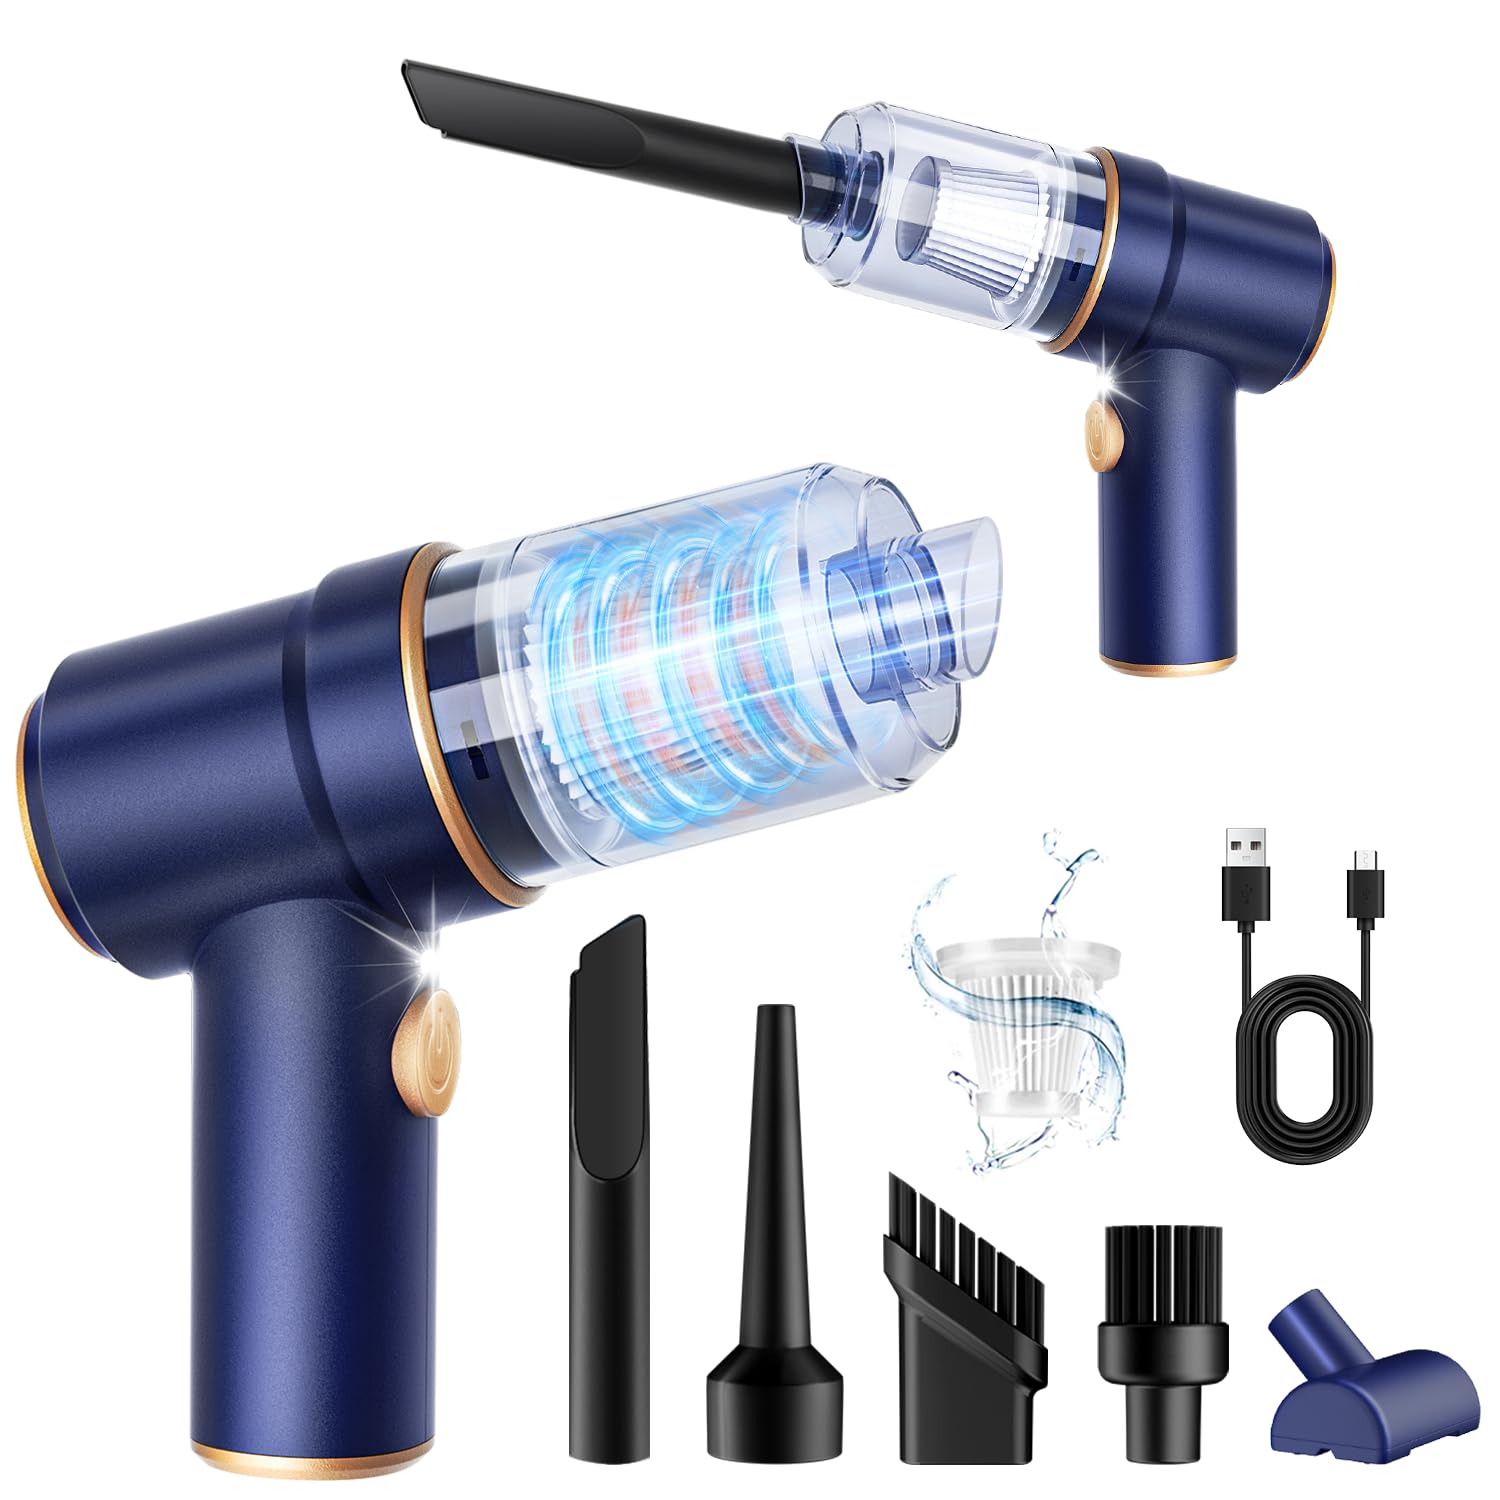
Credit: www.walmart.com
Tools And Materials Needed
Changing a car vacuum cleaner at home is easier with the right tools and materials. Prepare everything before starting the task. This helps save time and avoid frustration.
Gather basic tools and parts. These will help you remove the old vacuum and install the new one correctly. Safety is also important, so include protective gear.
Tools Required
- Screwdriver set – for removing screws and panels.
- Wrench or socket set – to loosen bolts if needed.
- Plastic pry tool – to open clips without damage.
- Flashlight – to see tight, dark spaces inside the car.
- Multimeter (optional) – to check electrical connections.
Materials Needed
- Replacement car vacuum cleaner unit matching your model.
- Electrical tape – for securing wires.
- Zip ties – to organize cables neatly.
- Cleaning cloth – to wipe dust and debris during installation.
Safety Gear
- Gloves – protect your hands from sharp parts.
- Safety glasses – guard your eyes from dust and debris.
Credit: www.amazon.com
Preparing Your Car
Preparing your car before changing the vacuum cleaner is important. It makes the process easier and safer. You need to clear space and protect your car’s interior. Follow these steps to get ready.
Park Your Car In A Well-lit Area
Choose a flat surface to park your car. Good lighting helps you see small parts clearly. This reduces mistakes and saves time. Avoid parking under trees or in dusty places.
Remove Personal Items And Trash
Take out all personal belongings from the car. Clear out trash and loose objects. This gives you more room to work. It also prevents damage to your items.
Protect Car Seats And Floors
Use old towels or cloth to cover seats and floors. This stops dirt or damage during cleaning. It keeps your car neat while you change the vacuum cleaner.
Gather Necessary Tools And Supplies
Prepare all tools before starting. Have screwdrivers, wrenches, and replacement parts ready. This avoids interruptions and speeds up the process. Keep everything within reach.
Removing The Old Vacuum Cleaner
Removing the old car vacuum cleaner is the first step in installing a new one. It helps to clear space and avoid damage. Take your time to do it carefully. This will make the process smoother and safer.
Focus on the power connections and how the vacuum is attached. These parts need to be handled with care. Follow each step closely to avoid any mistakes or accidents.
Disconnecting Power Supply
Start by turning off your car and removing the keys. This ensures no power flows to the vacuum. Locate the power source, usually a plug or wire near the vacuum unit. Gently unplug or disconnect the power cable. Avoid pulling on the wires directly. Check that the vacuum has no power before proceeding.
Detaching The Vacuum Unit
Look at how the vacuum is fixed inside your car. Some units clip on, while others use screws or brackets. Use the right tools to loosen screws or release clips. Hold the vacuum firmly to prevent it from falling. Slowly pull the vacuum away from its mount. Keep parts and screws safe for later use or disposal.
Installing The New Vacuum Cleaner
Installing the new car vacuum cleaner is the next step after removing the old one. This process ensures your cleaner works properly and fits securely. Take your time to place and connect the new unit carefully. Proper installation helps avoid damage and keeps your car tidy.
Positioning The New Unit
Find the spot where the old vacuum was fixed. Align the new vacuum with the mounting points. Make sure it fits snugly without forcing it. Check that it does not block any car controls. Secure the vacuum using screws or clips provided. Confirm it sits firmly and will not move while driving.
Connecting Power Cables
Locate the power cables inside the car vacuum slot. Match the new vacuum’s cables with the car’s connectors. Attach the cables firmly but gently to avoid damage. Use any clips or ties to keep cables tidy. Test the connection by turning on the vacuum. Ensure the vacuum powers up before finishing installation.
Testing The New Vacuum Cleaner
Testing the new car vacuum cleaner is an important step. It ensures the device works well and cleans your car properly. This process helps you avoid future problems and confirms the vacuum’s power and suction.
Try the vacuum on different car surfaces. Check carpets, seats, and hard areas. Each spot needs a good clean to prove the vacuum’s strength.
Checking The Power And Suction
Plug in the vacuum cleaner and switch it on. Listen for a strong motor sound. Feel the suction by placing the nozzle on your hand or a piece of paper. A strong pull means the vacuum is working well.
Testing On Various Car Surfaces
Move the vacuum over the car carpet. Then try the seats and floor mats. Watch for how much dirt and dust it picks up. Clean surfaces show the vacuum works correctly.
Inspecting The Dust Container
Look at the dust container after cleaning. Empty it to see how much debris it collected. A full container means the vacuum is effective. Clean the container before the next use.
Checking For Noise And Vibration
Notice the noise level during use. The vacuum should not be too loud or vibrate excessively. Smooth operation means the device is in good condition and safe to use.
Maintenance Tips For Longevity
Maintaining your car vacuum cleaner properly helps it last longer. Small daily habits protect the machine and keep it working well. Clean parts regularly and handle the vacuum with care. These steps prevent damage and save money on repairs.
Cleaning The Filter Frequently
Remove the filter after each use. Tap it gently to remove dust and dirt. Wash the filter with water if it is washable. Let it dry completely before putting it back. Clean filters improve suction and stop motor strain.
Emptying The Dust Container
Empty the dust container after every cleaning session. A full container reduces suction power. It can also cause the vacuum to overheat. Dispose of dirt in a trash bin. Wipe the container with a damp cloth to remove residue.
Checking For Blockages
Look inside the vacuum hose and nozzle for clogs. Remove any debris found in these areas. Blockages reduce cleaning efficiency and can harm the motor. Use a thin stick or compressed air to clear tight spots.
Storing Properly
Store the vacuum in a dry, cool place. Avoid leaving it in direct sunlight or damp areas. Coil the power cord neatly to prevent damage. Proper storage keeps parts safe and ready for use.
Inspecting The Power Cord
Check the power cord for cuts or frays before use. Damaged cords can cause electrical hazards. Replace or repair the cord if you find any issues. A safe cord ensures smooth and safe operation.
Credit: rodatech.net
Frequently Asked Questions
How Do I Change A Car Vacuum Cleaner Filter?
To change the filter, first unplug the vacuum. Open the filter compartment, remove the old filter, and insert a new one. Ensure it fits snugly before closing the compartment. Regular filter changes improve suction and maintain cleaner air inside your car.
What Tools Are Needed To Replace A Car Vacuum Cleaner?
Most car vacuum cleaners require no special tools for replacement. Usually, just your hands to open compartments and remove parts. However, a small screwdriver may help with secured covers. Always check your vacuum’s manual for specific tool recommendations before starting.
How Often Should I Replace My Car Vacuum Cleaner Parts?
Replace vacuum cleaner parts every 6 to 12 months depending on usage. Filters and brushes wear out faster with frequent use. Regular maintenance ensures optimal cleaning performance and prolongs the vacuum’s lifespan. Inspect parts monthly for dirt build-up or damage.
Can I Replace Car Vacuum Parts Myself Safely?
Yes, you can safely replace car vacuum parts at home. Follow the manufacturer’s instructions carefully. Make sure the vacuum is unplugged before starting. Use the correct replacement parts to avoid damage. DIY replacement saves time and money while keeping your vacuum efficient.
Conclusion
Changing your car vacuum cleaner at home is simple and quick. Follow the steps carefully, and you will save time and money. Keep your car clean and fresh by replacing the vacuum on time. Small care makes a big difference.
Try it today and enjoy a tidy car every day.


