Are you ready to take your Car Mechanic Simulator skills to the next level? Knowing how to change the fuel filter is a game-changer for keeping your virtual engines running smoothly.
Whether you want to fix that stubborn stutter or improve your workshop’s efficiency, mastering this simple repair can save you time and boost your reputation. In this guide, you’ll discover step-by-step how to replace the fuel filter quickly and easily—no guesswork, no frustration.
Keep reading, and you’ll be fixing cars like a pro in no time.
Fuel Filter Basics
The fuel filter is a small but vital part of your car’s engine system. It cleans the fuel before it reaches the engine. Dirt, rust, and other particles can get into the fuel tank. The fuel filter stops these particles from causing damage. Understanding the basics of the fuel filter helps you maintain your car well in Car Mechanic Simulator.
Role In Engine Performance
The fuel filter ensures clean fuel flows to the engine. Clean fuel helps the engine run smoothly. It prevents clogging in fuel injectors and carburetors. A good fuel filter improves engine efficiency and power. It also helps reduce harmful emissions from the exhaust. Without a proper filter, the engine may misfire or stall.
Signs Of A Clogged Filter
A clogged fuel filter can cause many problems. The engine might hesitate or lose power. You may notice difficulty starting the car. The engine might run rough or stall suddenly. Poor fuel economy can also be a sign. Strange noises from the fuel pump may occur. These signs mean it is time to check or replace the filter.

Credit: www.youtube.com
Preparing For The Change
Preparing to change the fuel filter in Car Mechanic Simulator is the first step to a smooth repair. Proper preparation saves time and avoids mistakes. It also keeps the virtual workspace safe and organized. Follow simple steps to get ready before starting the fuel filter change.
Gathering Tools And Parts
Collect all tools needed for the job. You will need a wrench, screwdrivers, and a new fuel filter. Check the parts store in the game for the correct filter model. Having everything ready helps finish the task faster. Double-check the fuel filter fits the car model you are working on.
Safety Precautions
Wear gloves to protect your hands. Fuel can cause skin irritation. Work in a well-ventilated area to avoid breathing fumes. Make sure the car engine is off and cool before starting. Avoid sparks or open flames near the fuel system. Safety keeps your gameplay smooth and problem-free.
Locating The Fuel Filter
Finding the fuel filter is the first step in changing it in Car Mechanic Simulator. This part cleans the fuel before it reaches the engine. Knowing its location helps you fix the car faster. The fuel filter’s place depends on the car model. Some filters are easy to spot, while others are hidden.
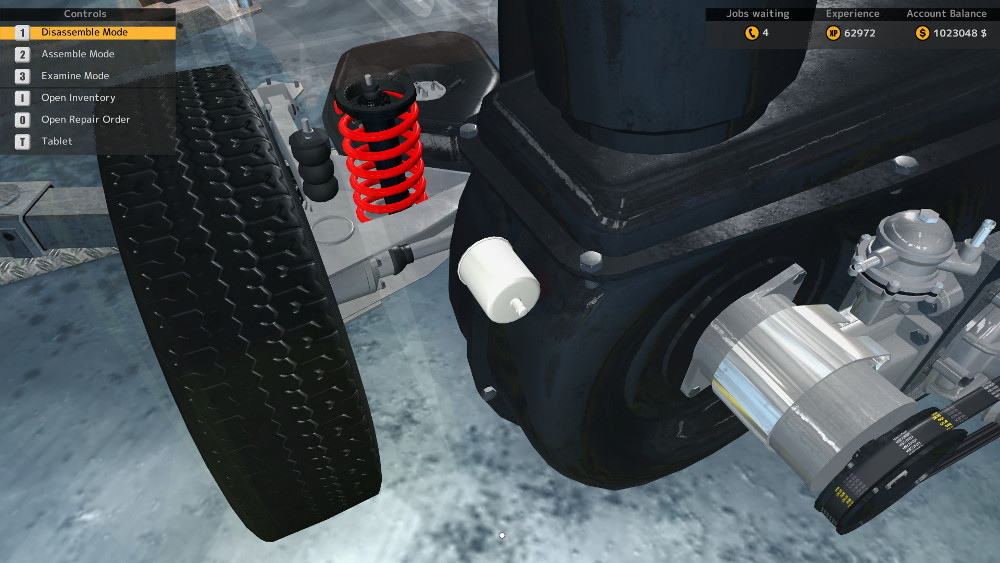
Common Filter Positions
The fuel filter often sits near the fuel tank under the car. Some cars have it close to the engine bay. You may find it along the fuel line, usually a small cylinder. In some models, the filter is inside the fuel pump assembly. Checking both ends of the fuel line is a good idea.
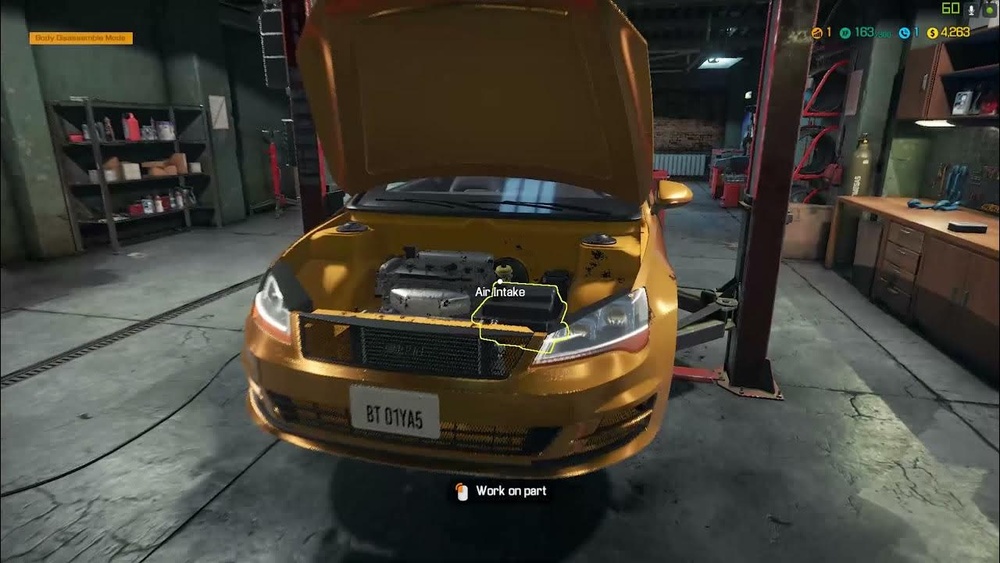
Access Tips In The Simulator
Use the car lift to see under the vehicle clearly. This view helps you spot the filter near the fuel tank or along the line. Open the hood to check the engine bay for the filter location. Use the scanner tool to highlight parts connected to the fuel system. Patience helps; some filters need you to remove other parts first.
Removing The Old Filter
Removing the old fuel filter is a key step in Car Mechanic Simulator. It ensures your car runs smoothly and prevents fuel issues. This process requires care and the right tools to avoid damage or spills. Follow each step carefully to remove the filter safely.
Detaching Fuel Lines
First, locate the fuel lines connected to the filter. Use pliers or a wrench to loosen the clamps holding the lines. Gently pull the fuel lines away from the filter. Avoid pulling hard to prevent damage to the lines. Keep a cloth ready to catch any leaking fuel during this process.
Handling Fuel Spills
Fuel spills can happen while removing the old filter. Quickly place a drip tray or cloth beneath the filter to catch leaks. Wipe up any spills immediately to avoid slippery surfaces. Dispose of the used cloth safely to prevent fire risks. Always work in a well-ventilated area to avoid harmful fumes.
Installing The New Filter
Installing the new fuel filter in Car Mechanic Simulator is a key step. The filter must fit correctly to keep the engine running well. This process needs care and attention to ensure no fuel leaks or engine problems.
Follow the steps closely to place the filter properly. The right fit helps the car perform its best. Let’s explore how to install the new filter securely and correctly.
Correct Orientation
Check the new filter for an arrow or mark. This shows the direction of fuel flow. Install the filter with the arrow pointing toward the engine. Wrong direction can block fuel and cause engine issues. Take time to align the filter correctly before securing it.
Securing Connections
Attach the fuel lines to the new filter tightly. Use clamps or fasteners provided in the simulator. Loose connections can cause fuel leaks and poor car performance. Double-check each connection for a firm fit. Tighten clamps but avoid over-tightening to prevent damage.
Testing And Final Checks
After replacing the fuel filter in Car Mechanic Simulator, testing and final checks are important. These steps ensure the car runs smoothly and safely. Checking the engine and fuel system helps catch problems early. Follow the guide below for a clear process.
Starting The Engine
Turn the key to start the engine. Listen for any strange sounds. The engine should start quickly and run smoothly. If the engine struggles or stalls, double-check the fuel filter installation. Make sure all connections are tight and correct. A clean start shows the fuel filter works well.
Checking For Leaks
Look under the car for fuel leaks. Fuel leaks are dangerous and must be fixed immediately. Check around the fuel filter and fuel lines. Wipe off any wet spots and watch for new leaks. No smell of fuel should be near the engine. Fix leaks by tightening clamps or replacing damaged parts.
Troubleshooting Common Issues
Troubleshooting common issues in Car Mechanic Simulator helps you fix problems faster. Knowing what to check saves time and keeps your work smooth. Many players face similar problems when changing the fuel filter. Understanding these issues guides you to the right solution.
Filter Replacement Errors
One common error is not tightening the filter correctly. A loose filter causes fuel leaks and engine problems. Another mistake is using the wrong filter type. Always check the filter model before installation. Dirt or debris can also enter if the area is not clean. Clean the filter housing before placing the new filter. Lastly, forgetting to reset the fuel system can cause errors in the game.
Fuel System Problems
Fuel flow issues happen when air enters the fuel line. This causes the engine to run poorly or stall. Check all fuel lines for cracks or loose connections. Clogged fuel injectors reduce engine power and efficiency. Clean or replace them if needed. Fuel pump failure can also stop the engine from running. Test the pump and replace it if it is faulty.
Credit: carmechanicsimulator.gamewalkthrough-universe.com
Credit: www.gamewalkthrough-universe.com
Frequently Asked Questions
How Do I Locate The Fuel Filter In Car Mechanic Simulator?
In Car Mechanic Simulator, the fuel filter is usually found along the fuel line or near the fuel tank. Use the game’s inspection mode to identify its exact position on your vehicle. This helps in planning the replacement process efficiently.
What Tools Are Needed To Change The Fuel Filter?
You need a wrench or socket set to remove the fuel filter bolts. Additionally, have gloves and a container ready to catch spilled fuel. Using the right tools ensures a smooth and safe replacement process.
How Often Should I Replace The Fuel Filter In-game?
Replace the fuel filter every 30,000 to 50,000 miles in Car Mechanic Simulator. Regular changes keep the fuel system clean and improve engine performance. Follow this schedule to avoid fuel flow issues.
Can I Reuse The Old Fuel Filter After Removal?
No, always replace the old fuel filter with a new one. Reusing the old filter reduces fuel system efficiency and risks engine damage. Proper replacement ensures optimal vehicle performance.
Conclusion
Changing the fuel filter in Car Mechanic Simulator helps your car run better. It keeps the fuel clean and the engine healthy. Following simple steps makes the process easy and quick. Regular maintenance saves time and avoids bigger problems later.
Try changing the fuel filter yourself and enjoy smoother gameplay. Small repairs like this build your skills and improve your virtual garage. Keep practicing and have fun fixing cars in the simulator!