
If you want to keep your car running smoothly in Car Mechanic Simulator 2018, knowing how to change the fuel filter is a must. This simple task can save you from bigger engine problems and improve your car’s performance.
In this guide, you’ll get clear, step-by-step instructions that anyone can follow—even if you’re new to the game. By the end, you’ll feel confident tackling this repair yourself, saving time and unlocking more of the simulator’s fun challenges. Ready to become a pro mechanic?
Let’s dive in.
Locating The Fuel Filter
Finding the fuel filter is the first step in changing it in Car Mechanic Simulator 2018. The fuel filter stops dirt from reaching the engine. Knowing where it sits helps you remove and replace it quickly. The location varies by vehicle type and model. Some filters hide under the car, others near the engine. This guide helps you find the filter easily.
Checking The Vehicle Manual
The vehicle manual shows the exact fuel filter location. It has diagrams and instructions for your car model. The manual often lists fuel system parts and their positions. Reading it saves time and avoids guesswork. It also gives tips on safely removing the filter. Keep the manual handy before starting your repair.
Common Fuel Filter Positions
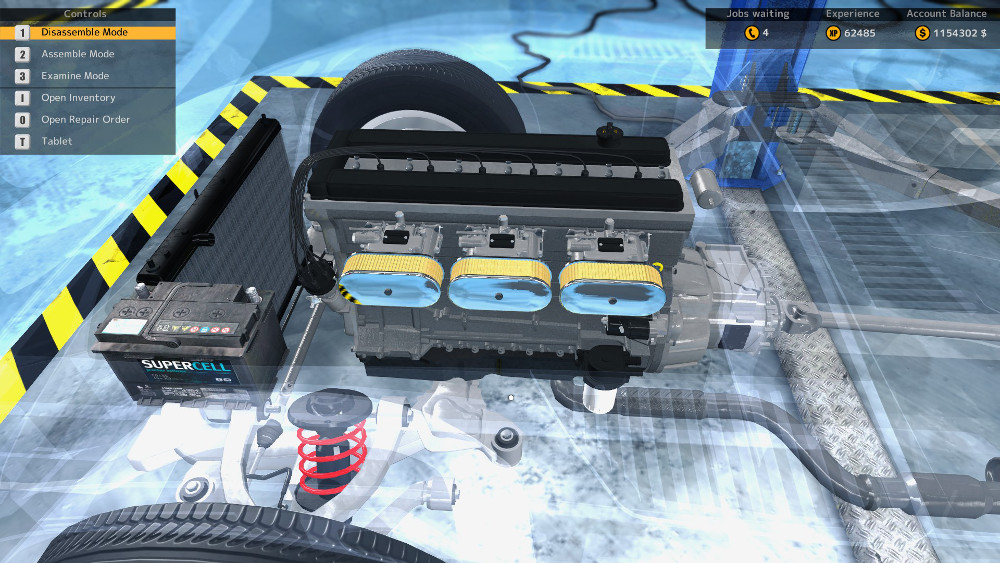
Fuel filters usually sit along the fuel line. Many are under the car near the fuel tank. Some are inside the engine bay, close to the fuel injectors. Others attach to the frame rail or near the firewall. Look for a small cylindrical part with fuel lines connected. Spotting these common spots speeds up your work in the simulator.
Tools Needed
Changing the fuel filter in Car Mechanic Simulator 2018 requires specific tools. Using the right tools makes the job easier and safer. Prepare all tools before starting to save time and avoid frustration.
Basic Hand Tools
Start with a good set of wrenches. You need a wrench to loosen the fuel filter bolts. A ratchet and socket set helps reach tight spots. Screwdrivers are useful to remove clamps or covers. Keep a pair of pliers handy to grip small parts. A container to catch fuel is also necessary. Having these tools ready speeds up the process.
Safety Equipment
Safety matters during any car repair. Wear gloves to protect your hands from fuel and dirt. Use safety glasses to guard your eyes from splashes. A fire extinguisher nearby is smart, just in case. Work in a well-ventilated area to avoid inhaling fumes. These precautions keep you safe and focused.
Preparing For Replacement
Preparing to replace the fuel filter in Car Mechanic Simulator 2018 requires careful steps. These steps help avoid damage and ensure a smooth repair. Taking time to prepare makes the process safer and easier.
Ensuring Vehicle Safety
Start by turning off the vehicle engine completely. This stops fuel from flowing and reduces fire risk. Disconnect the car battery to avoid electrical sparks. Wear gloves to protect your hands from fuel and dirt. Work in a well-ventilated area to avoid harmful fumes.
Draining The Fuel System
Fuel left in the system can spill during filter removal. Use a fuel siphon or drain valve to remove fuel from the tank. Place a container below the filter to catch any leaks. This step prevents mess and reduces the risk of fire. Check the fuel lines for pressure release before disconnecting.
Credit: www.gamewalkthrough-universe.com
Removing The Old Fuel Filter
Removing the old fuel filter is a key step in Car Mechanic Simulator 2018. It keeps the fuel system clean and helps the car run smoothly. This process needs careful handling to avoid fuel leaks and damage. Follow the steps below to remove the old fuel filter safely and correctly.
Disconnecting Fuel Lines
First, locate the fuel lines connected to the filter. These lines carry fuel to and from the filter. Use the correct tool to loosen the clamps holding the lines. Pull the lines gently to disconnect them. Be ready for some fuel to spill. Use a cloth to catch any drops and keep the area clean.
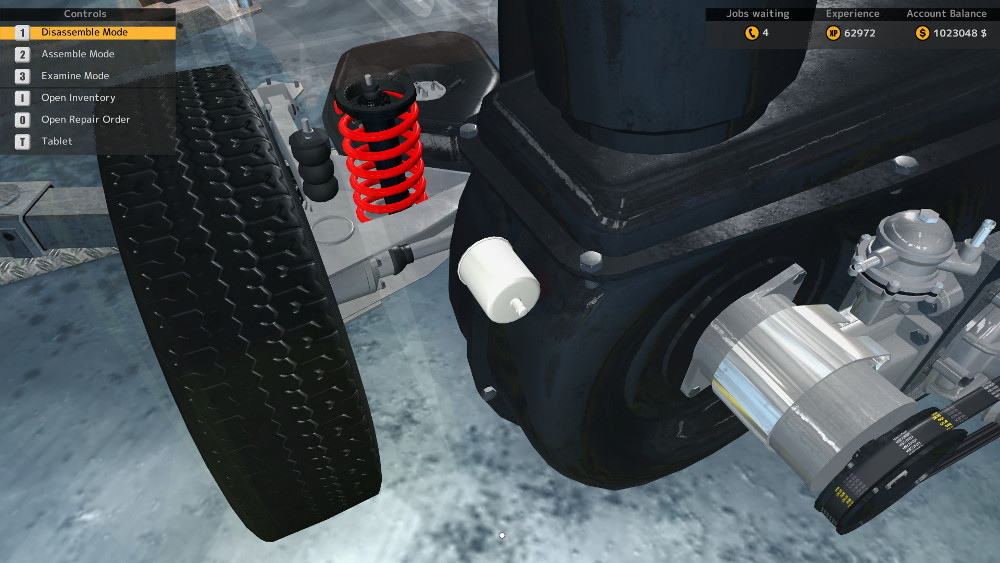
Detaching The Filter
After disconnecting the lines, focus on the filter itself. The filter is usually held by a bracket or clips. Remove the screws or release the clips carefully. Take out the old filter from its place. Check the area for dirt or damage before installing the new filter. Clean the mounting spot if needed to ensure a good fit.
Installing The New Fuel Filter
Installing the new fuel filter in Car Mechanic Simulator 2018 is a key step. It ensures the car runs smoothly and efficiently. This part helps keep dirt and debris out of the fuel system. Proper installation prevents leaks and engine problems later on. Follow each step carefully for the best results.
Positioning The Filter Correctly
Place the new fuel filter in the same position as the old one. Check the arrow on the filter body. It shows the direction of fuel flow. Make sure the arrow points toward the engine. Incorrect placement can cause fuel flow issues. Hold the filter steady to avoid dropping it.
Securing Fuel Lines
Attach the fuel lines firmly to each end of the filter. Use the correct clamps to hold the lines tight. Loose connections can lead to leaks or engine trouble. Double-check both sides after securing. Press the clamps firmly but do not overtighten. A secure fit keeps the fuel system safe and sealed.
Credit: carmechanicsimulator.gamewalkthrough-universe.com
Testing The Installation
After replacing the fuel filter in Car Mechanic Simulator 2018, testing the installation is key. This step ensures the filter works well and the engine runs smoothly. Proper testing helps avoid future problems and keeps the car safe.
Starting The Engine
Turn the ignition to start the engine. Listen carefully for any unusual sounds. The engine should run without hesitation or stalling. A smooth start means fuel flows correctly through the new filter. If the engine struggles, check the installation again.
Checking For Leaks
Look under the car and around the fuel filter for signs of leaks. Fuel leaks can cause damage and are dangerous. Use a flashlight to see clearly. No wet spots or strong fuel smells should appear. Tighten fittings if you find any leaks. Confirm the area stays dry after a few minutes running the engine.
Tips For Efficient Gameplay
Playing Car Mechanic Simulator 2018 can be fun and challenging. Knowing some tips helps you work faster and avoid errors. These tips improve your gameplay and make changing the fuel filter easier.
Focus on simple steps and clear goals. This keeps your progress smooth and stress-free. Follow these tips to save time and get better results.
Managing Time Effectively
Plan your tasks before starting the job. Gather all needed tools and parts first. This reduces breaks and waiting time.
Work step-by-step to avoid confusion. Take small breaks to keep focus sharp. Watch the timer and try to beat your best time.
Avoiding Common Mistakes
Check the fuel filter location carefully before removal. Use the right tool to avoid damage. Tighten the new filter properly to prevent leaks.
Do not rush the process. Rushing causes errors and wastes time. Double-check all connections after installation for safety.

Credit: www.youtube.com
Frequently Asked Questions
How Do I Locate The Fuel Filter In Car Mechanic Simulator 2018?
The fuel filter is usually found near the fuel tank or engine in Car Mechanic Simulator 2018. Use the in-game map and inspection tools to spot it quickly. Identifying its exact position helps speed up the replacement process and ensures accuracy.
What Tools Are Needed To Change The Fuel Filter?
You need basic tools like a wrench, screwdriver, and pliers to change the fuel filter. The game also provides specific tools for removing clamps and connectors. Having the right equipment makes the replacement smooth and efficient.
How Often Should I Replace The Fuel Filter In The Game?
Replace the fuel filter when it shows wear or after a set mileage, usually around 30,000 miles. Regular replacement prevents engine problems and keeps the car running smoothly. The game alerts you when the filter needs attention.
Can I Sell The Old Fuel Filter For Profit?
Yes, you can sell the old fuel filter in Car Mechanic Simulator 2018. However, it usually has low resale value. Selling used parts helps you earn extra money but focus on quality repairs for best profits.
Conclusion
Changing the fuel filter in Car Mechanic Simulator 2018 is simple and clear. Follow the steps carefully to avoid mistakes. Take your time and check each part before installing. This task helps keep your virtual car running smoothly. Practice often to improve your repair skills.
Enjoy the process and learn from each job done. Keep playing to gain more experience and confidence. This guide will support your gameplay and progress.


