
Your car wax applicator pad is key to getting that perfect, shiny finish. But if it’s dirty or clogged, your hard work won’t show.
Cleaning your wax applicator pad properly not only saves you money but also helps you achieve a smoother, more even shine every time. In this guide, you’ll discover simple, effective steps to clean your pad quickly and keep it in top shape.
Ready to make your car look its best without extra hassle? Keep reading and learn how to care for your wax applicator like a pro.
Credit: optima-schlafsysteme.de
Choosing The Right Wax Applicator Pad
Choosing the right wax applicator pad is key to a smooth waxing job. The right pad helps spread wax evenly and protects your car’s surface. Picking the wrong pad can cause streaks or waste wax. Understanding types and materials makes the task easier.
Types Of Applicator Pads
Foam pads are soft and flexible. They work well for liquid and paste waxes. Foam spreads wax smoothly without scratching. Microfiber pads hold wax well and offer good control. They are gentle on paint and easy to clean. Wool pads are thicker and best for heavy waxes. They apply wax quickly but need careful cleaning.
Material Matters
Material affects how the wax applies and how long the pad lasts. Foam is light and easy to handle. It absorbs wax but can wear out fast. Microfiber is strong and holds wax better. It cleans easily and lasts longer. Wool is rougher but great for thick wax. It needs more care to keep it soft.
Why Clean Your Wax Applicator Pad
Cleaning your wax applicator pad is important for keeping your car care routine effective. Dirt and old wax buildup on the pad can ruin the smooth finish you want. A clean pad helps you apply wax evenly and protects your car’s paint.
Many people skip cleaning the pad and face problems later. Dirty pads can cause scratches or make the wax look patchy. Cleaning the pad after each use keeps it ready for the next time and saves money by making the wax last longer.
Benefits Of Regular Cleaning
Regular cleaning keeps the pad soft and flexible. It removes old wax and dirt that block smooth application. Clean pads spread wax evenly, giving a shiny and smooth finish. The wax sticks better on the car’s surface. This leads to better protection from sun and rain.
Cleaning also extends the life of your pad. Dirt and dried wax can break down the material. Washing the pad gently helps it stay in good shape for many uses. It saves you money on buying new pads often.
Avoiding Cross-contamination
Using a dirty pad can mix different wax types or dirt on your car. This can cause spots or uneven wax layers. Clean pads stop old wax from mixing with new wax. They keep the car’s surface clean and smooth.
Cross-contamination can also harm your car’s paint. Dirt particles or old polish on the pad may scratch the paint. Cleaning the pad removes these risks. It protects your car and keeps the paint looking fresh.
Essential Cleaning Supplies
Cleaning a car wax applicator pad properly requires the right supplies. Using suitable tools keeps the pad in good condition. It helps remove wax residue without damaging the material. Choosing gentle and effective cleaning items is key for best results.
Mild Detergents And Soaps
Use mild detergents or gentle soaps to clean the pad. Harsh chemicals can ruin the pad’s texture. Look for products labeled as gentle or for delicate fabrics. Dish soap or baby shampoo works well to break down wax. Mix the detergent with warm water before soaking the pad.
Soft Brushes And Cloths
Soft brushes help remove wax without tearing the pad. Choose brushes with soft bristles made for delicate surfaces. A microfiber cloth also works well to wipe away dirt. Avoid stiff brushes or rough fabrics that can harm the pad. Gently scrub or pat the pad to keep it safe.
Step-by-step Cleaning Process
Cleaning a car wax applicator pad is important to keep it effective and last longer. Follow this step-by-step process to remove wax buildup and dirt. Proper cleaning keeps your pad soft and ready for the next use.
Removing Excess Wax
Start by scraping off as much wax as possible. Use a plastic scraper or your fingers to peel away thick wax layers. This step prevents clogging during washing.
Soaking The Pad
Fill a small container with warm water and mild soap. Soak the pad for 10 to 15 minutes. This loosens the wax stuck deep inside the foam.
Gentle Scrubbing Techniques
Use your fingers or a soft brush to scrub the pad gently. Focus on stained areas but avoid harsh scrubbing. This protects the pad’s texture and shape.
Rinsing Thoroughly
Rinse the pad under warm running water. Squeeze it softly to remove soap and wax residues. Repeat until the water runs clear and clean.
Drying Tips
Press the pad gently with a clean towel to remove extra water. Lay it flat in a well-ventilated area to air dry. Avoid direct sunlight or heat sources to keep the pad soft.
Maintaining Your Wax Applicator Pads
Maintaining your wax applicator pads keeps them effective and extends their life. Clean pads apply wax smoothly and prevent scratches on your car’s surface. Proper care saves money and improves your waxing results.
Regular cleaning removes old wax and dirt. Storing pads correctly stops them from getting damaged or dirty before use.
Storage Best Practices
Store pads in a cool, dry place away from sunlight. Keep them in a sealed container or bag to stop dust buildup. Avoid stacking wet or dirty pads to prevent mold and bad smells.
Use separate containers for different wax types. This prevents mixing and keeps pads ready for their next use.
When To Replace Your Pads
Replace pads if they lose softness or become hard. Pads with tears or missing foam can scratch your car. Old pads may not spread wax evenly, causing streaks.
Check pads after each use. If cleaning does not restore them, it is time to buy new ones. Fresh pads give the best waxing results.
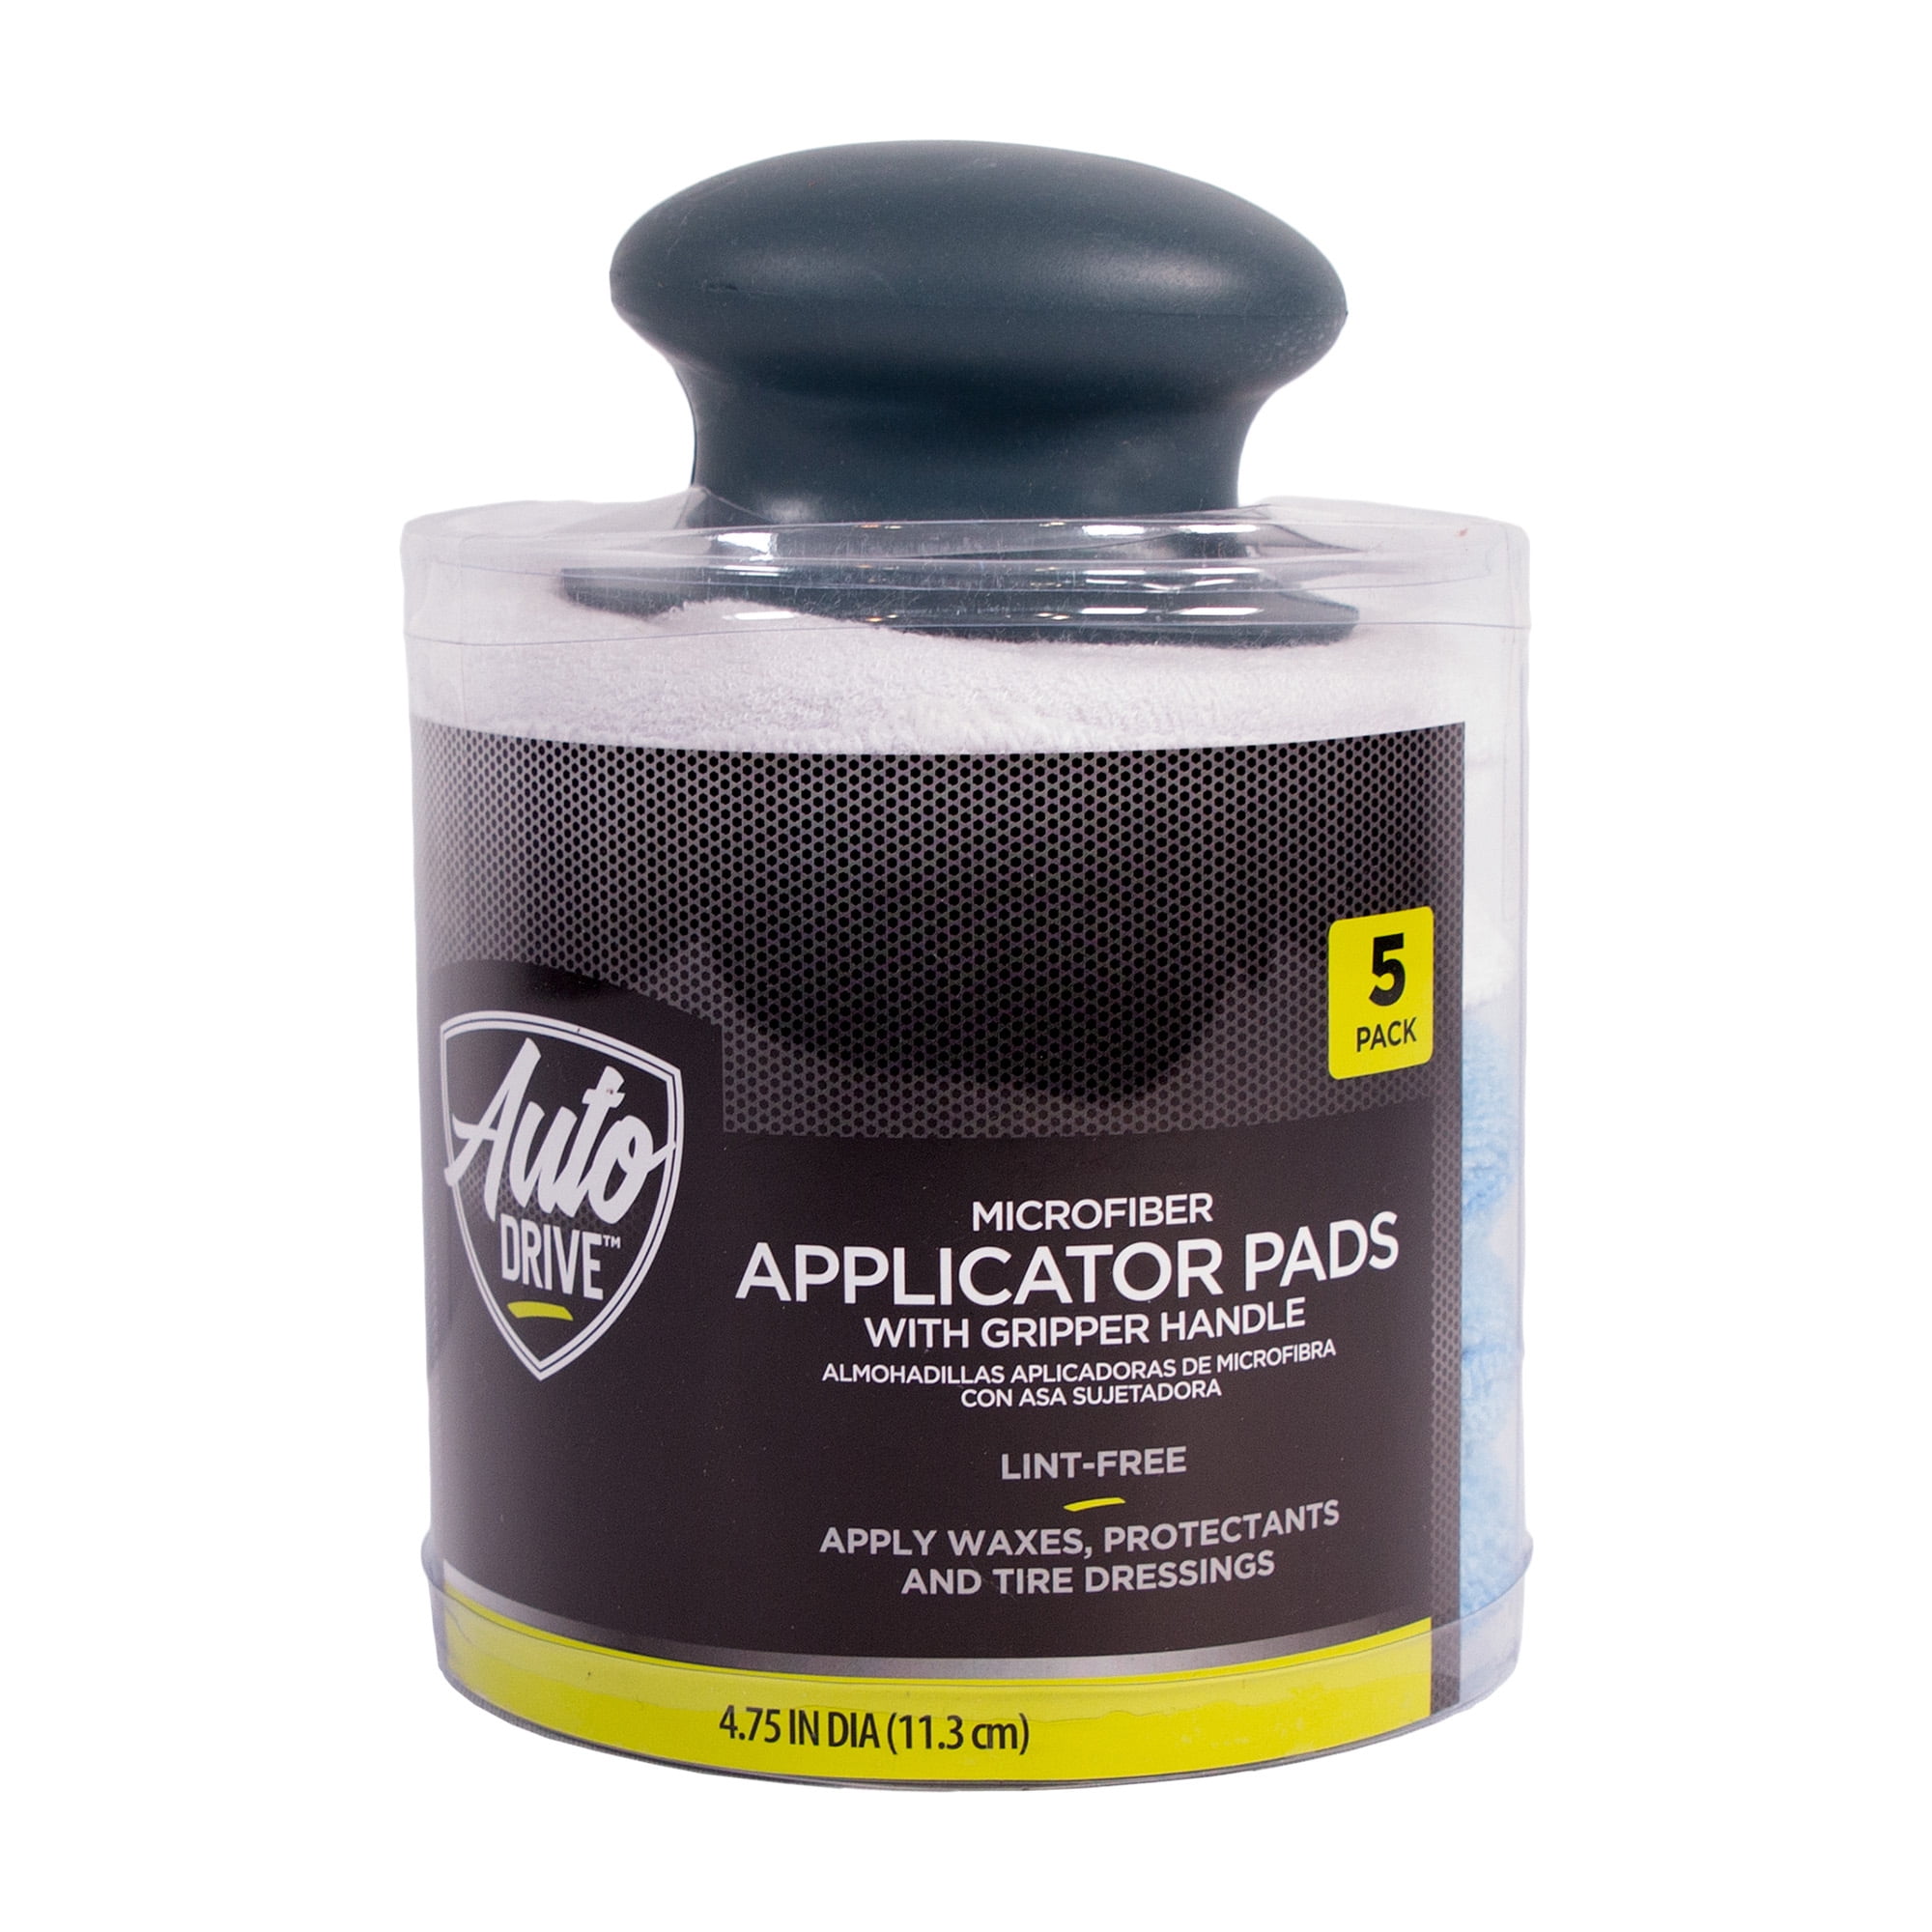
Credit: www.walmart.com
Troubleshooting Common Issues
Cleaning a car wax applicator pad can sometimes be tricky. Problems like leftover wax or pad damage often occur. Knowing how to fix these issues helps keep your pad in good shape. This section covers common problems and easy solutions.
Dealing With Stubborn Wax Residue
Stubborn wax residue can make your pad sticky and hard to clean. Start by rinsing the pad in warm water to soften the wax. Use a mild soap or dish detergent to break down the wax. Gently rub the pad with your fingers to remove the residue. Avoid using hot water as it may melt the wax further into the pad. Repeat the process if needed. Let the pad air dry completely before the next use.
Preventing Pad Damage
Rough cleaning can damage the soft material of your pad. Avoid scrubbing the pad too hard or using harsh chemicals. Always use gentle soaps and soft water. Do not put the pad in a washing machine or dryer. Store the pad in a clean, dry place after cleaning. Regular, careful cleaning extends the life of your applicator pad.

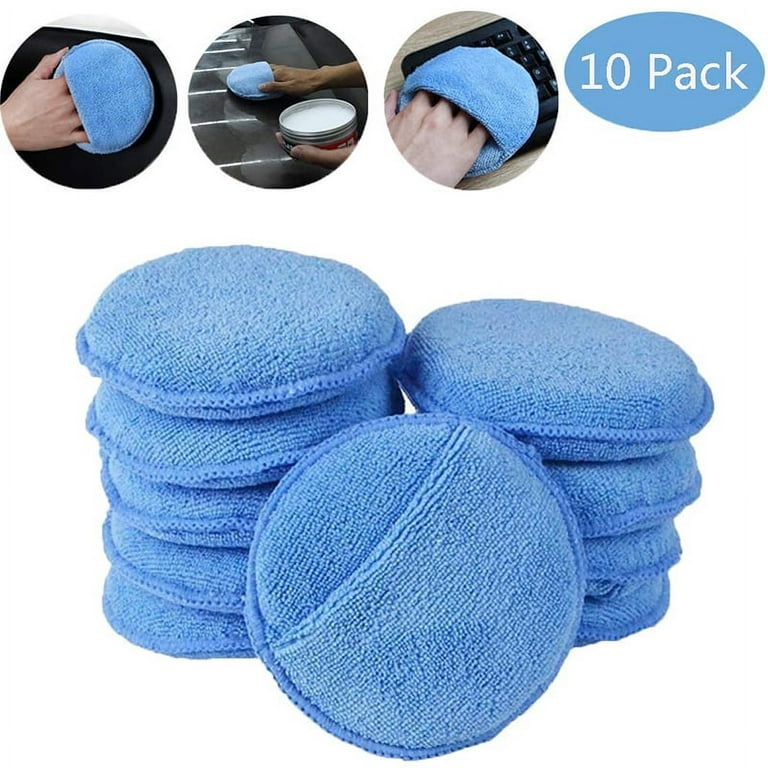
Credit: www.amazon.com
Frequently Asked Questions
How Often Should I Clean A Car Wax Applicator Pad?
Clean your wax applicator pad after every use. This prevents wax buildup and maintains pad effectiveness. Regular cleaning extends the pad’s lifespan and ensures a smooth application each time.
What Is The Best Way To Clean Wax Applicator Pads?
Use warm water and mild soap to clean the pad. Gently scrub to remove wax residue, then rinse thoroughly. Let the pad air dry completely before reuse to avoid mold or mildew.
Can I Use A Washing Machine To Clean Wax Pads?
It’s not recommended to use a washing machine. The agitation can damage the pad’s foam structure. Hand washing with gentle soap preserves the pad’s texture and effectiveness.
How Do I Remove Stubborn Wax From Applicator Pads?
Soak the pad in warm soapy water for 10-15 minutes. Then gently squeeze and rinse until wax loosens. Avoid harsh chemicals to prevent pad damage.
Conclusion
Cleaning a car wax applicator pad keeps it ready for the next use. Regular washing removes old wax and dirt quickly. Use warm water and gentle soap for best results. Rinse thoroughly and let the pad dry completely. A clean pad spreads wax evenly on your car.
This simple care saves money and improves your car’s shine. Take a few minutes after each use to clean the pad. Your car will look better, and the pad will last longer. Easy steps. Great results.


